Here’s some blank roasting logs in *F and *C
Coffee Roasting Log-C (pdf)
Coffee Roasting Log-F (pdf)
Roast Log Met-C (pdf)
Roast Log Met-F (pdf)
Boot Coffee roasting log
Here’s some blank roasting logs in *F and *C
Coffee Roasting Log-C (pdf)
Coffee Roasting Log-F (pdf)
Roast Log Met-C (pdf)
Roast Log Met-F (pdf)
Boot Coffee roasting log

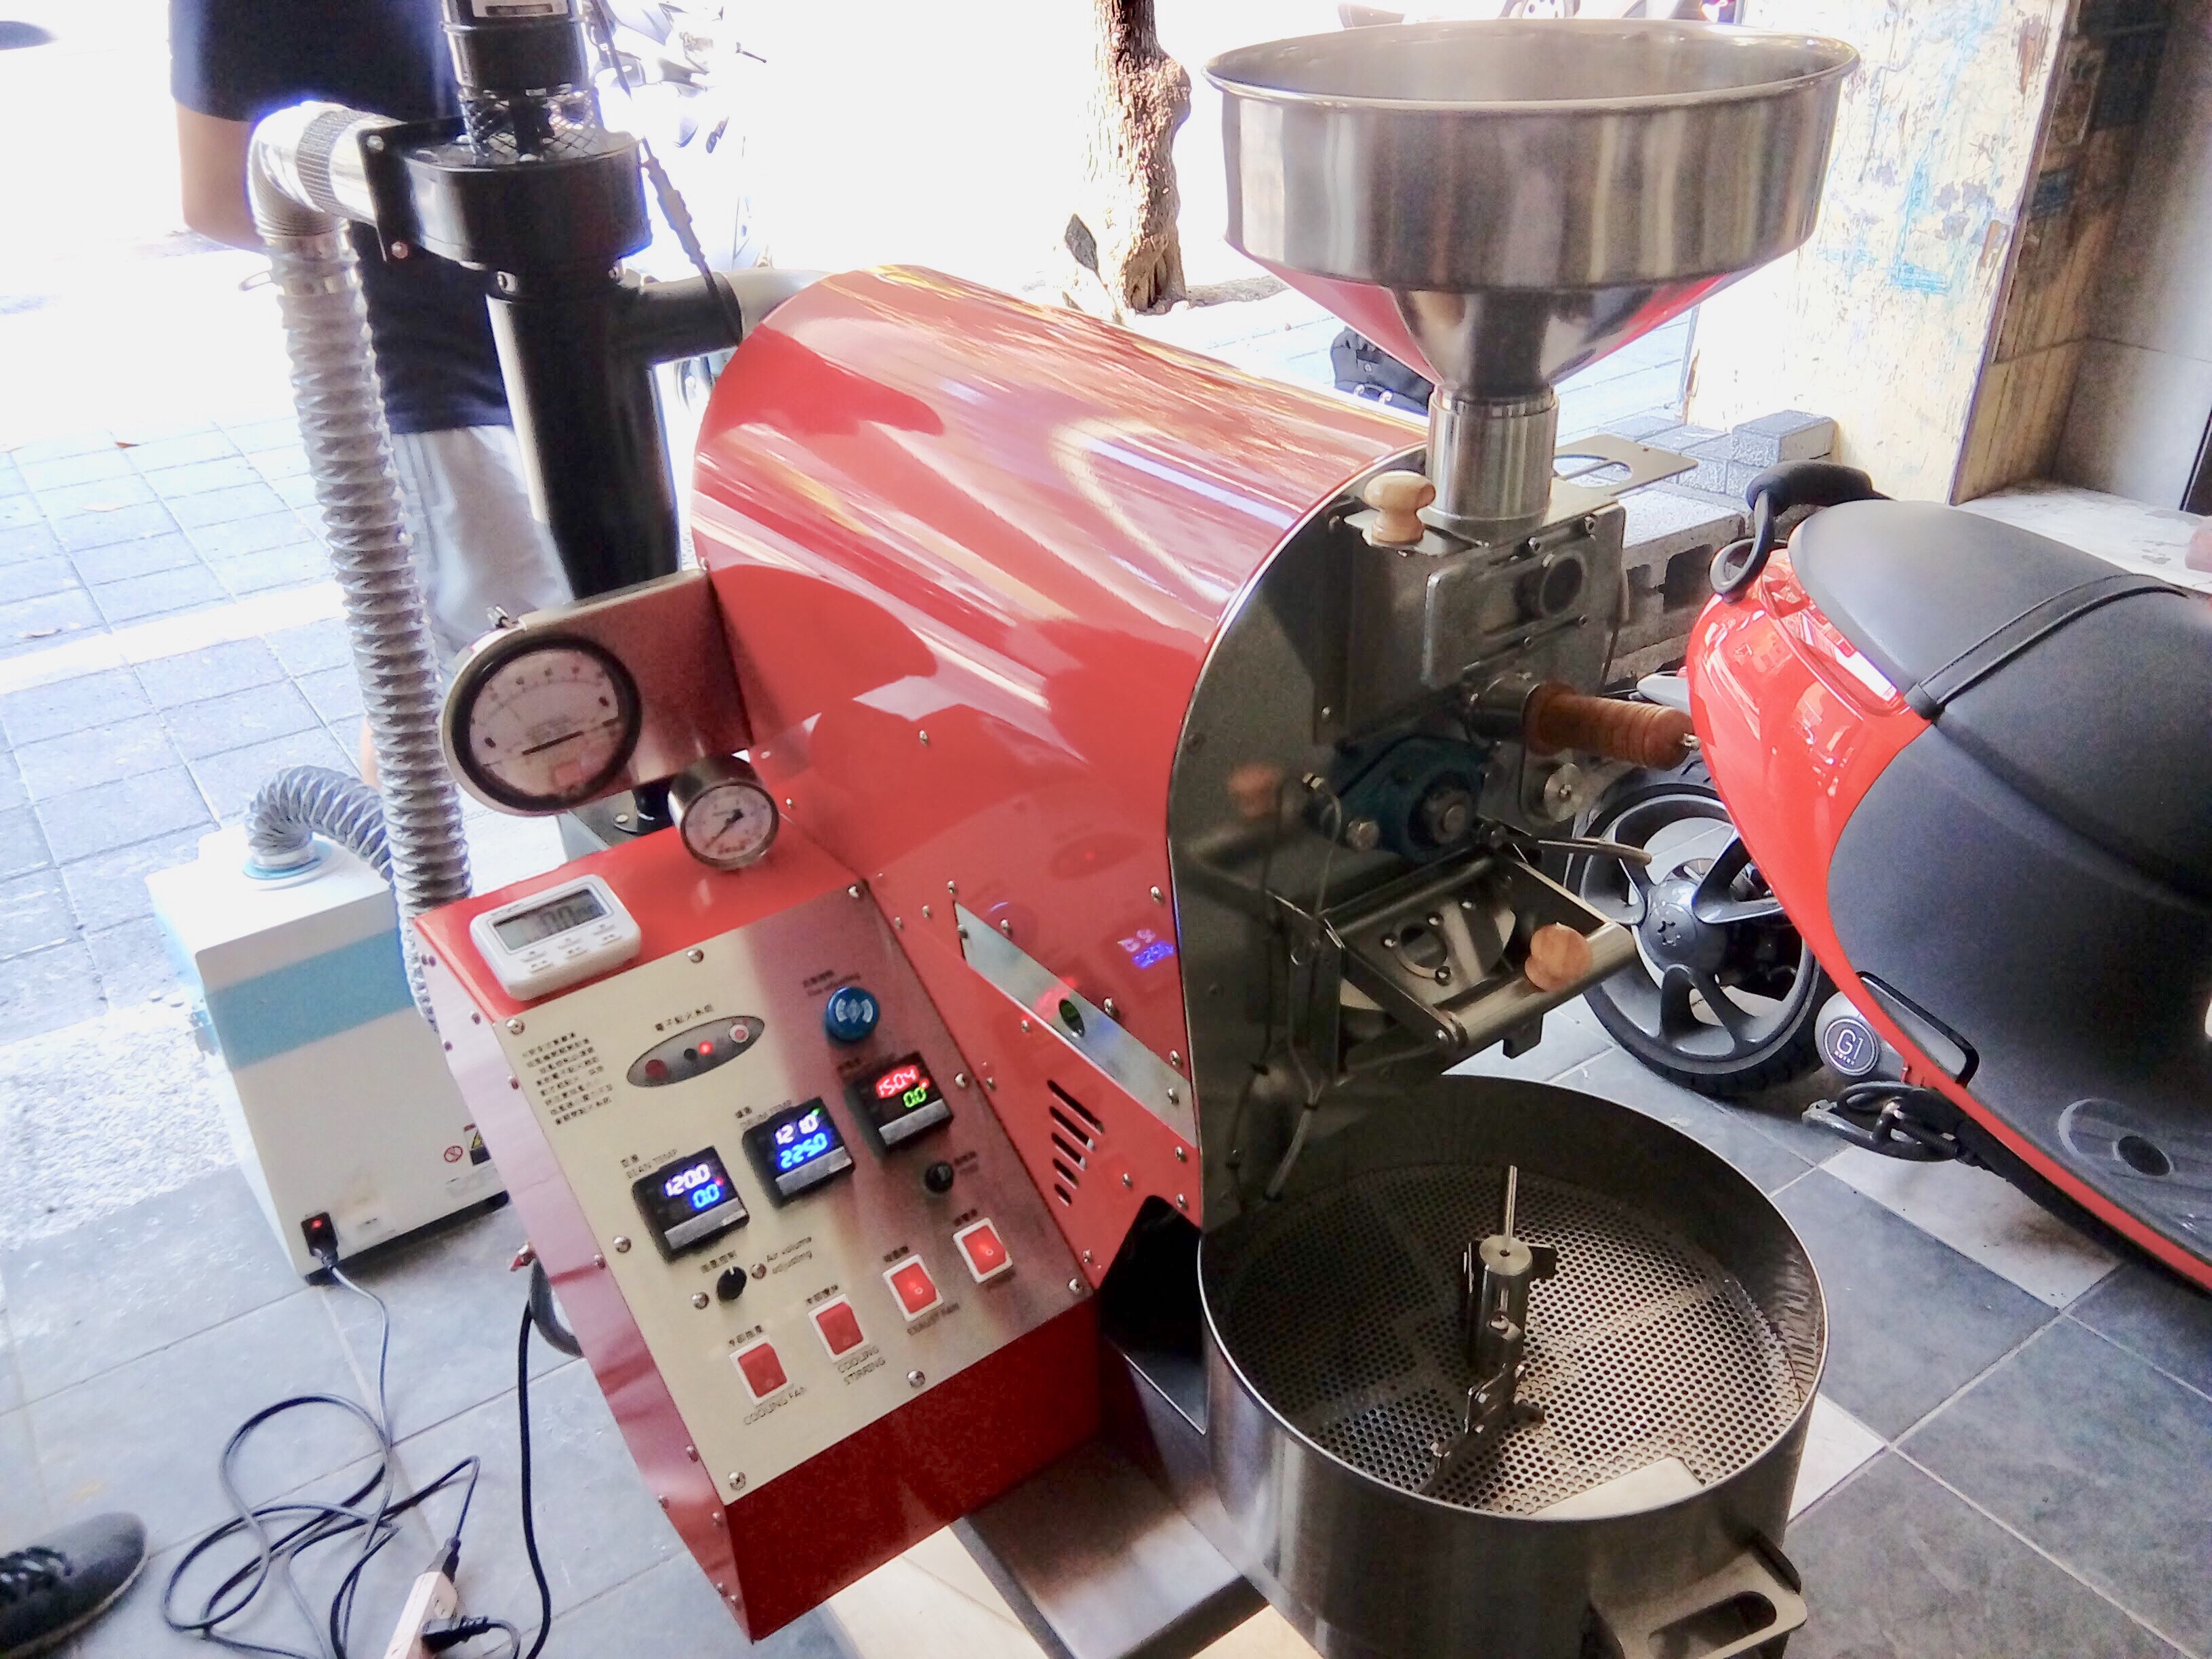
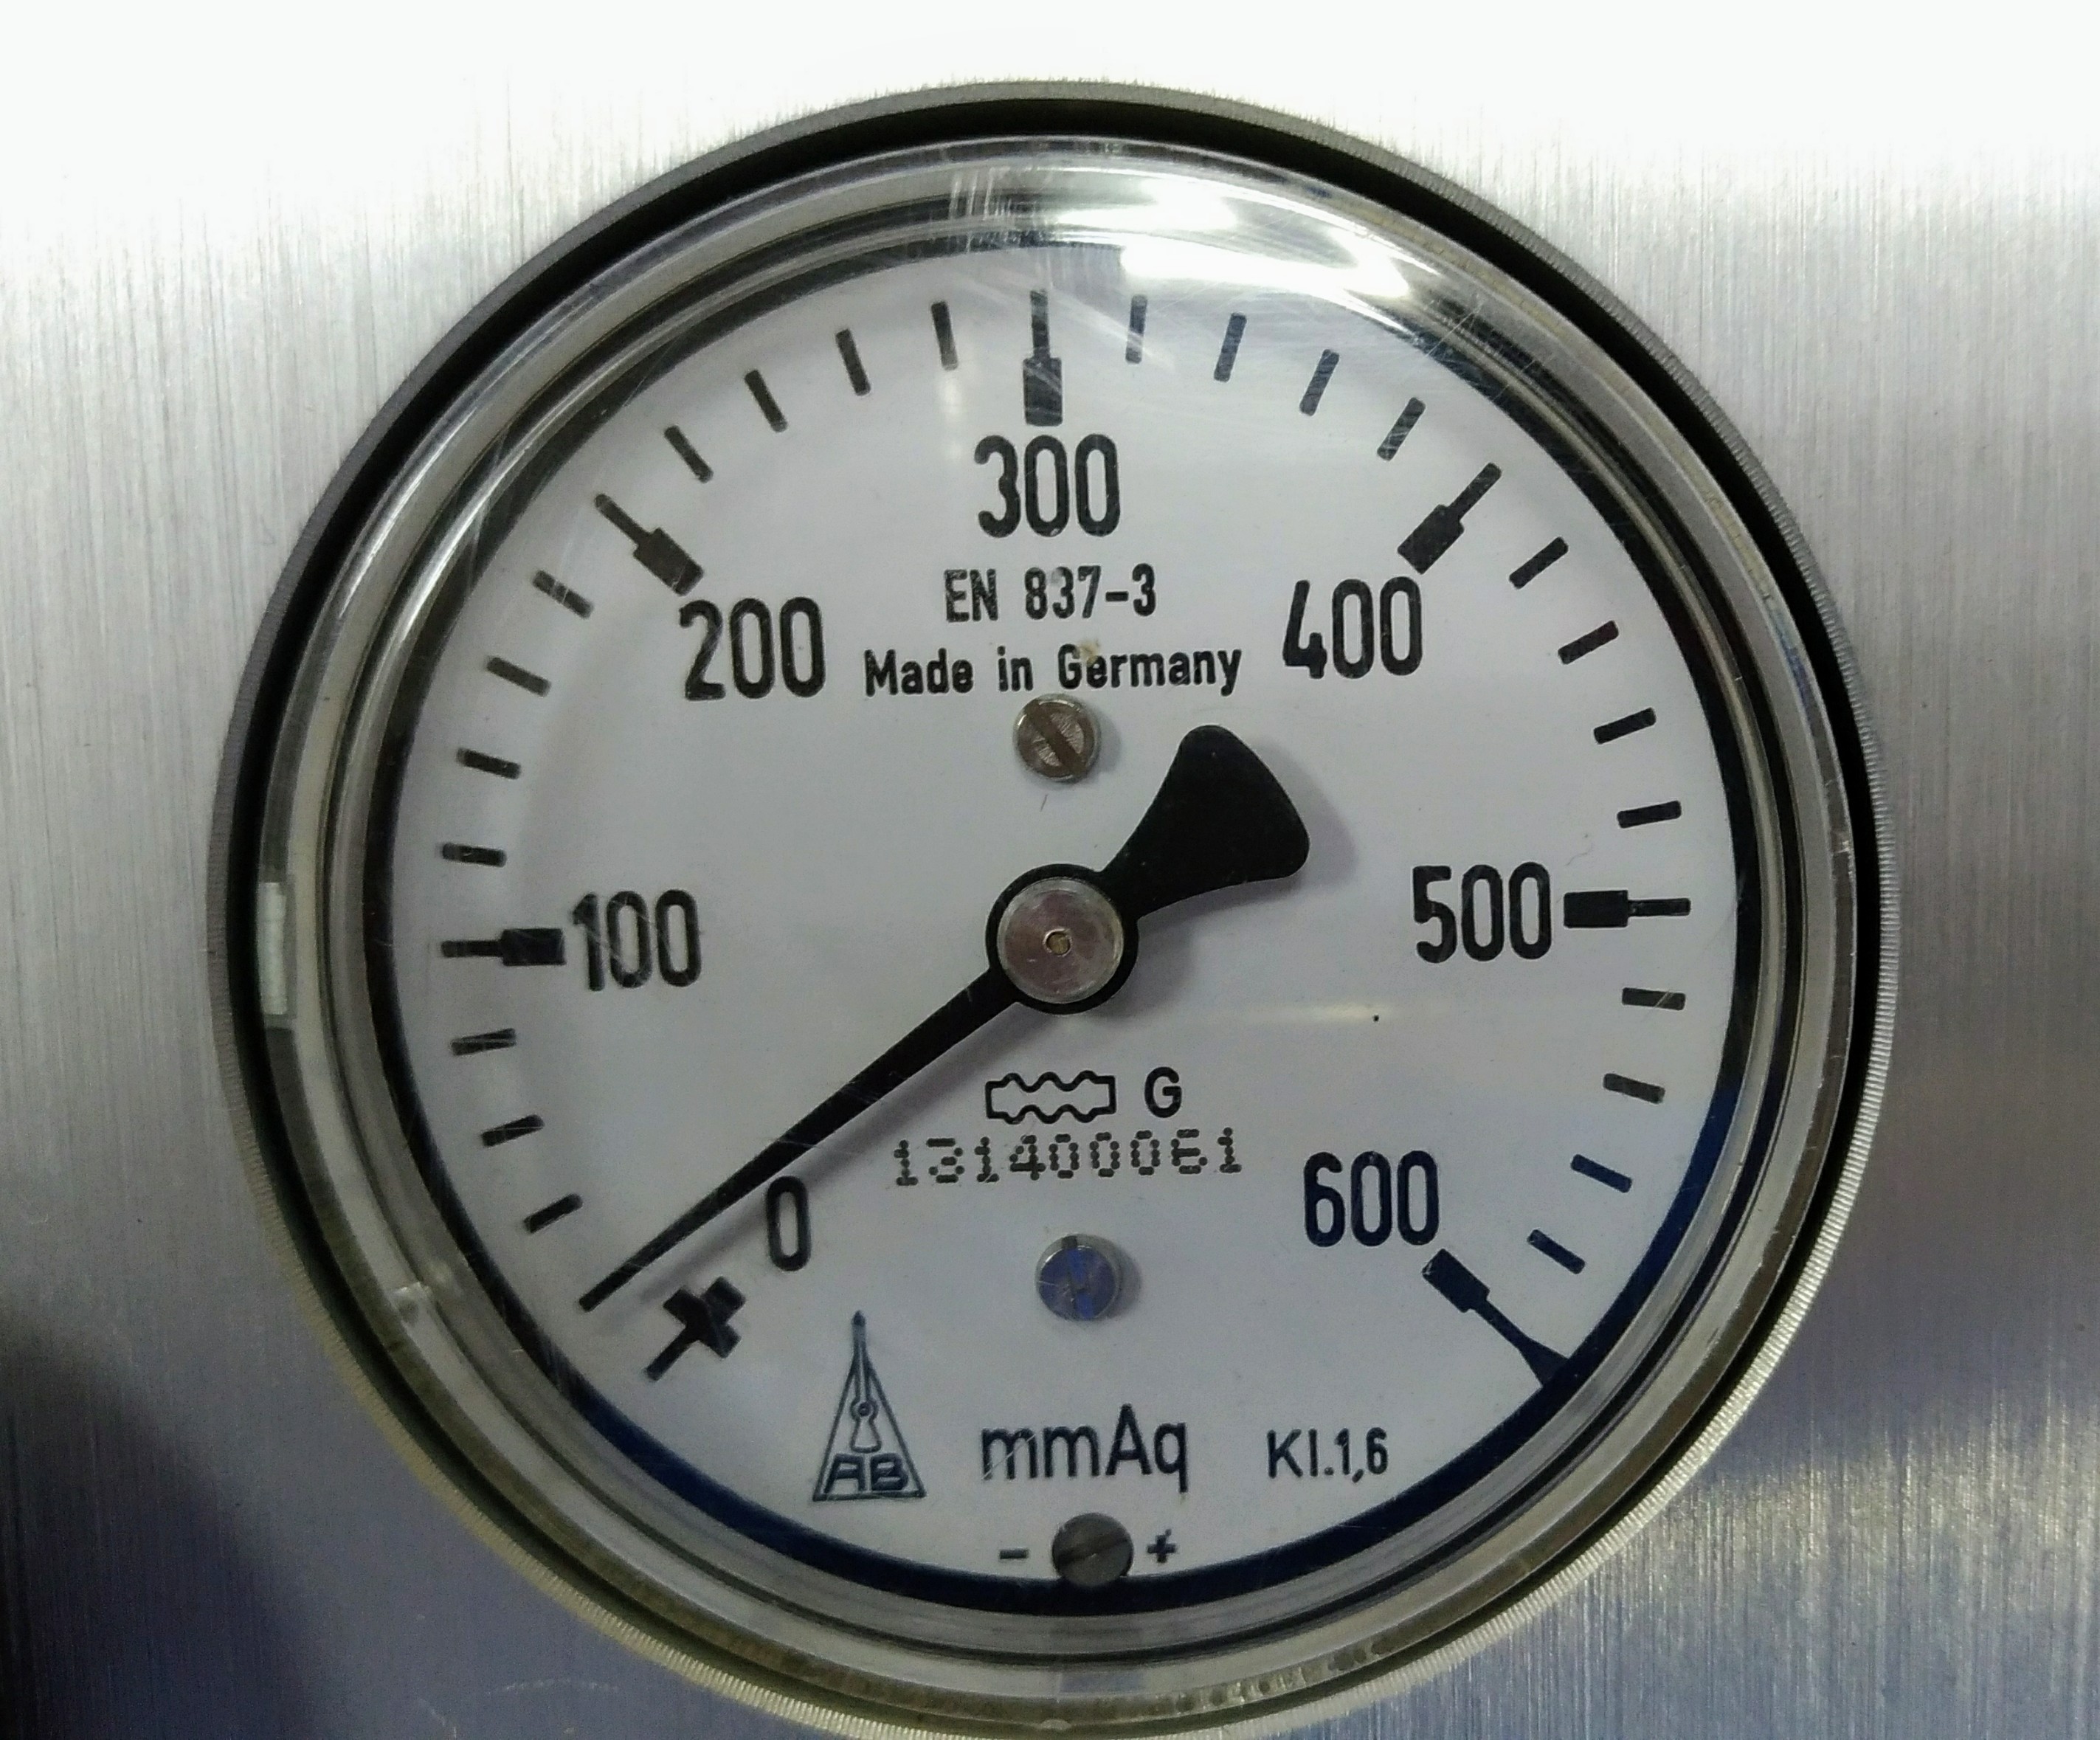
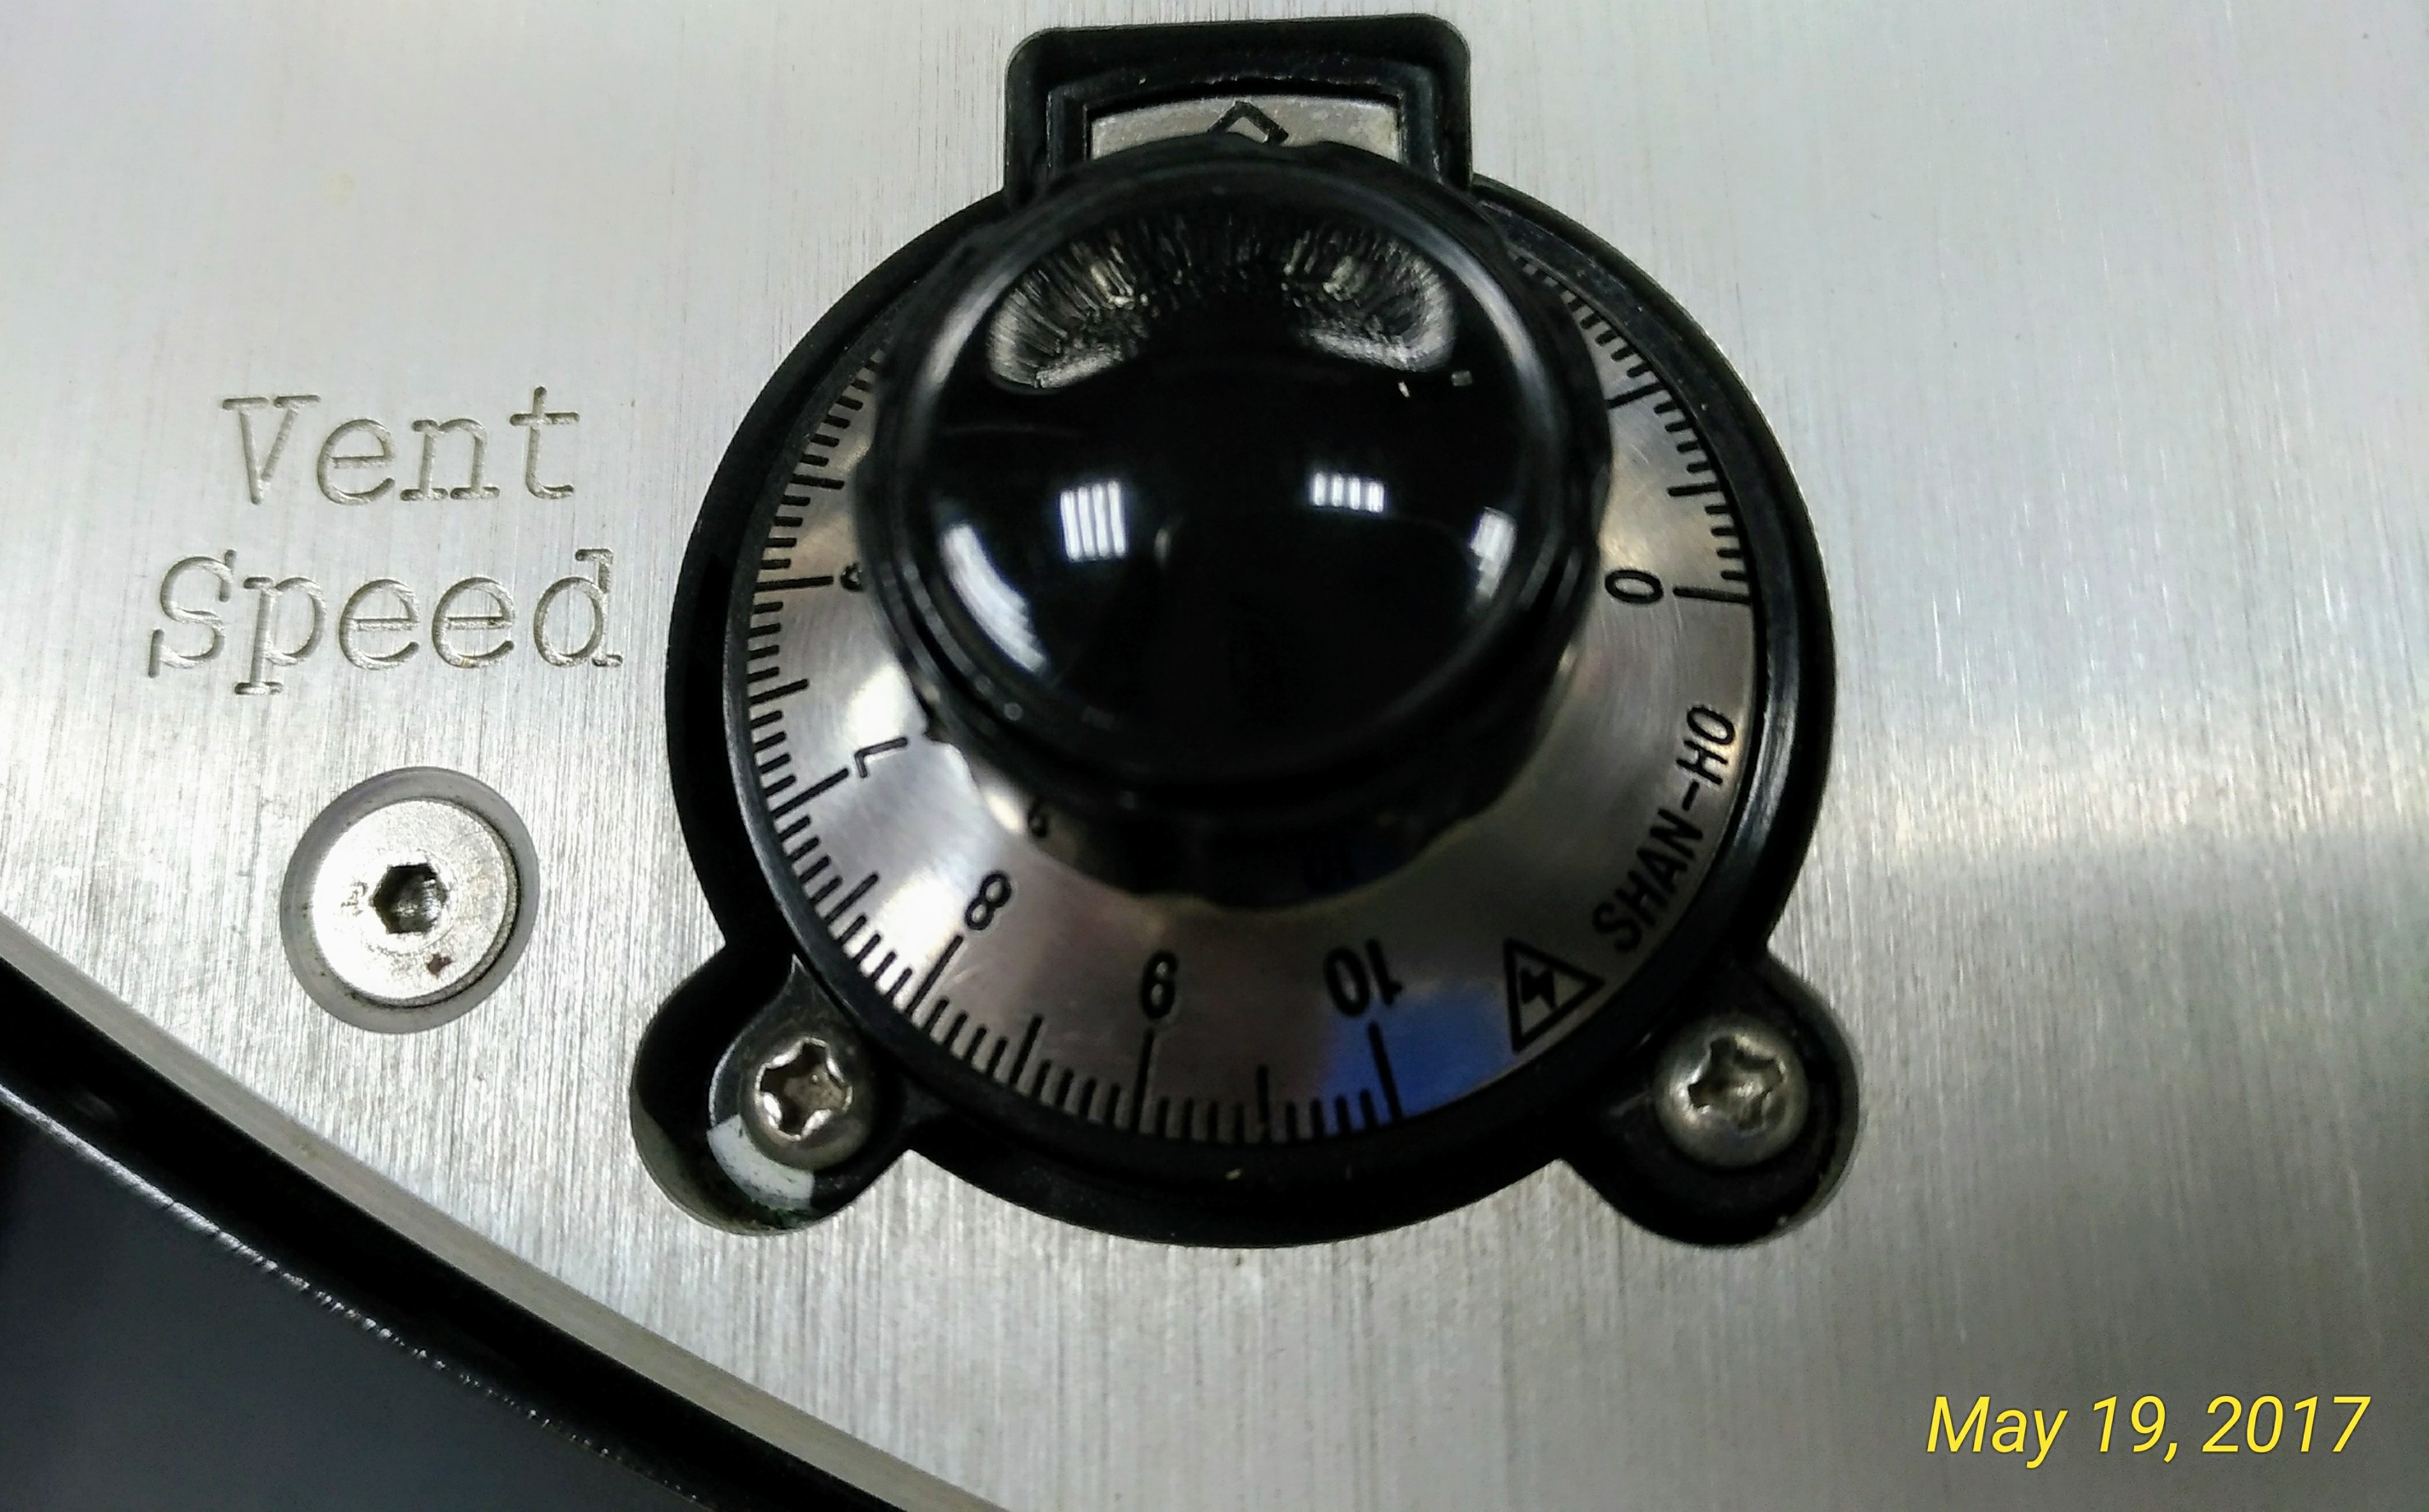
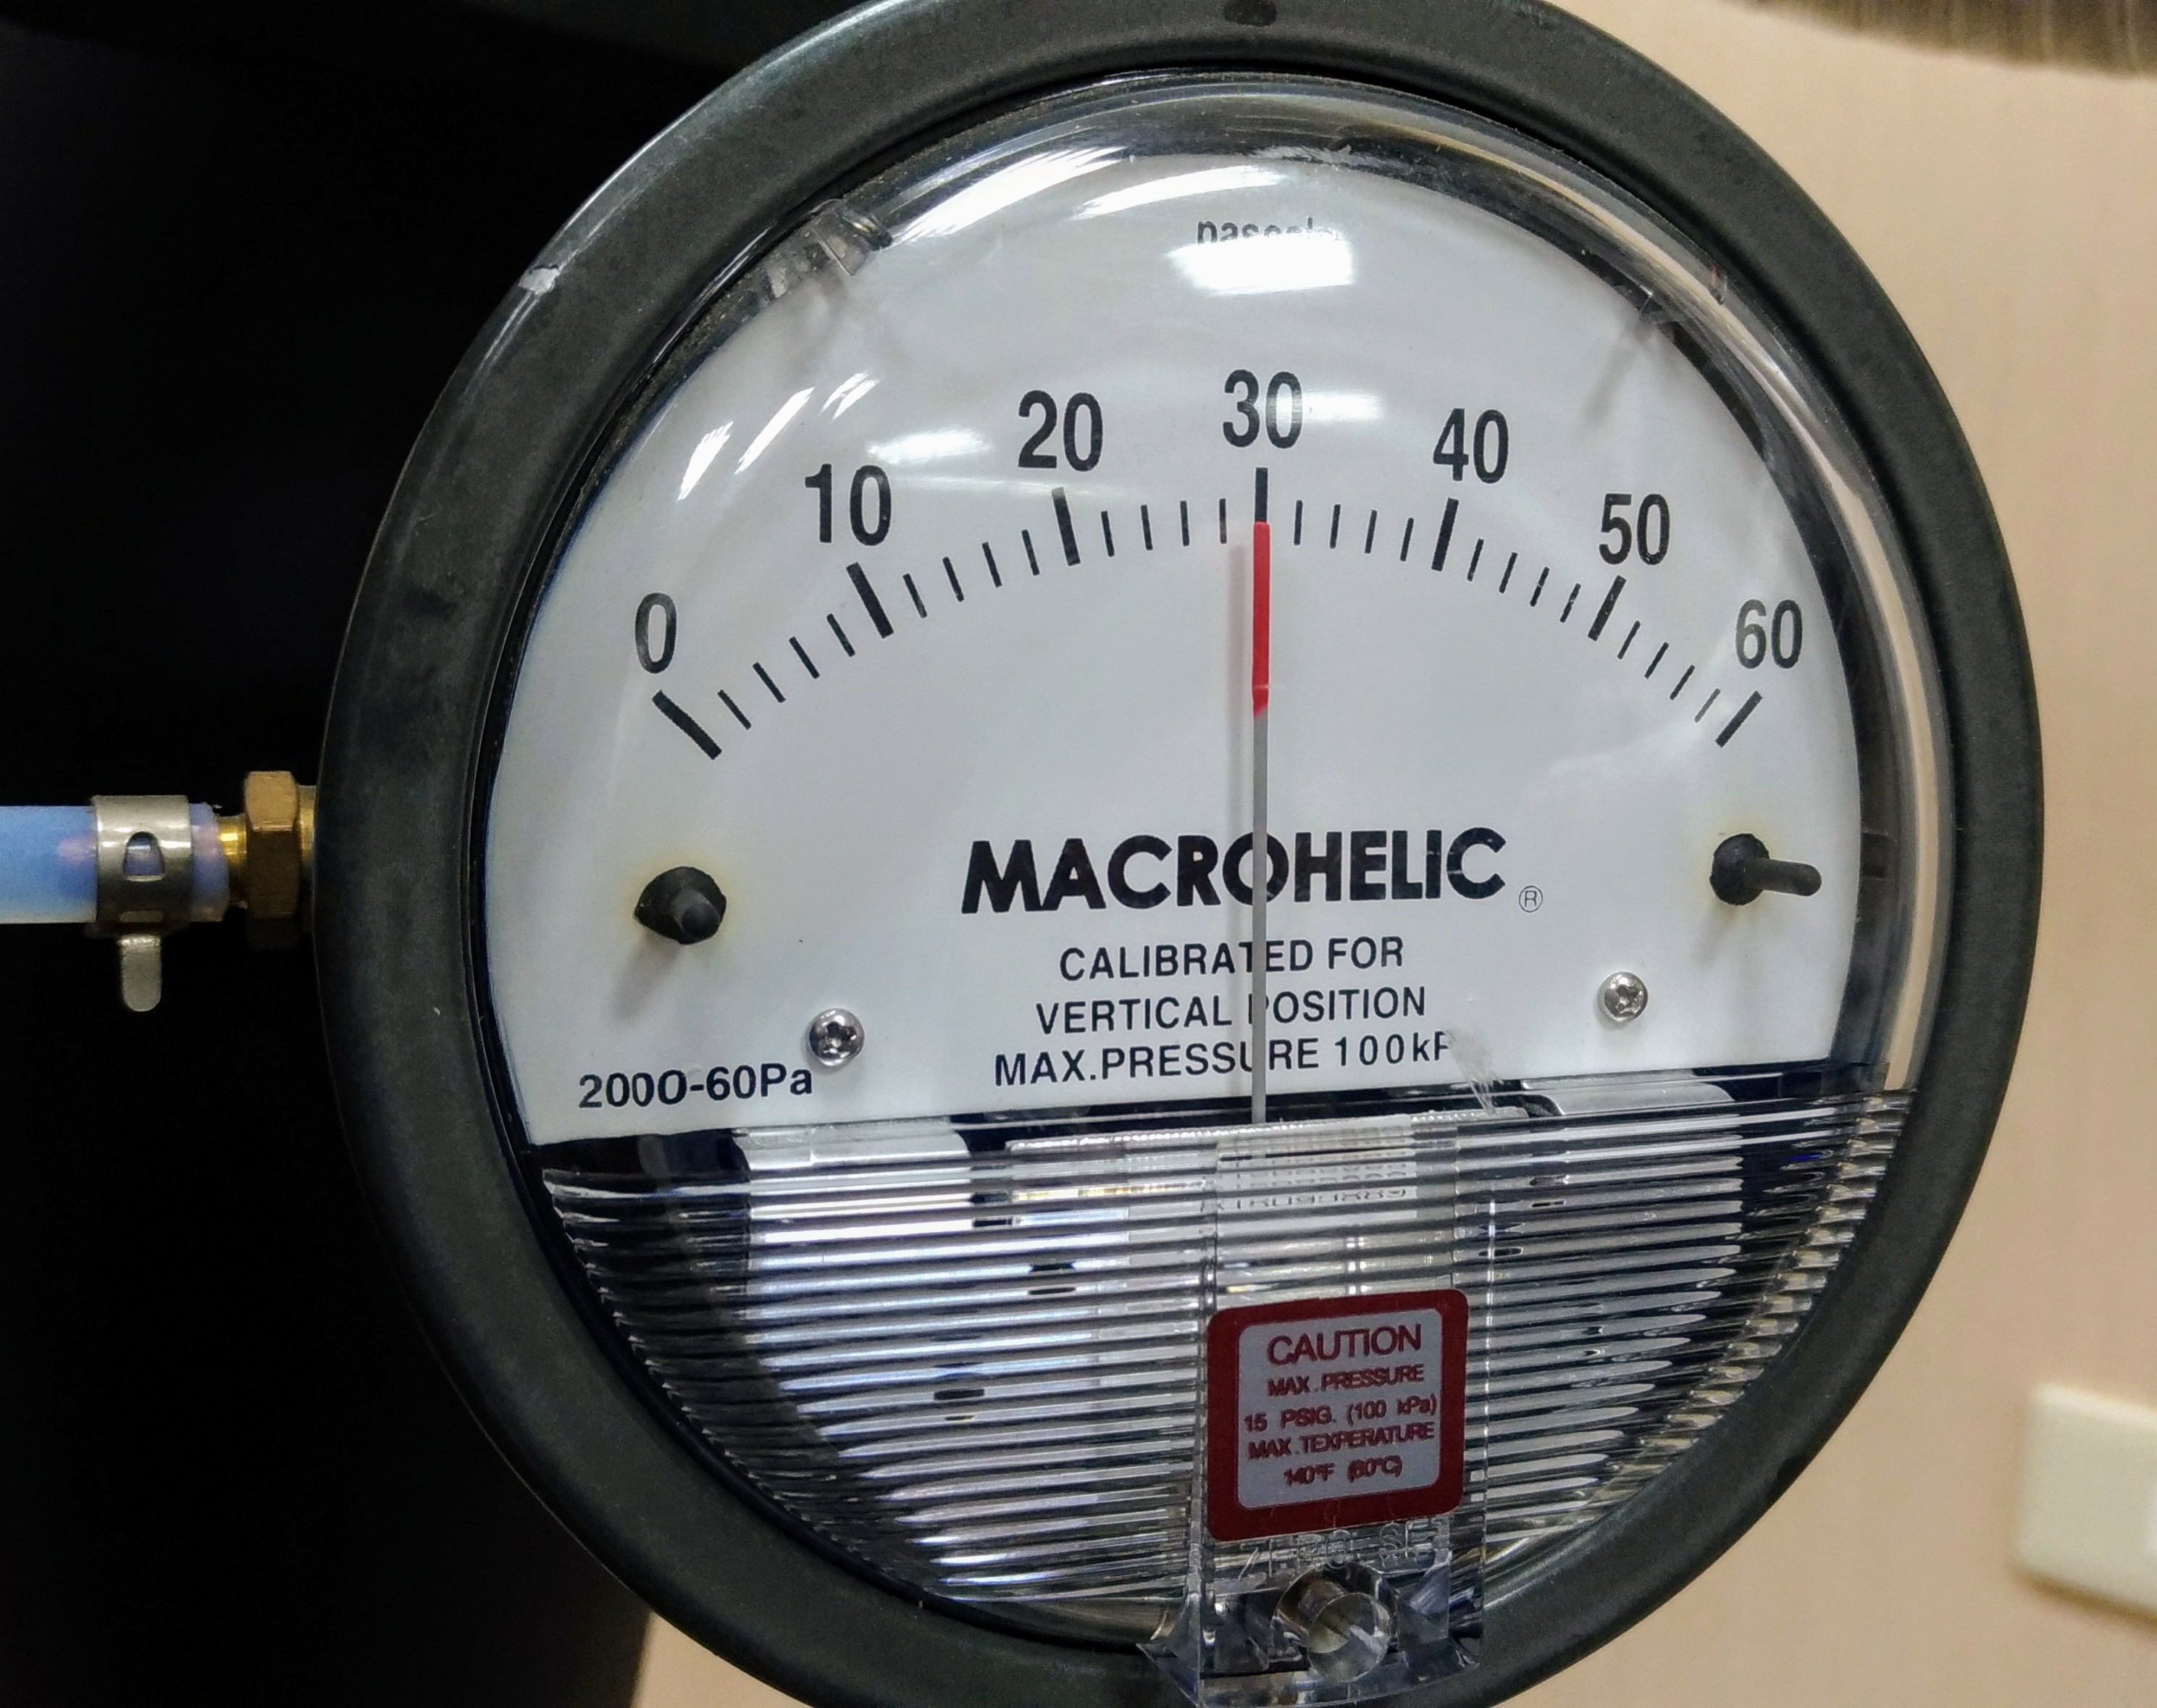
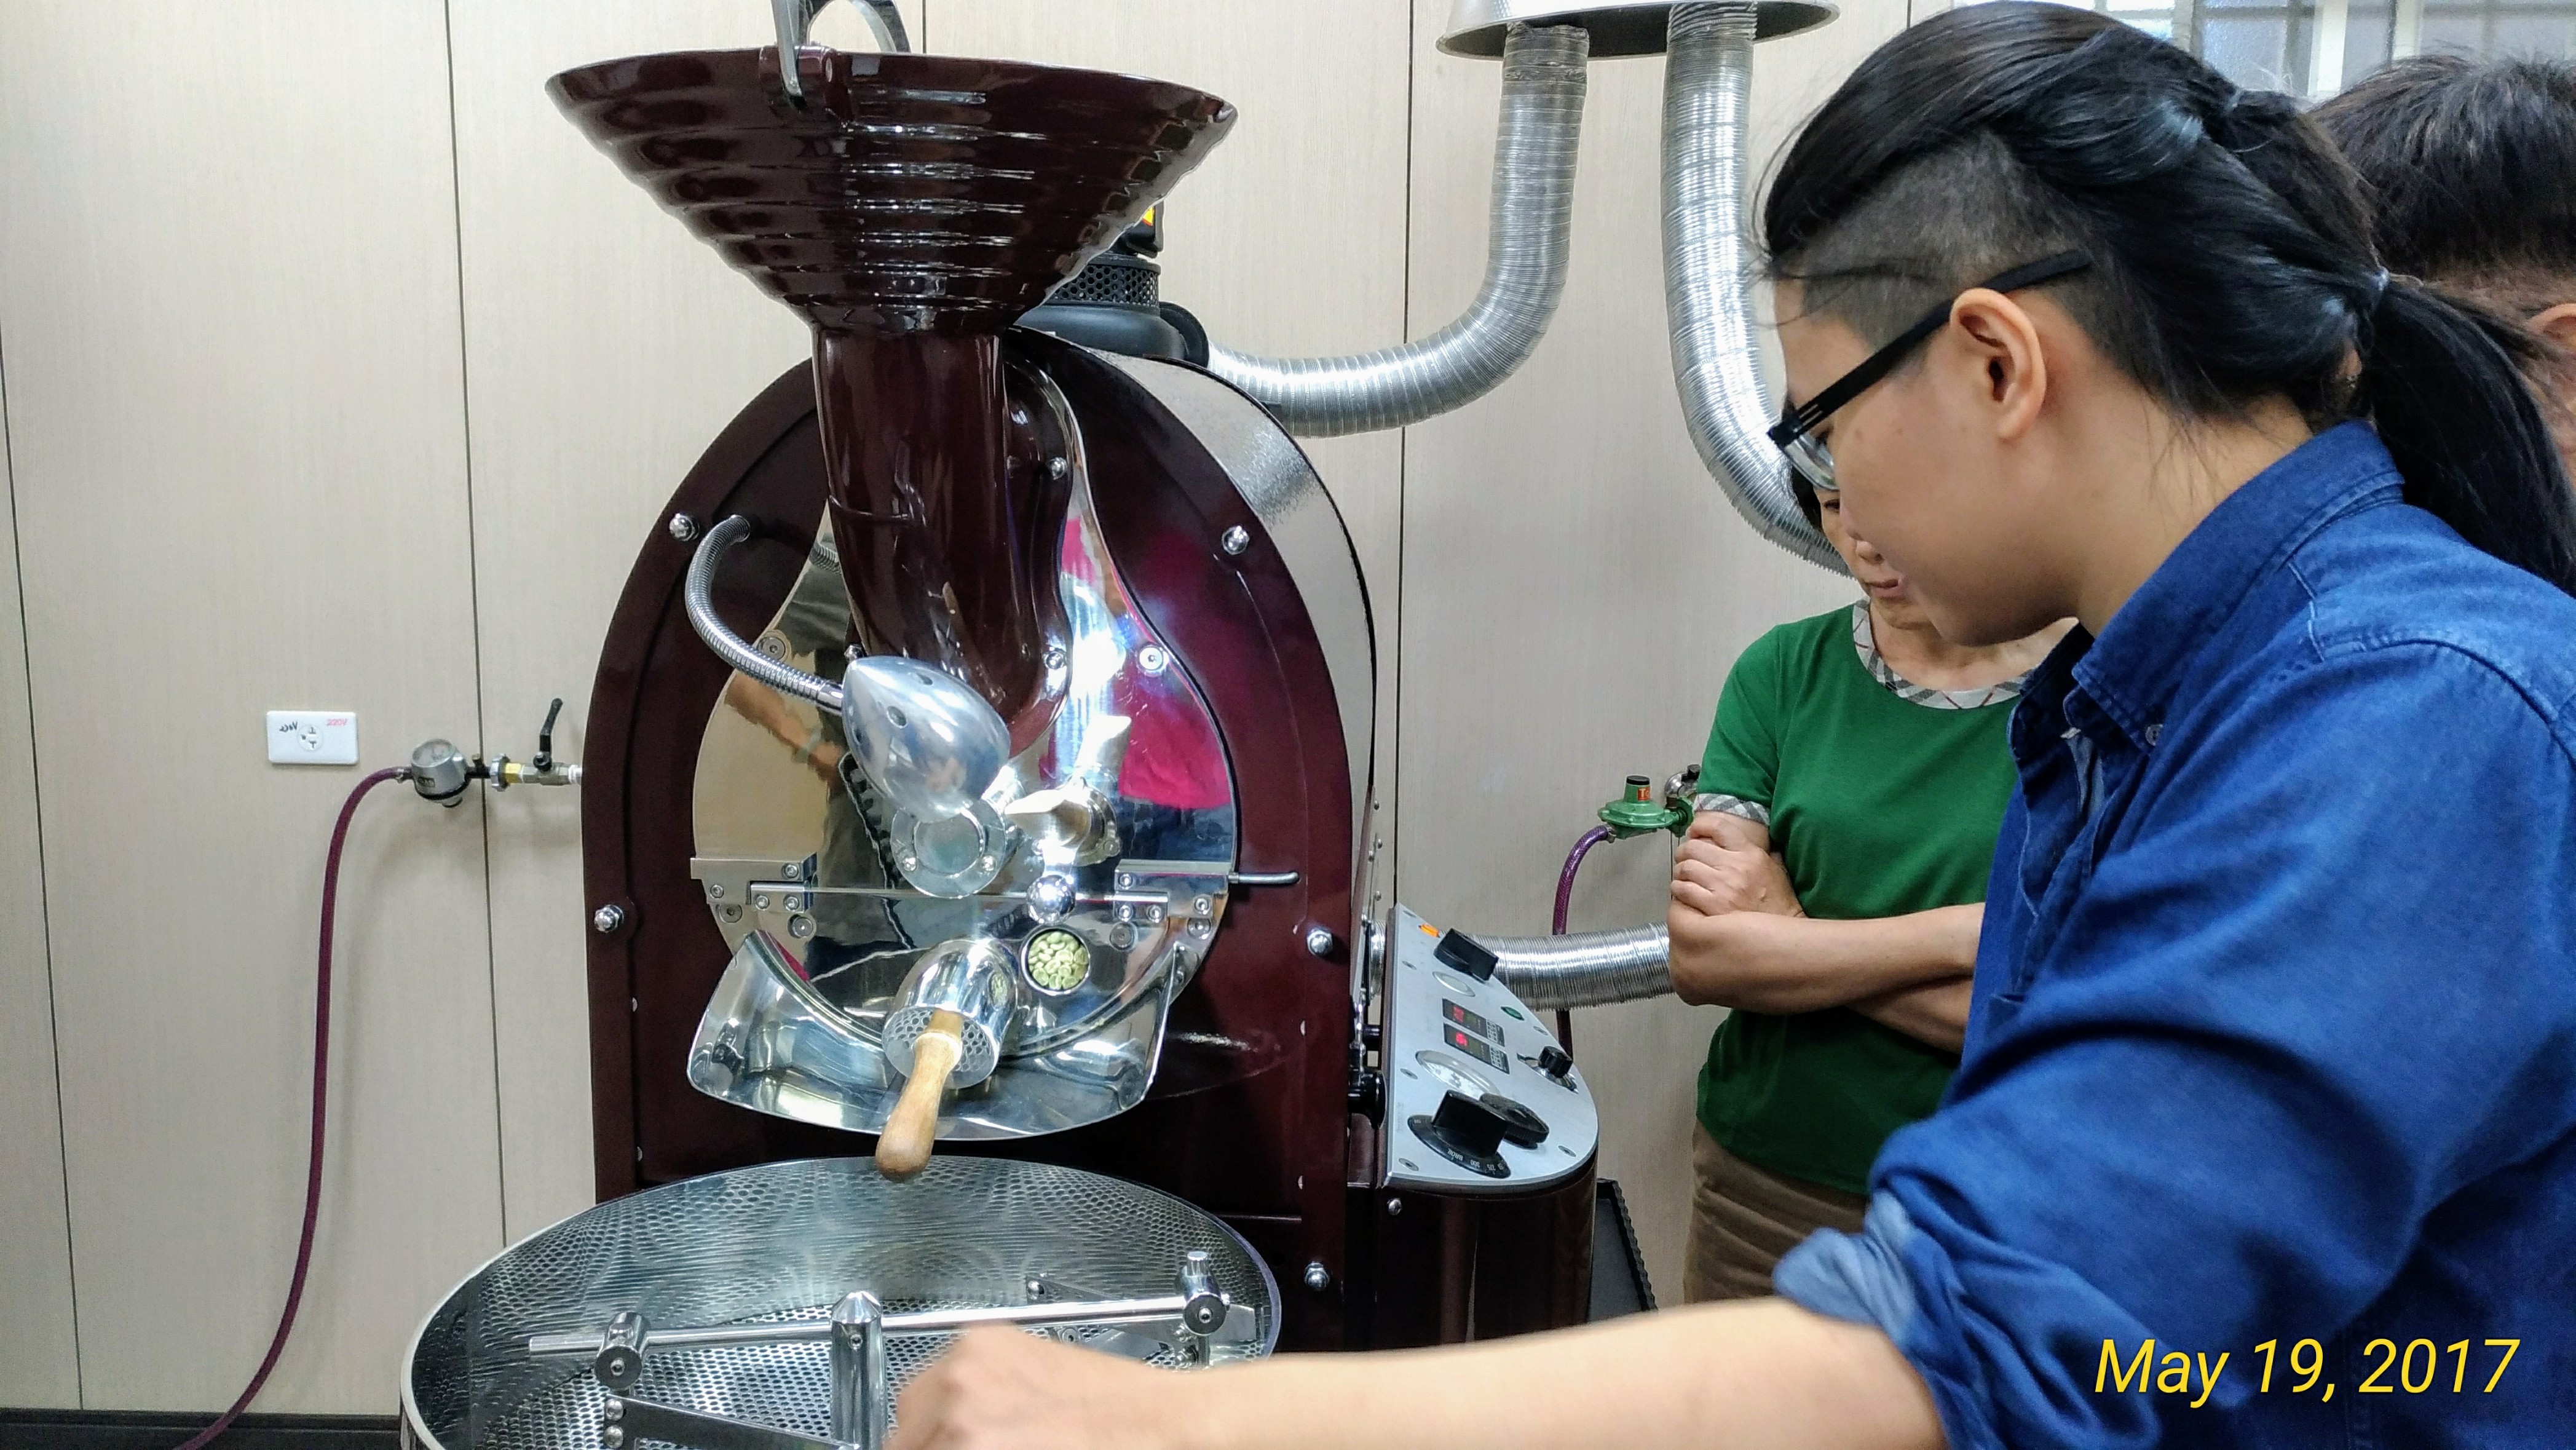
It’s been awhile since I played around with how the Variac voltage controller affected airflow using the Huky 500 exhaust fan. It was finally time for the final leg of this journey. The smaller 2000-00 series Dwyer Magnehelic gauge ended up pinning the needle, the next one up came from Ebay (2000-0 0-.50”water column).
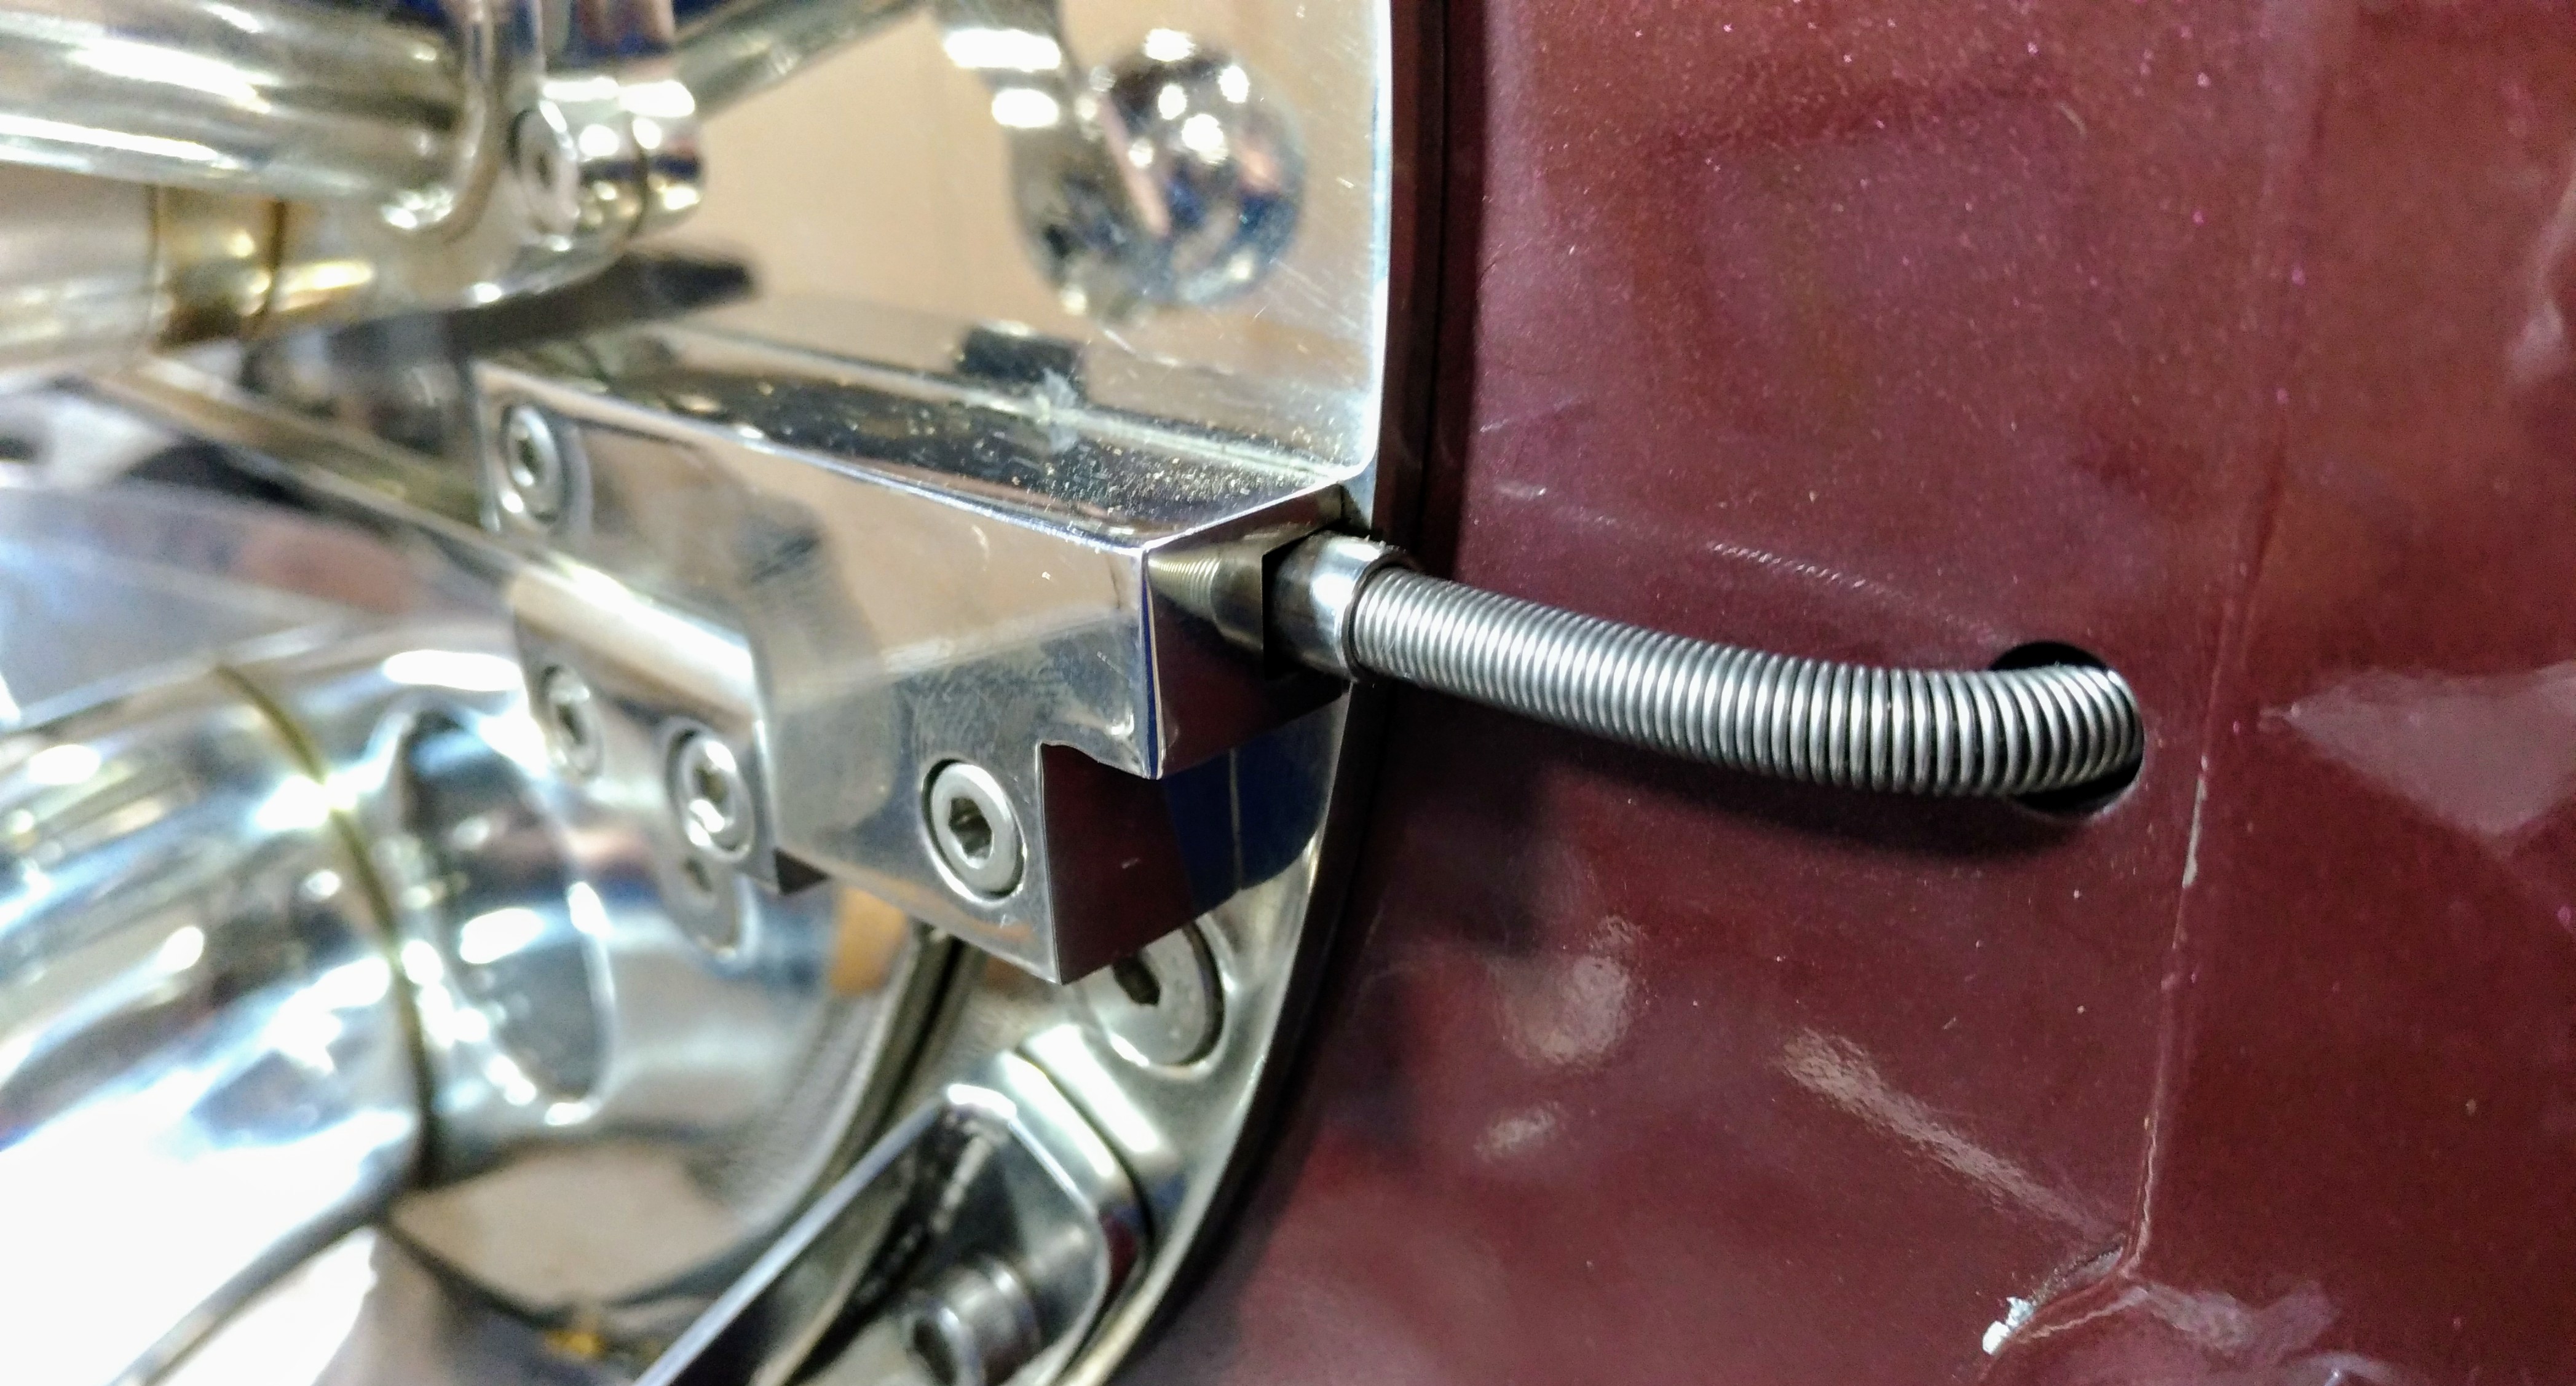
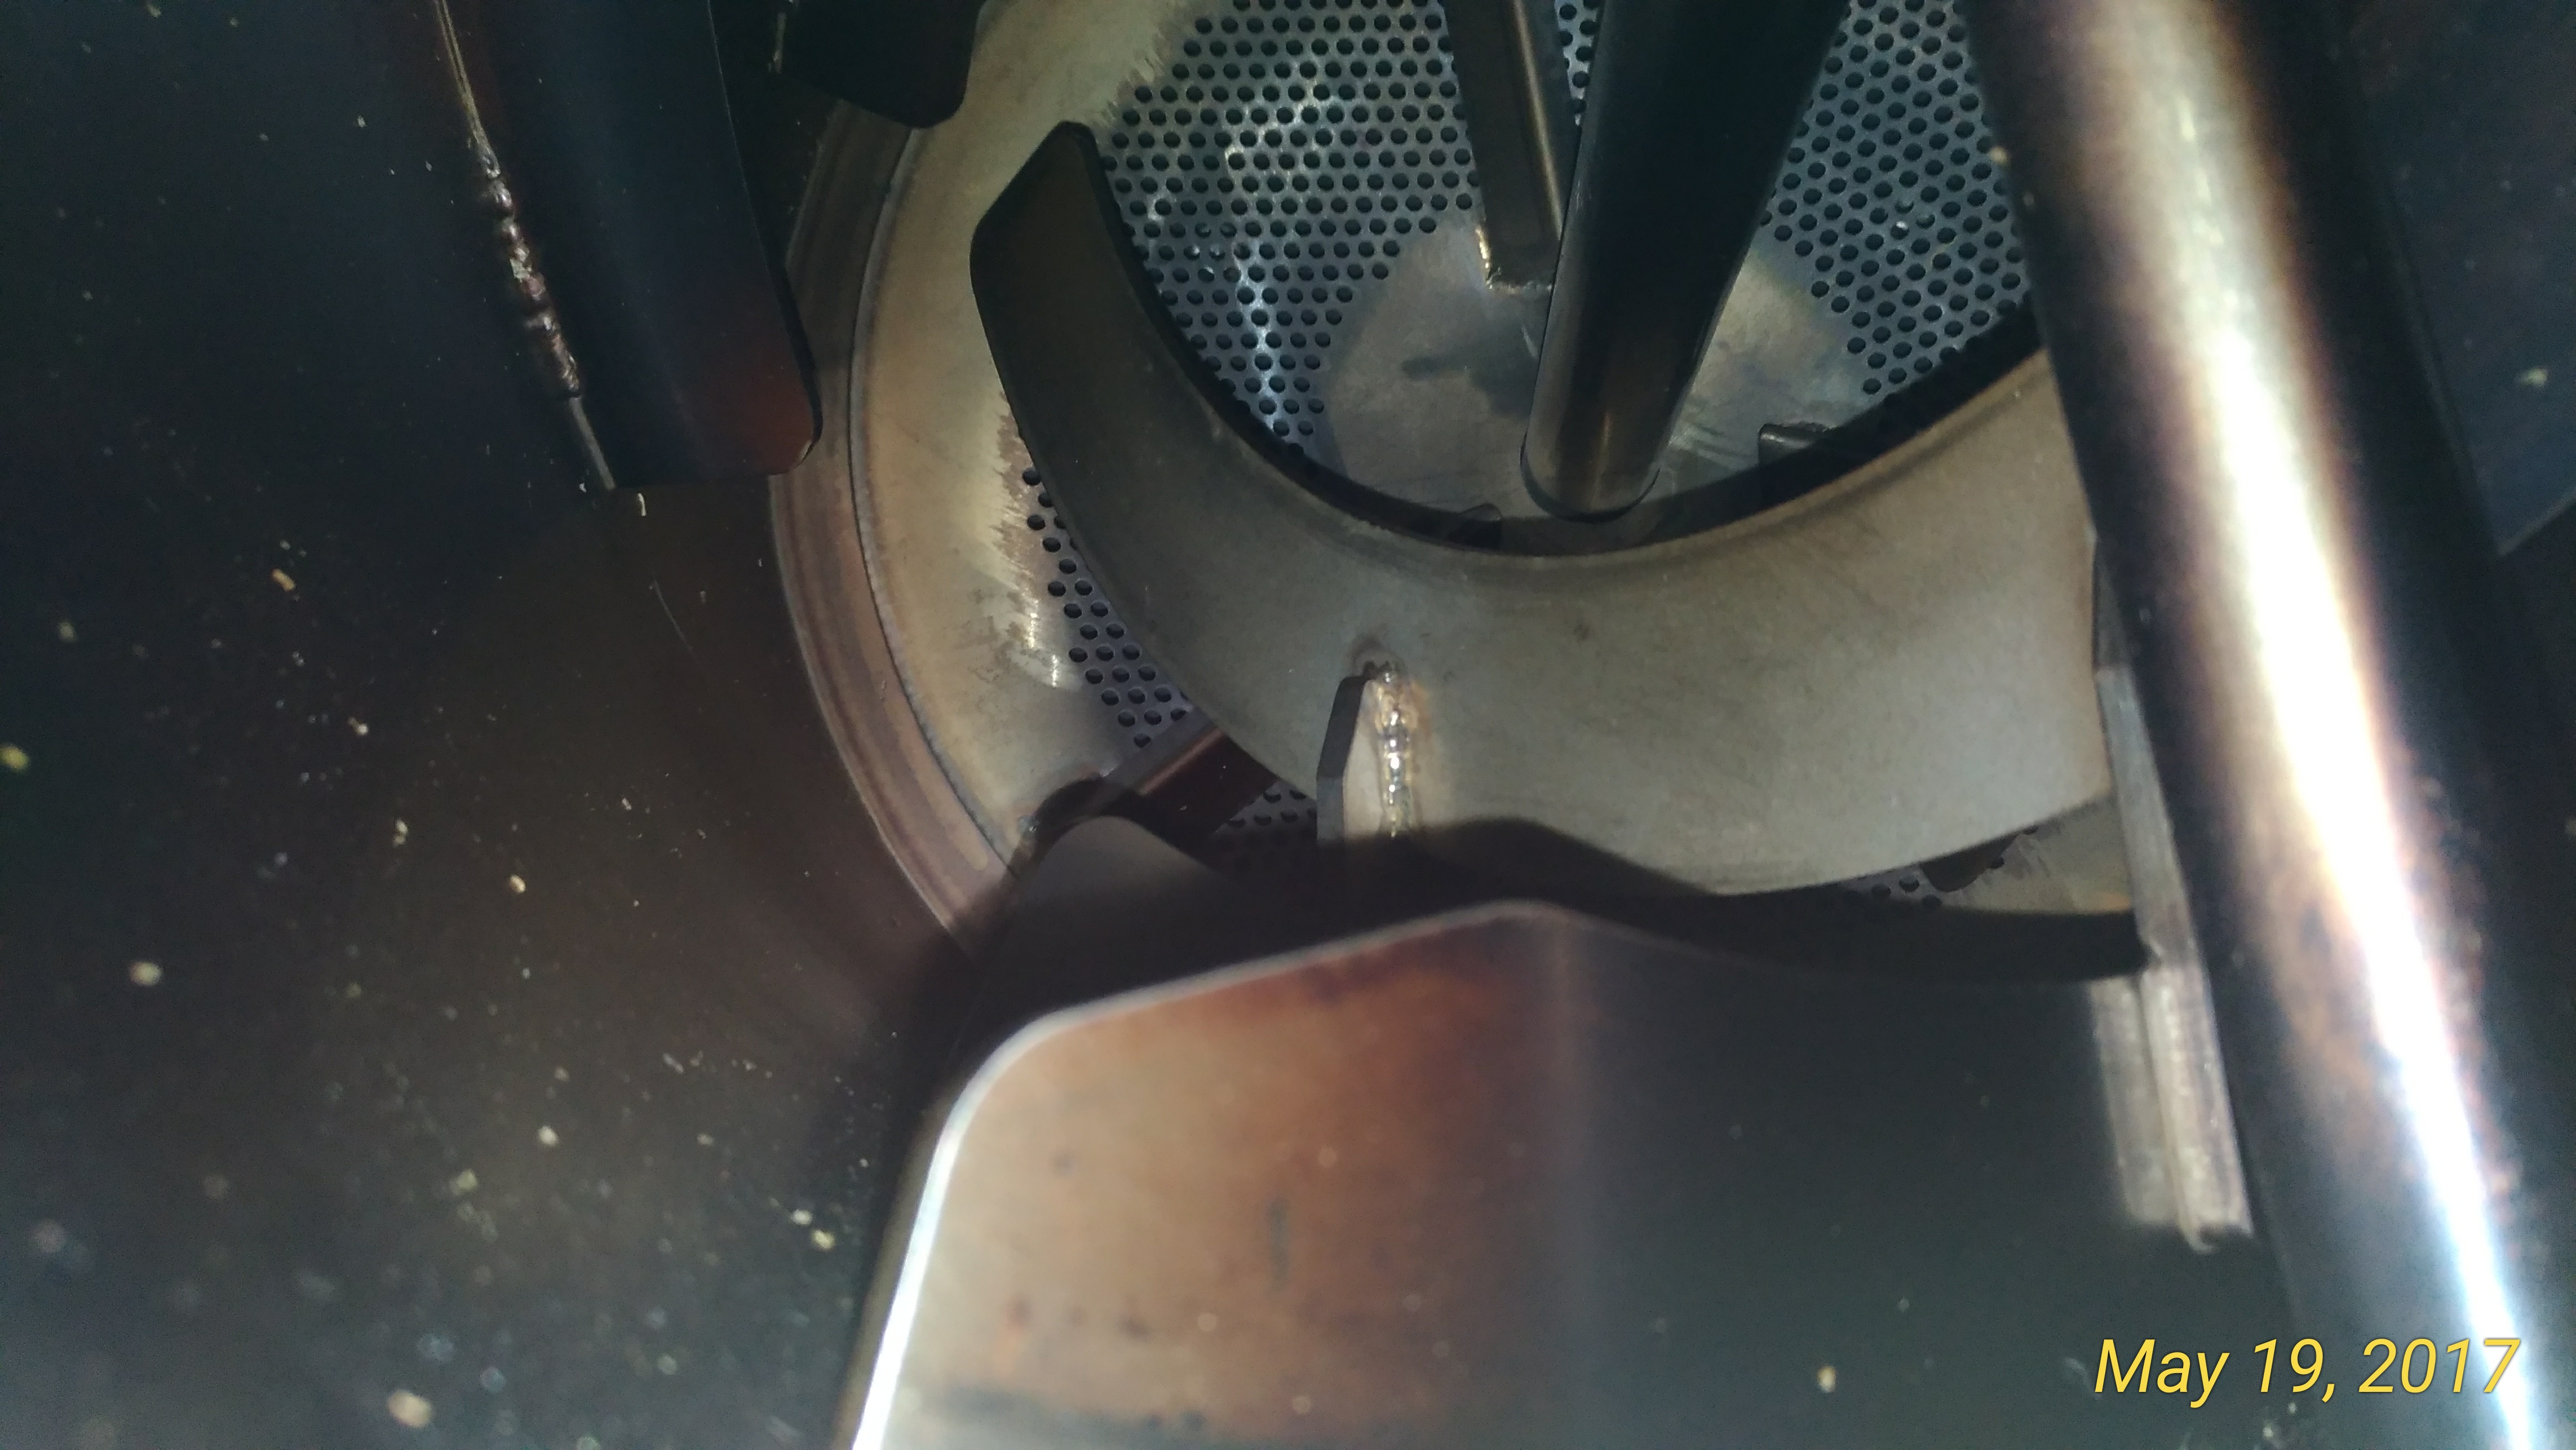
I found some black plastic plugs on Amazon to start with, and really intended to stop there. Except for scoring a used perforated Huky drum off Ebay, which required taking the roaster apart. Might as well try making the vacuum connection permanent 🙂
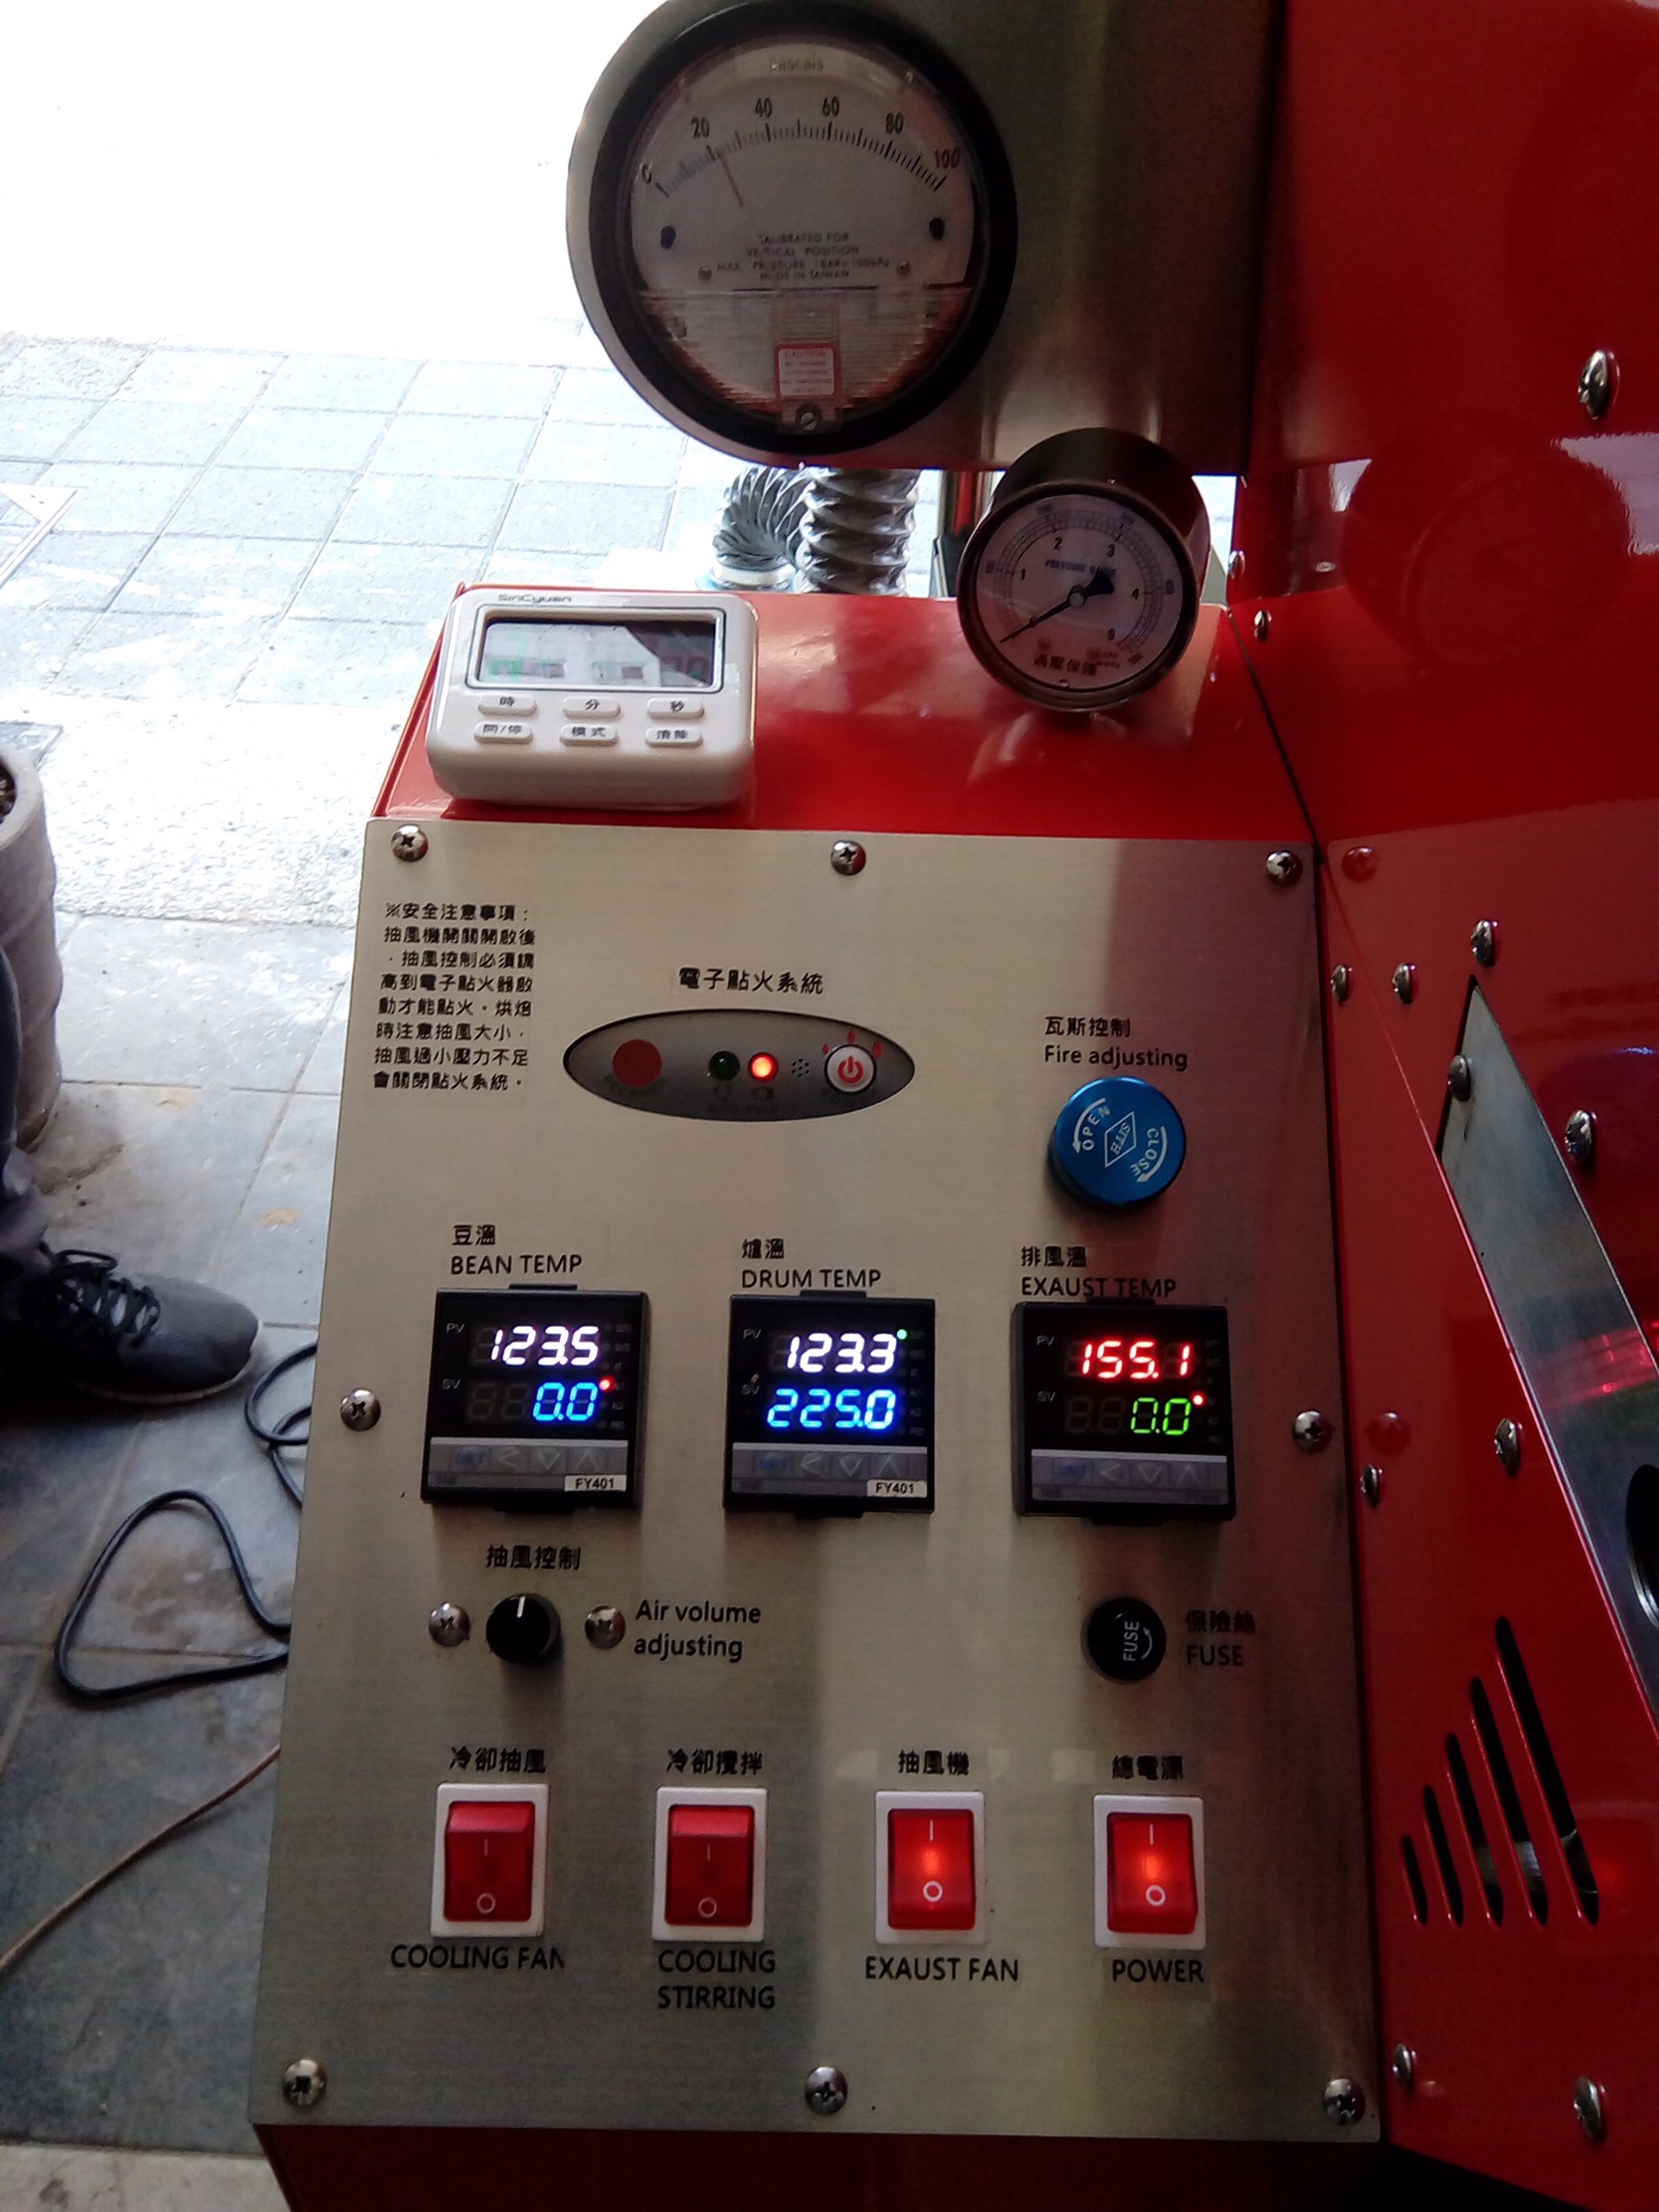
Using the above method was able to re-connect the J-Pipe running the silicon hose thru the drop door and to the Dwyer Magnehelic. On the below graph, it’s referenced as C-“WC or Capped inch water column.

This was pretty tricky to do, as the stainless is quite hard. I bought an inexpensive tap/drill set in the beginning, the drill kept skipping around; a small pilot hole solved that issue. It was done on a small tabletop drill press resting the neck on a block of wood. I struggled with the tap, only to find out it was not up to the task. The HSS 1/8” NPT version was able to cut the threads. Unfortunately the tap handle would only turn 90* before bumping into the flat plate; lots of flipping, reversing. Slow going but it ended up working.

Now I’m able to compare Anemometer and negative pressure readings using the Variac voltage regulator under different conditions. And a big plus from this experiment shows the Huky damper is quite capable of controlling air flow using a Magnehelic gauge.
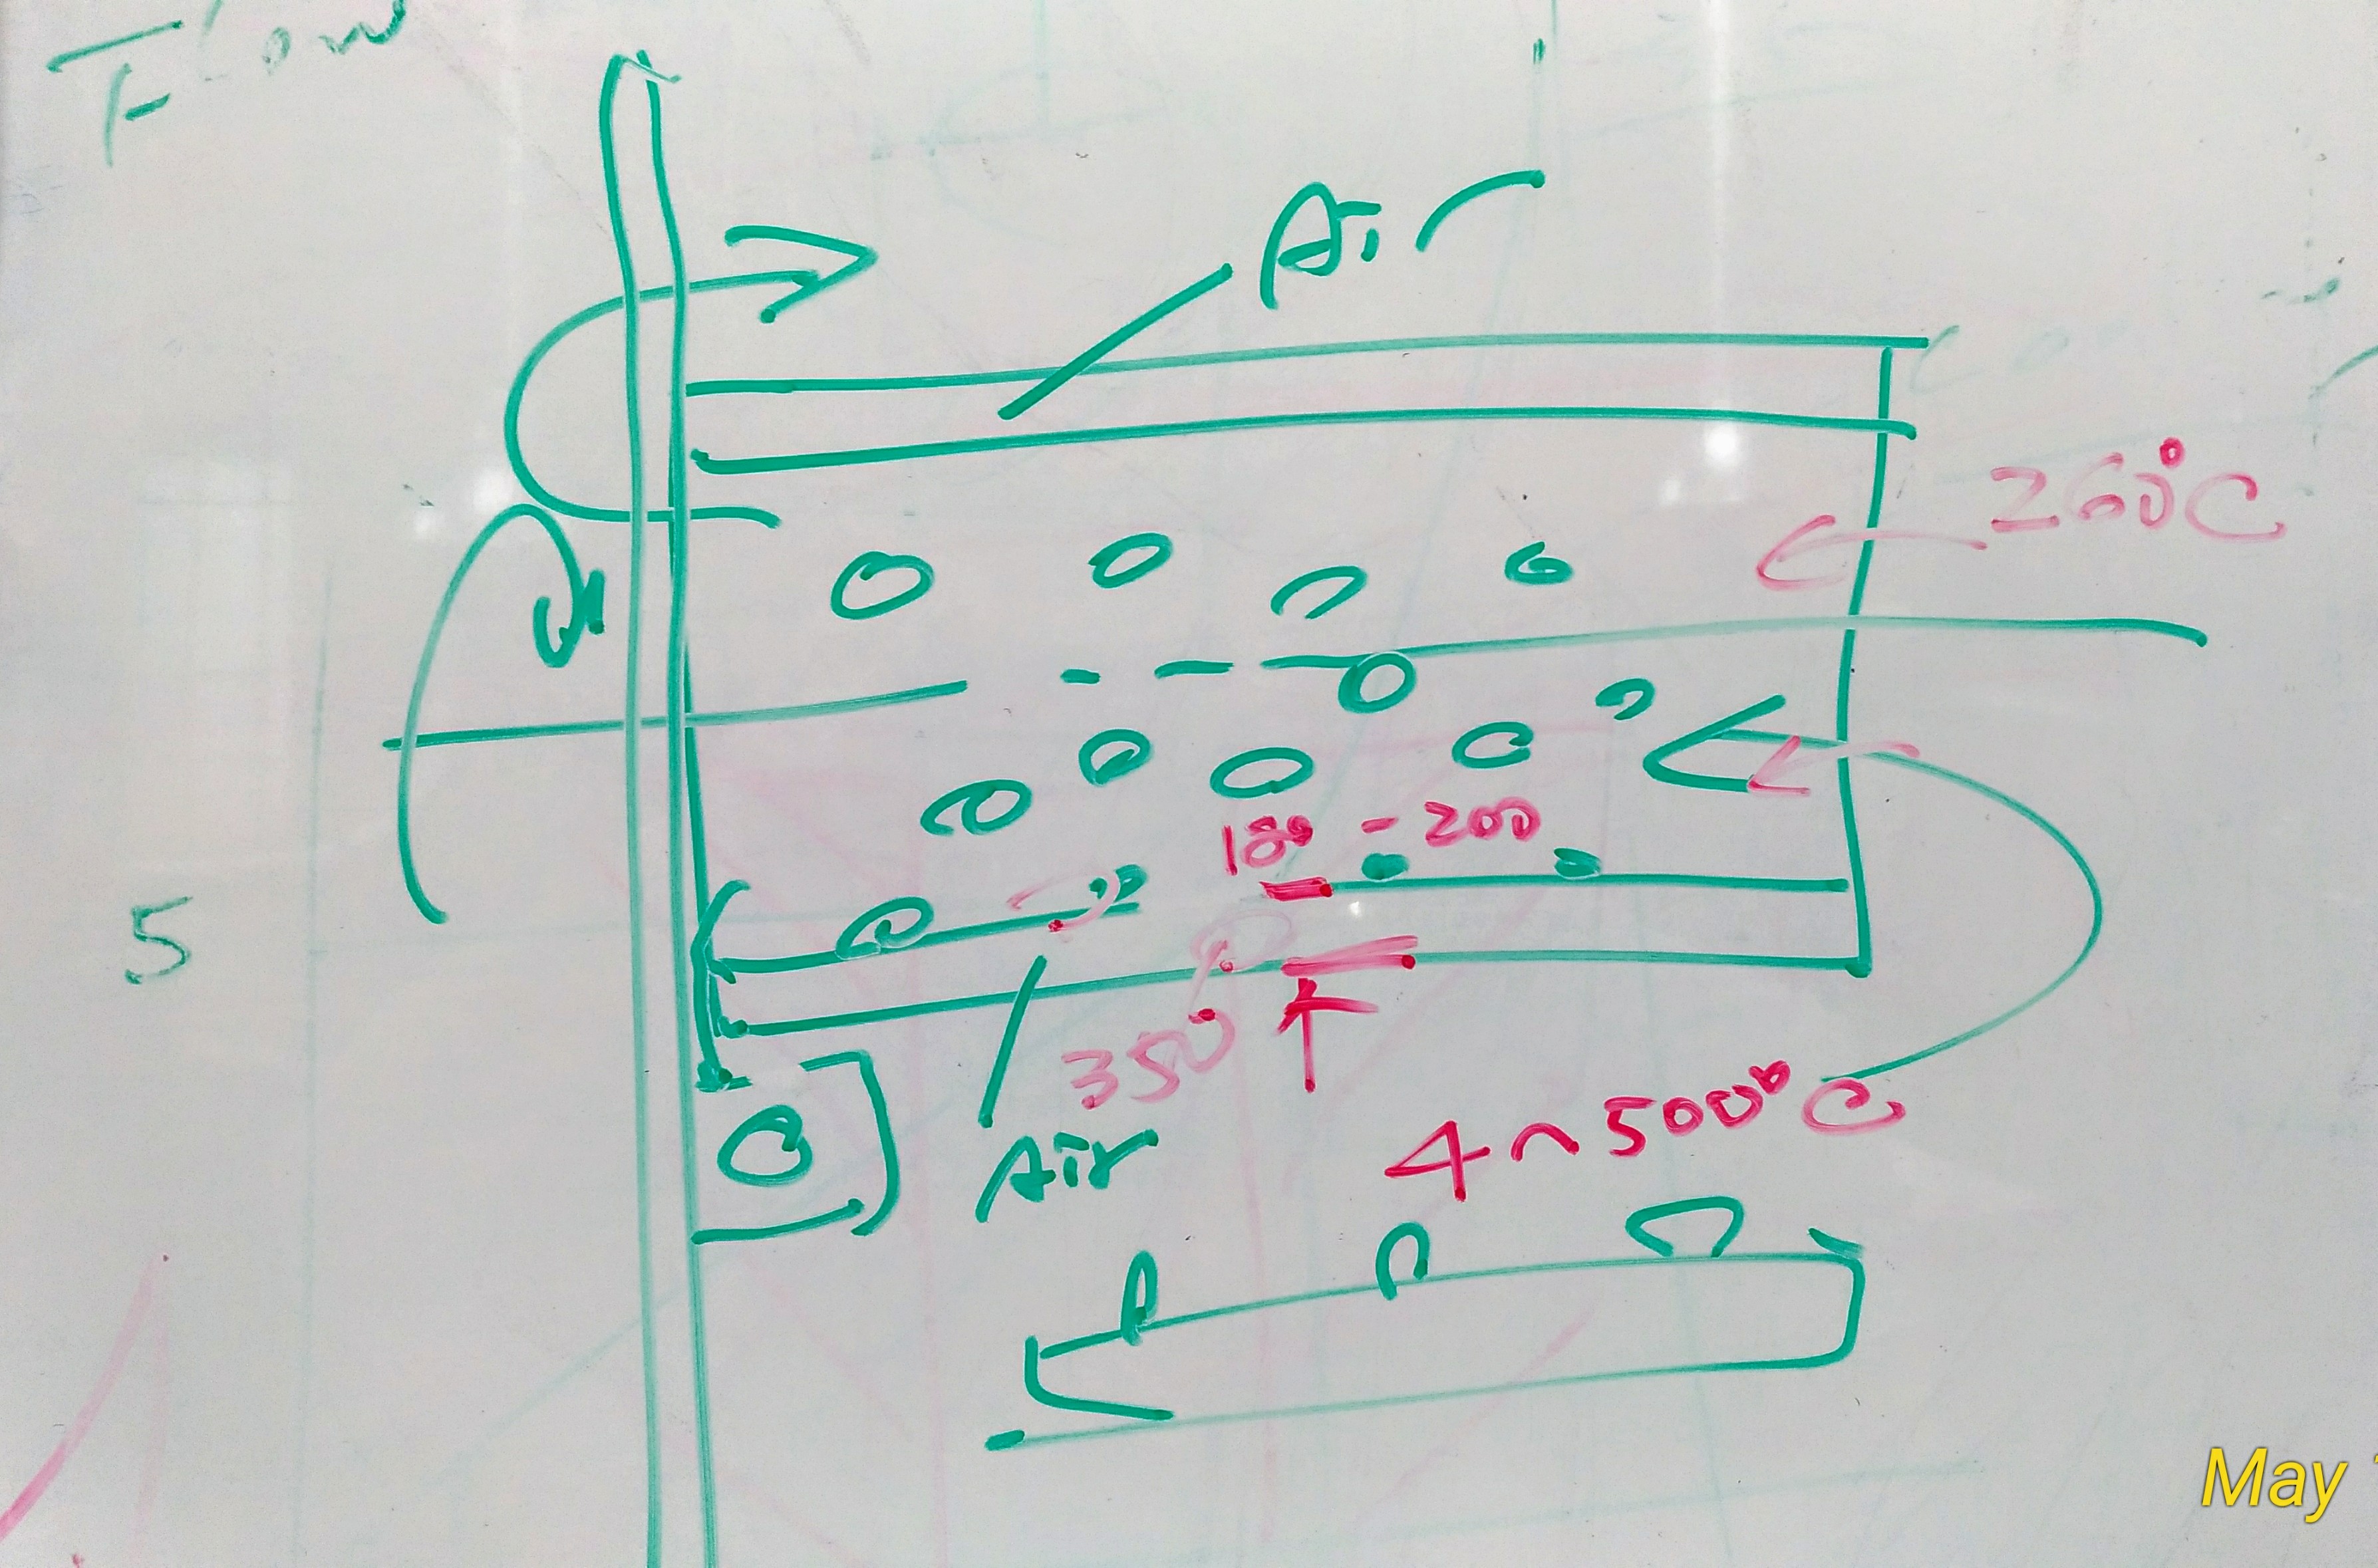
The headings are: Variac Volts, C-capped J-pipe, 2000-0 Magnehelic, 2000-00 Magnehelic, Anemometer M/S, repeat 2000-0 gauge, repeat 2000-00 gauge, w/335g roasted coffee. All done with the Huky running with an empty perforated drum.
| Volts | C-“WC | 0-“WC | 00-“WC | M/S | 0-“WC | 00-“WC | 335g | |||
| 120v | .45” | 17.2 | .42” | |||||||
| 95v | .50” | .40” | 16 | .37” | ||||||
| 90v | .48” | .38” | 15.6 | .35” | ||||||
| 80v | .44 | .36” | 14.2” | .33” | ||||||
| 75v | .40” | .30” | 13.8” | .31” | ||||||
| 70v | .37” | .27” | .24” | 12.6 | .28” | .23” | .35” | |||
| 65v | .32” | .24” | .21” | 12.2 | .25” | .21” | .32” | |||
| 60v | .27” | .19” | .19” | 10.6 | .22” | .18” | .28” | |||
| 55v | .24” | .16” | .16” | 9.6 | .19” | .15” | .23” | |||
| 50v | .17” | .12” | .12” | 8.5 | .16” | .12” | .16” | |||
| 45v | .14” | .10” | .10” | 7.5 | .12” | .09” | .10” | |||
| 40v | .10” | .06” | .07” | 6.5 | .09” | .07” | .08” | |||
| 35v | .07” | .04” | .04” | 4.8 | .06” | .05” | .06” | |||
| 30v | .05” | .03” | .03” | 3.7 | .04” | .03” | .04” | |||
| 25v | .03” | .01” | .02” | 2.5 | .03” | .02” | .02” | |||
| 20v | .02” | 0 | .01” | 1.0 | .01” | .01” | .01” |
There was another test done using 335g of roasted coffee starting with 70v and tapering down. The results were similar the the “pipe plug” capped test. It’s possible the vacuum readings might change again while roasting green coffee with the burner running.
How does all this work, one might ask?
The Dwyer 2000-0 has some oscillation, it being a used unit not sure if the issue is with the gauge or the fan. Dwyer 2000-00 has a smoother swing, again it is used as well. On the test with roasted beans in the drum 70v topped off at .35” wc, above the .25” maximum on Dwyer’s 2000-00. Being this testing is brand new, I’ll have to start using the Magnehelic during an actual roast to see how the airflow affects the gauges range.
Changing the voltage on the variac causes a slight rpm delay with the Huky’s centrifugal fan. I don’t see this as an issue, however the damper works faster making quick air flow changes using the Magnehelic as a guide. This brings up some interesting questions, how does roasting on the Huky compare between damper/Magnehelic vs Variac/Magnehelic? Variac has plenty of advantages; noise and ease of adjustments are a few.
Feima 100n Introduction Video
Feima 100n 100g Test Roast Using Stock Thermometer
Feima 100n 170g Test Roast Using Stock Thermometer
Feima 100n 225g Test Roast Using Stock Thermometer
Feima 100n Datalog Test Roast
Feima 100n 50g Test Roast Using Stock Thermometer
Feima 100n 50g Datalog Test Roast
Feima 100n 50g Datalog Test Roast
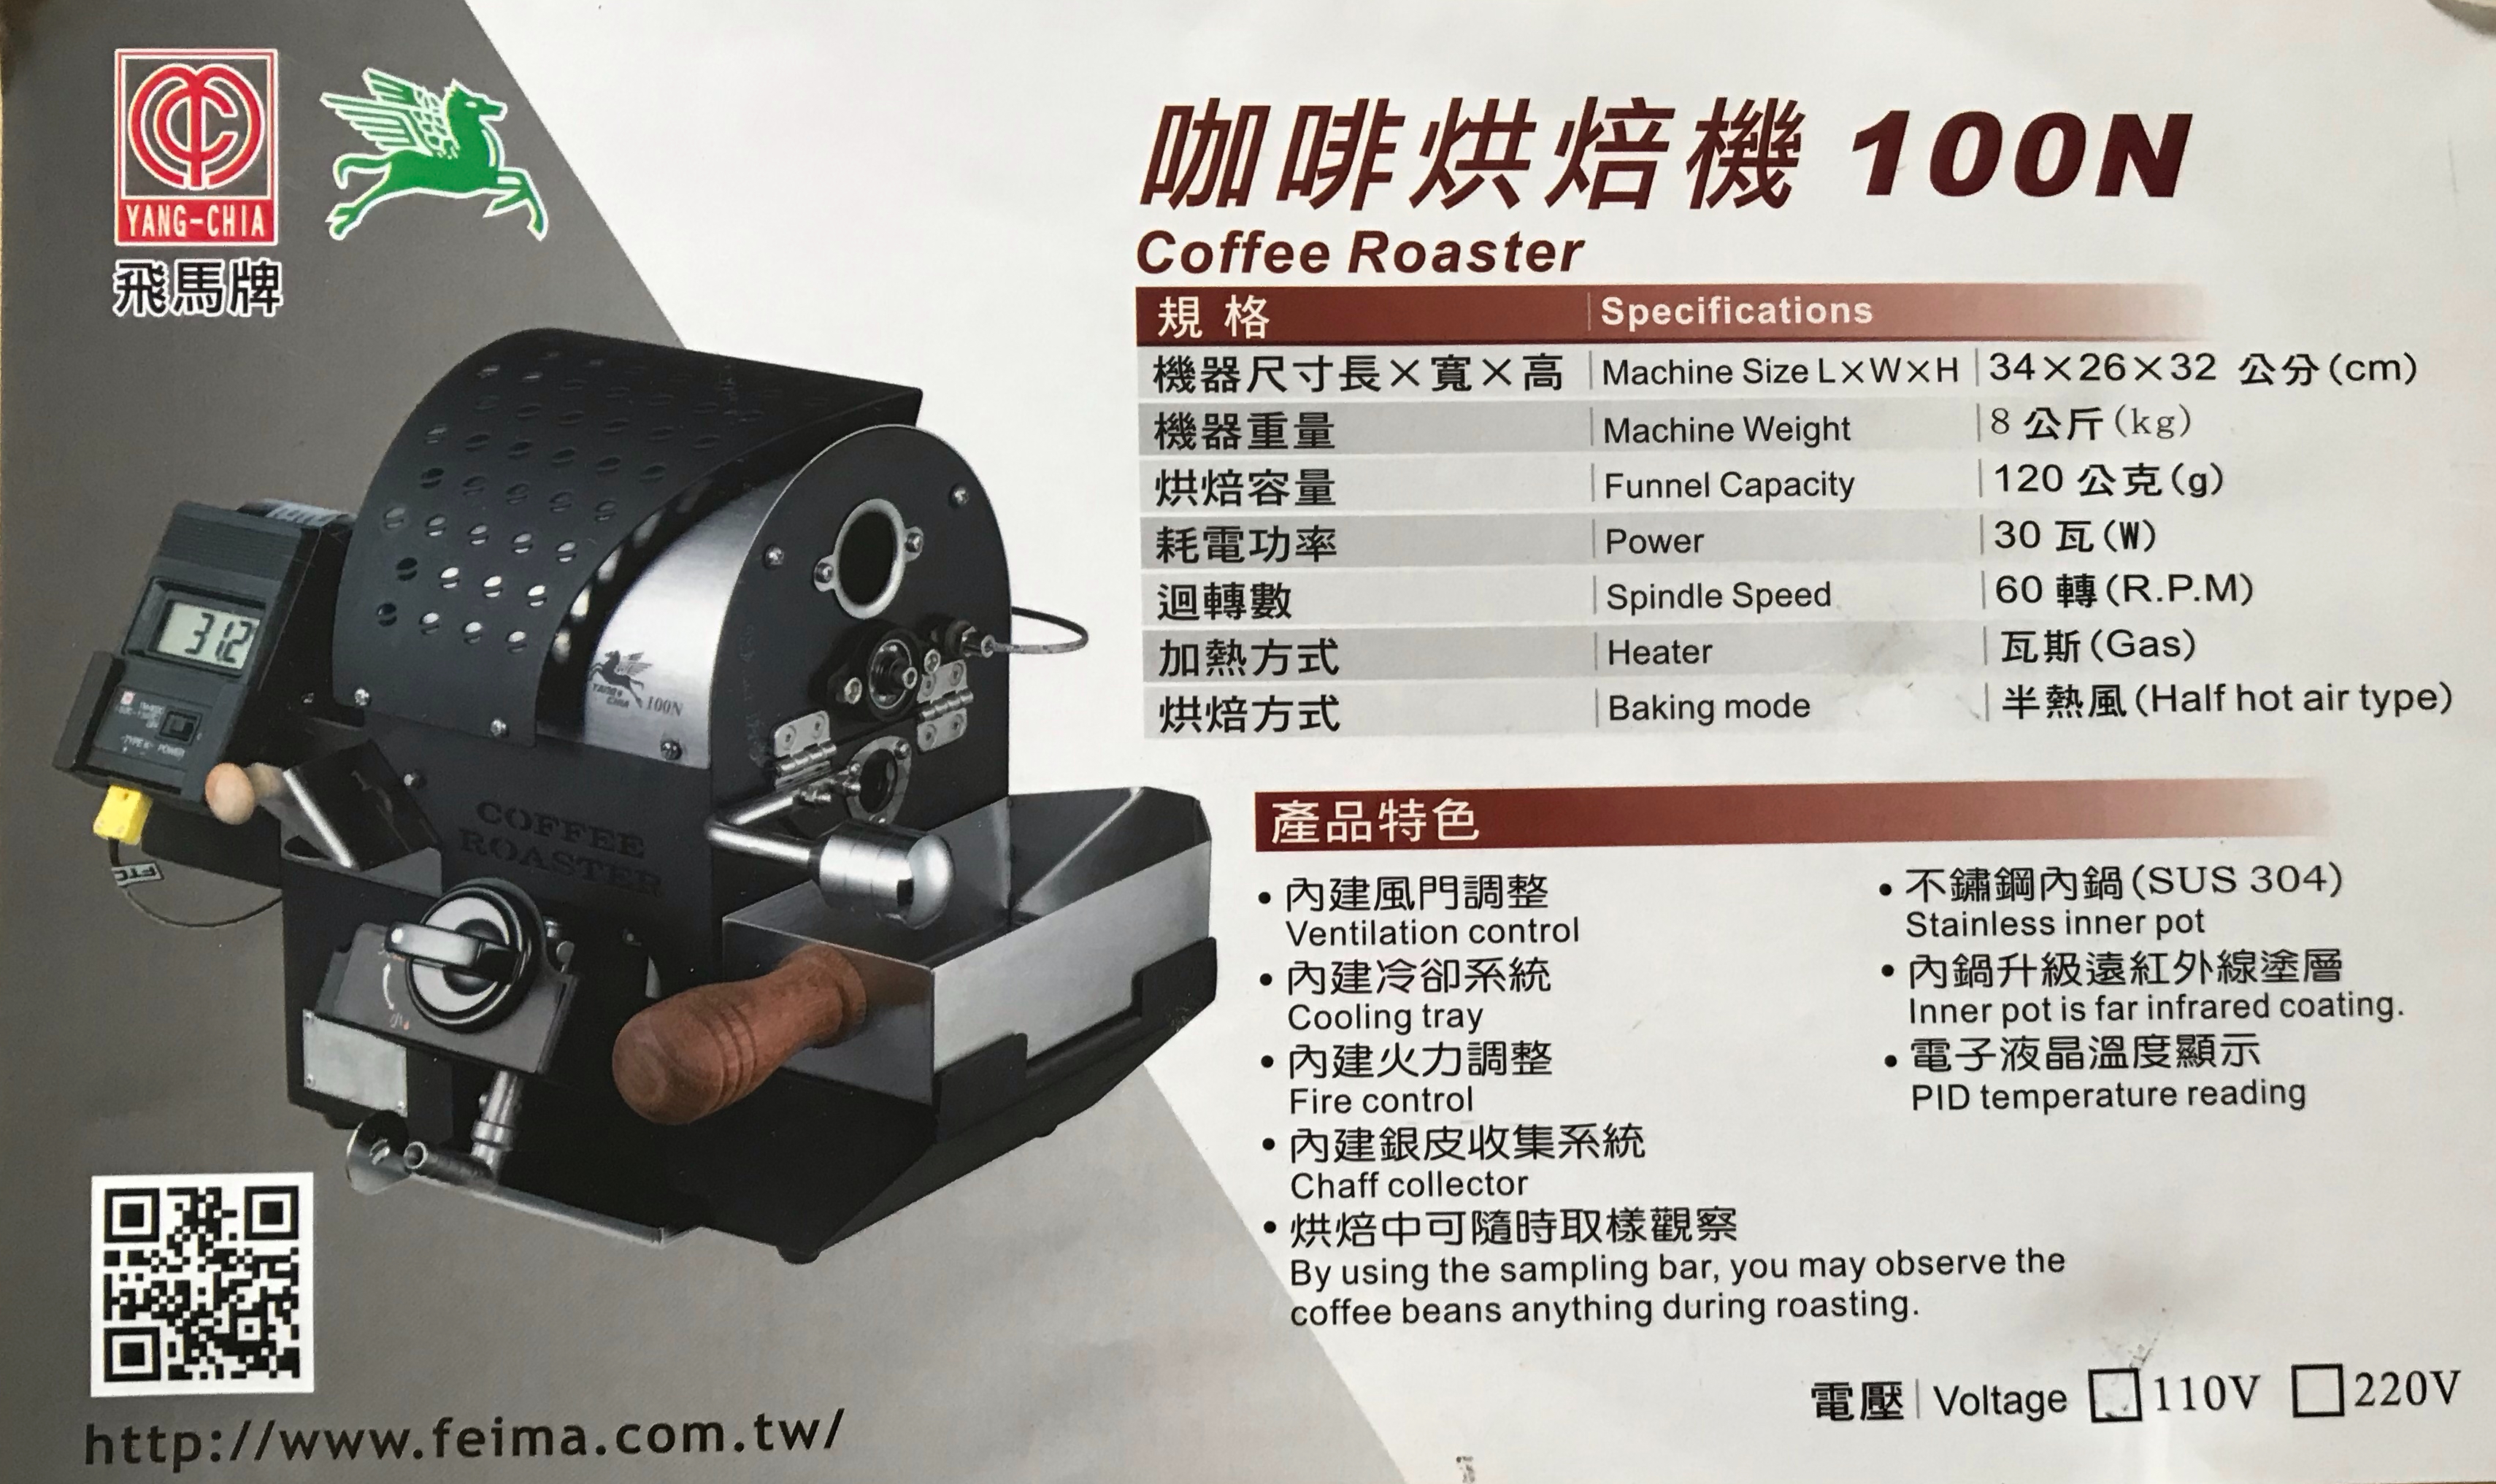
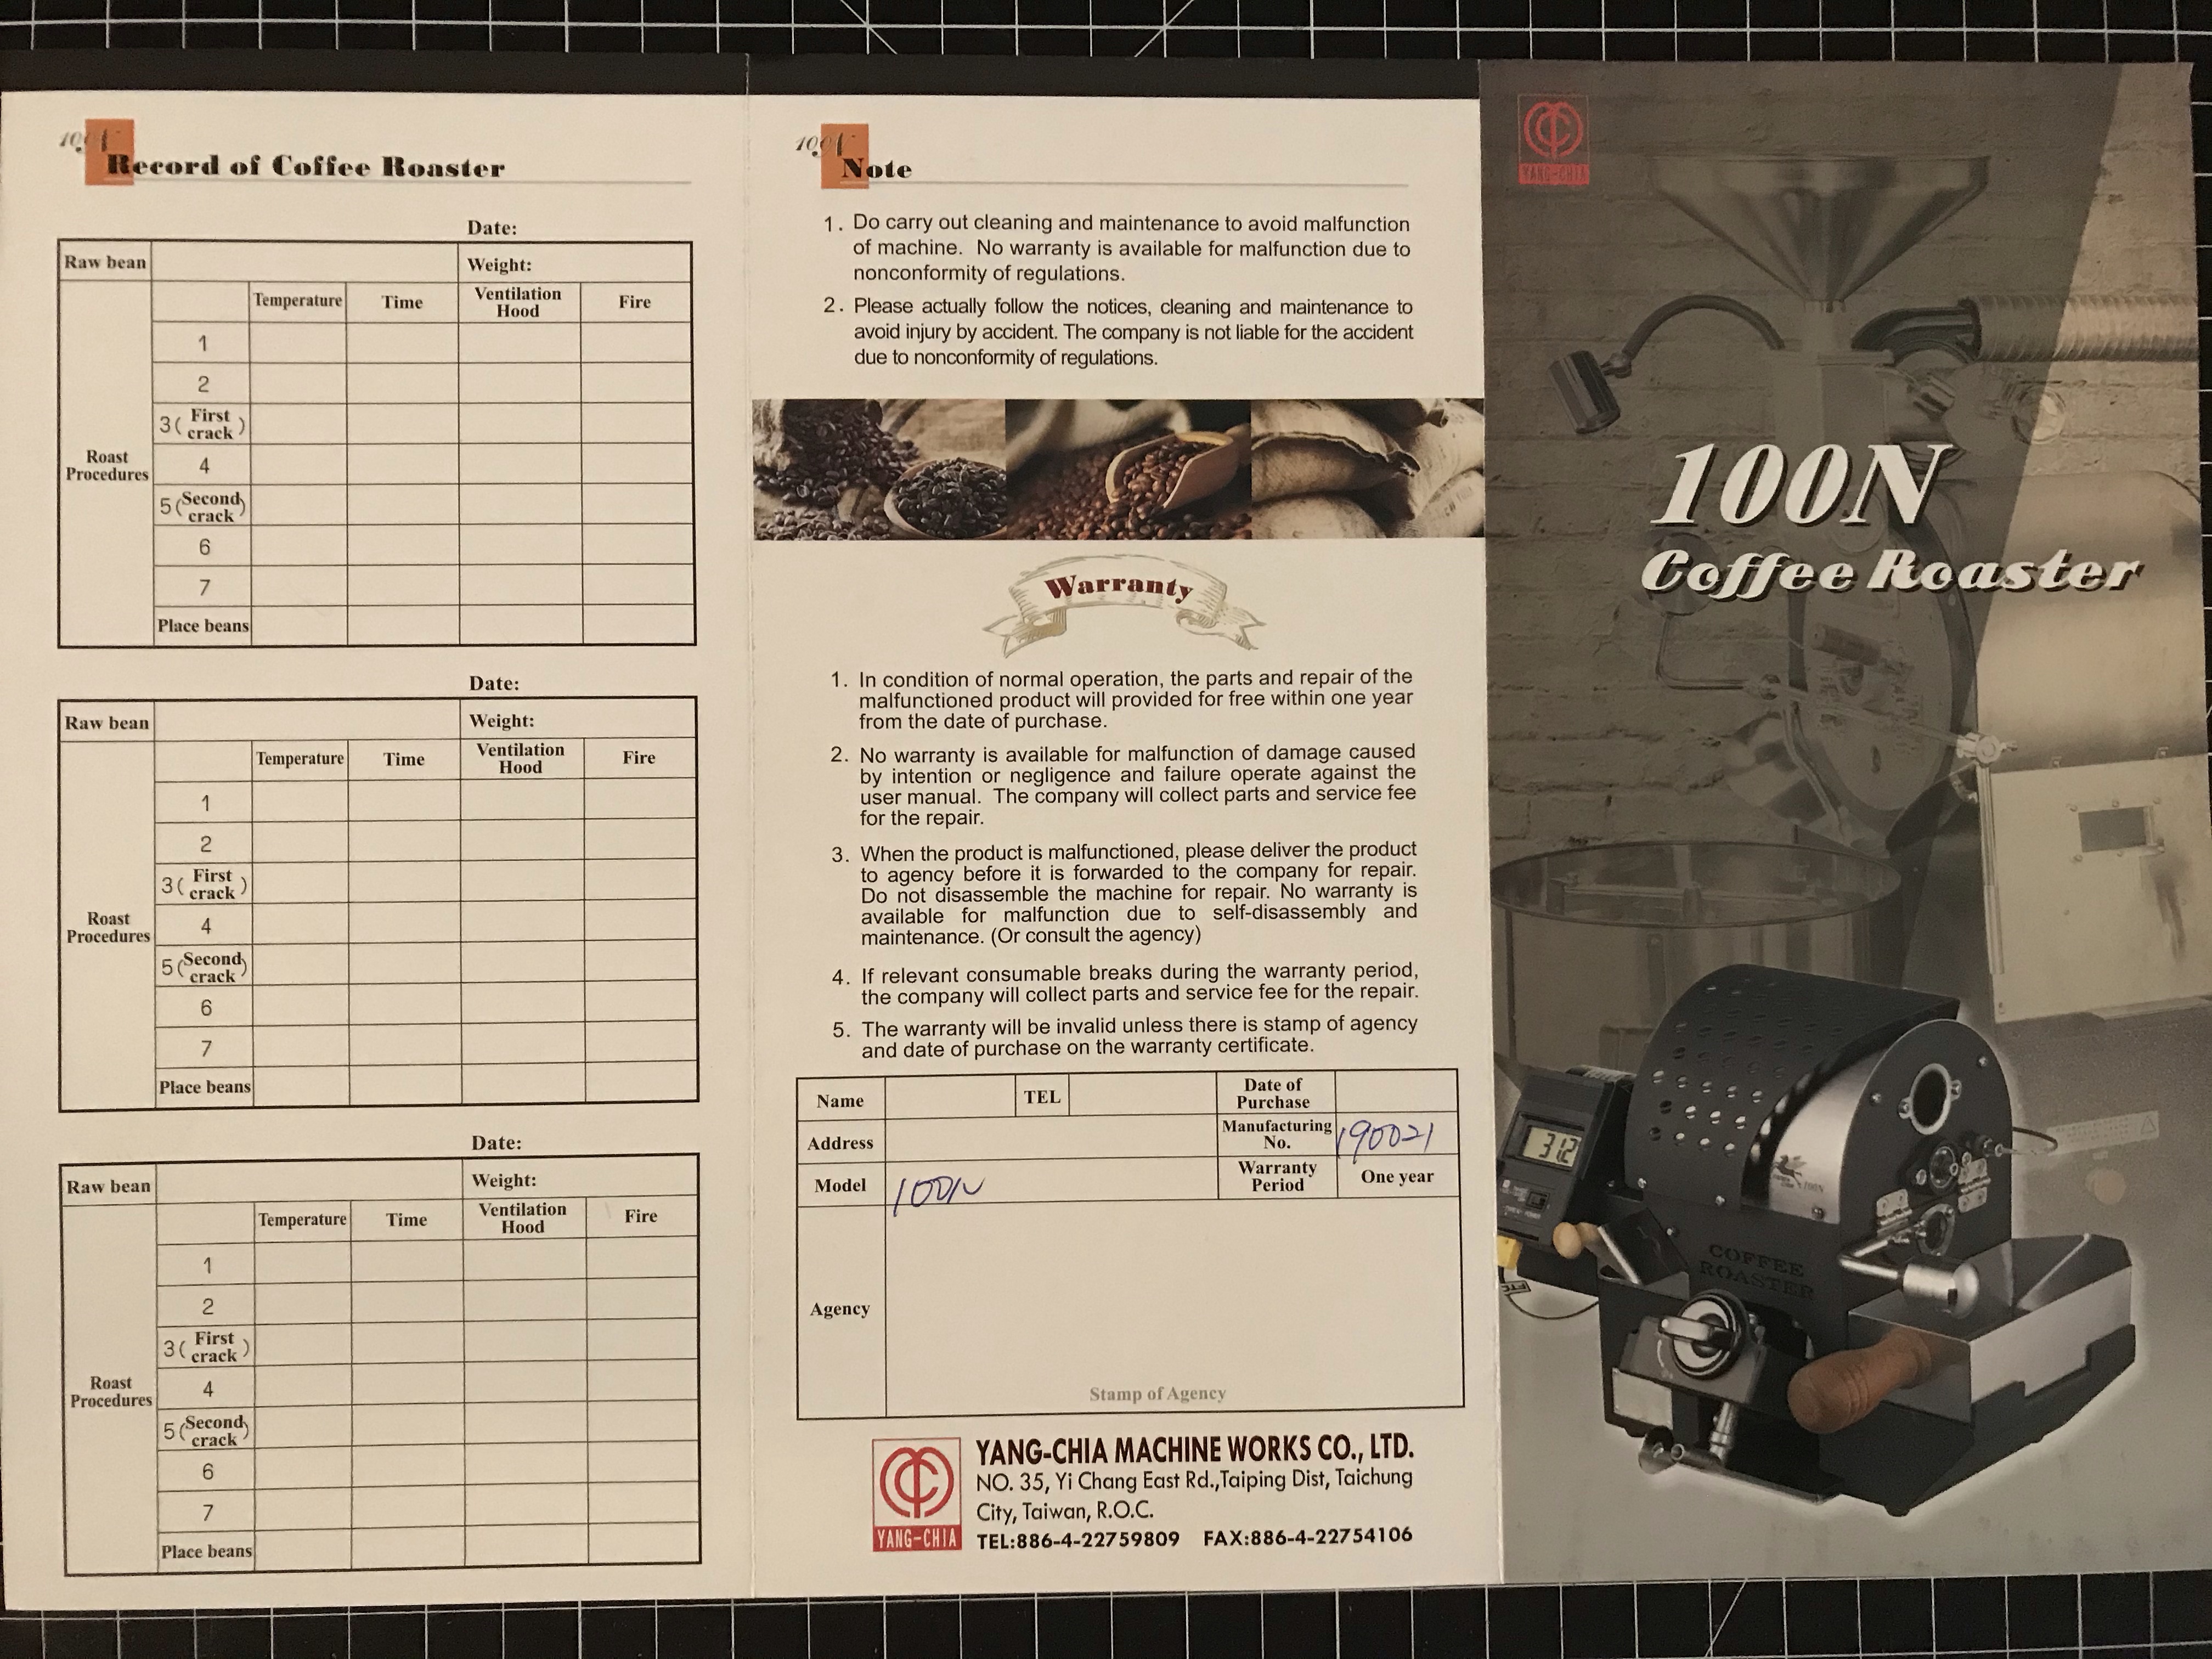
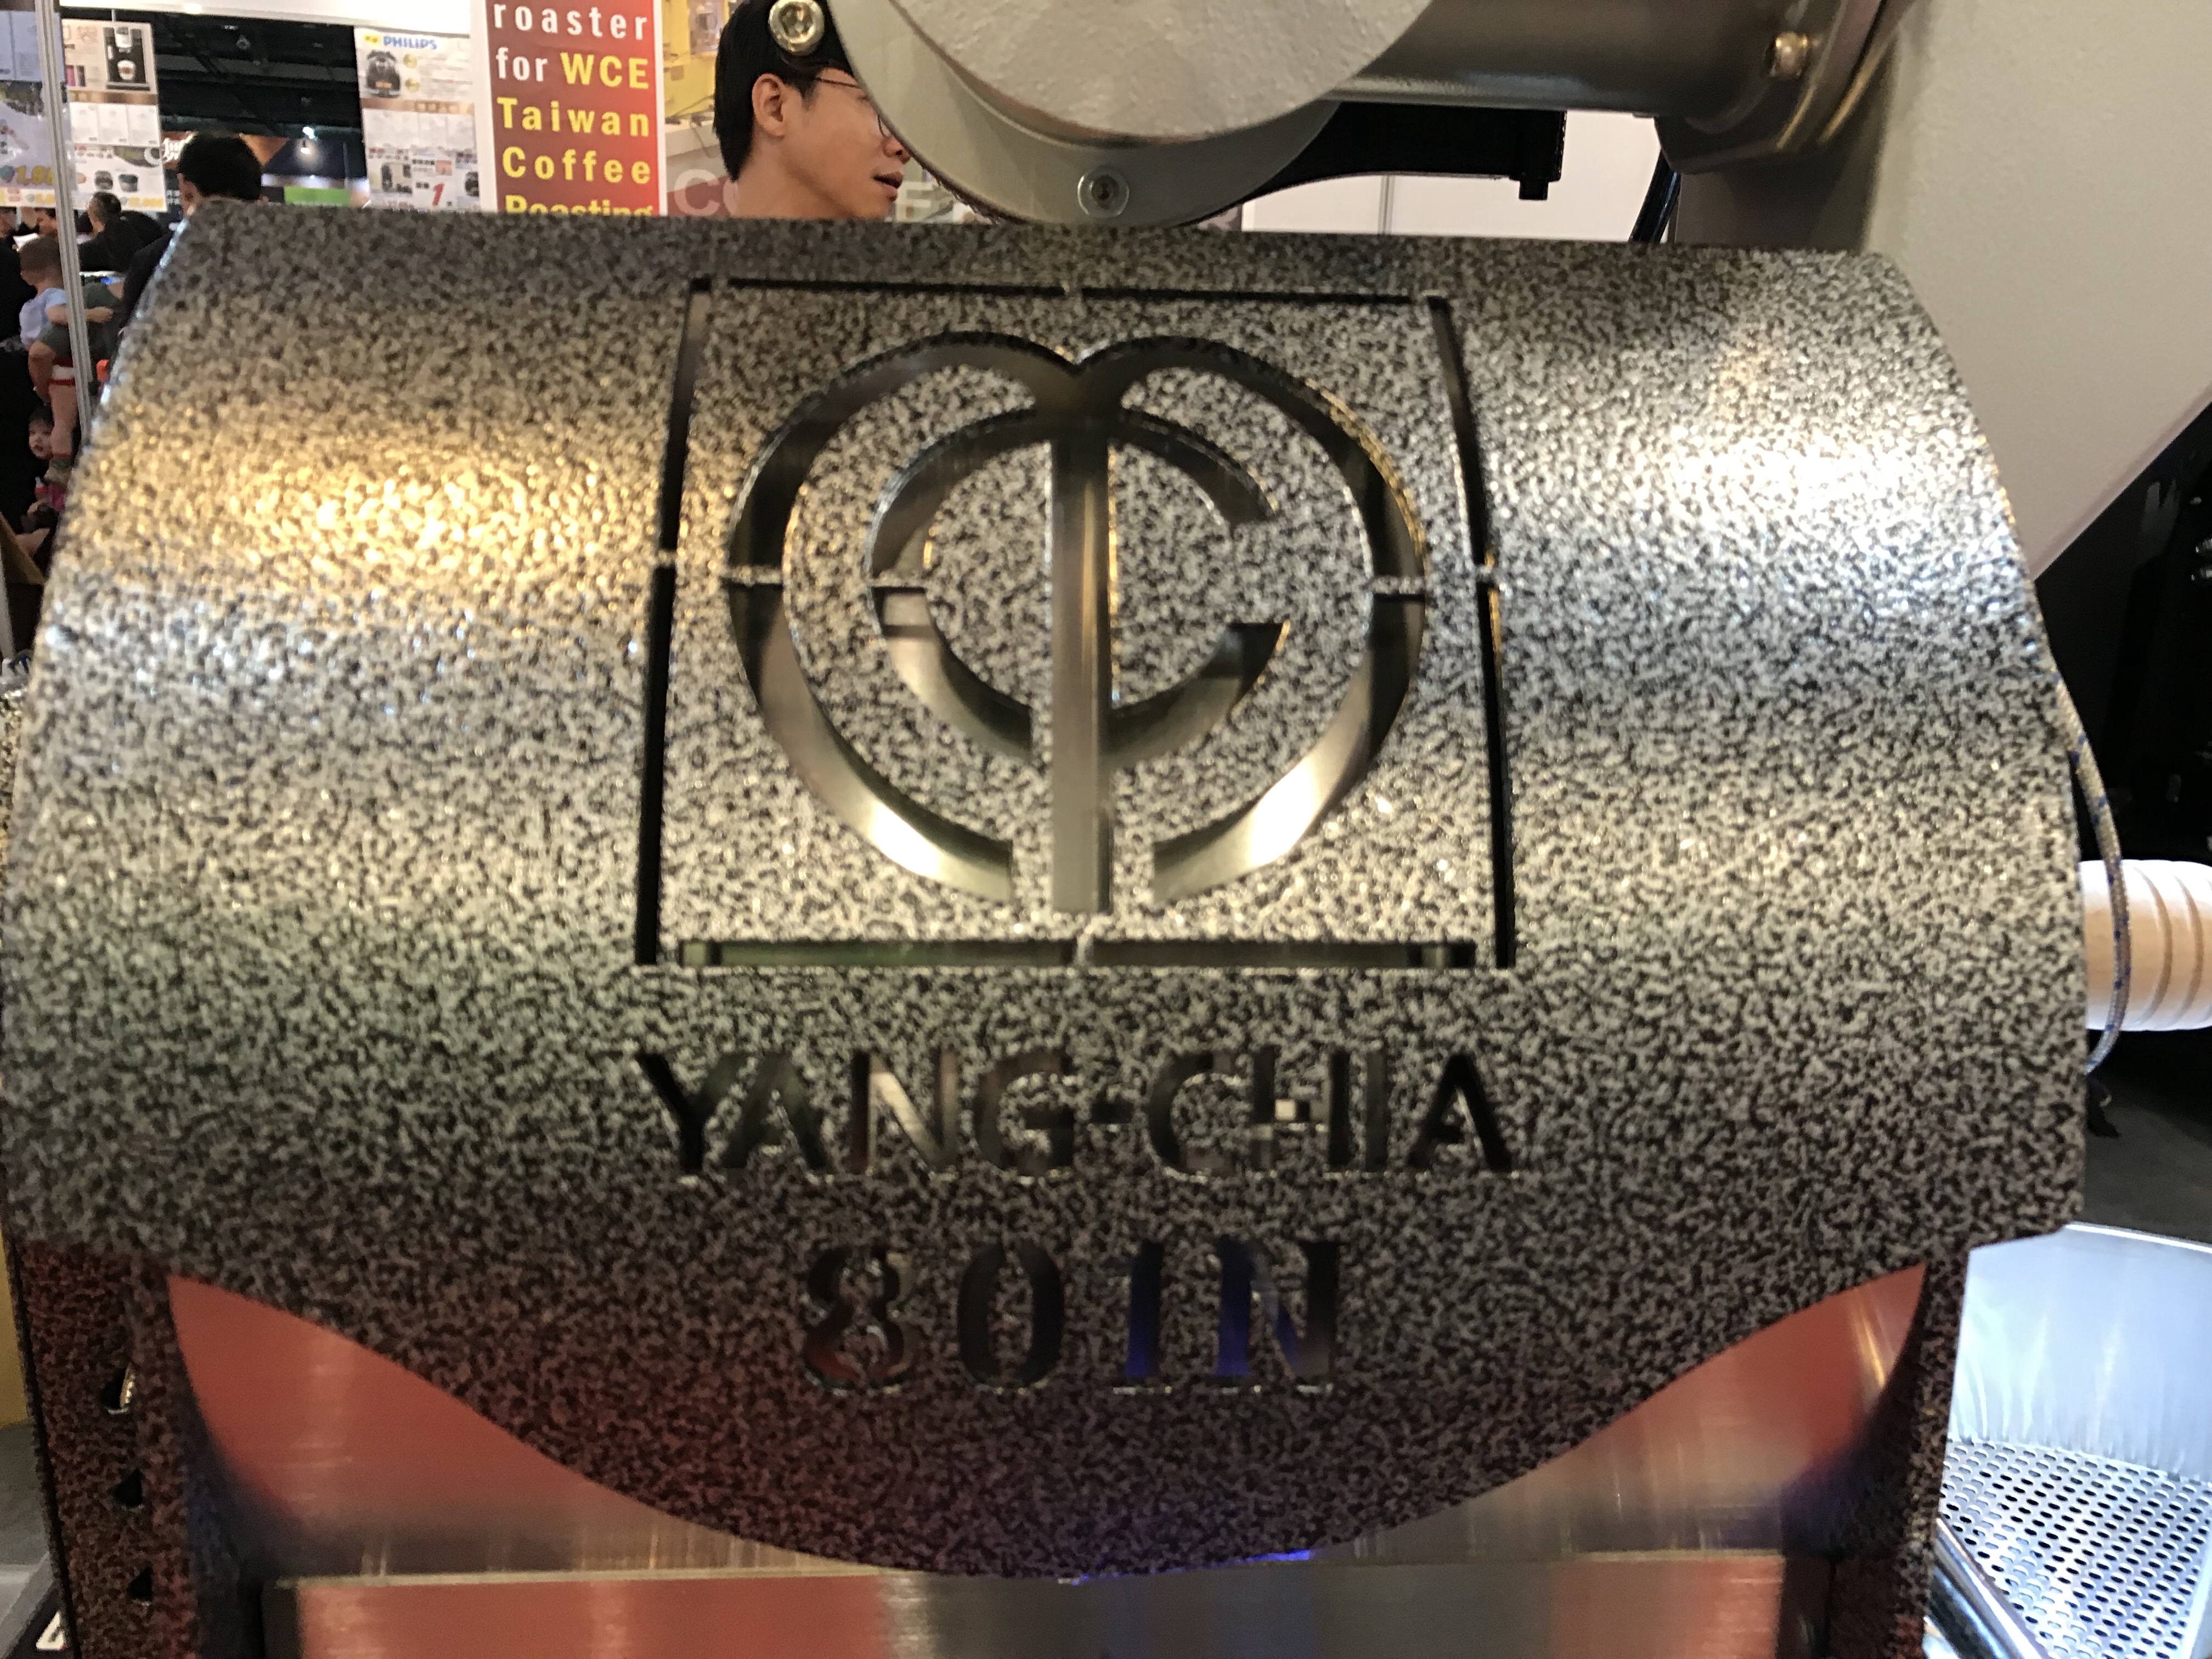
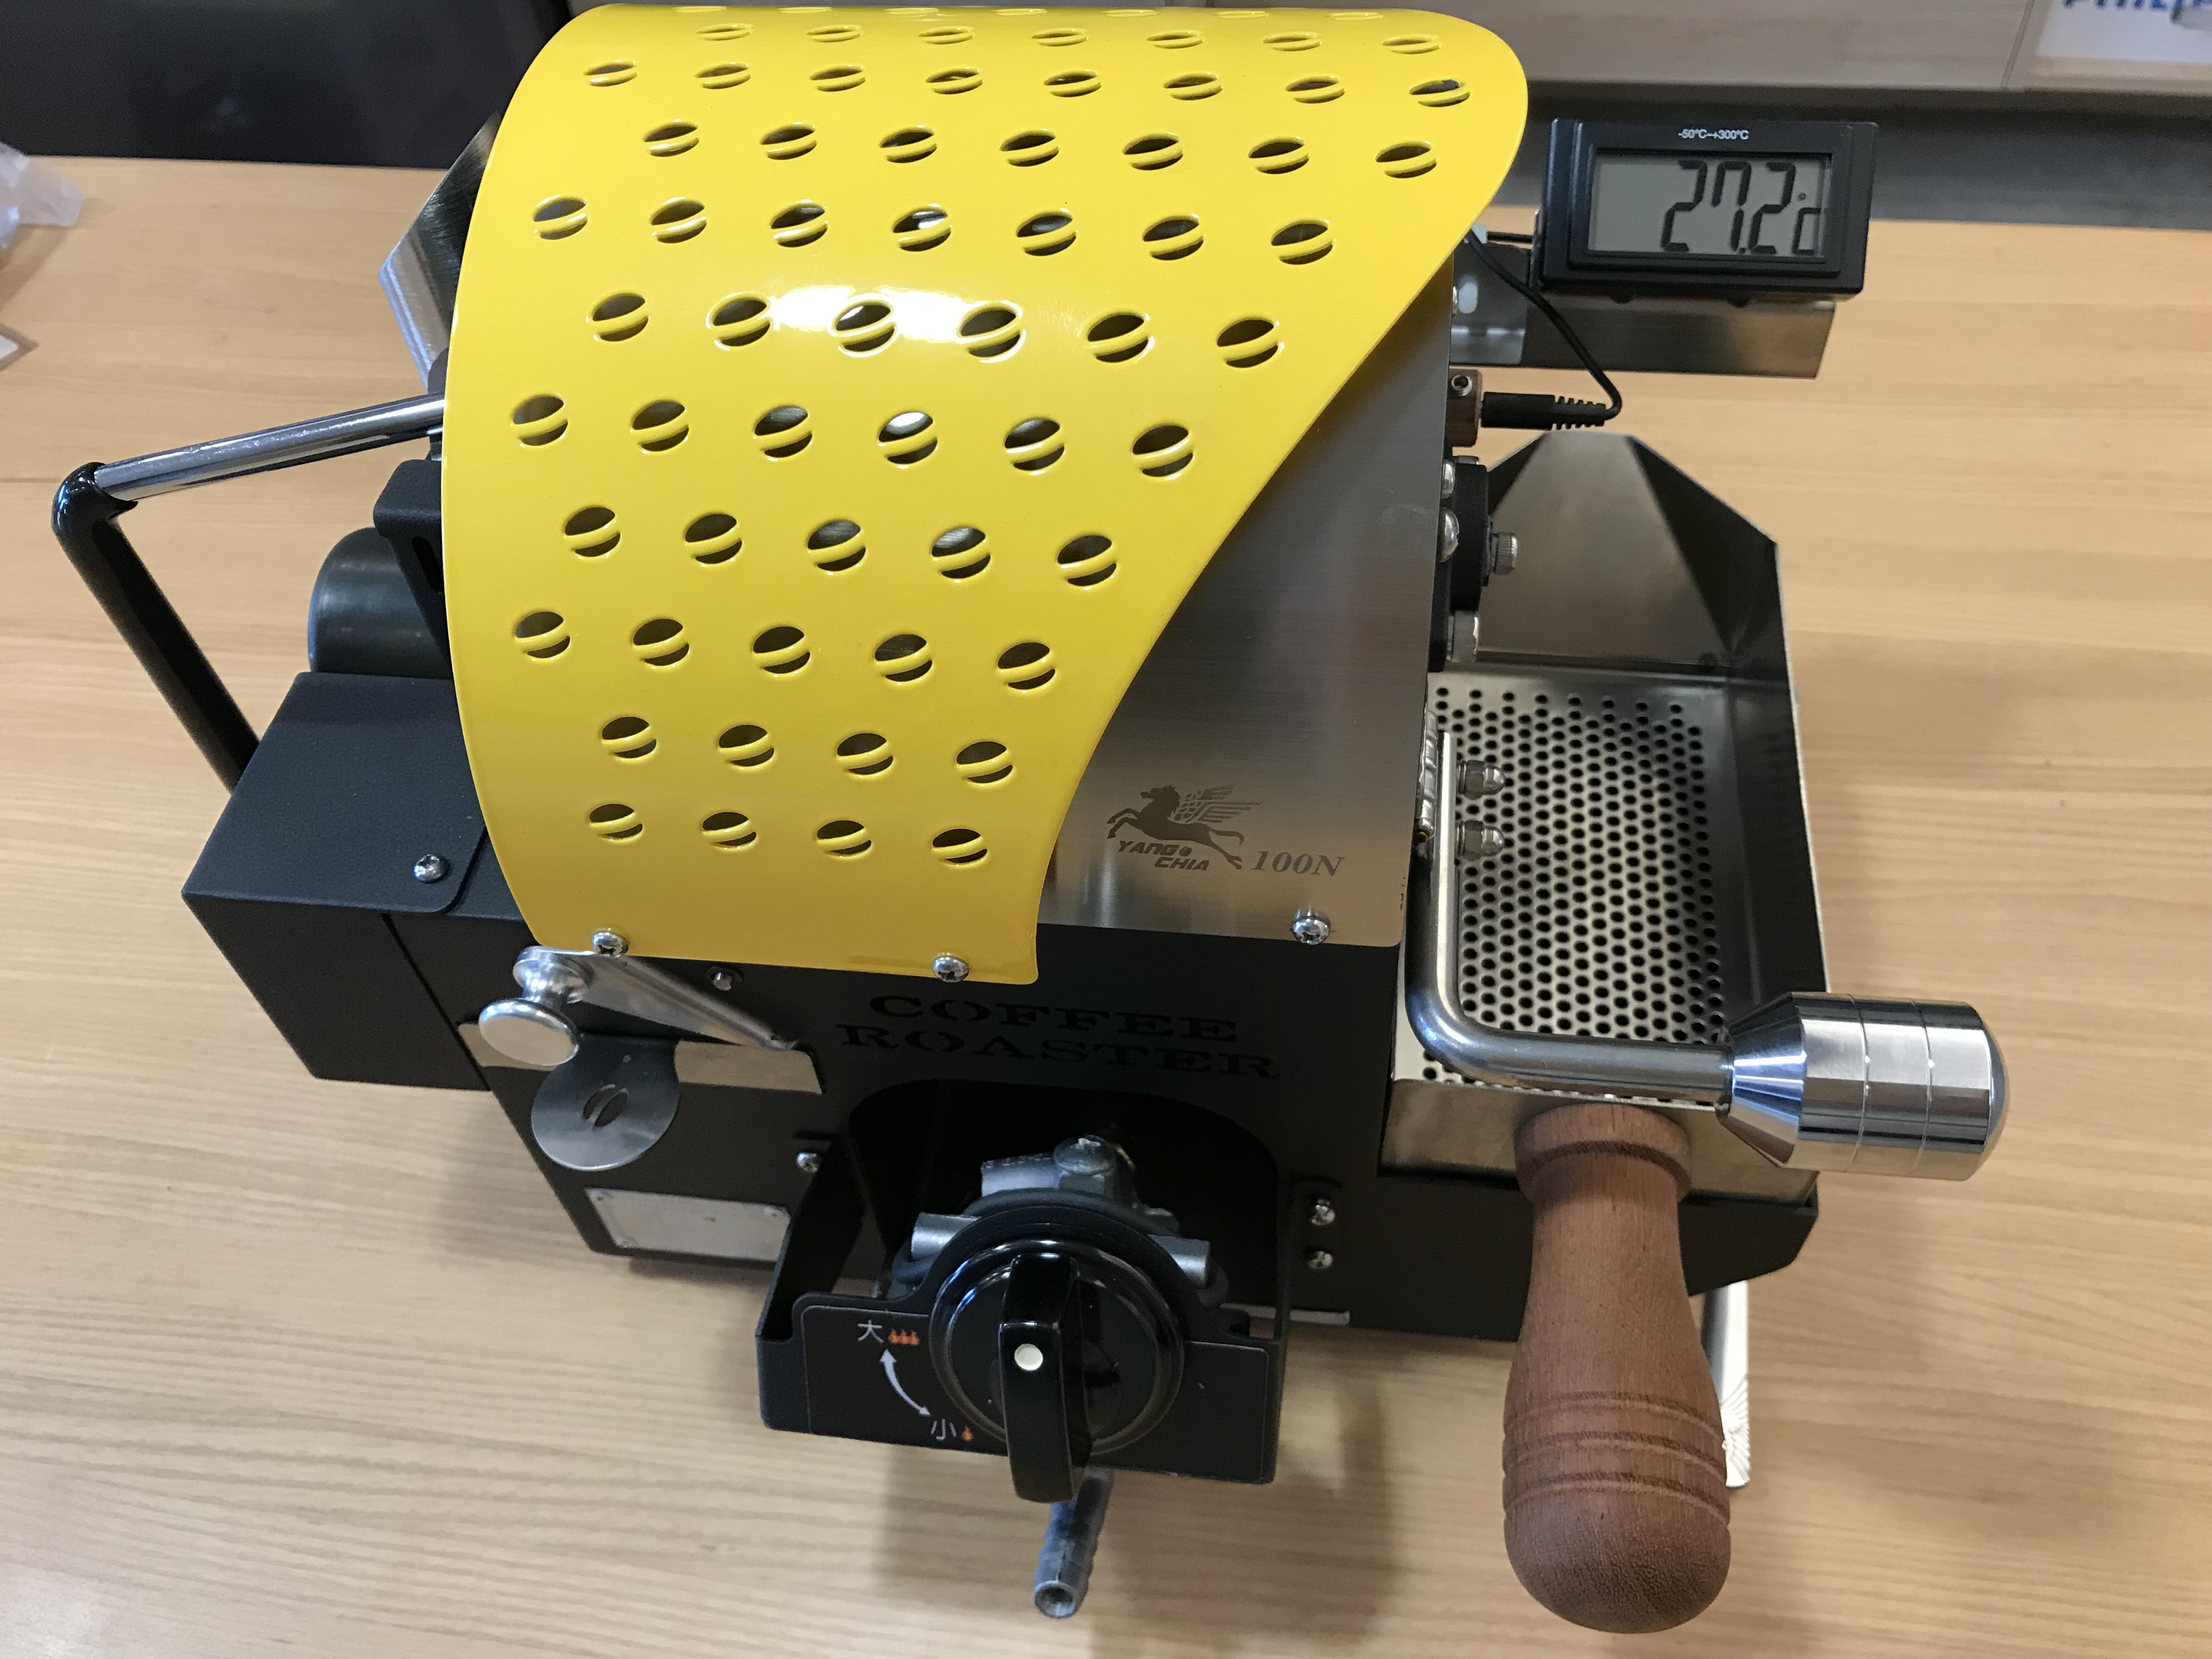
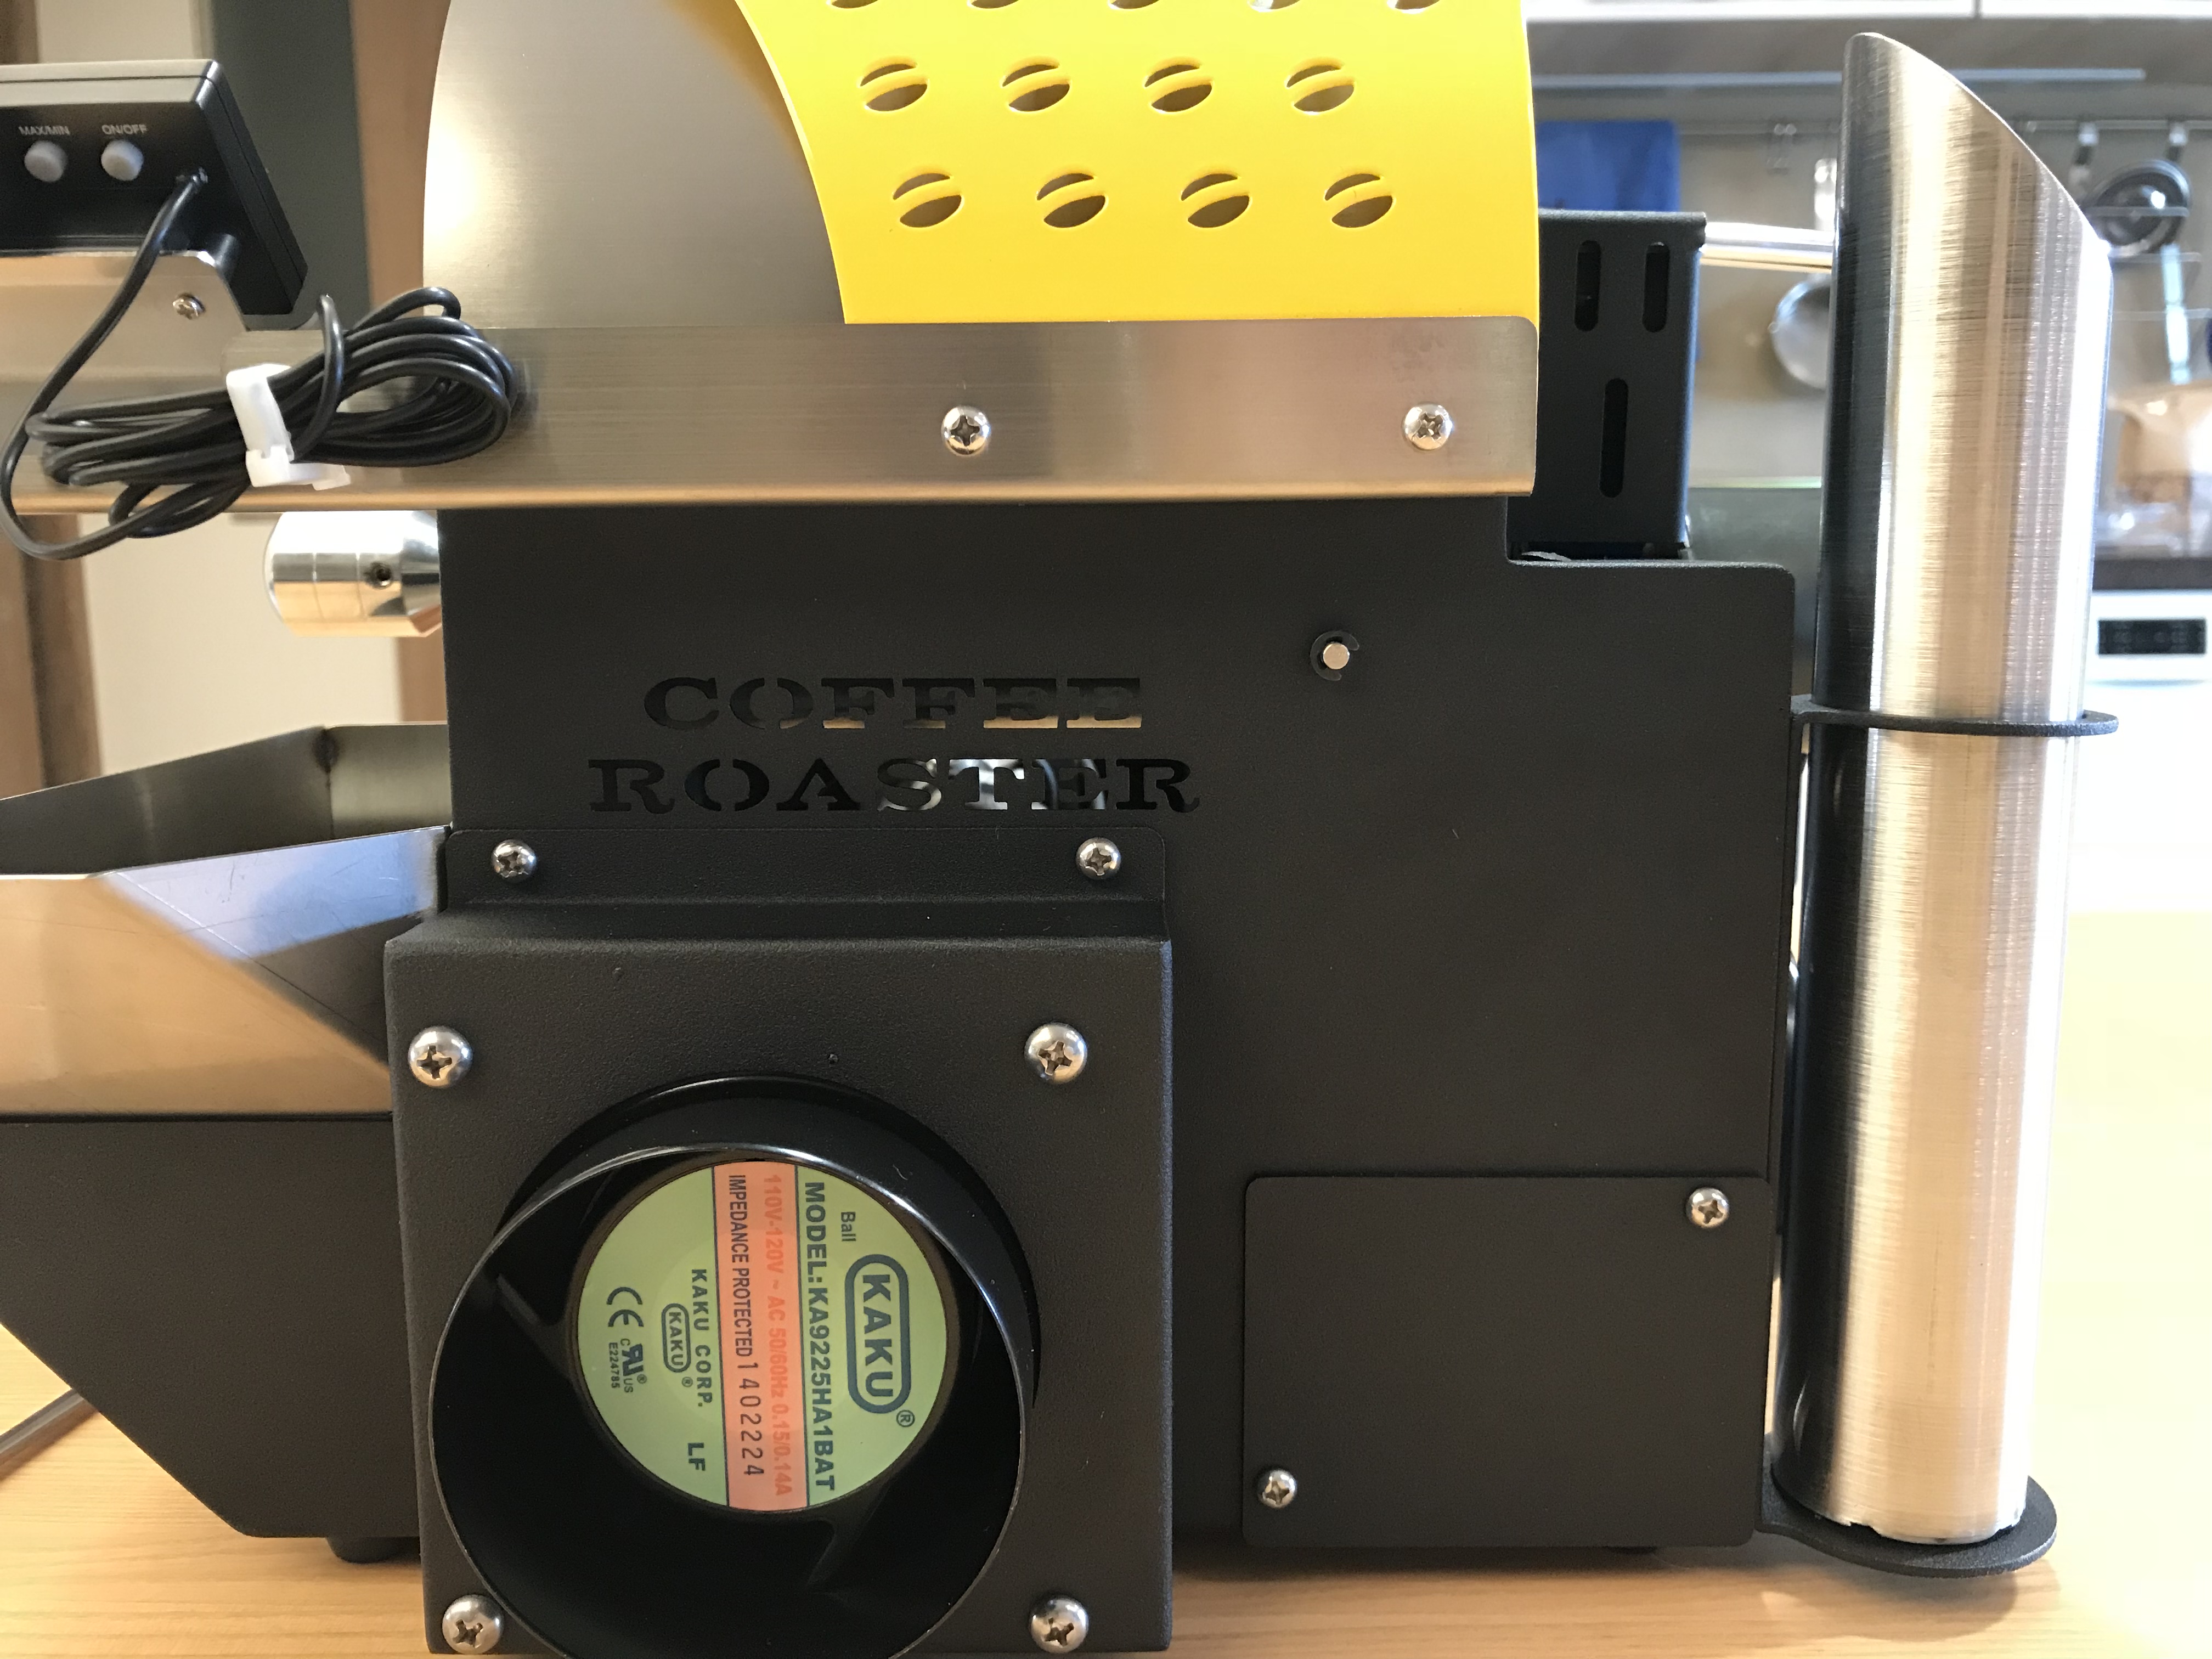
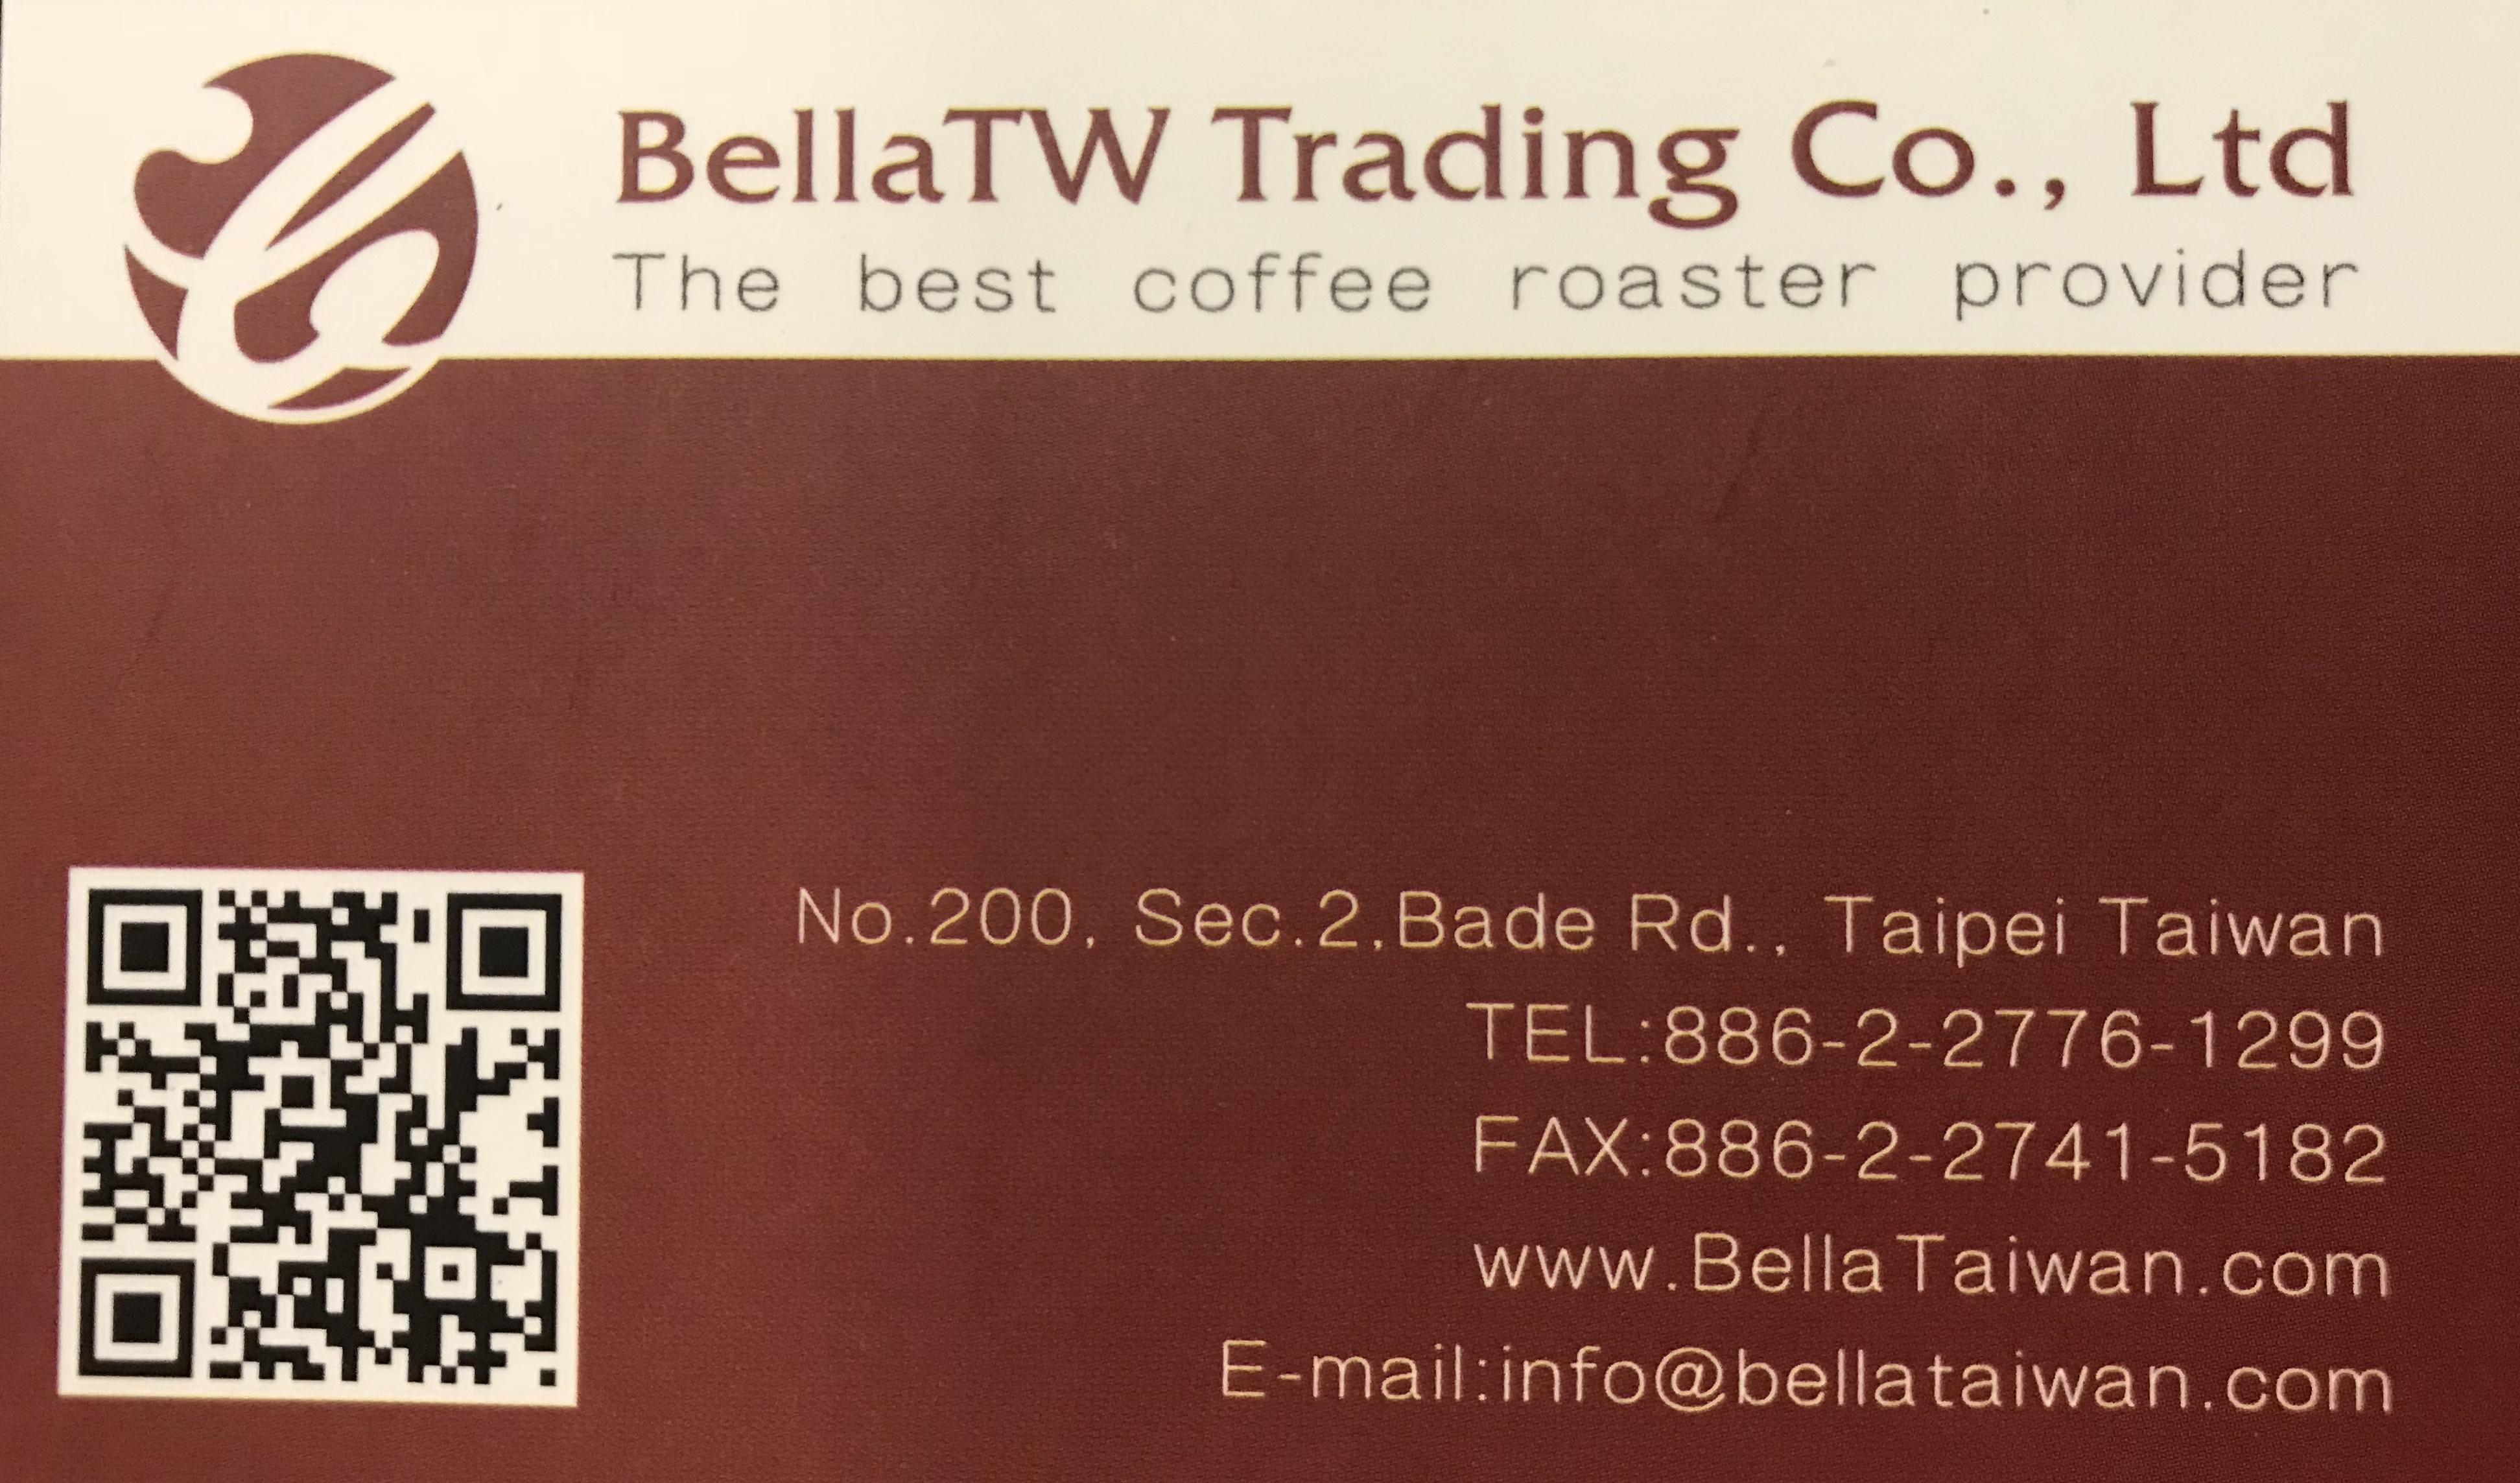
The Feima 100n coffee roaster is manufactured by Yang-Chia Machine Works Ltd in Taichung, Taiwan. My second generation Feima 100n was purchased from BellaTW Trading Co., Ltd , Taiwan and Asia distributor (except China). It’s the smallest coffee roaster produced by Yang-Chia, and is designed for the home coffee roasting market.
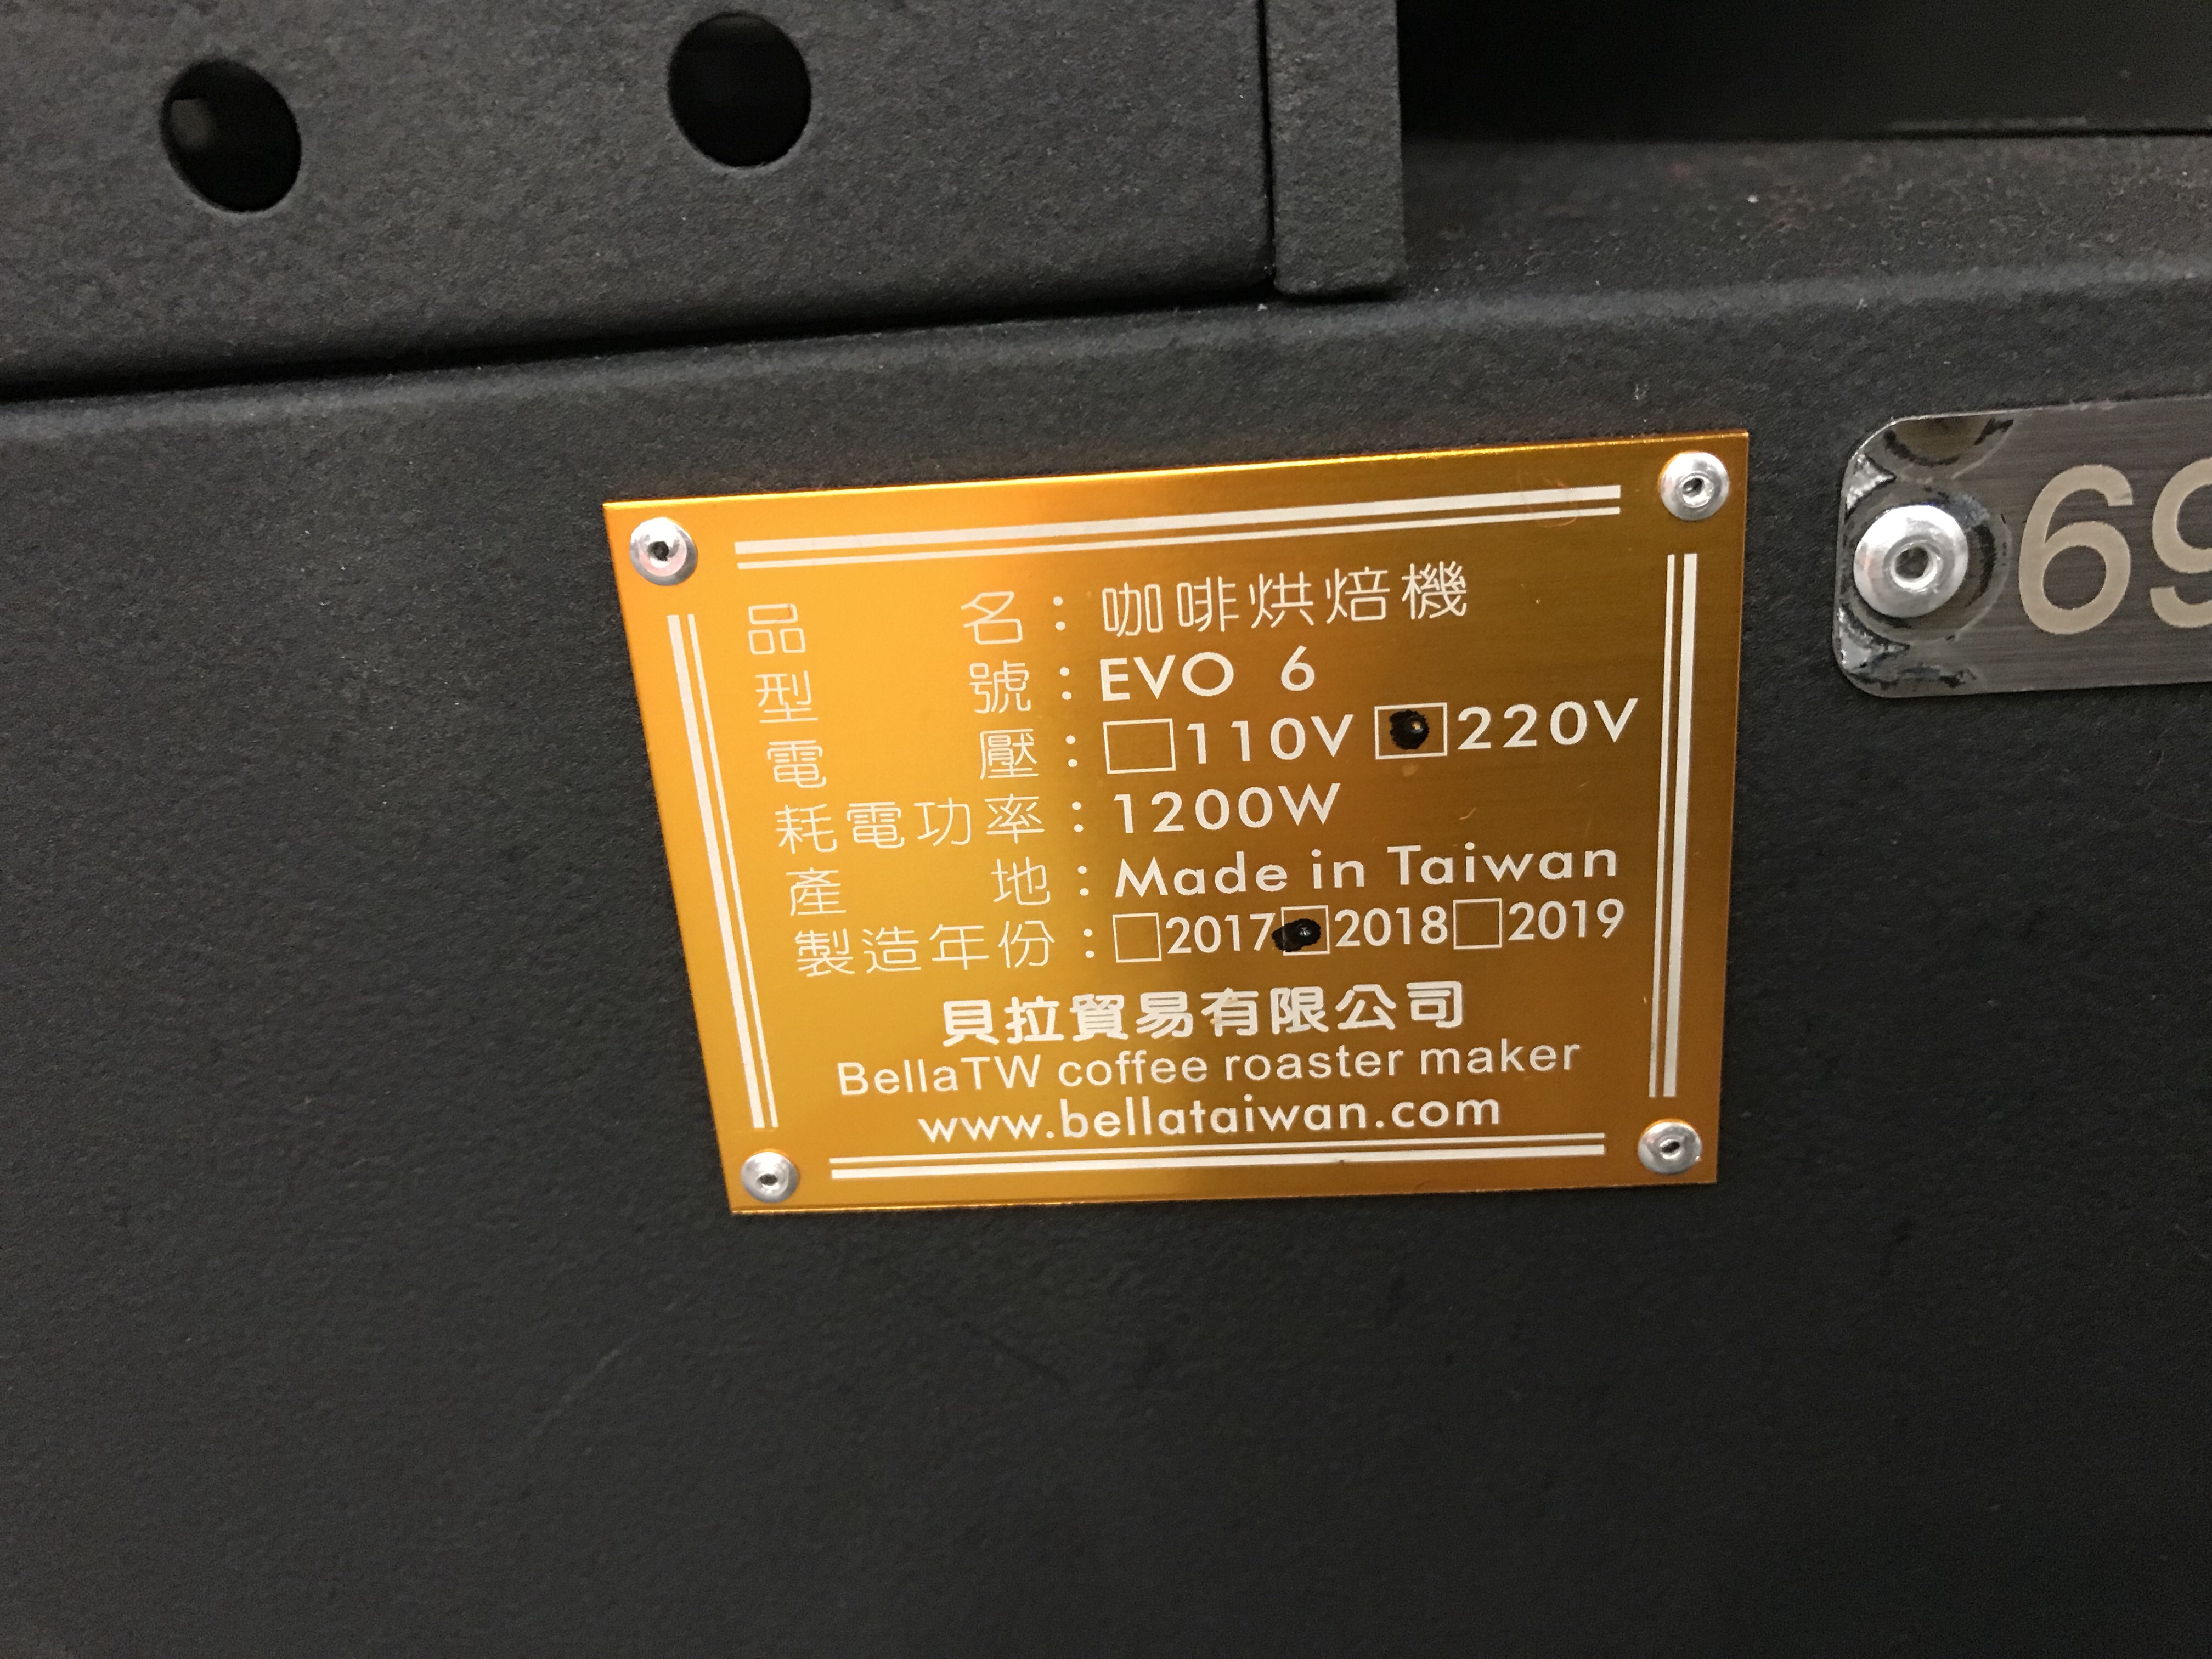
Feima 100n Shipping Carton Label
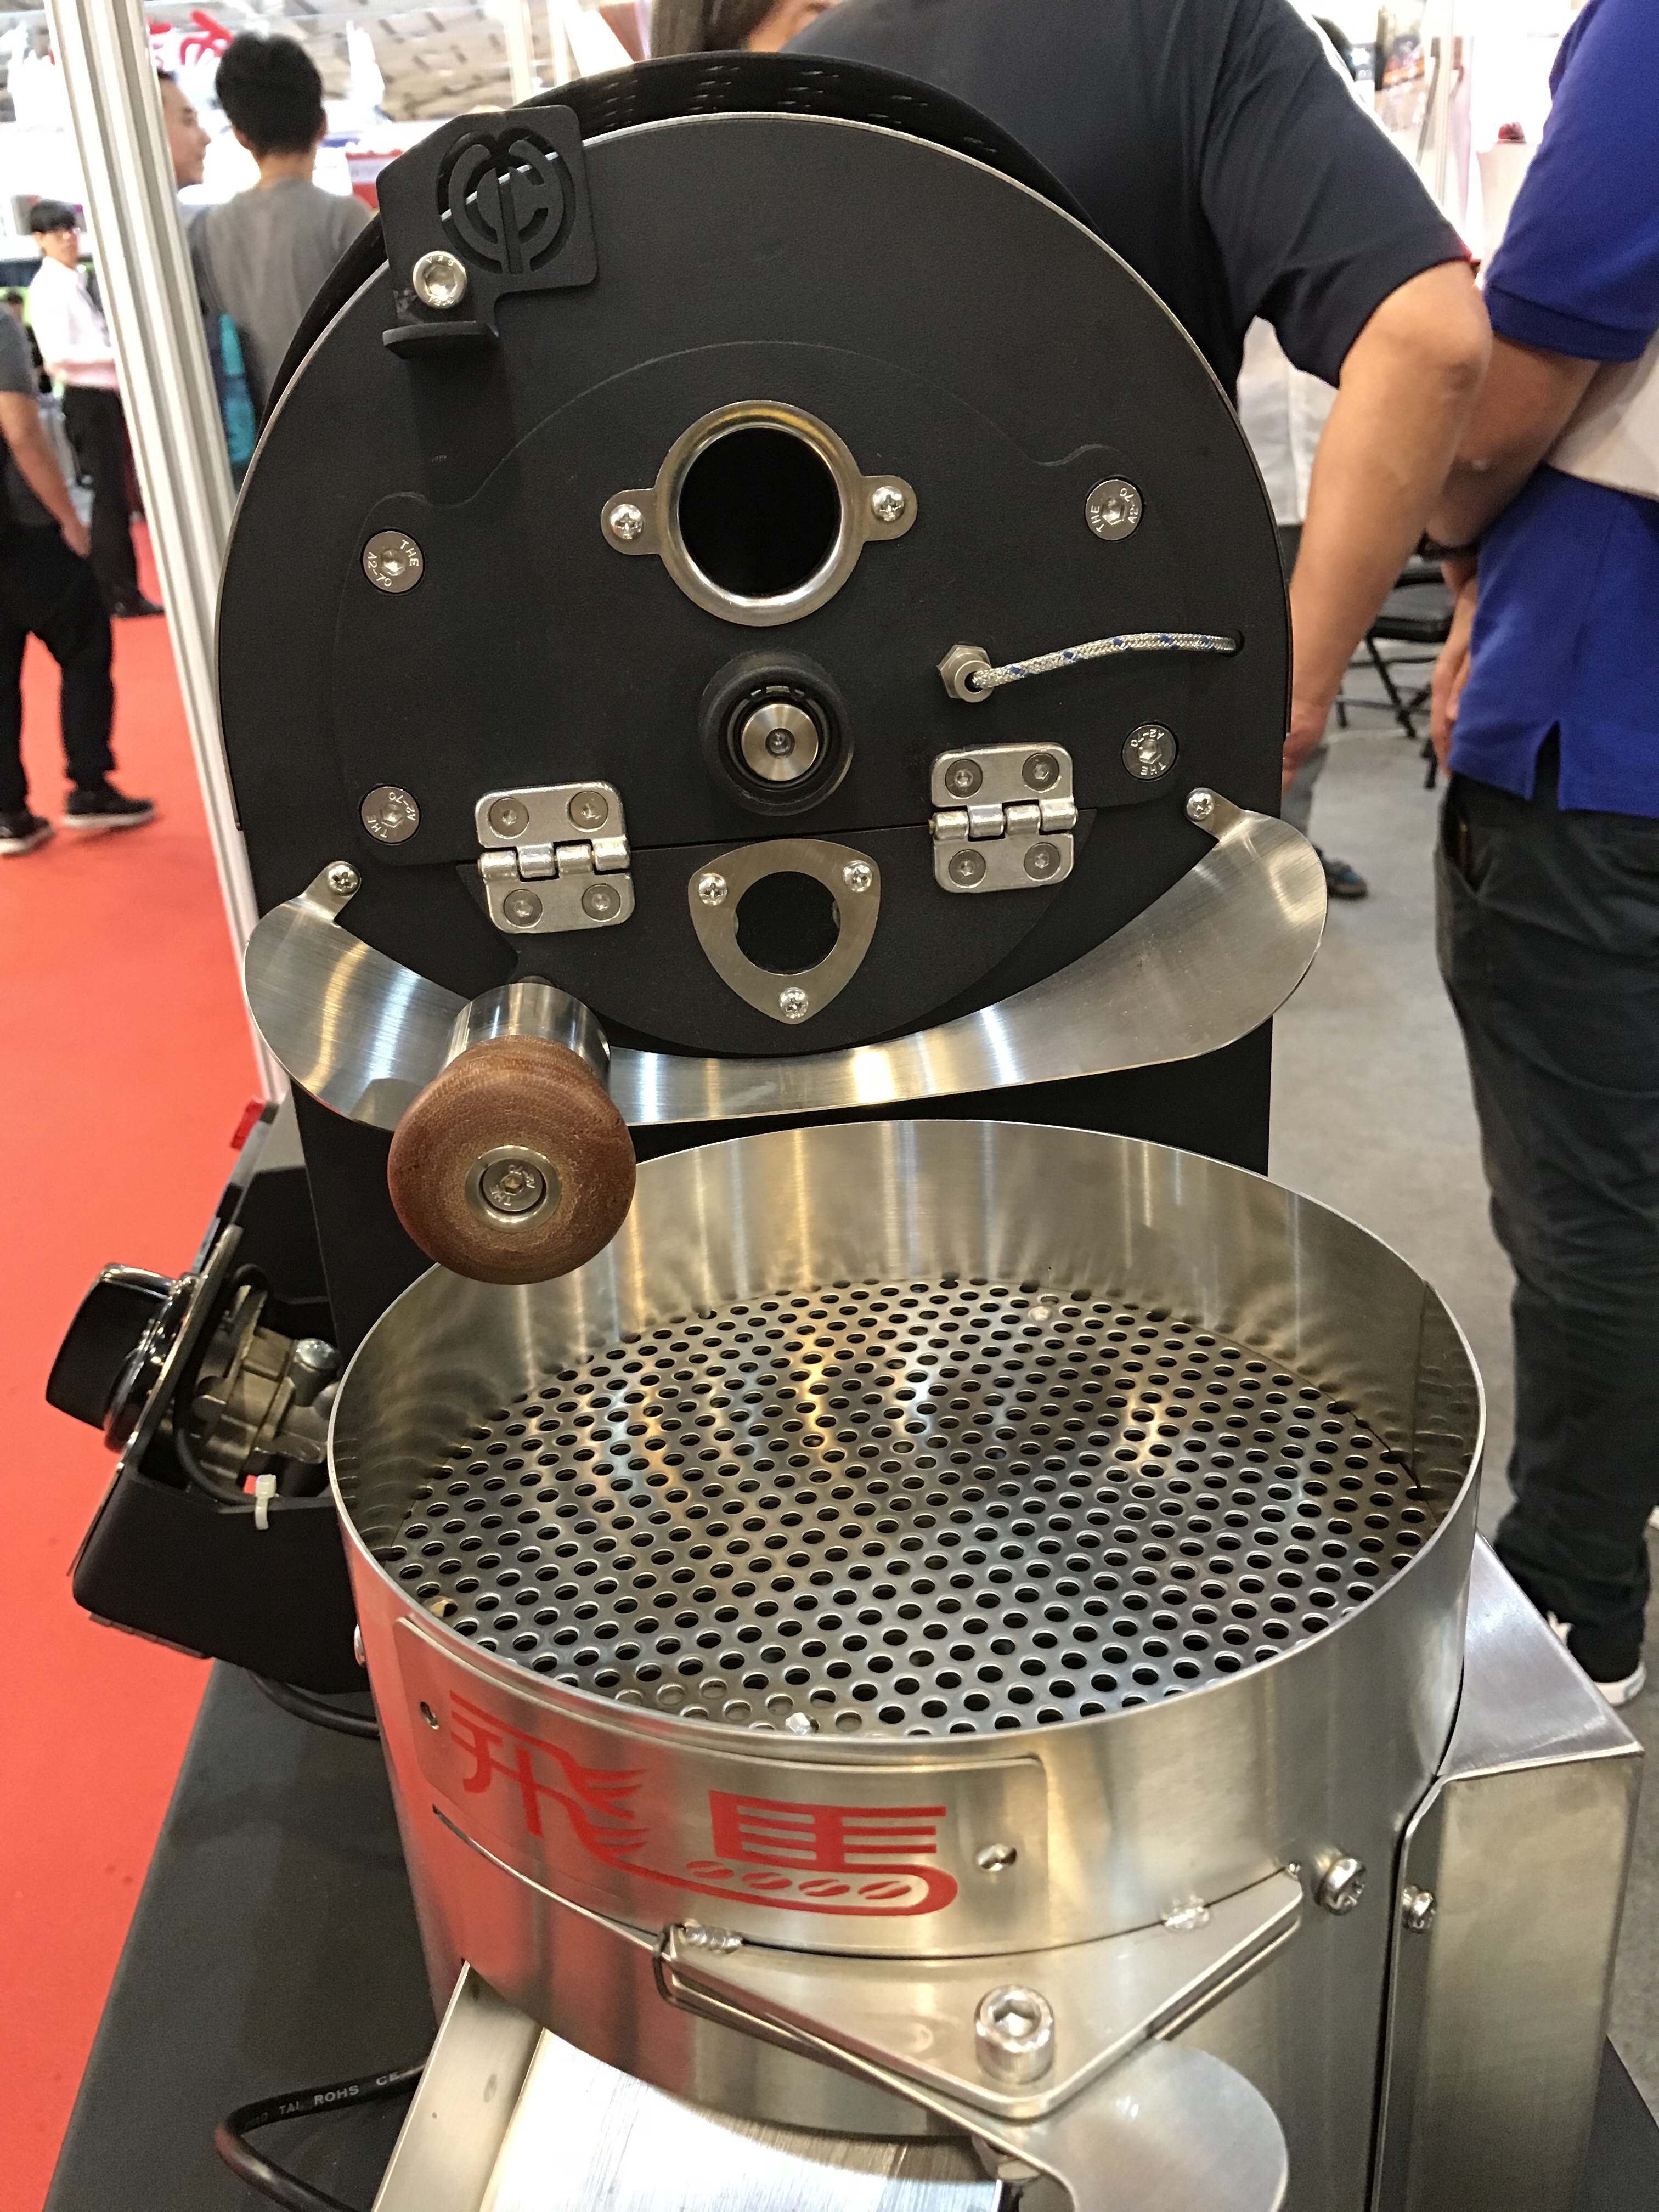
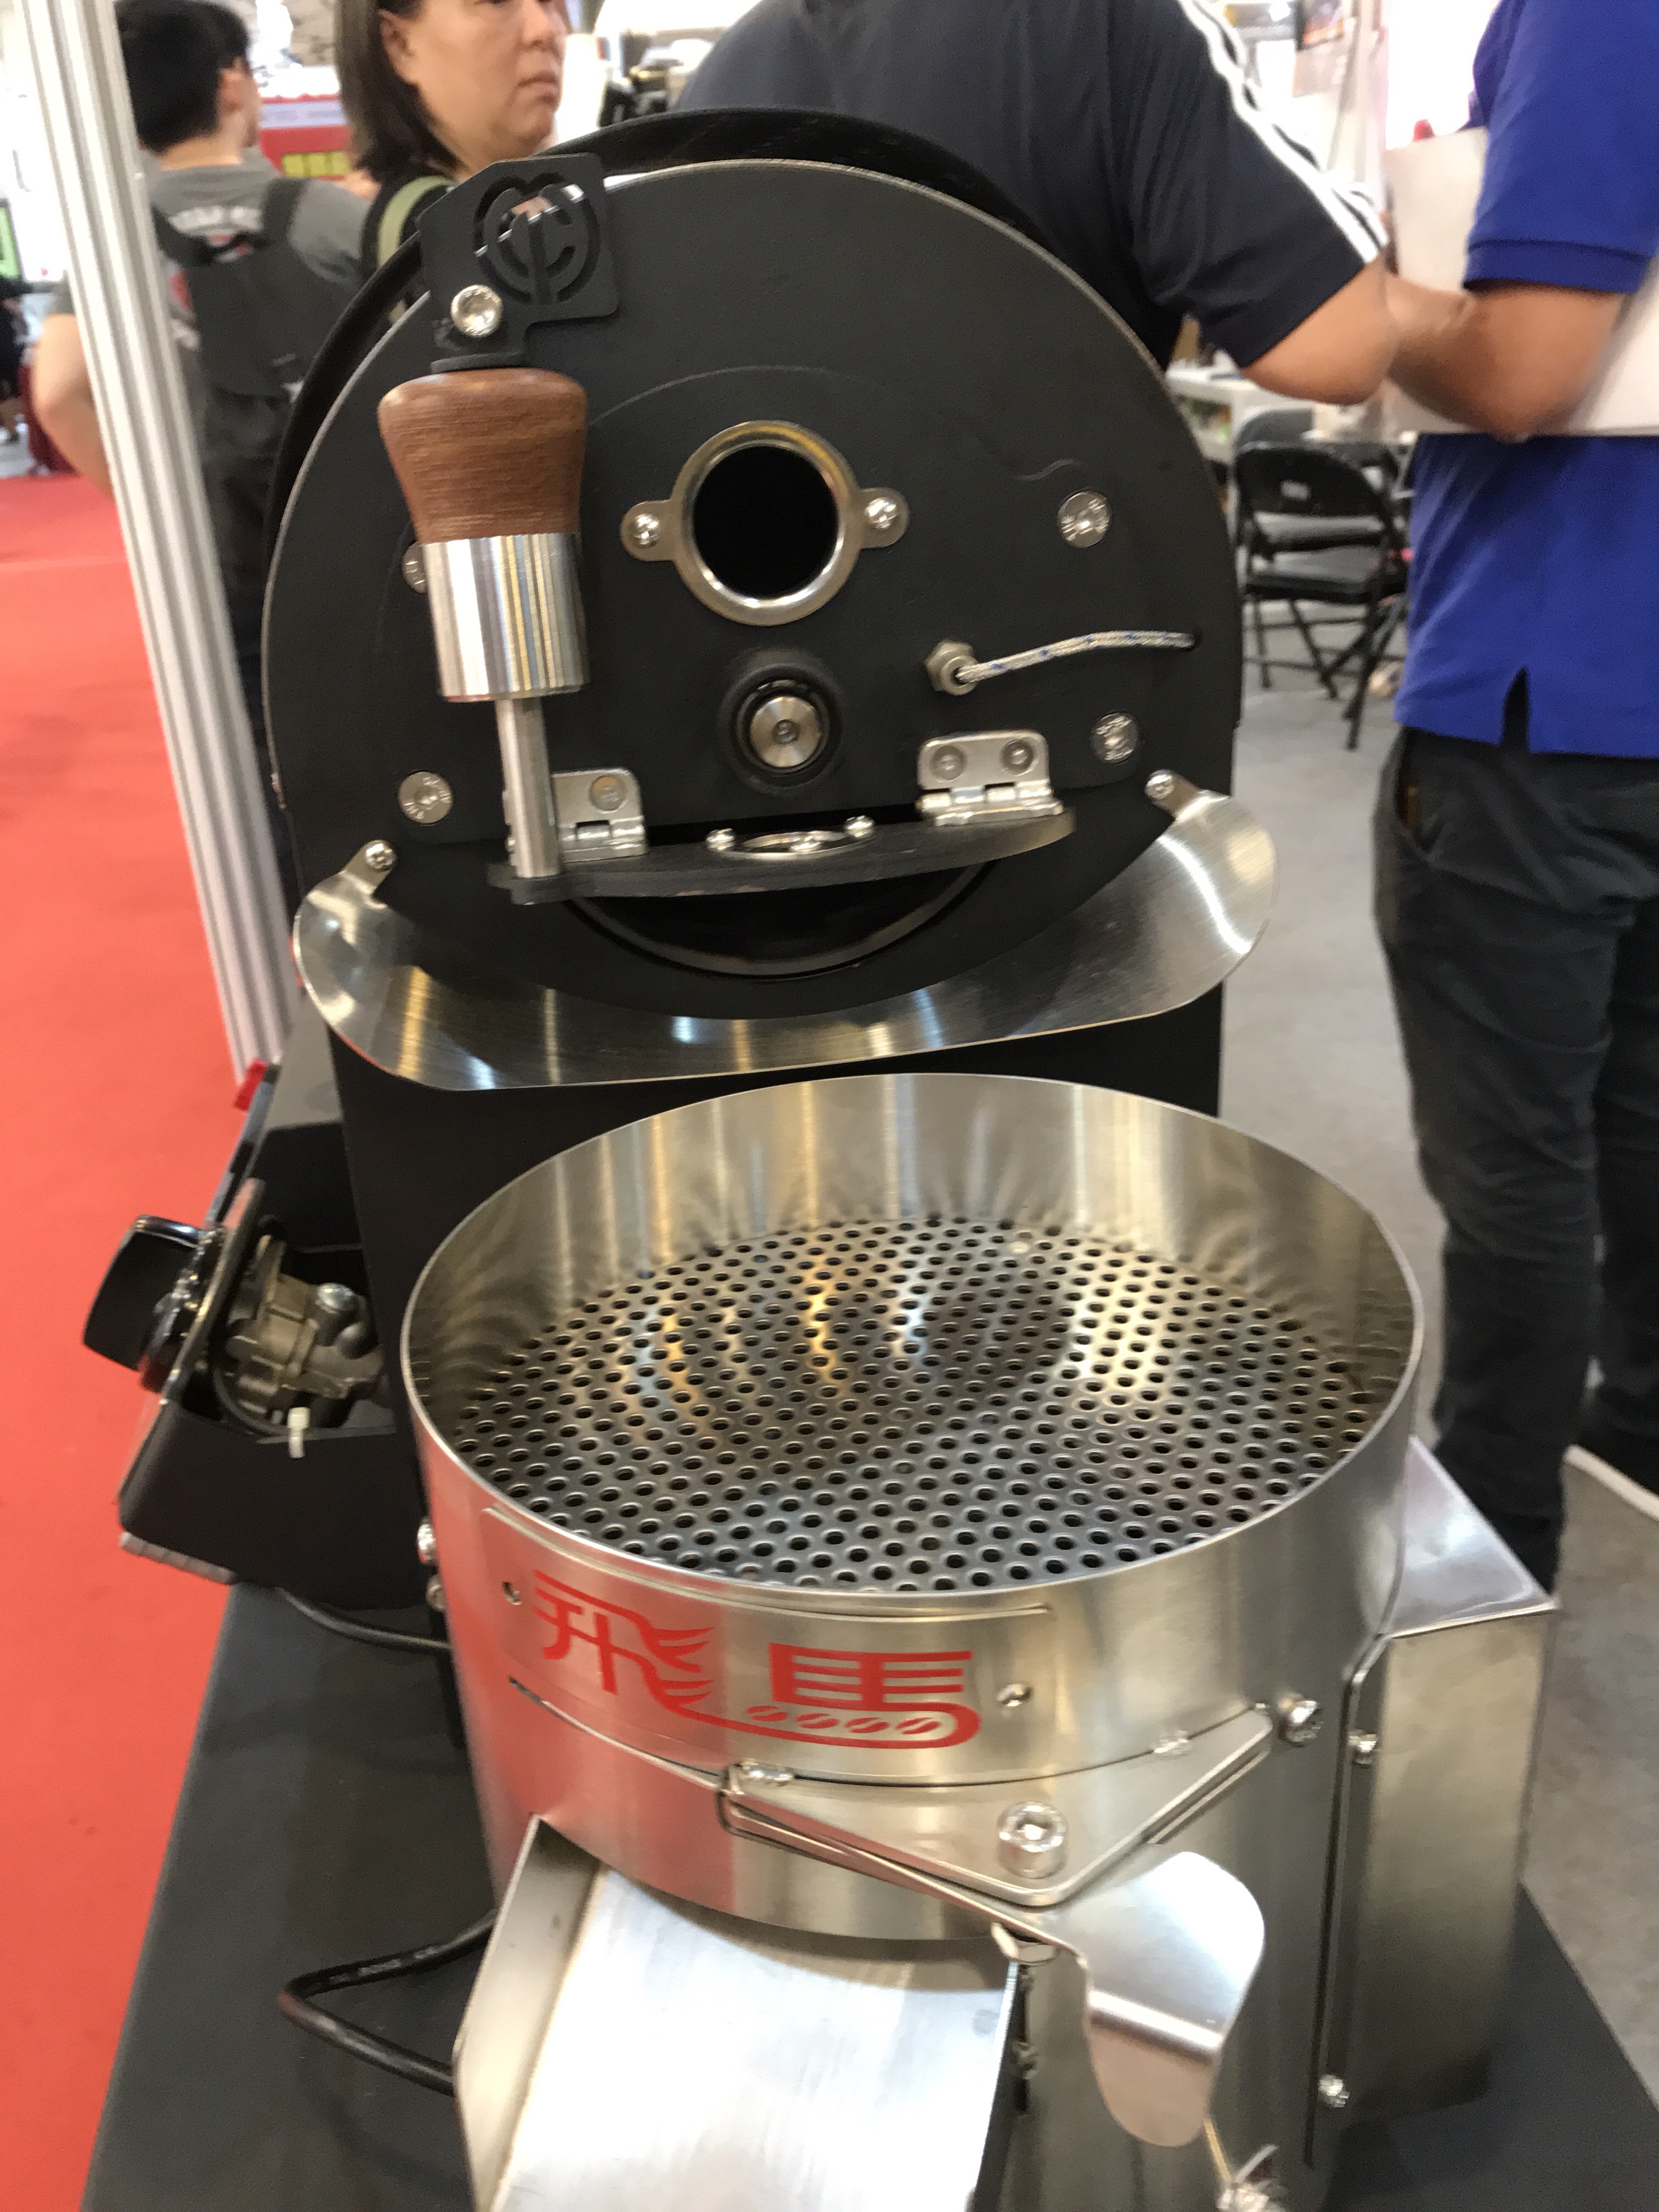
The front of the machine has an opening for using an included sampling spoon. This design has the airflow going from front to back, out the rear exhaust fitted with a 3” flange. Heat flows around the drum and thru holes towards the front edge; out the slotted rear.
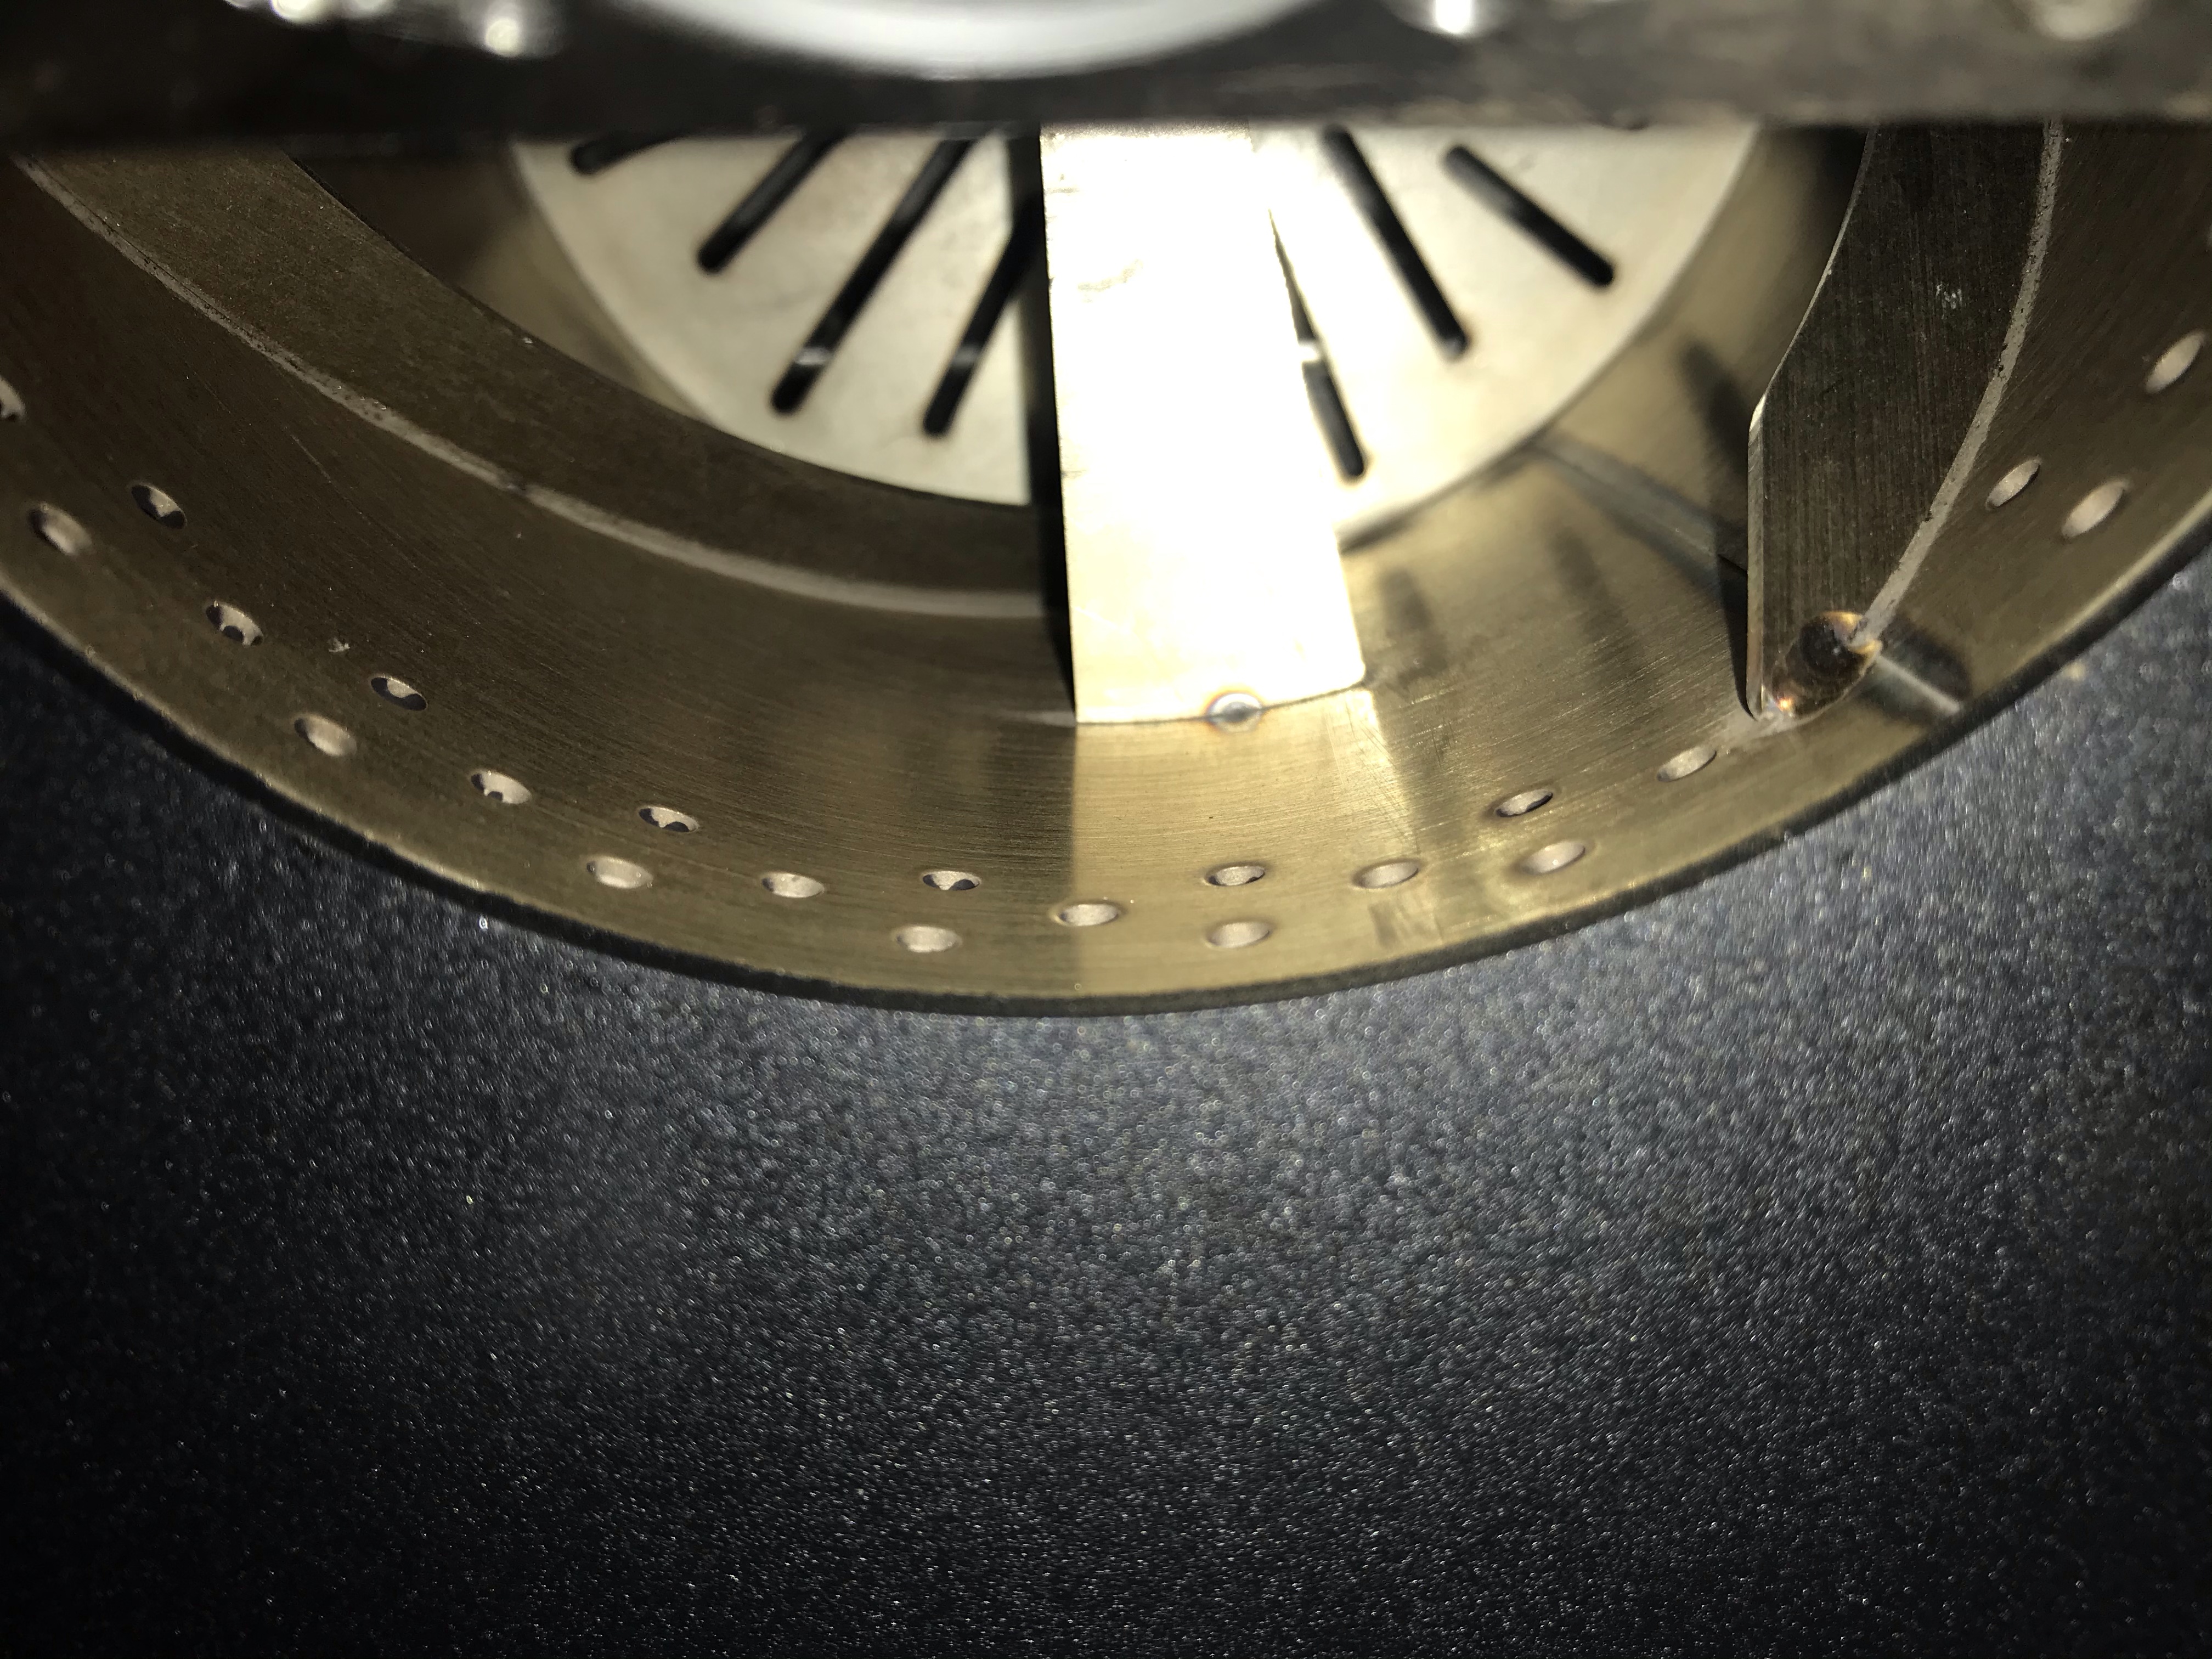
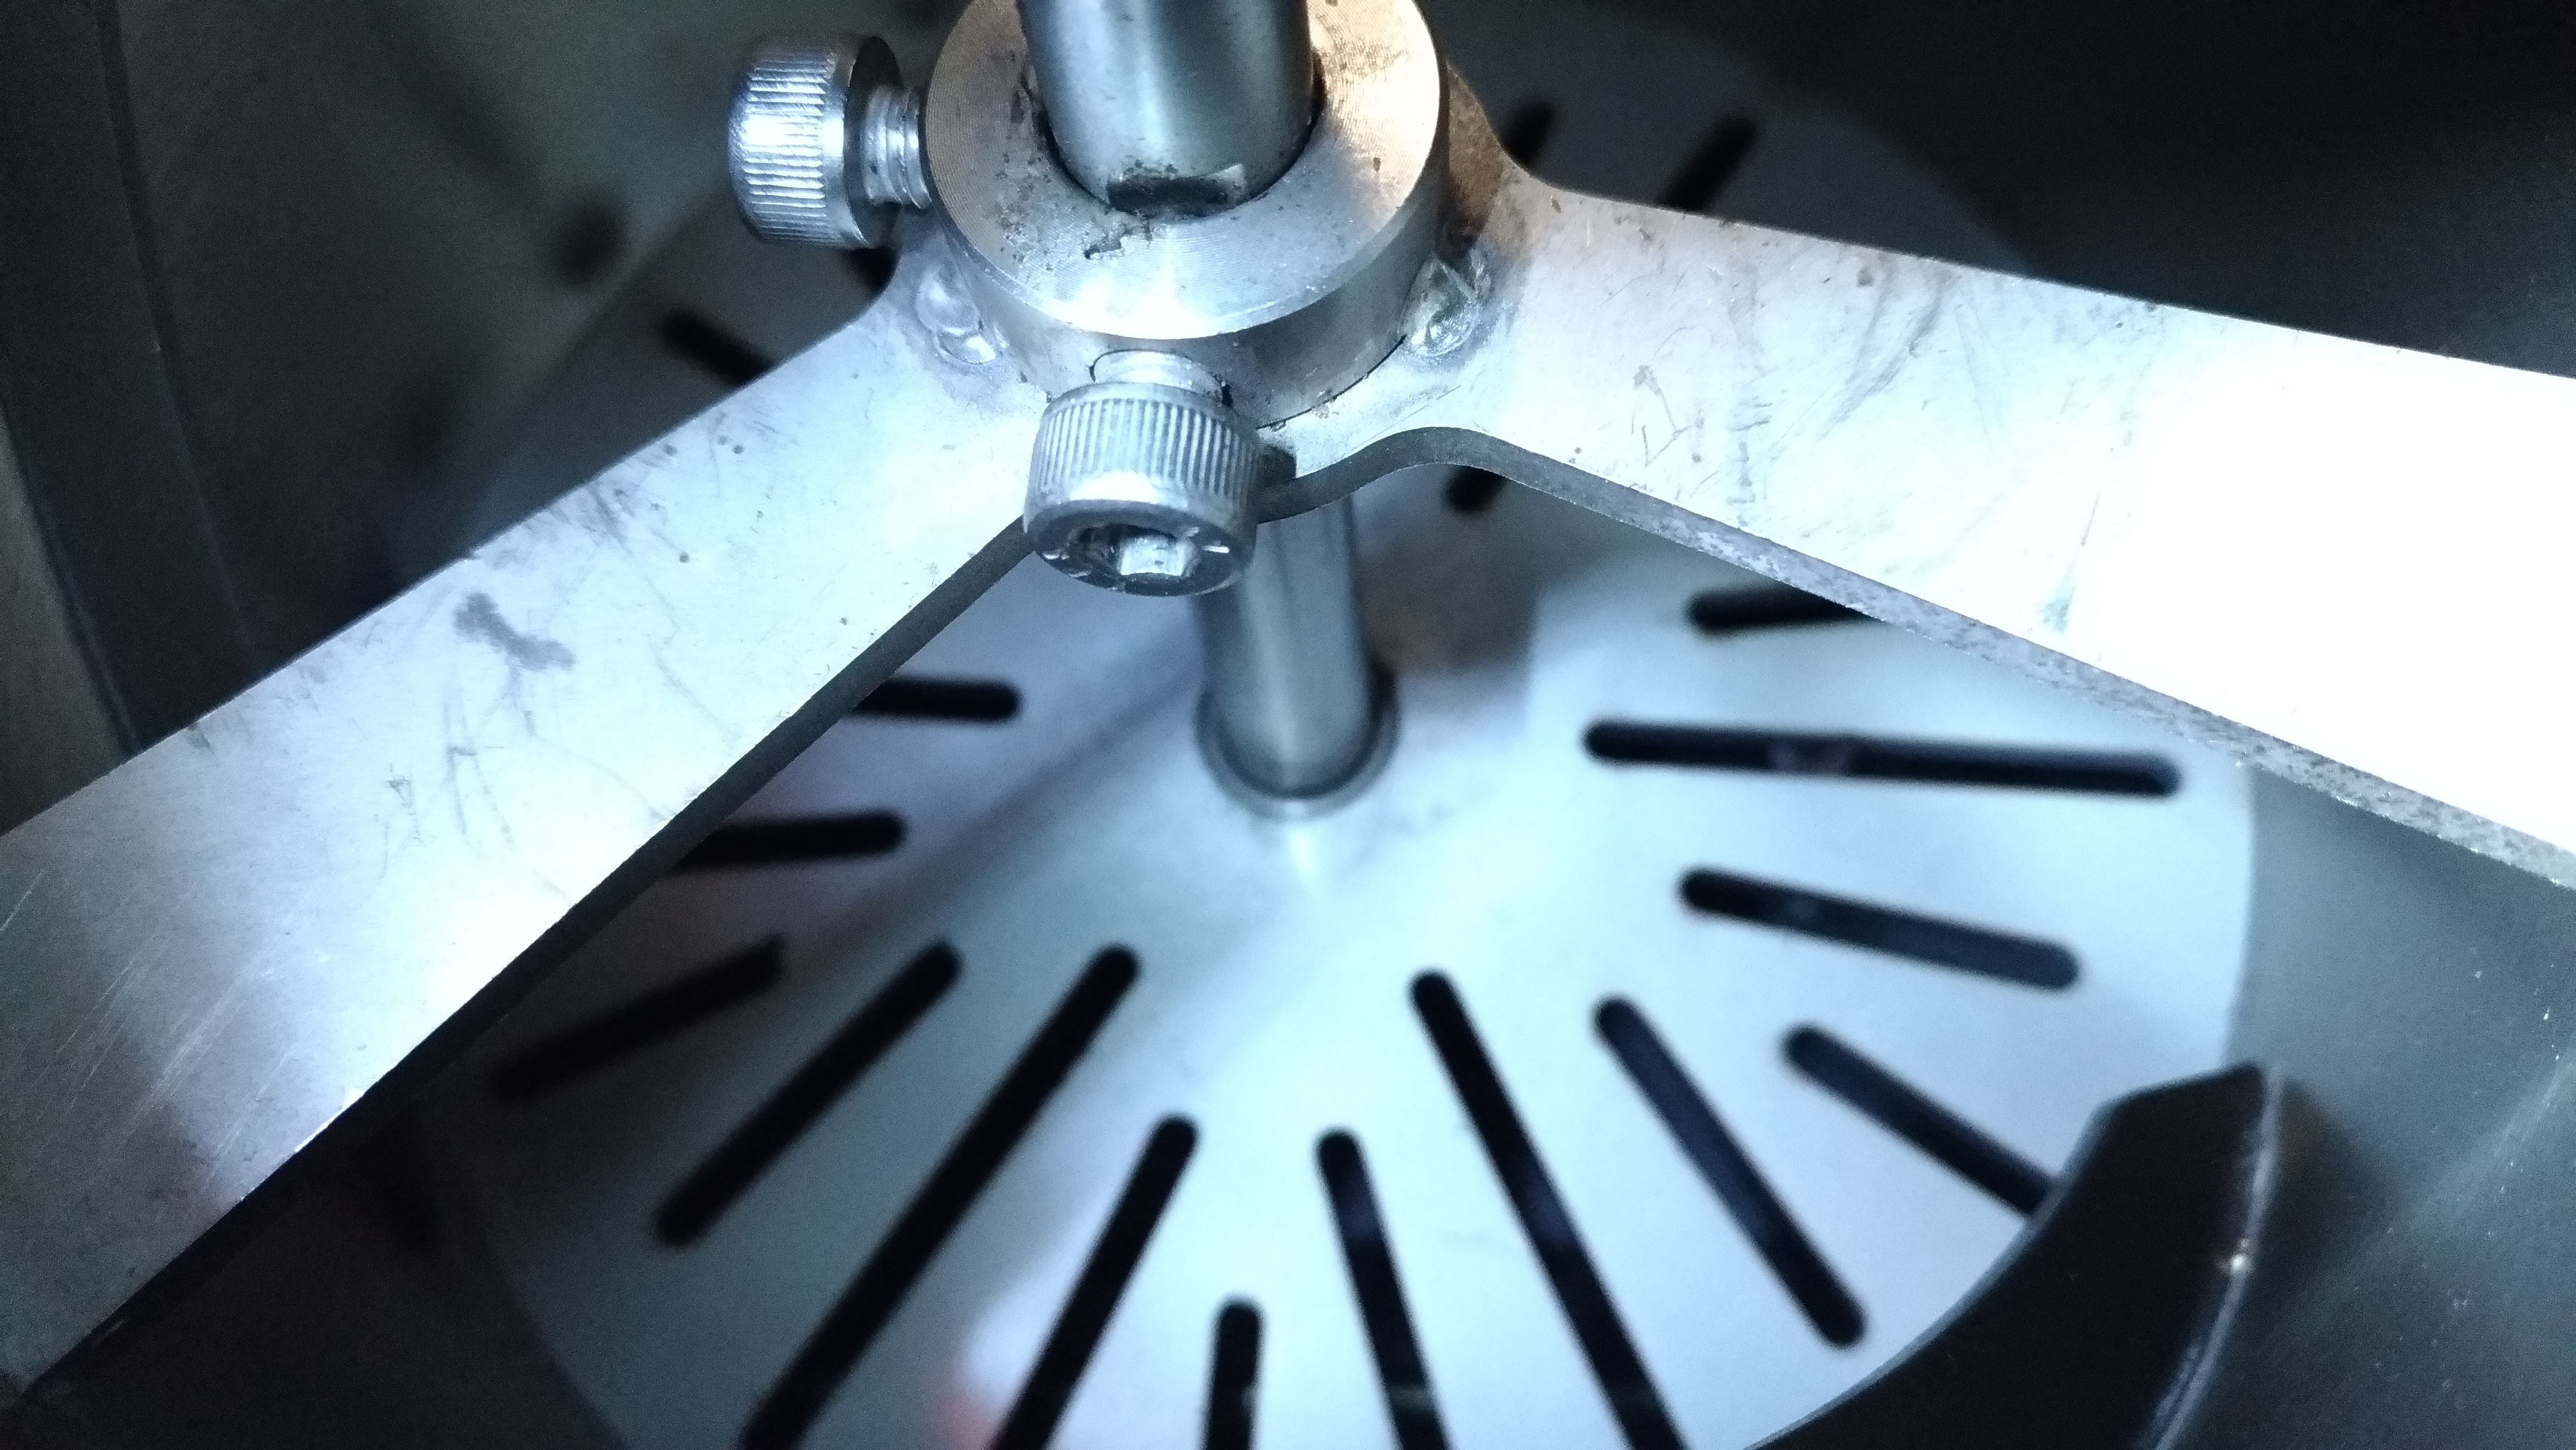
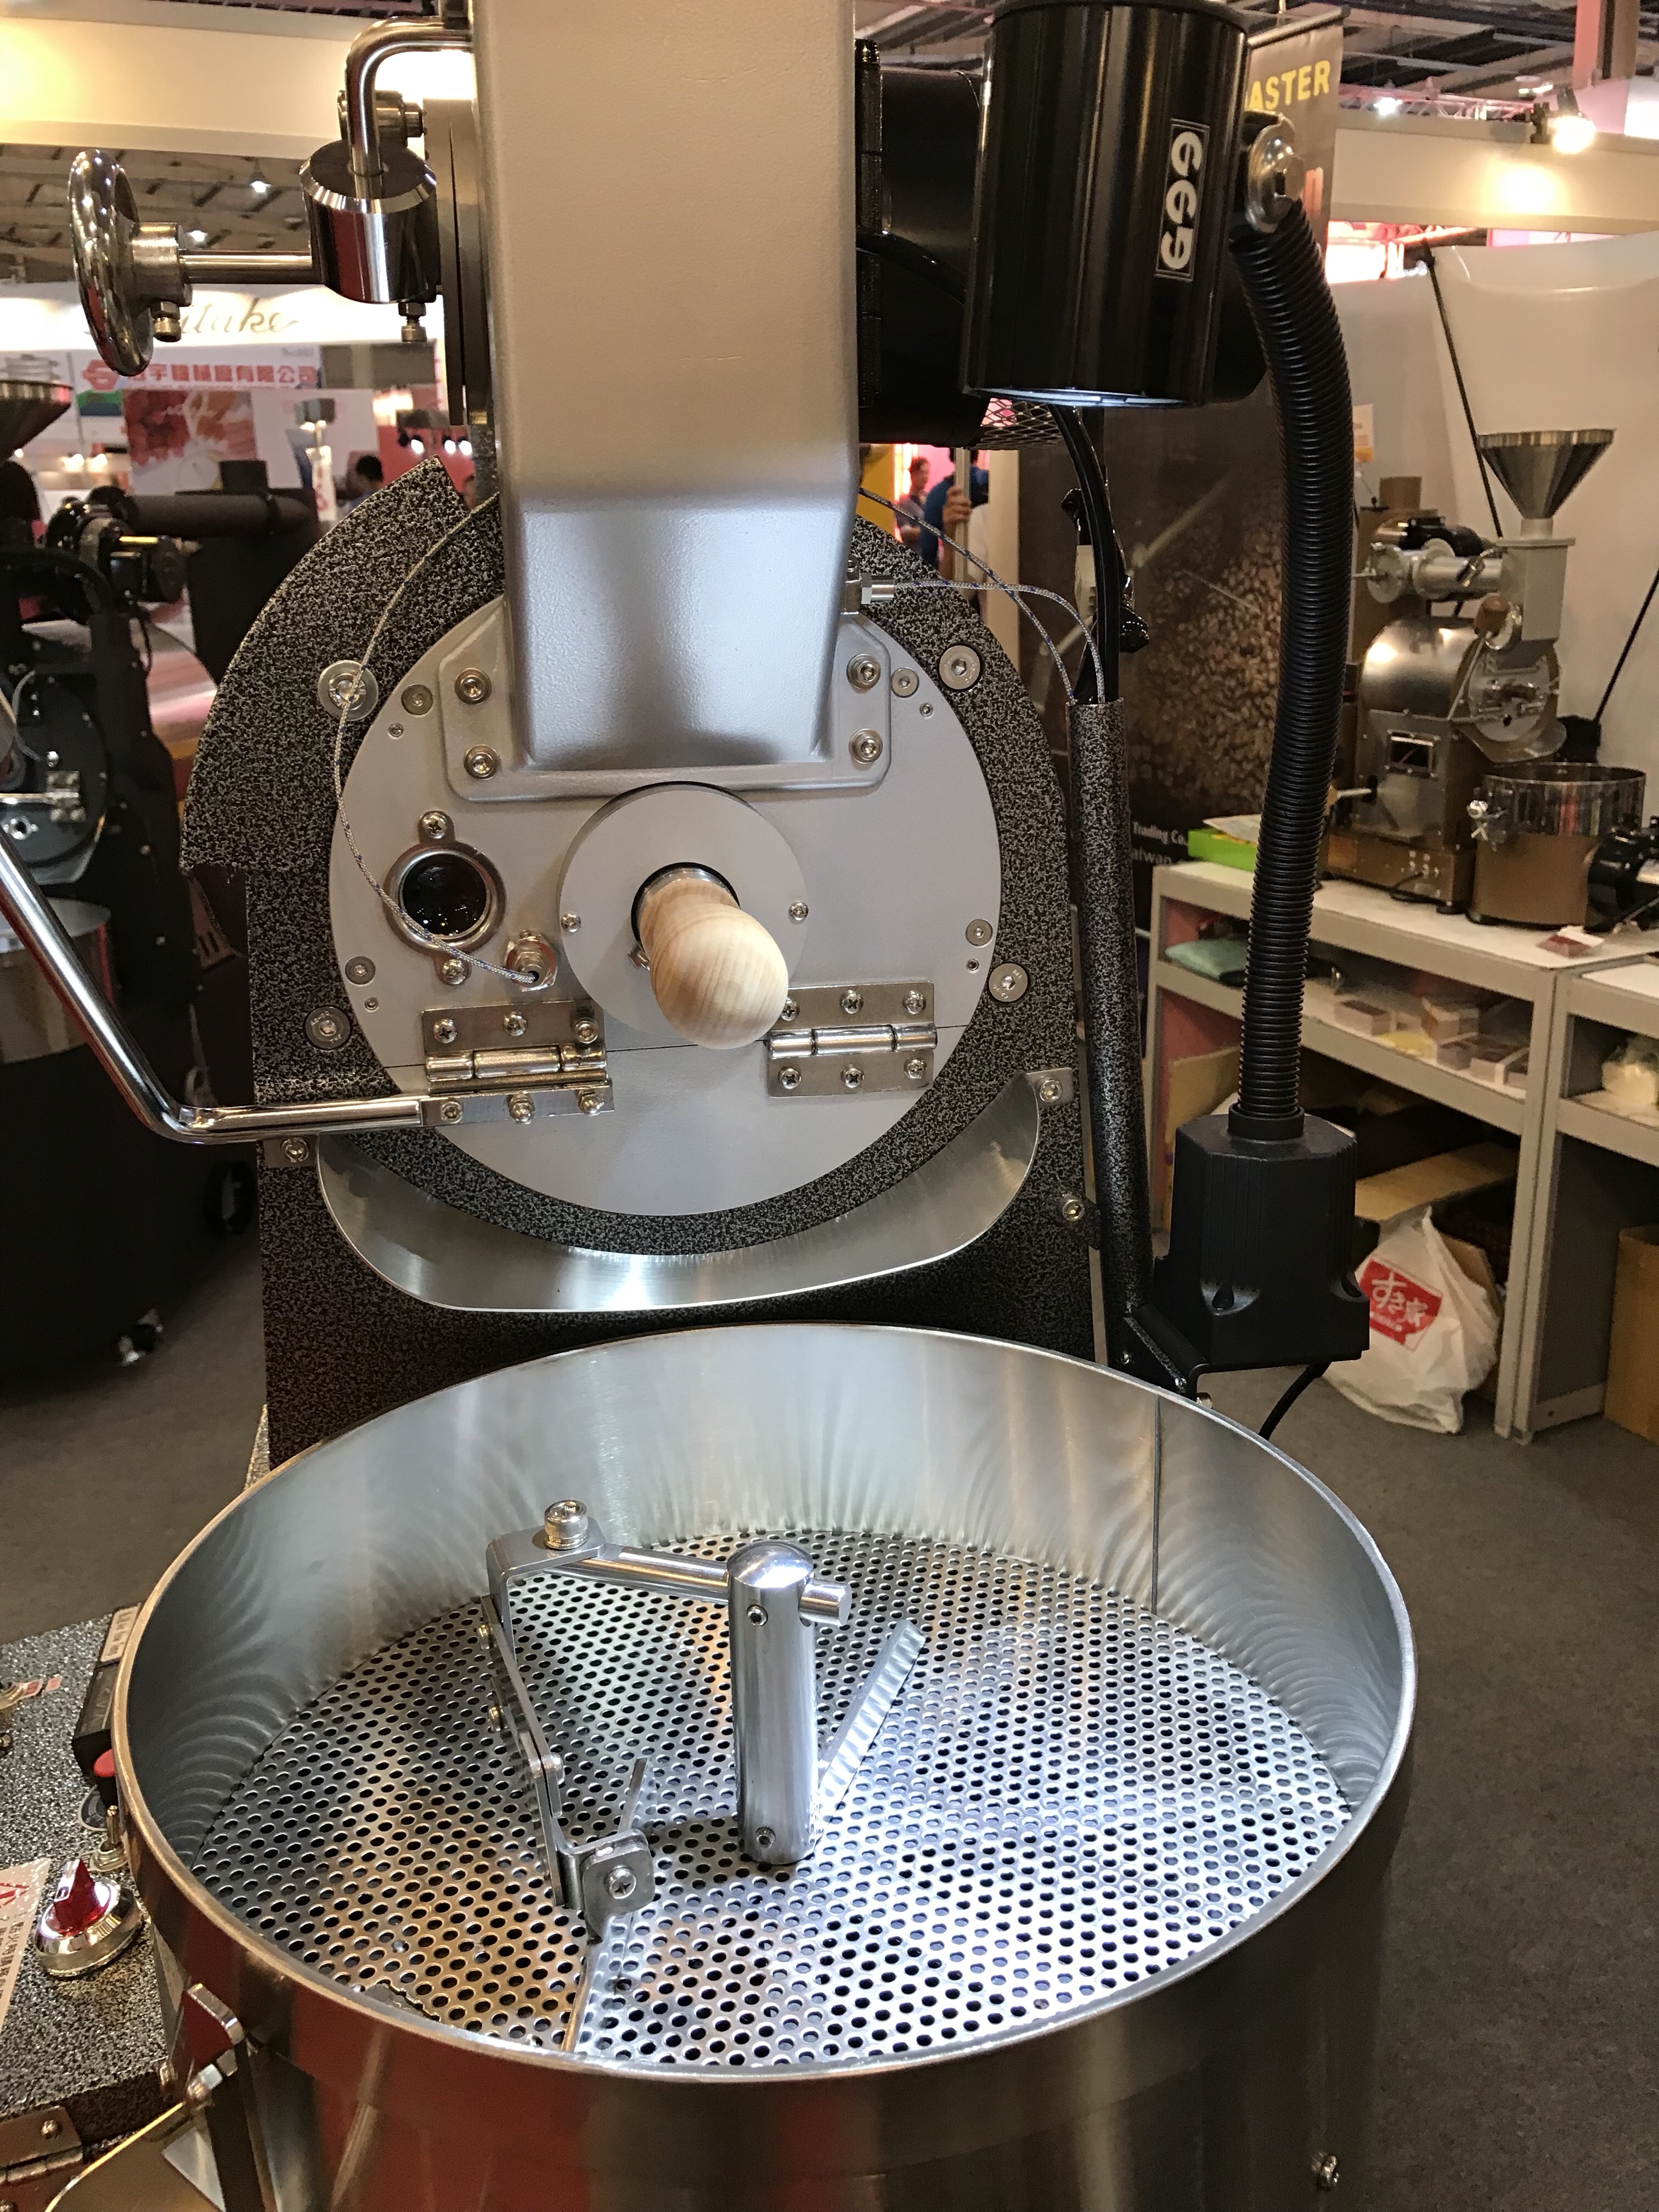
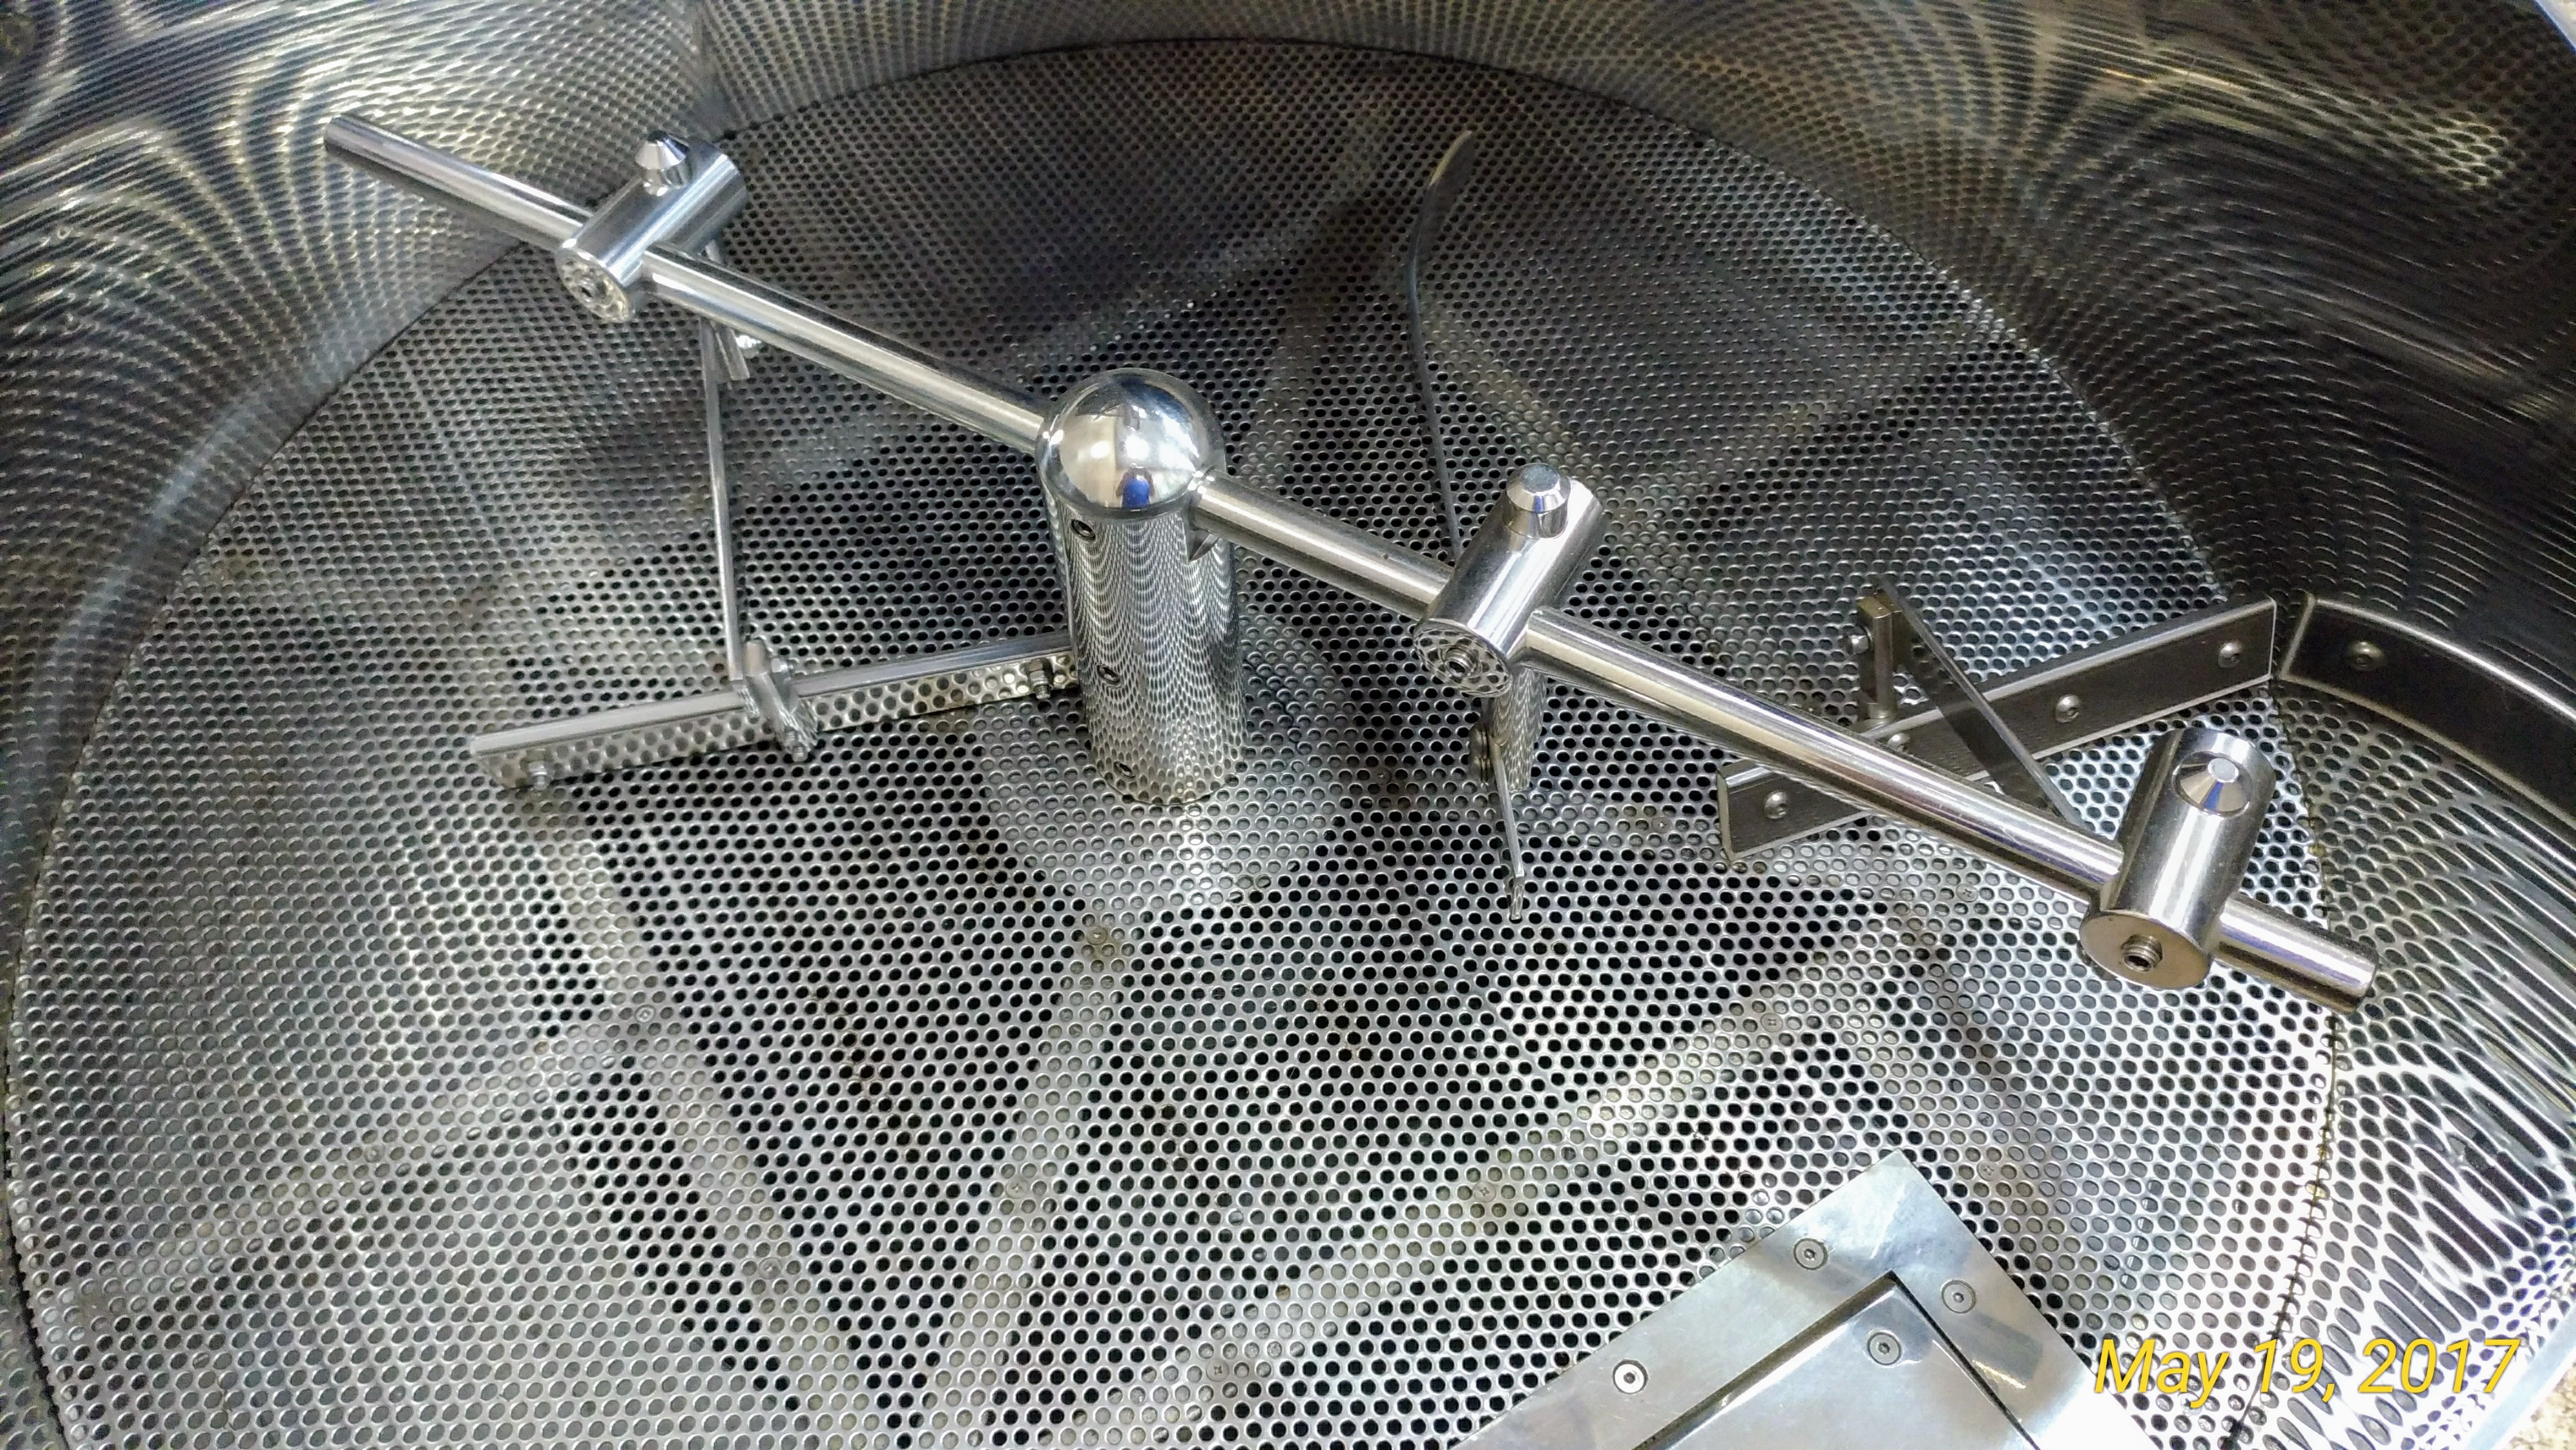
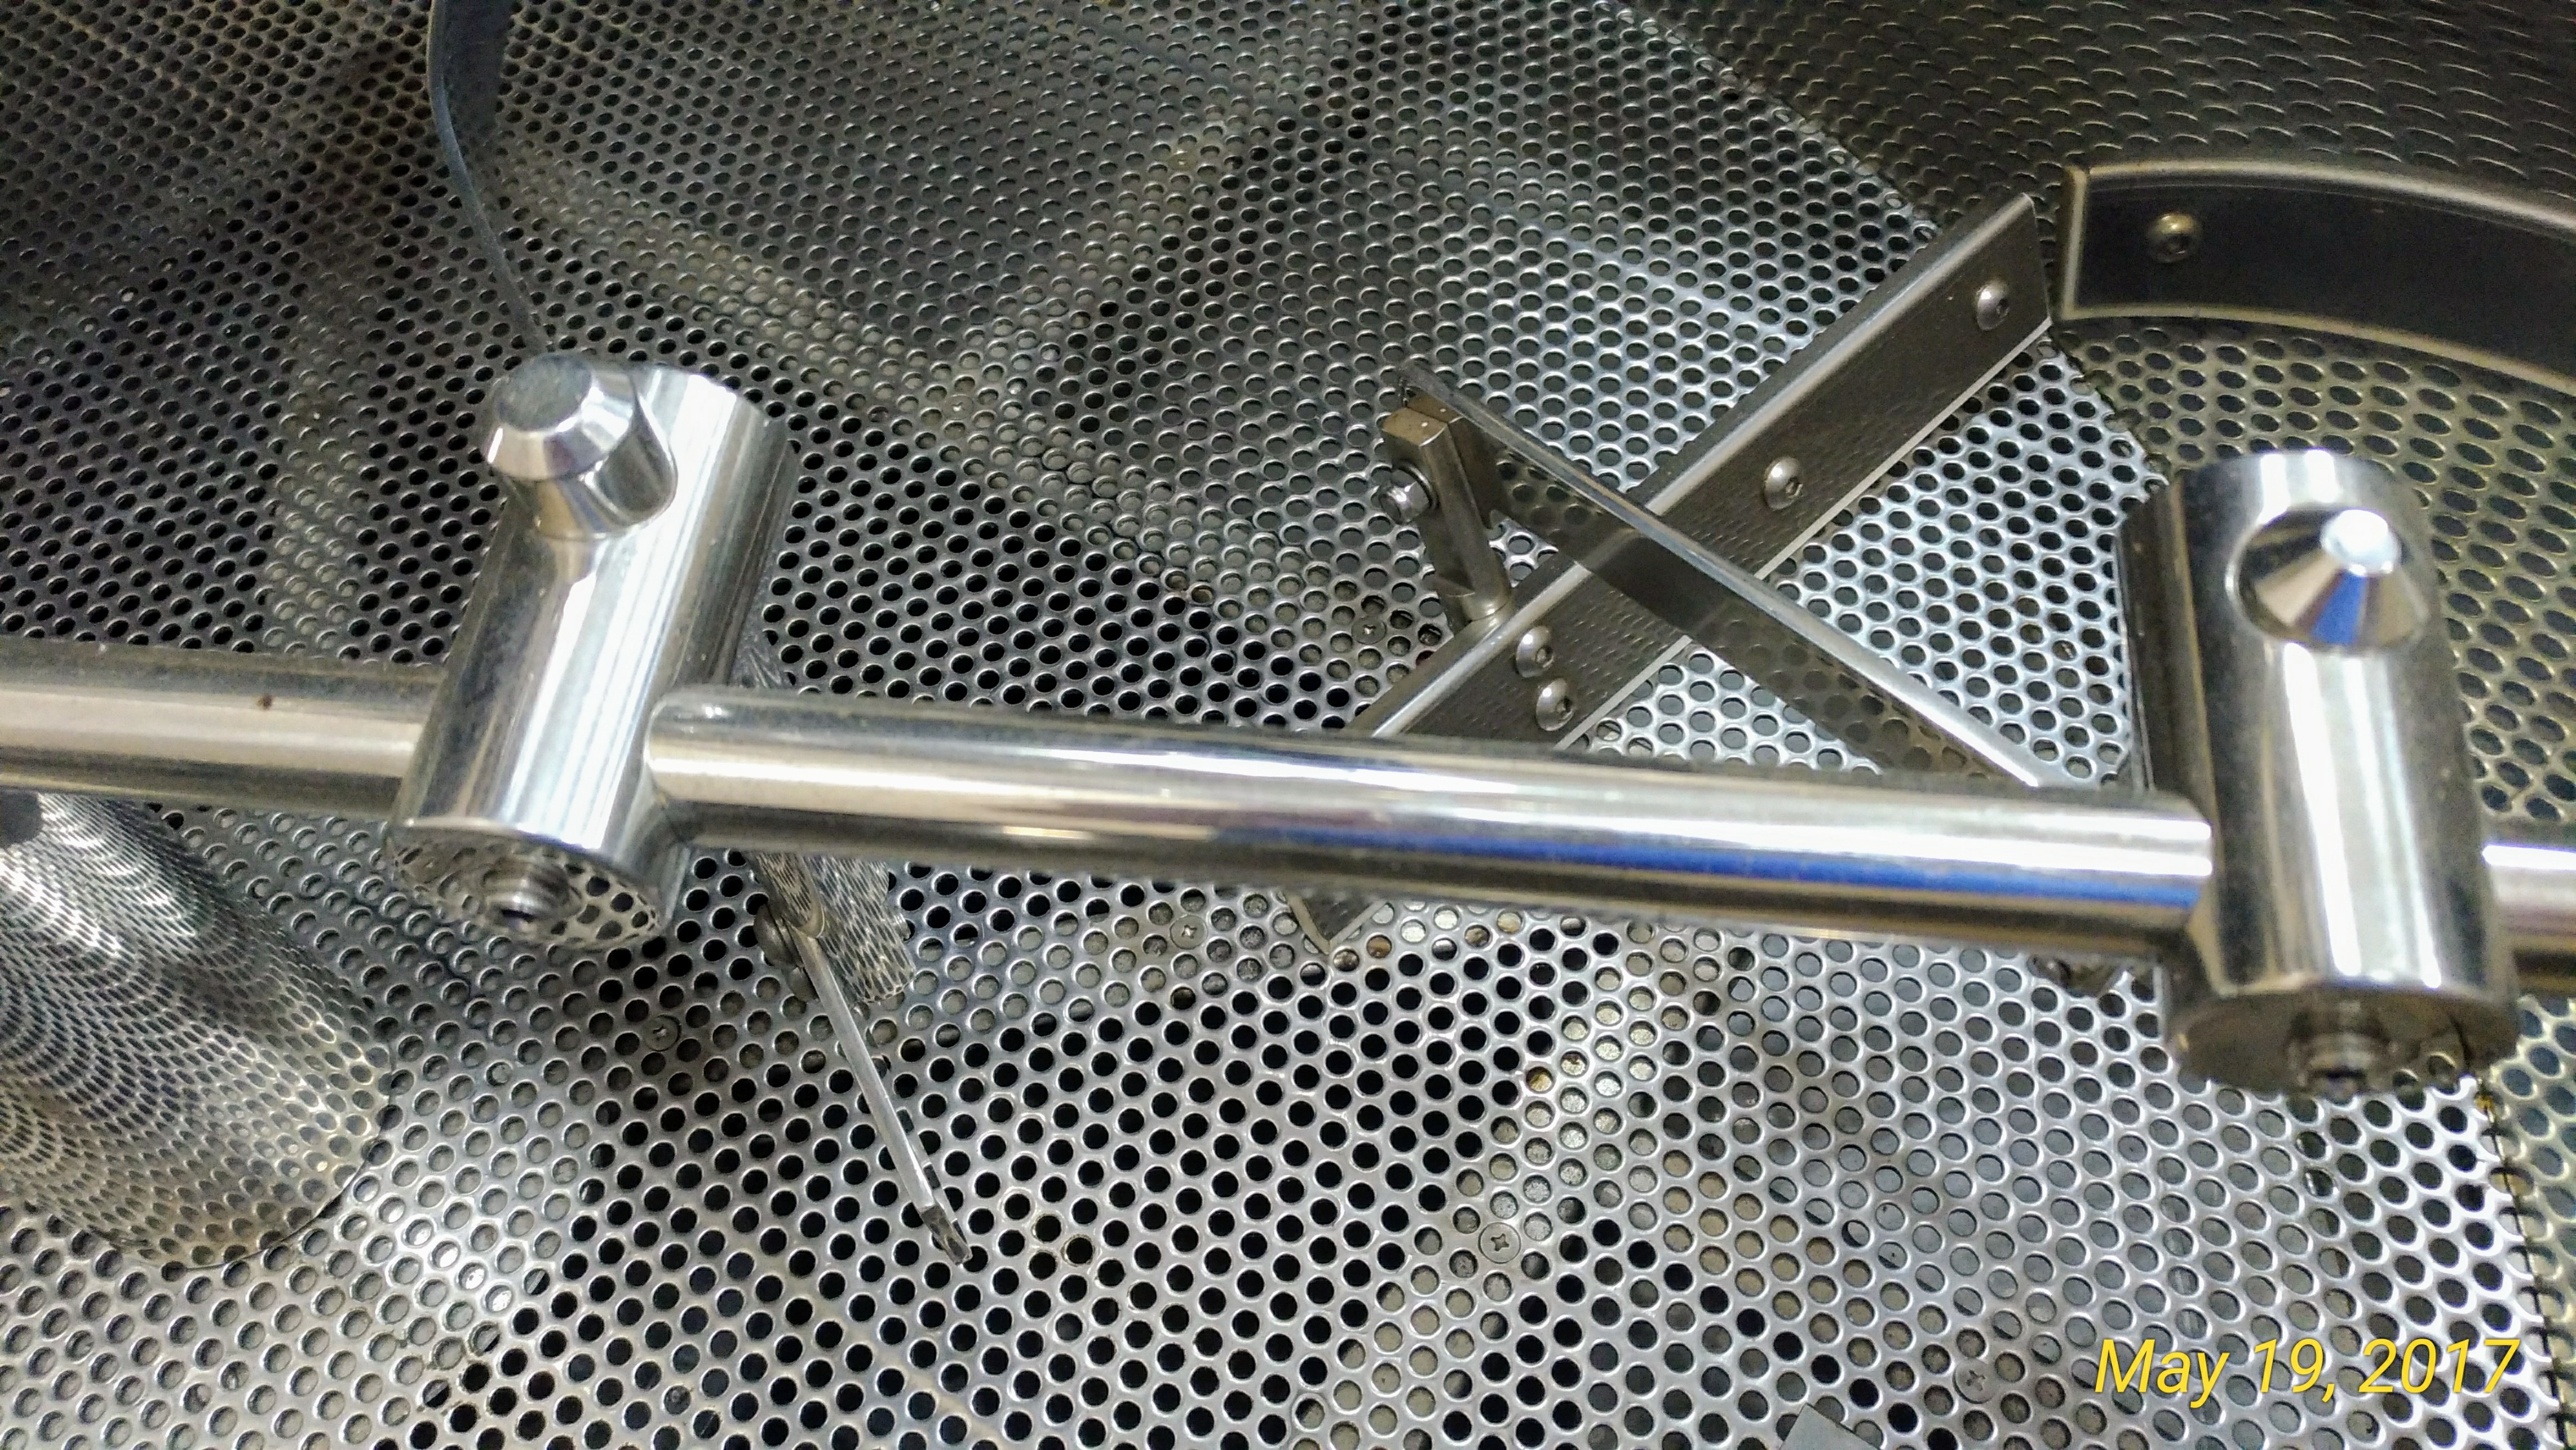
Feima 100n Roasting Drum
Slow Motion Drum Video
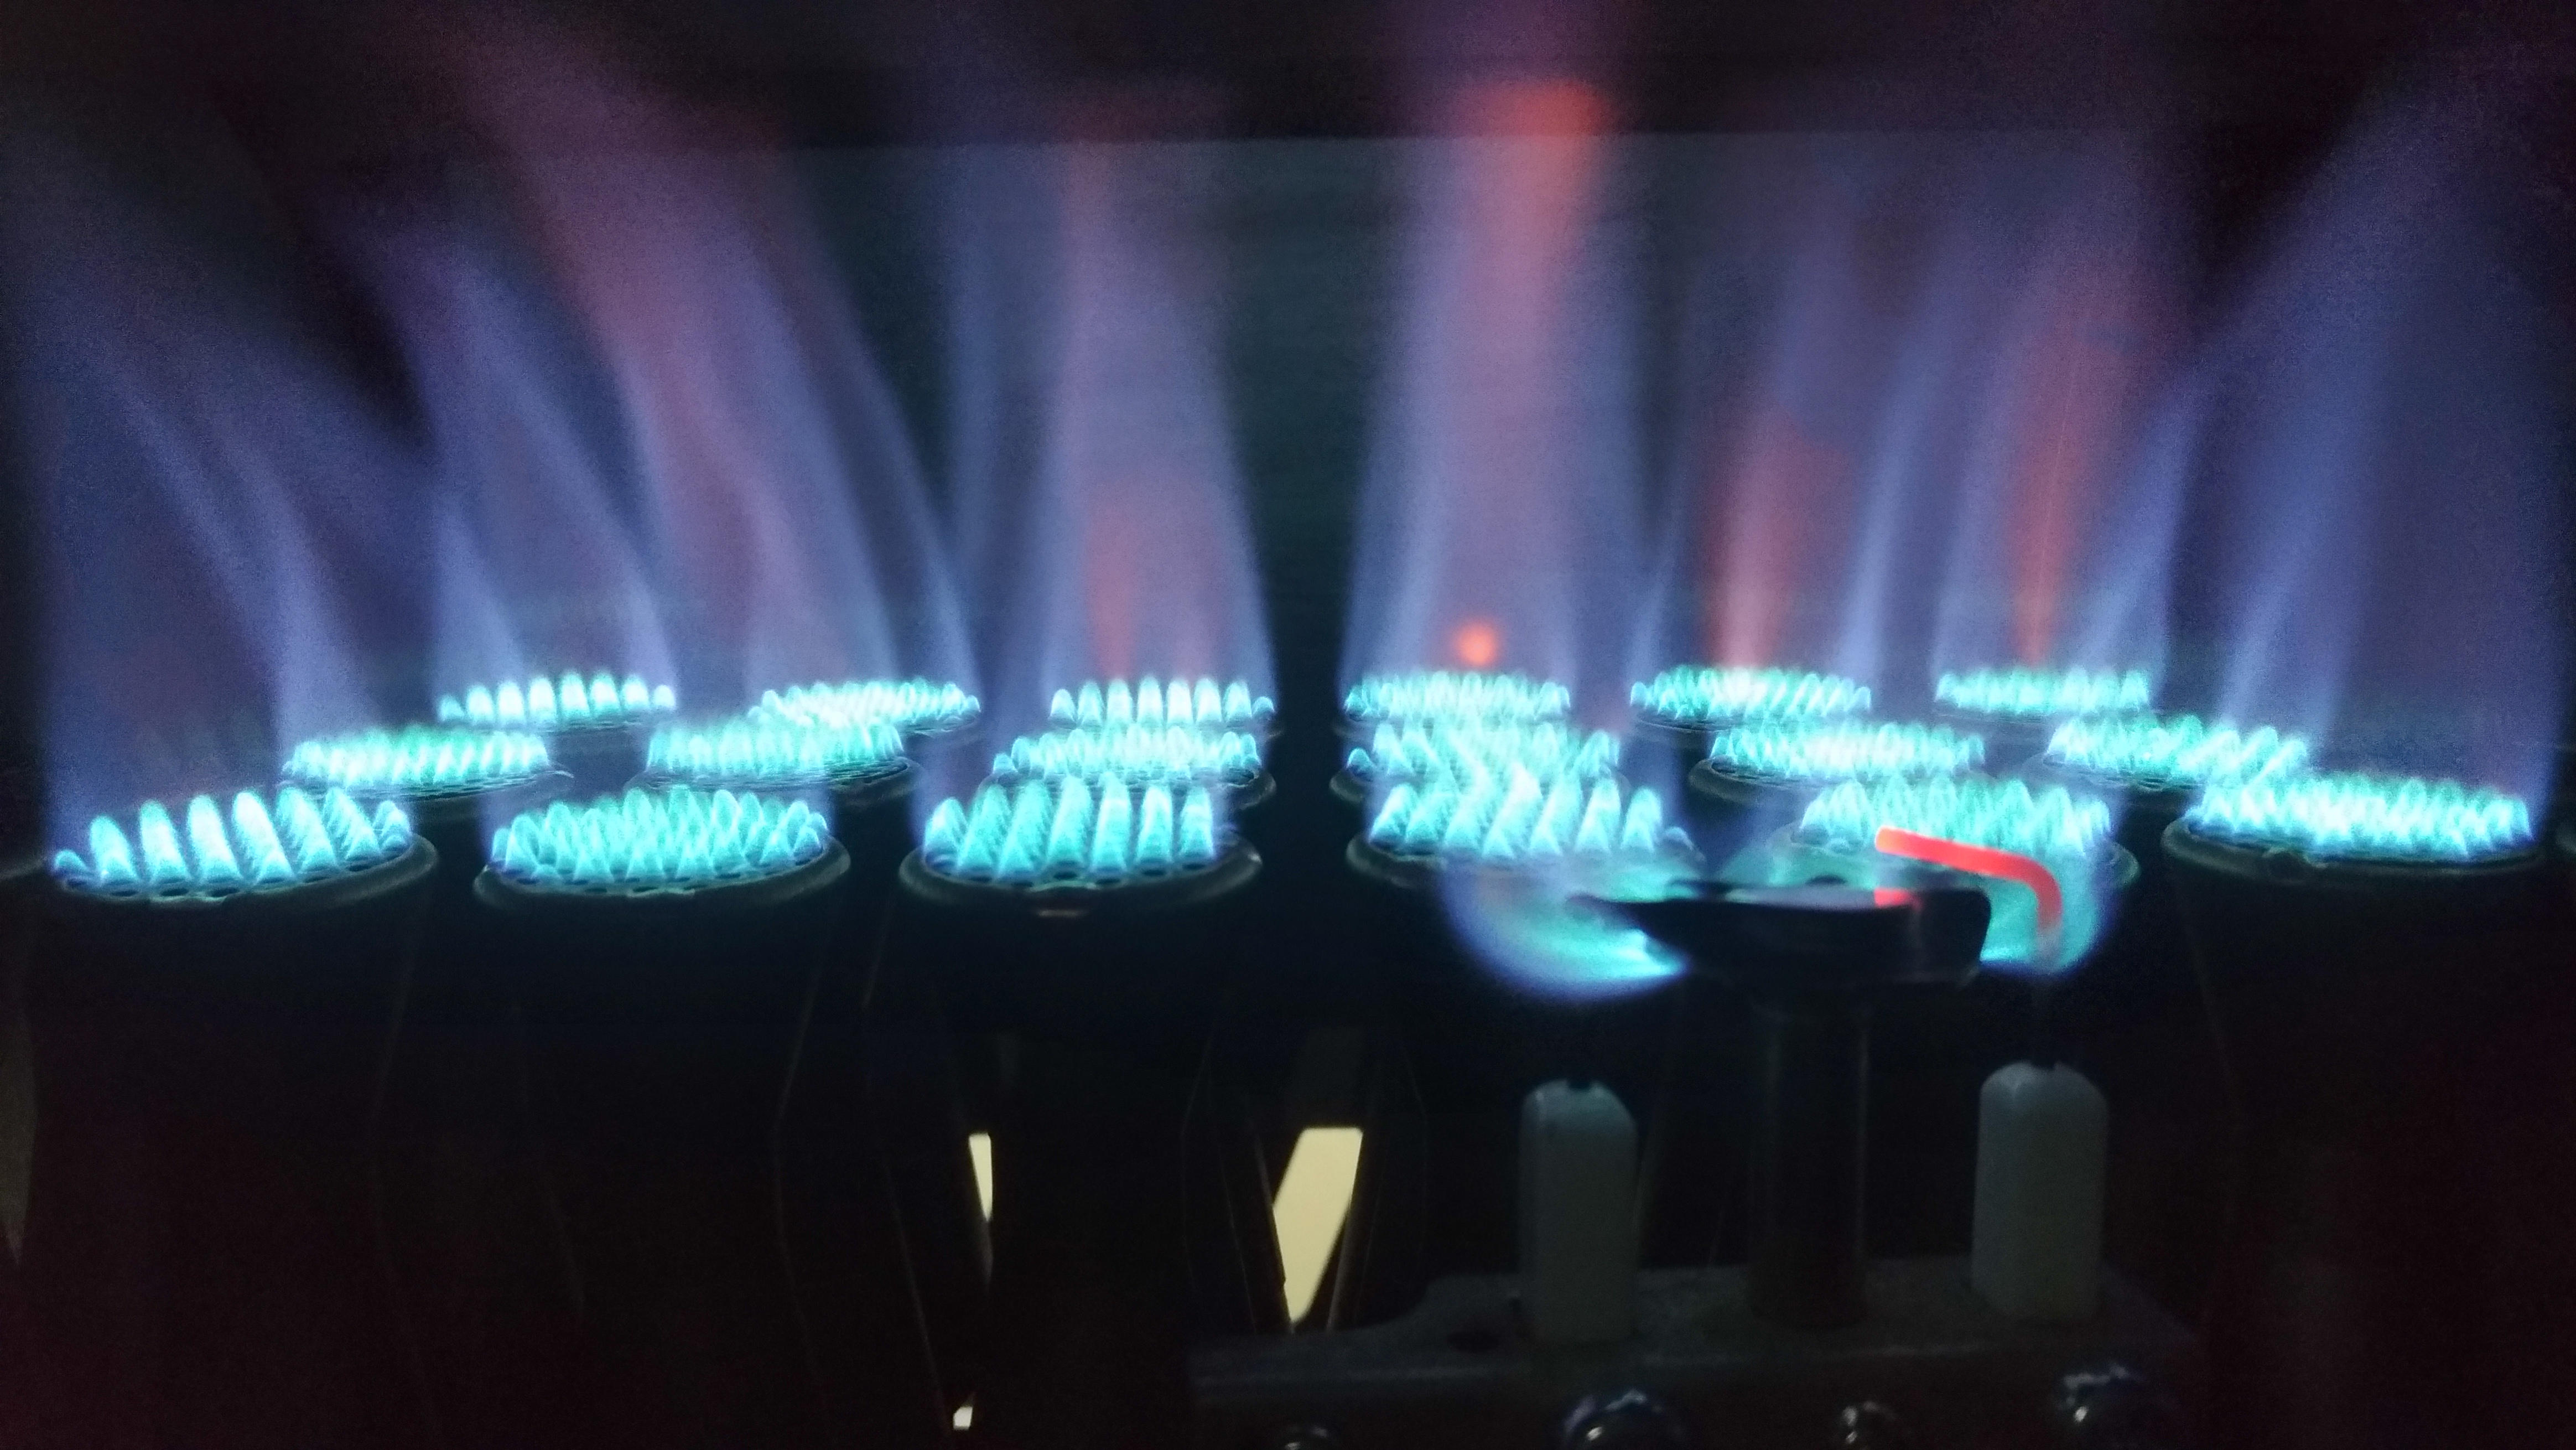
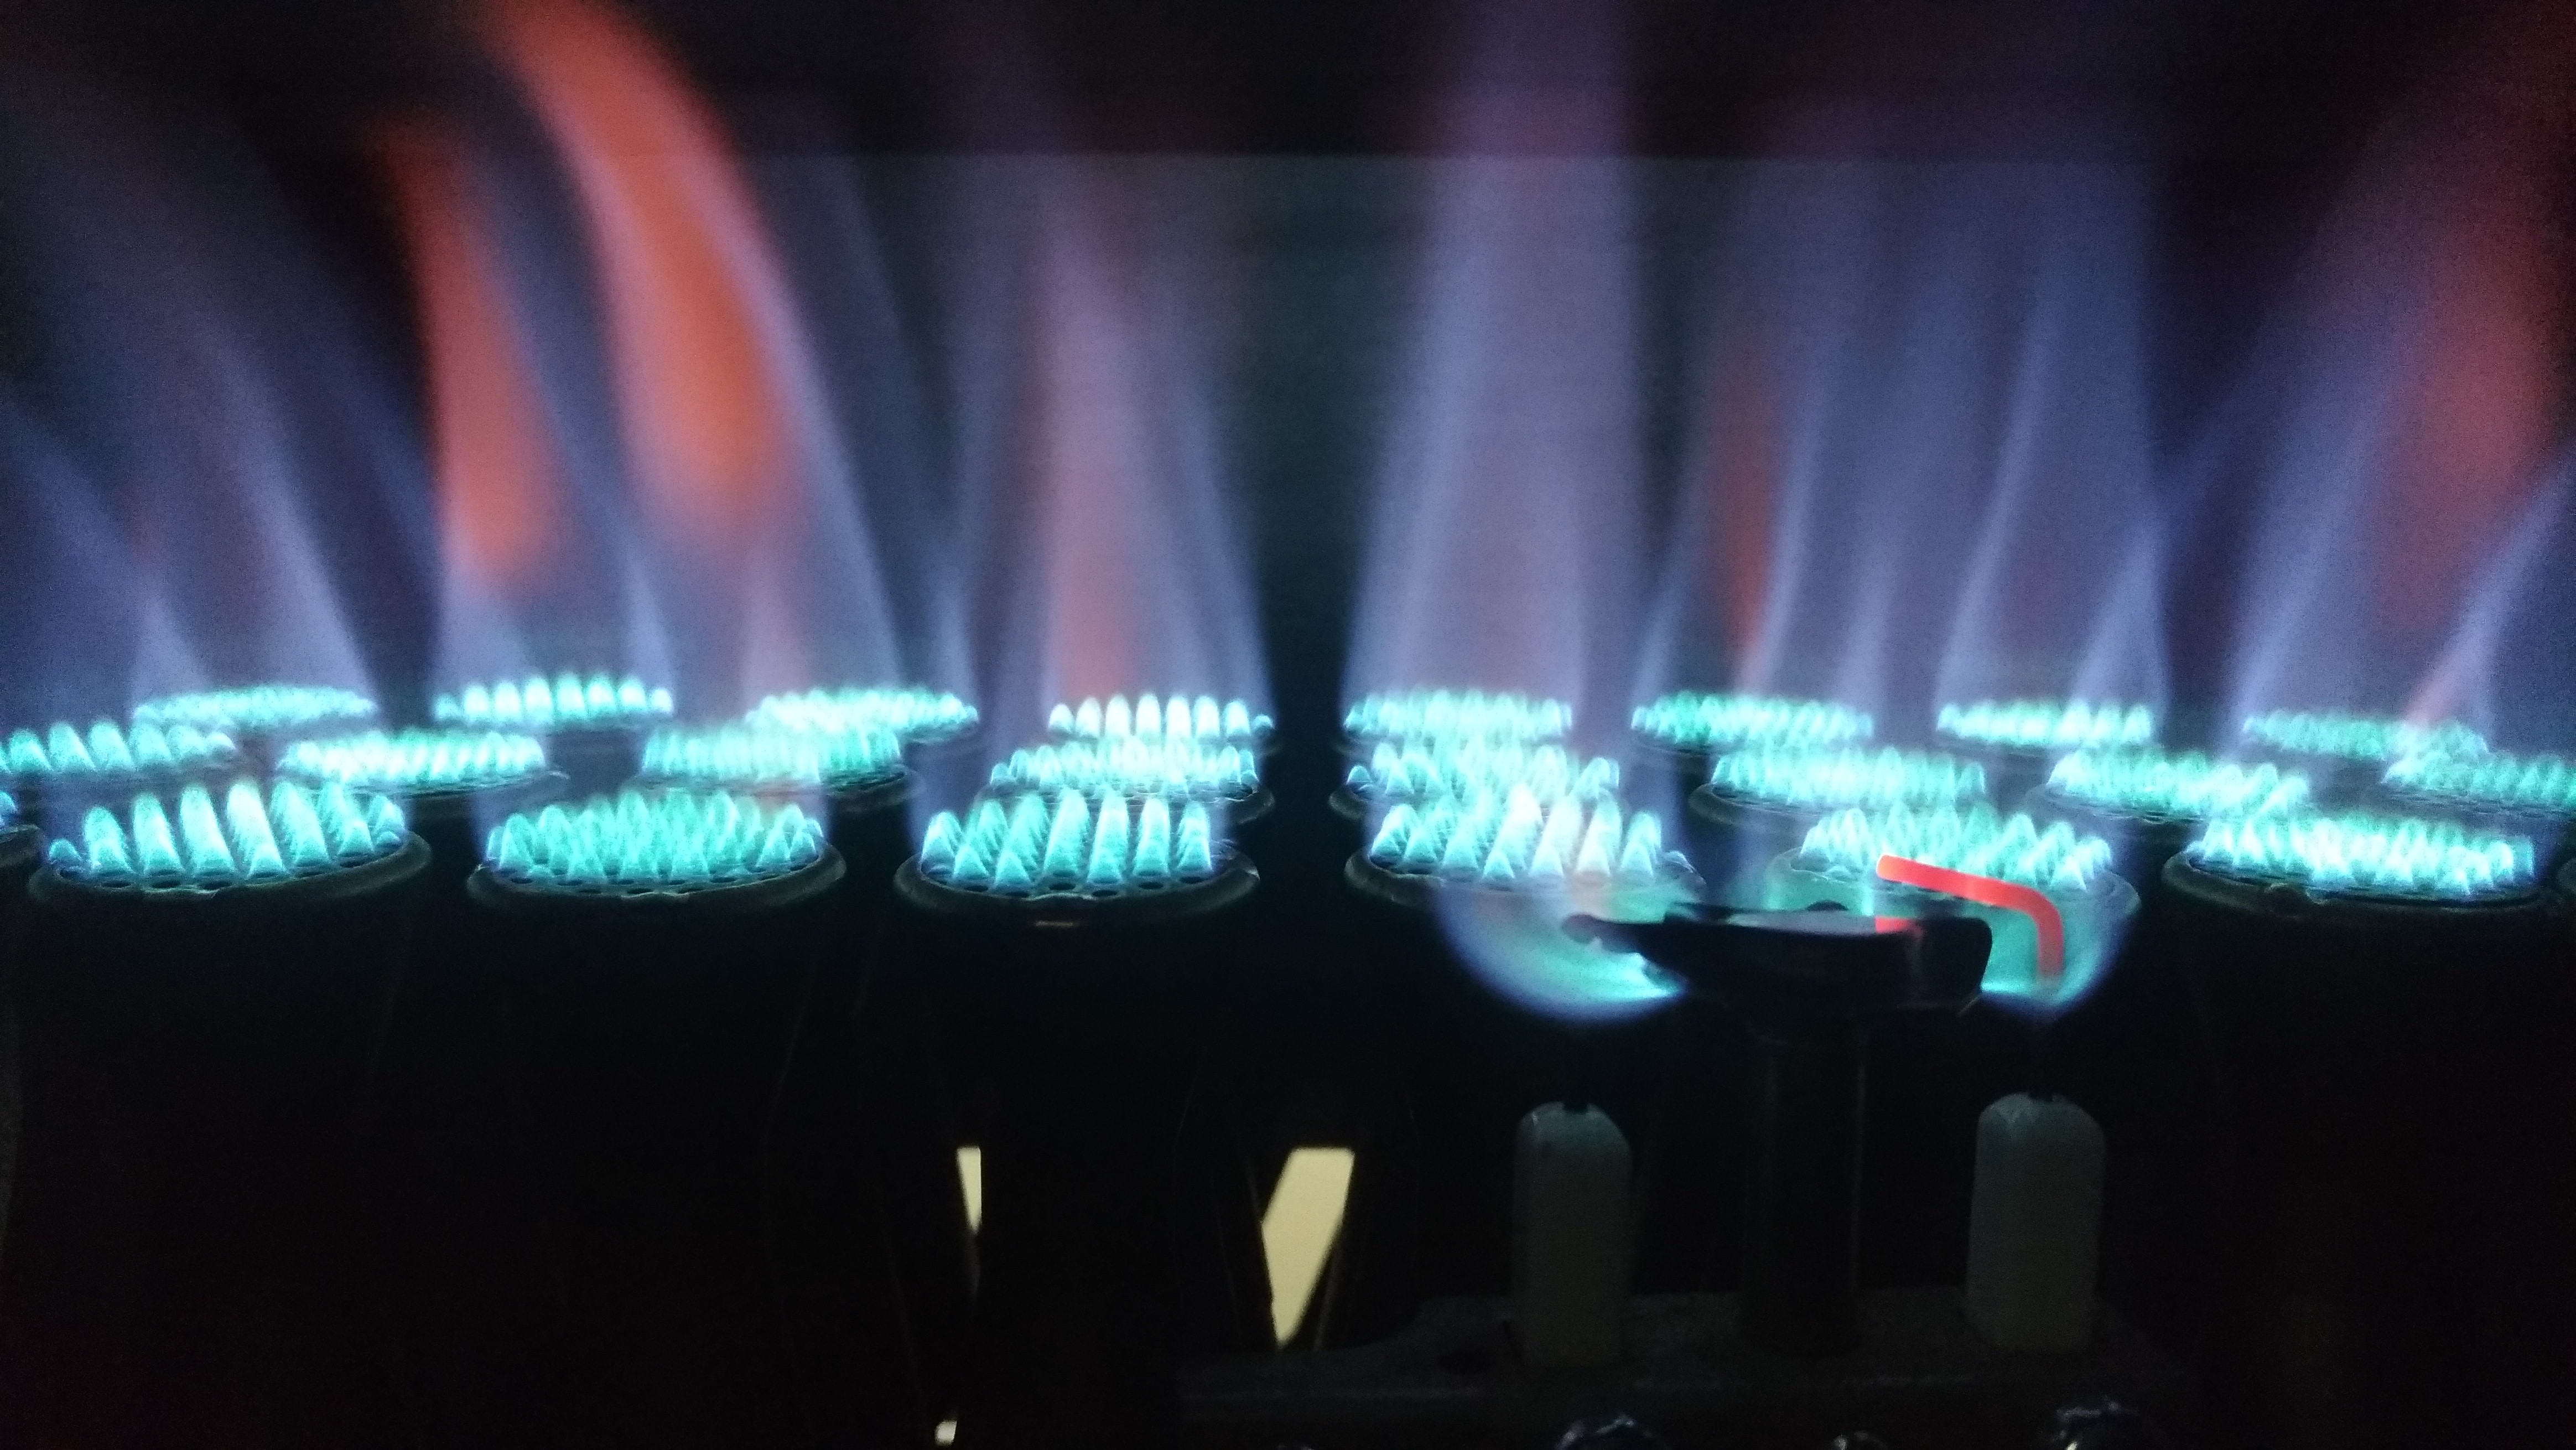
The single burner is angled towards the front of the drum, previous edition had the burner vertical. This change has resulted in increased roasting power.
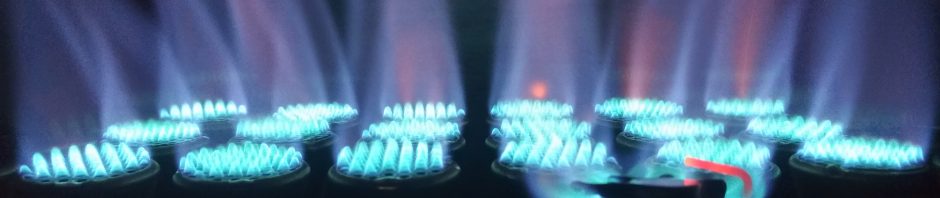
Feima 100n Atmosphere Burner
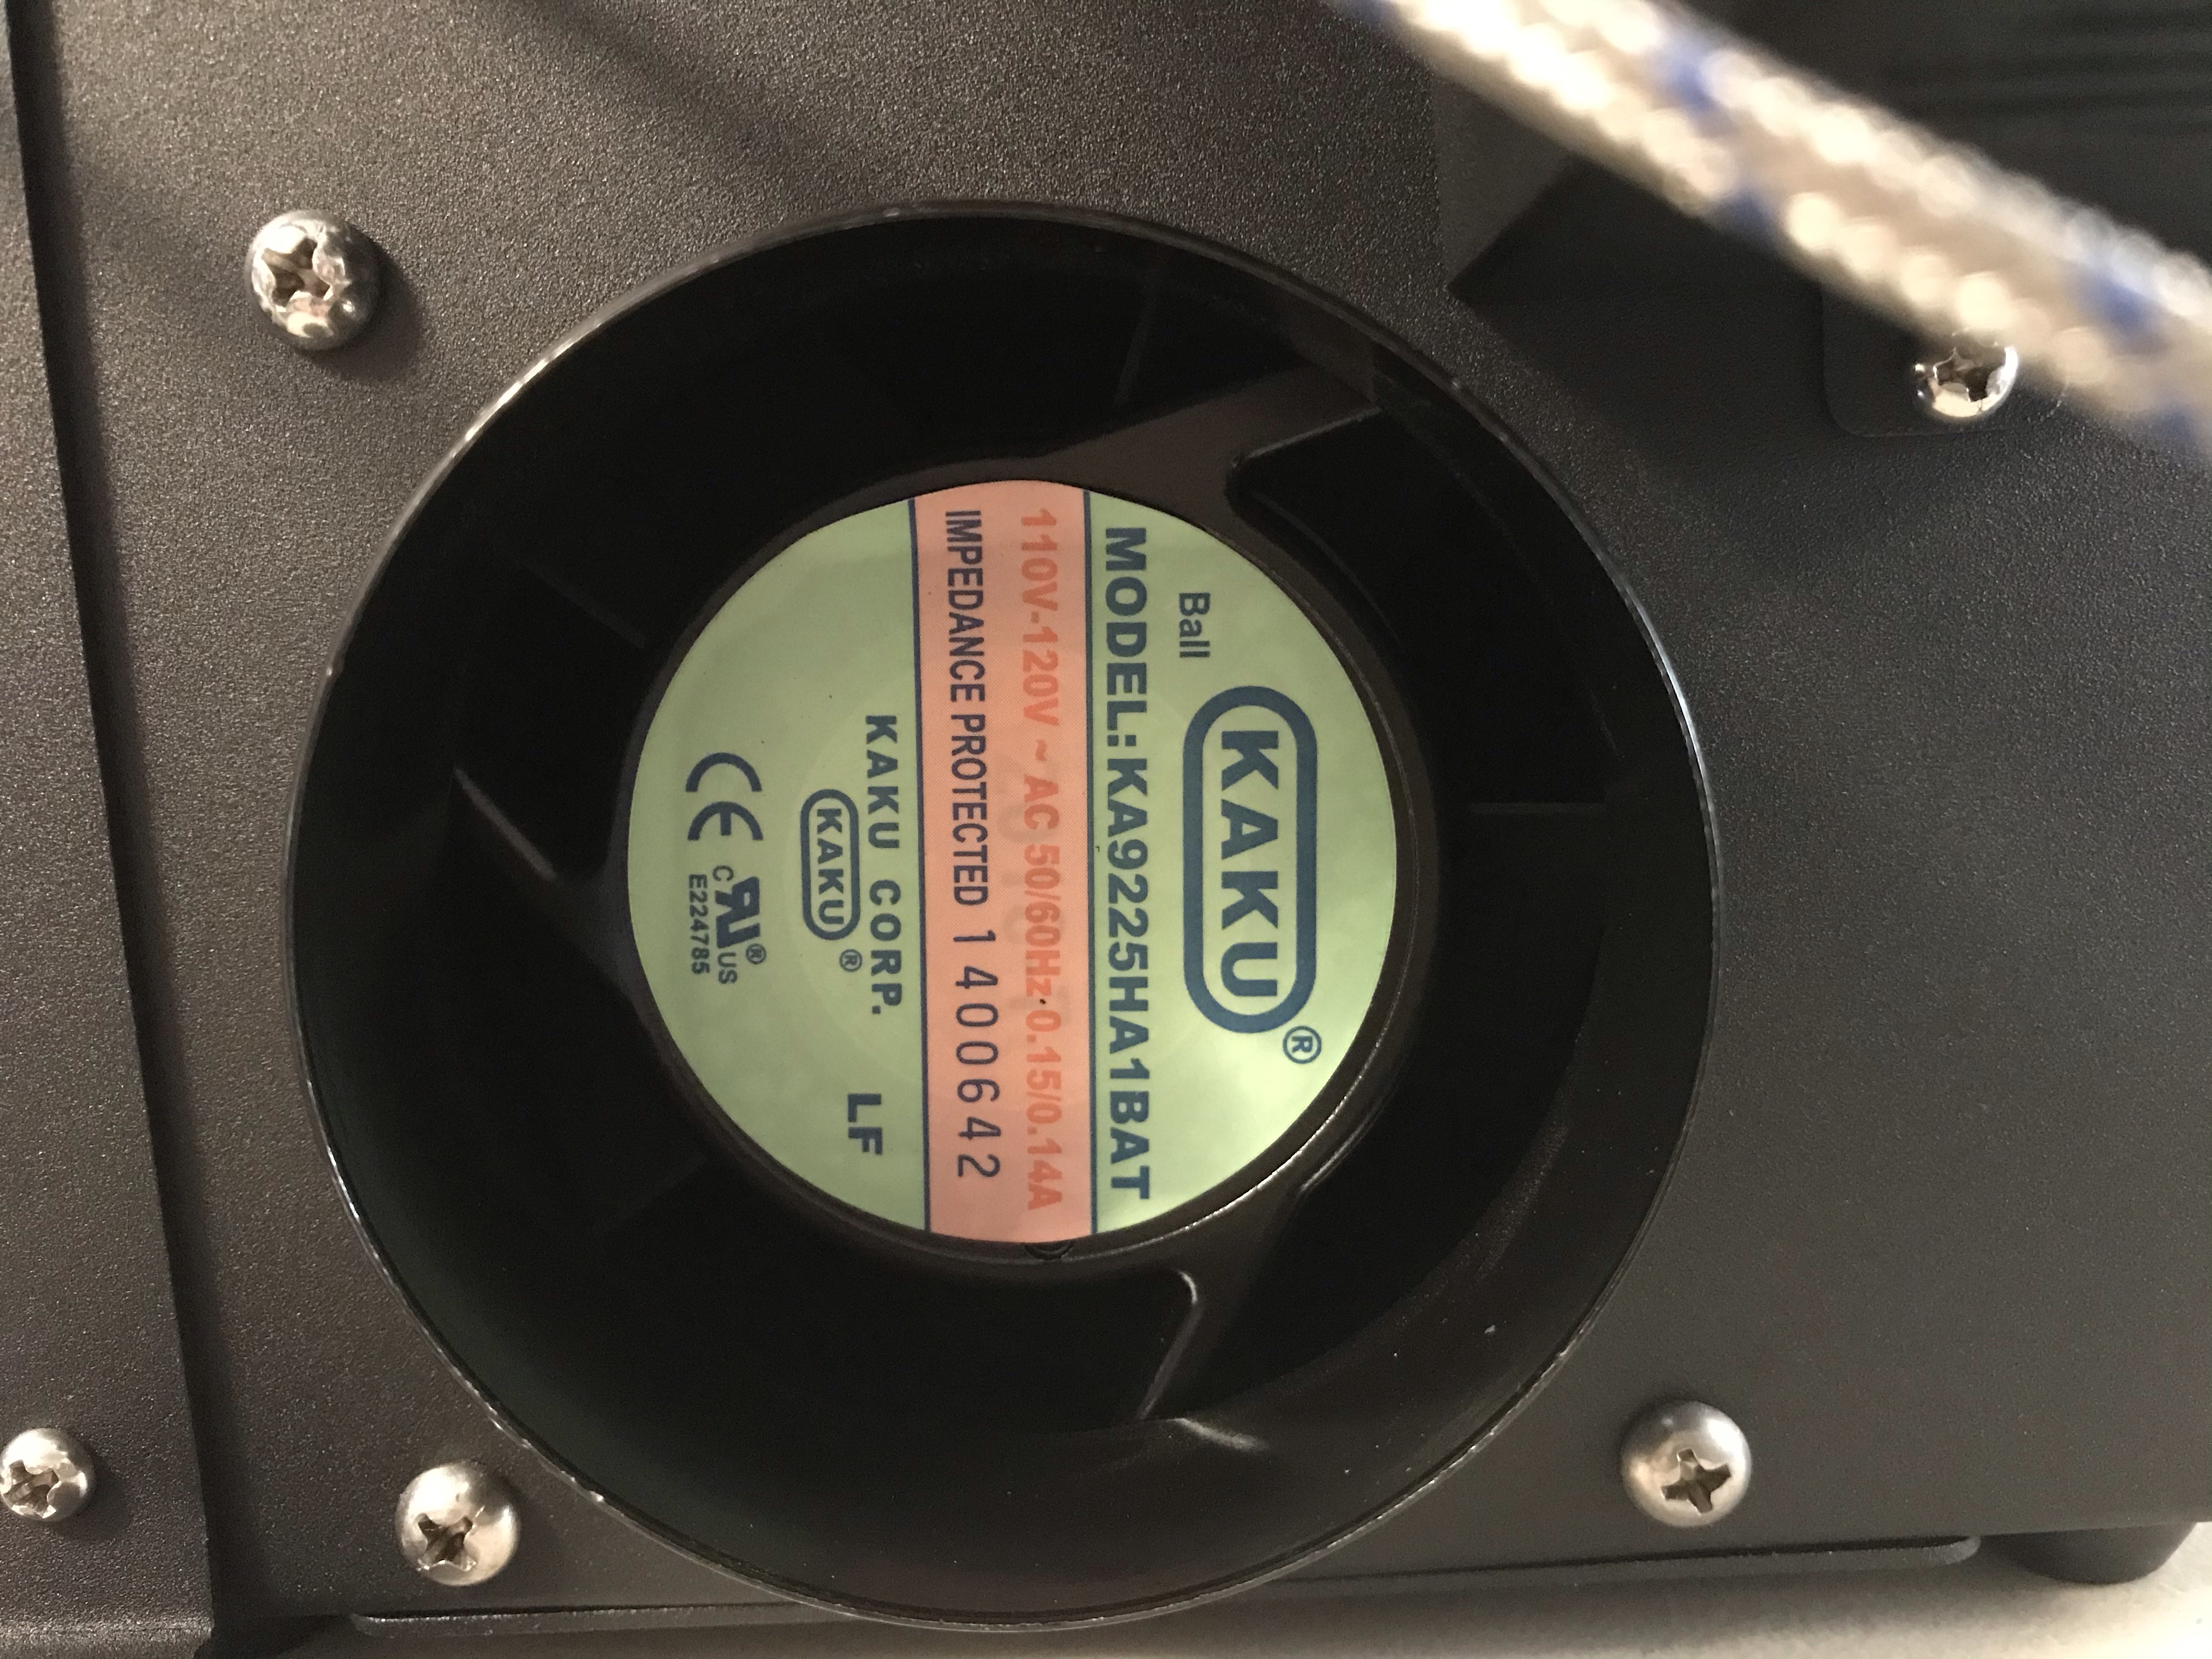
Both roasting drum and bean cooling tray have axial fans with 3” flanges. A chaff bag is included for non-vented use.
Feima 100n Axial Fan
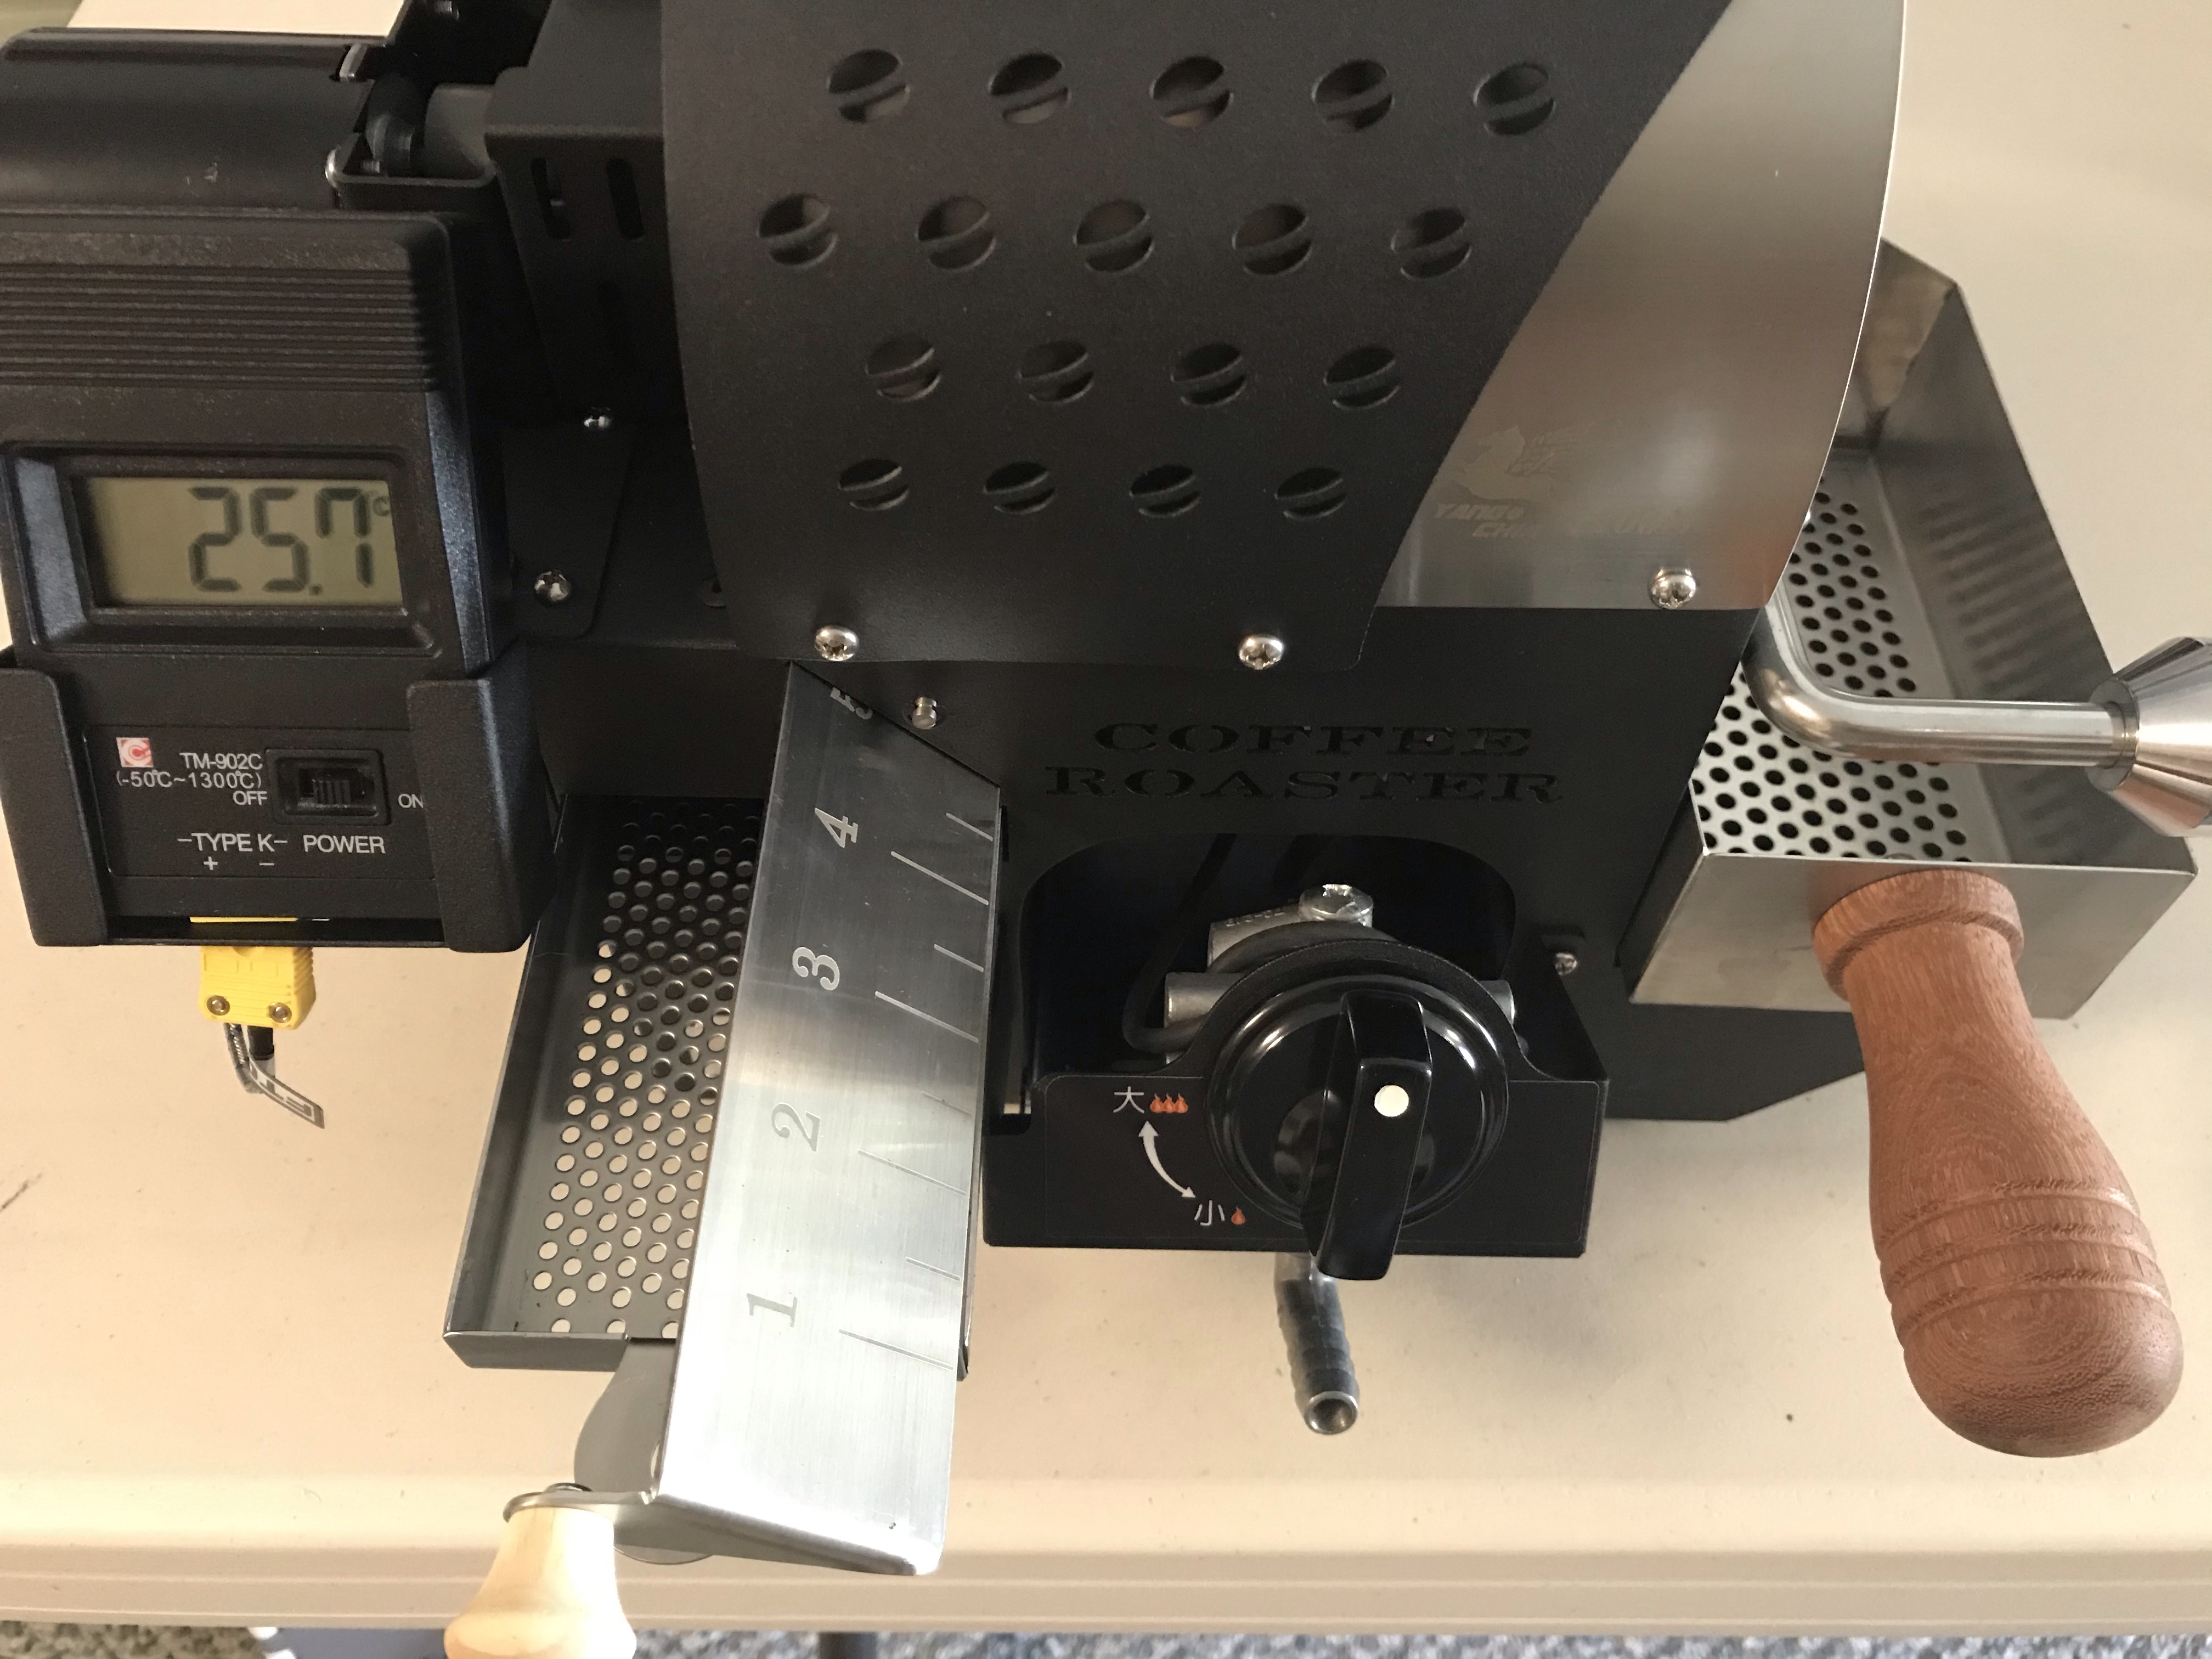
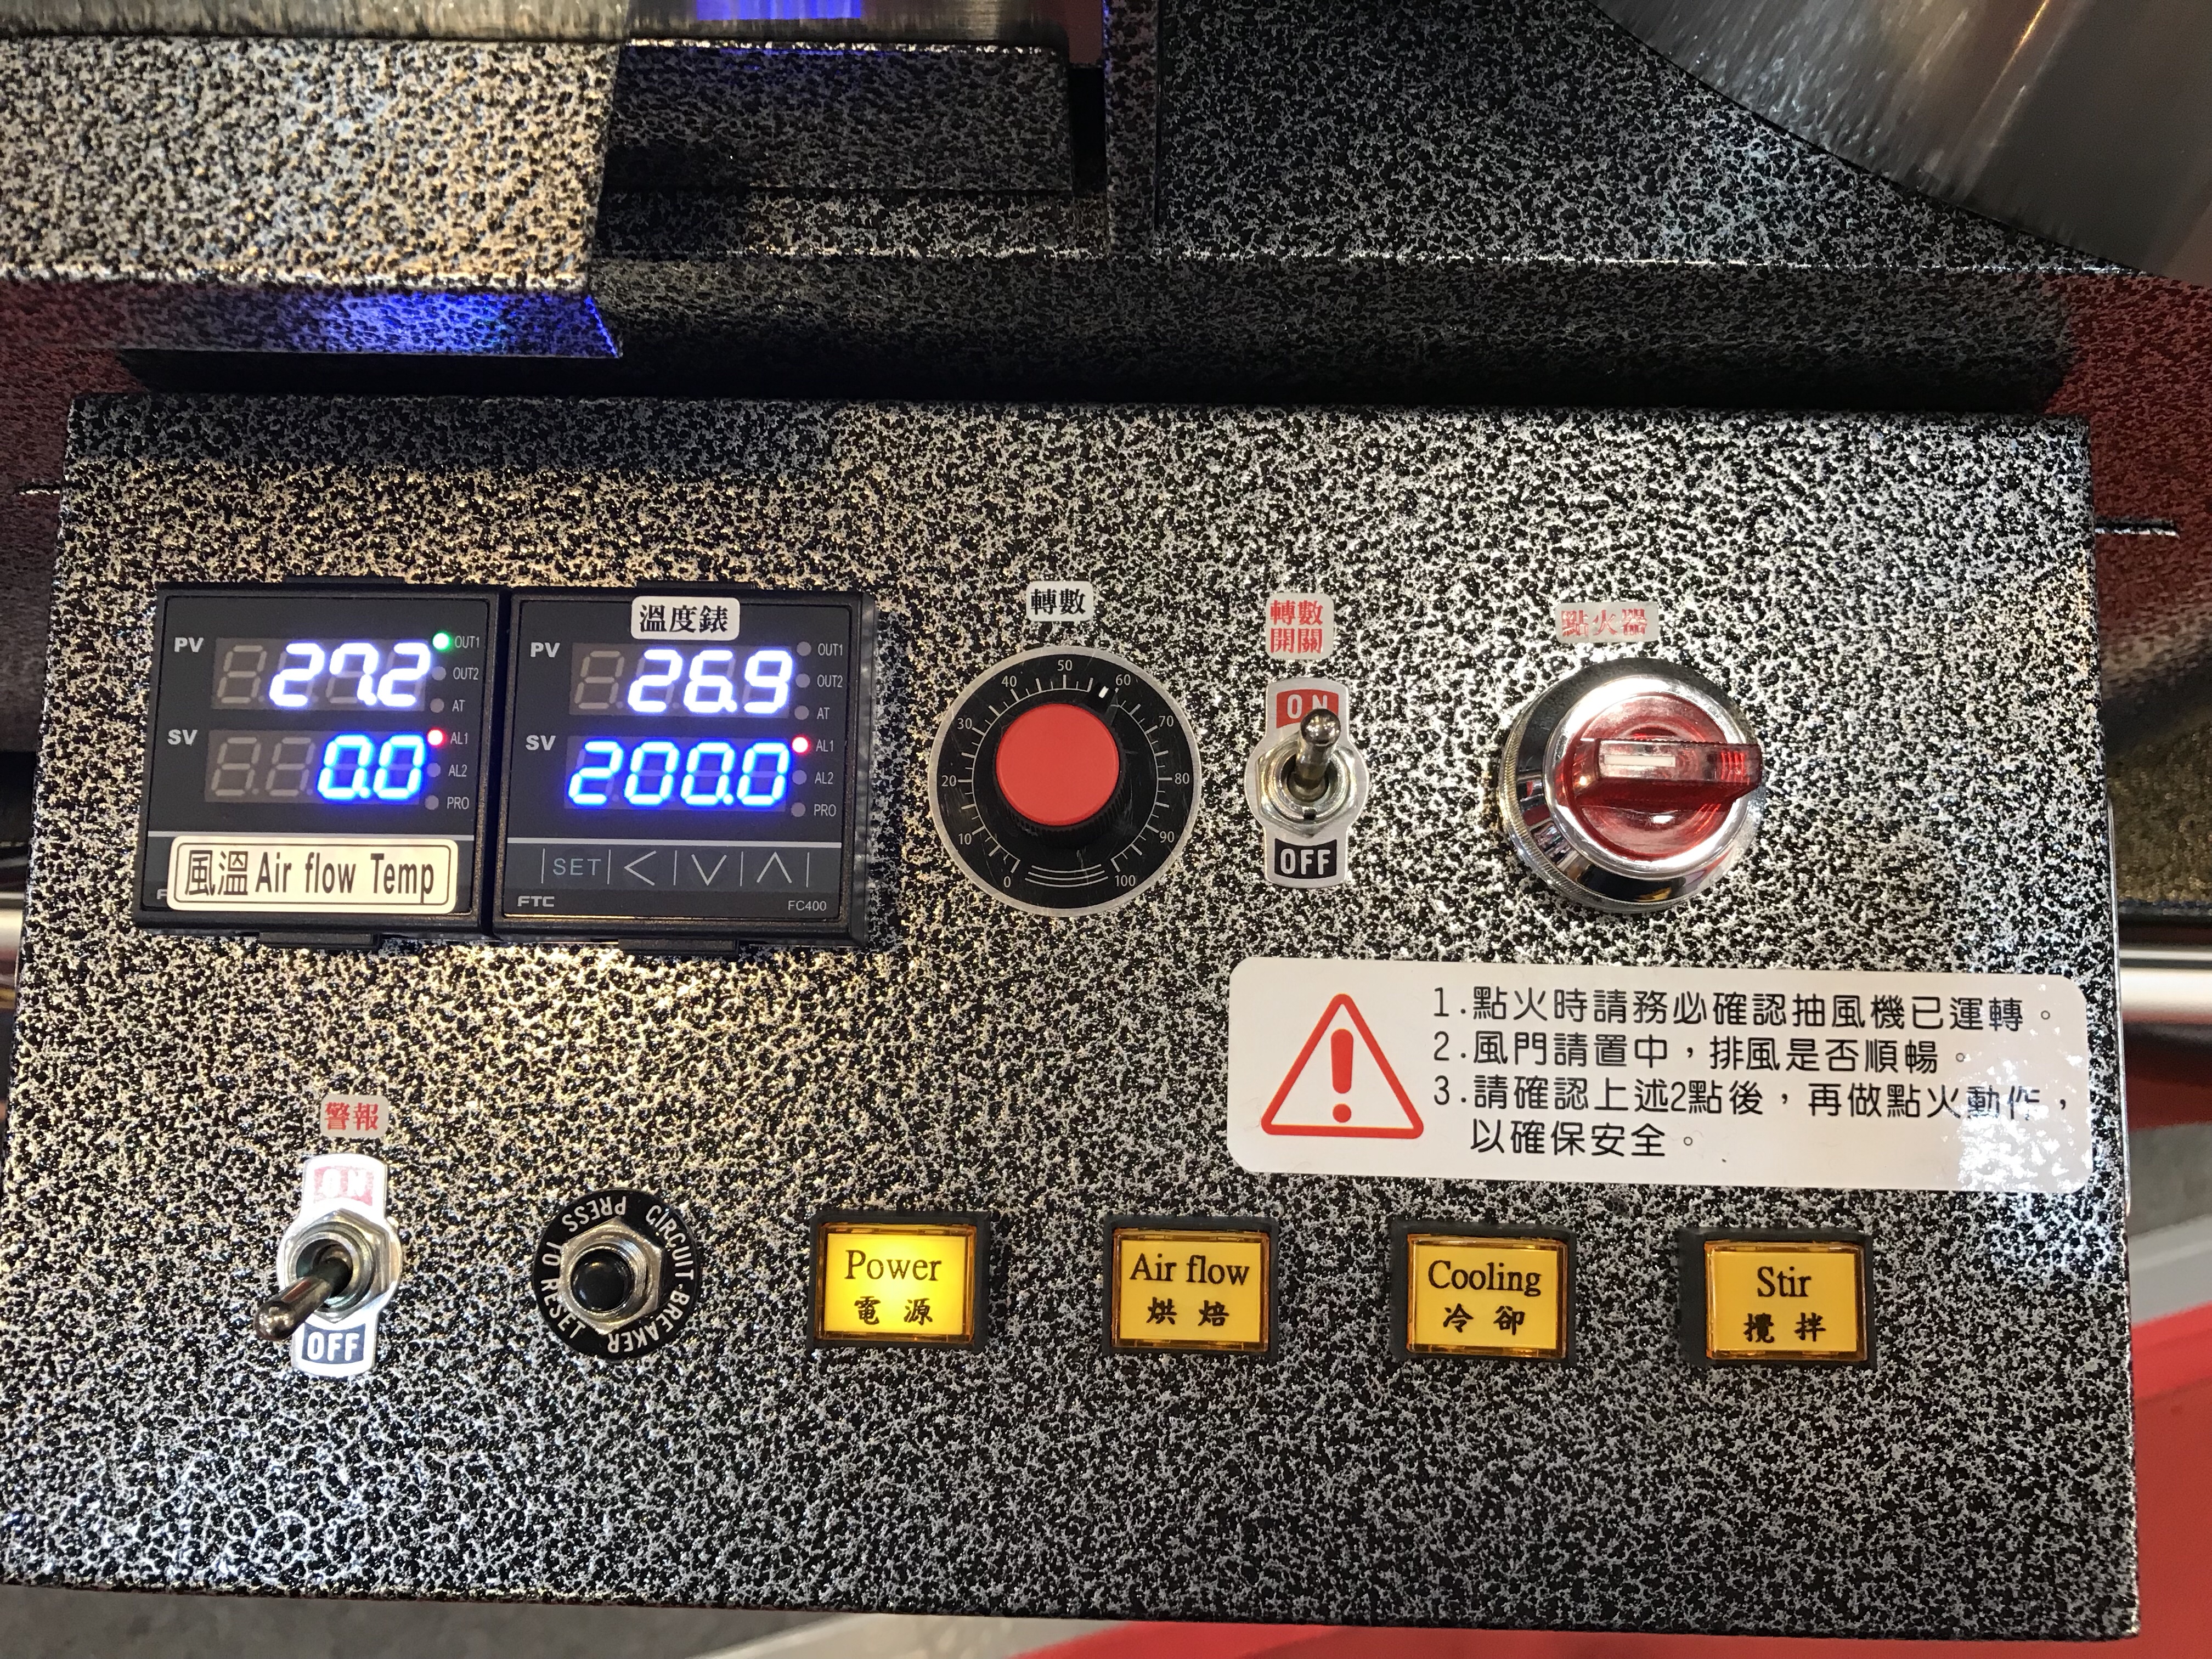
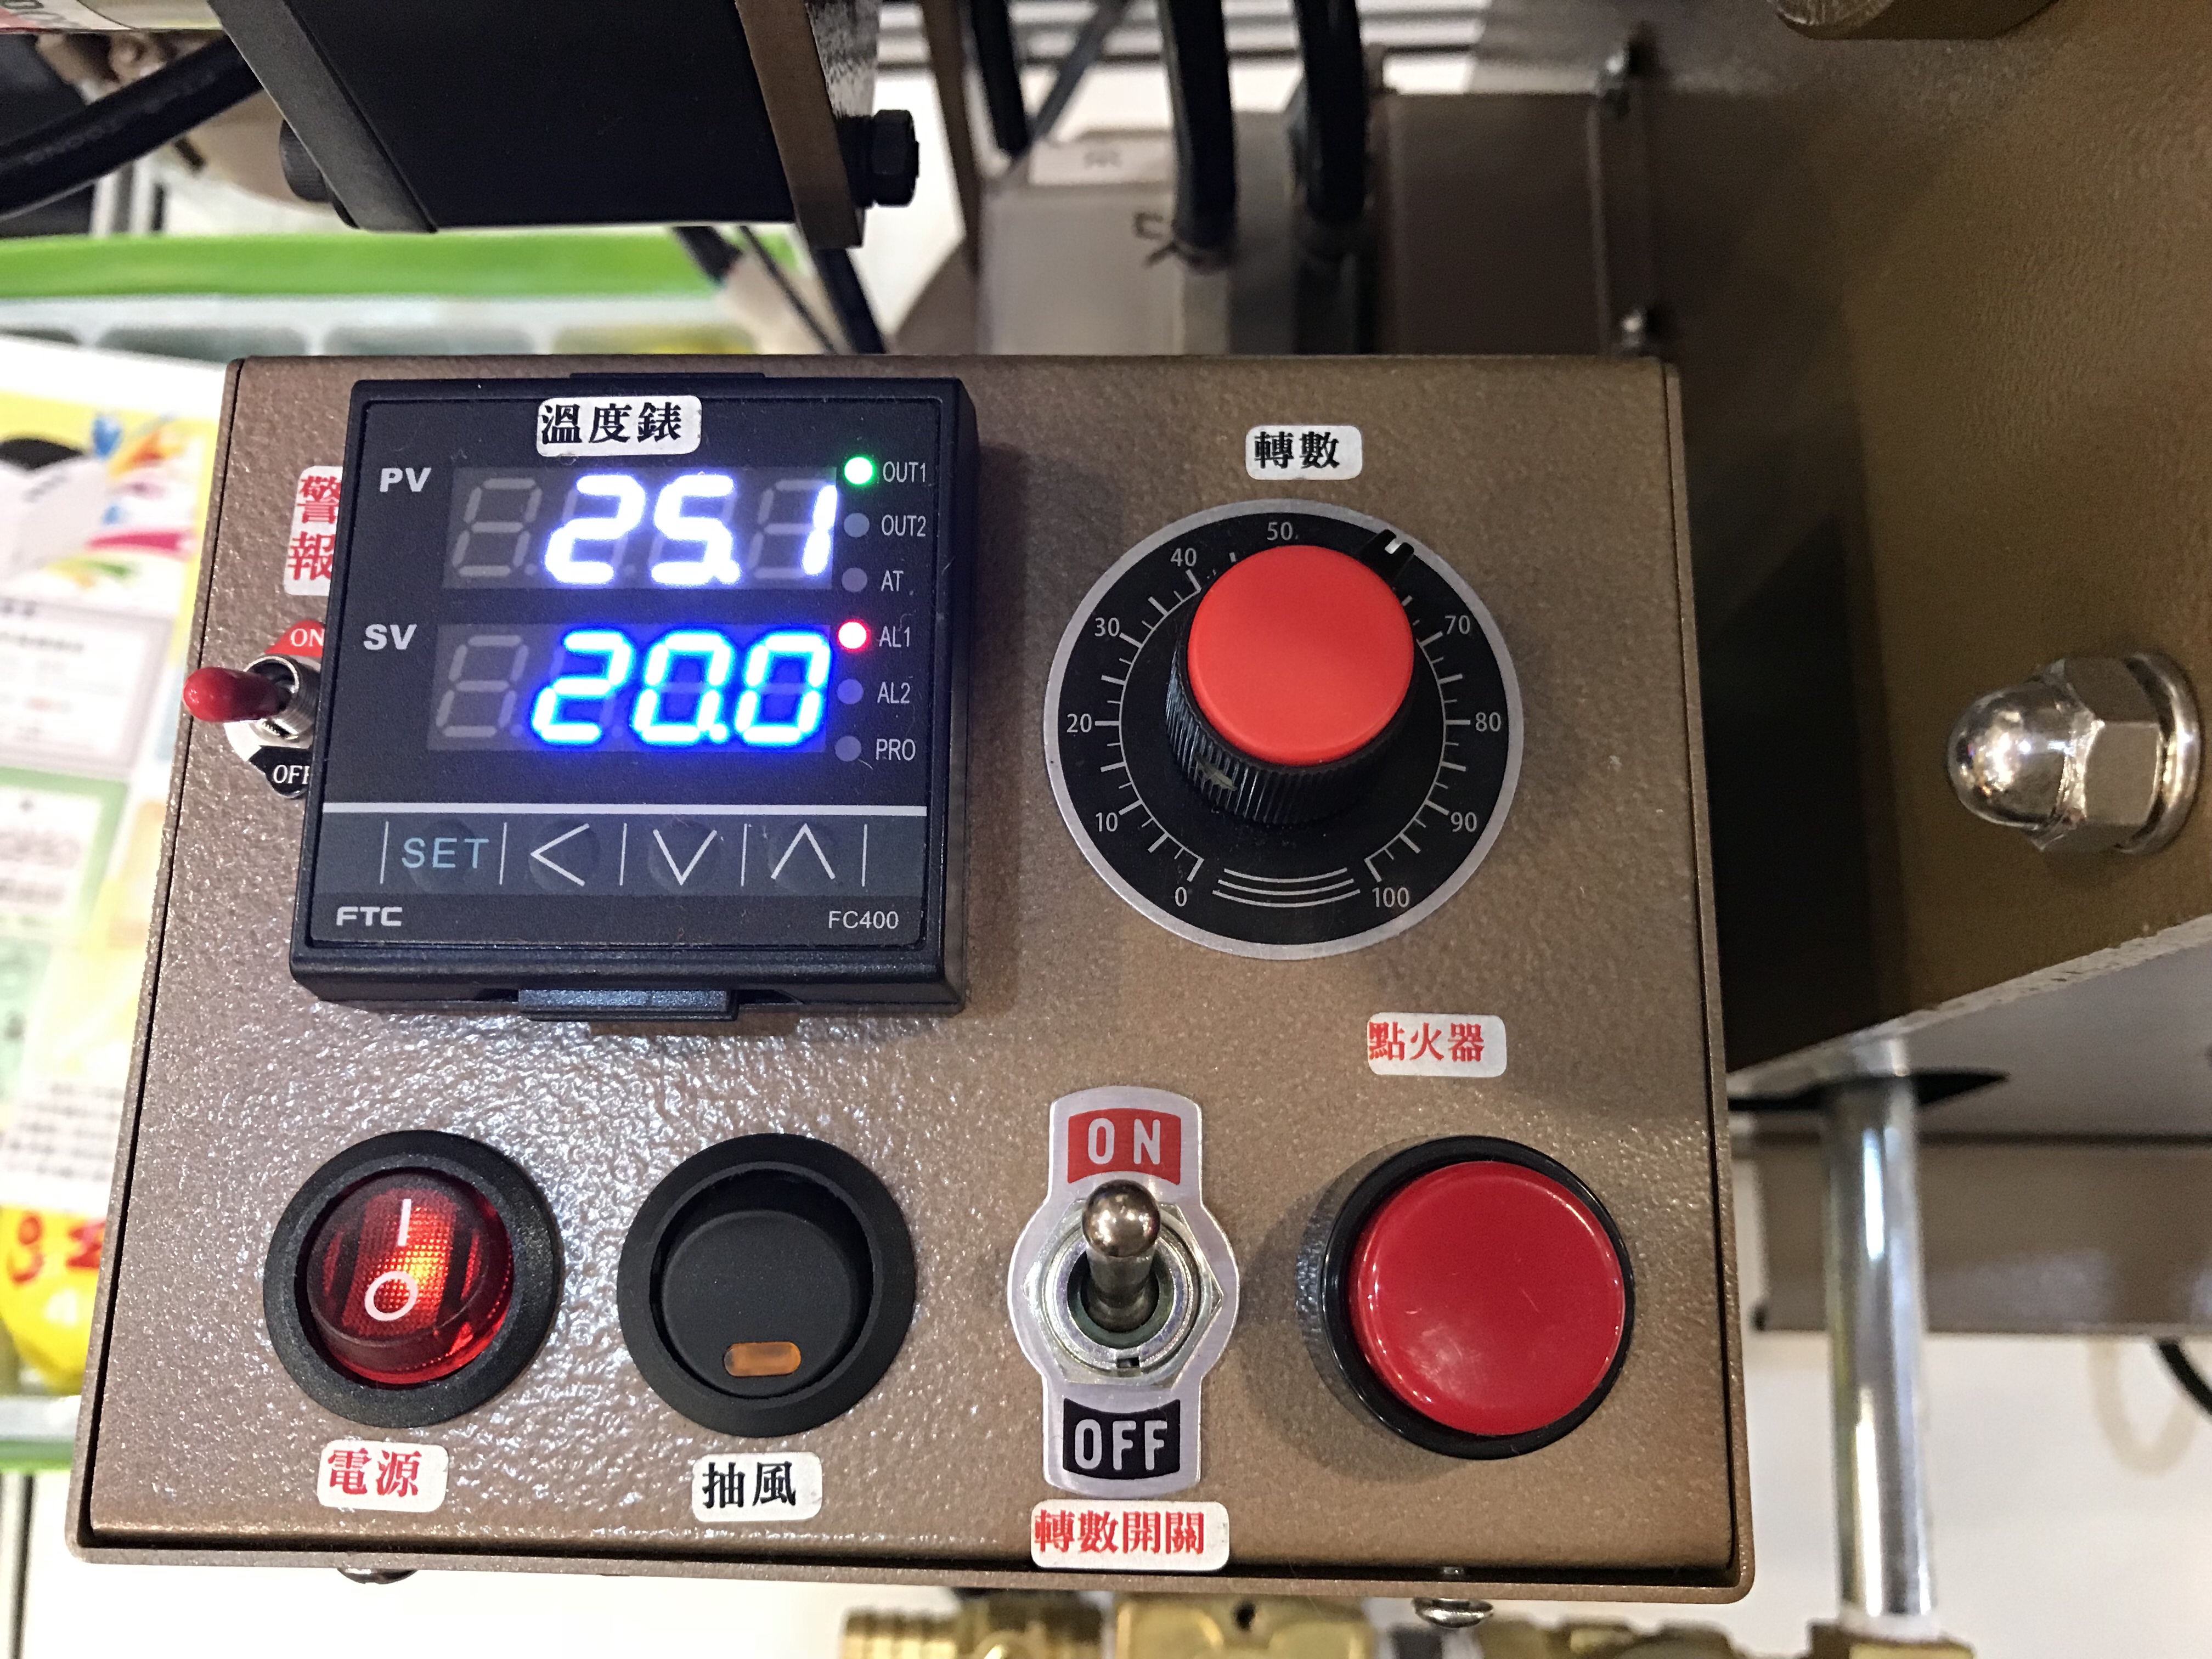
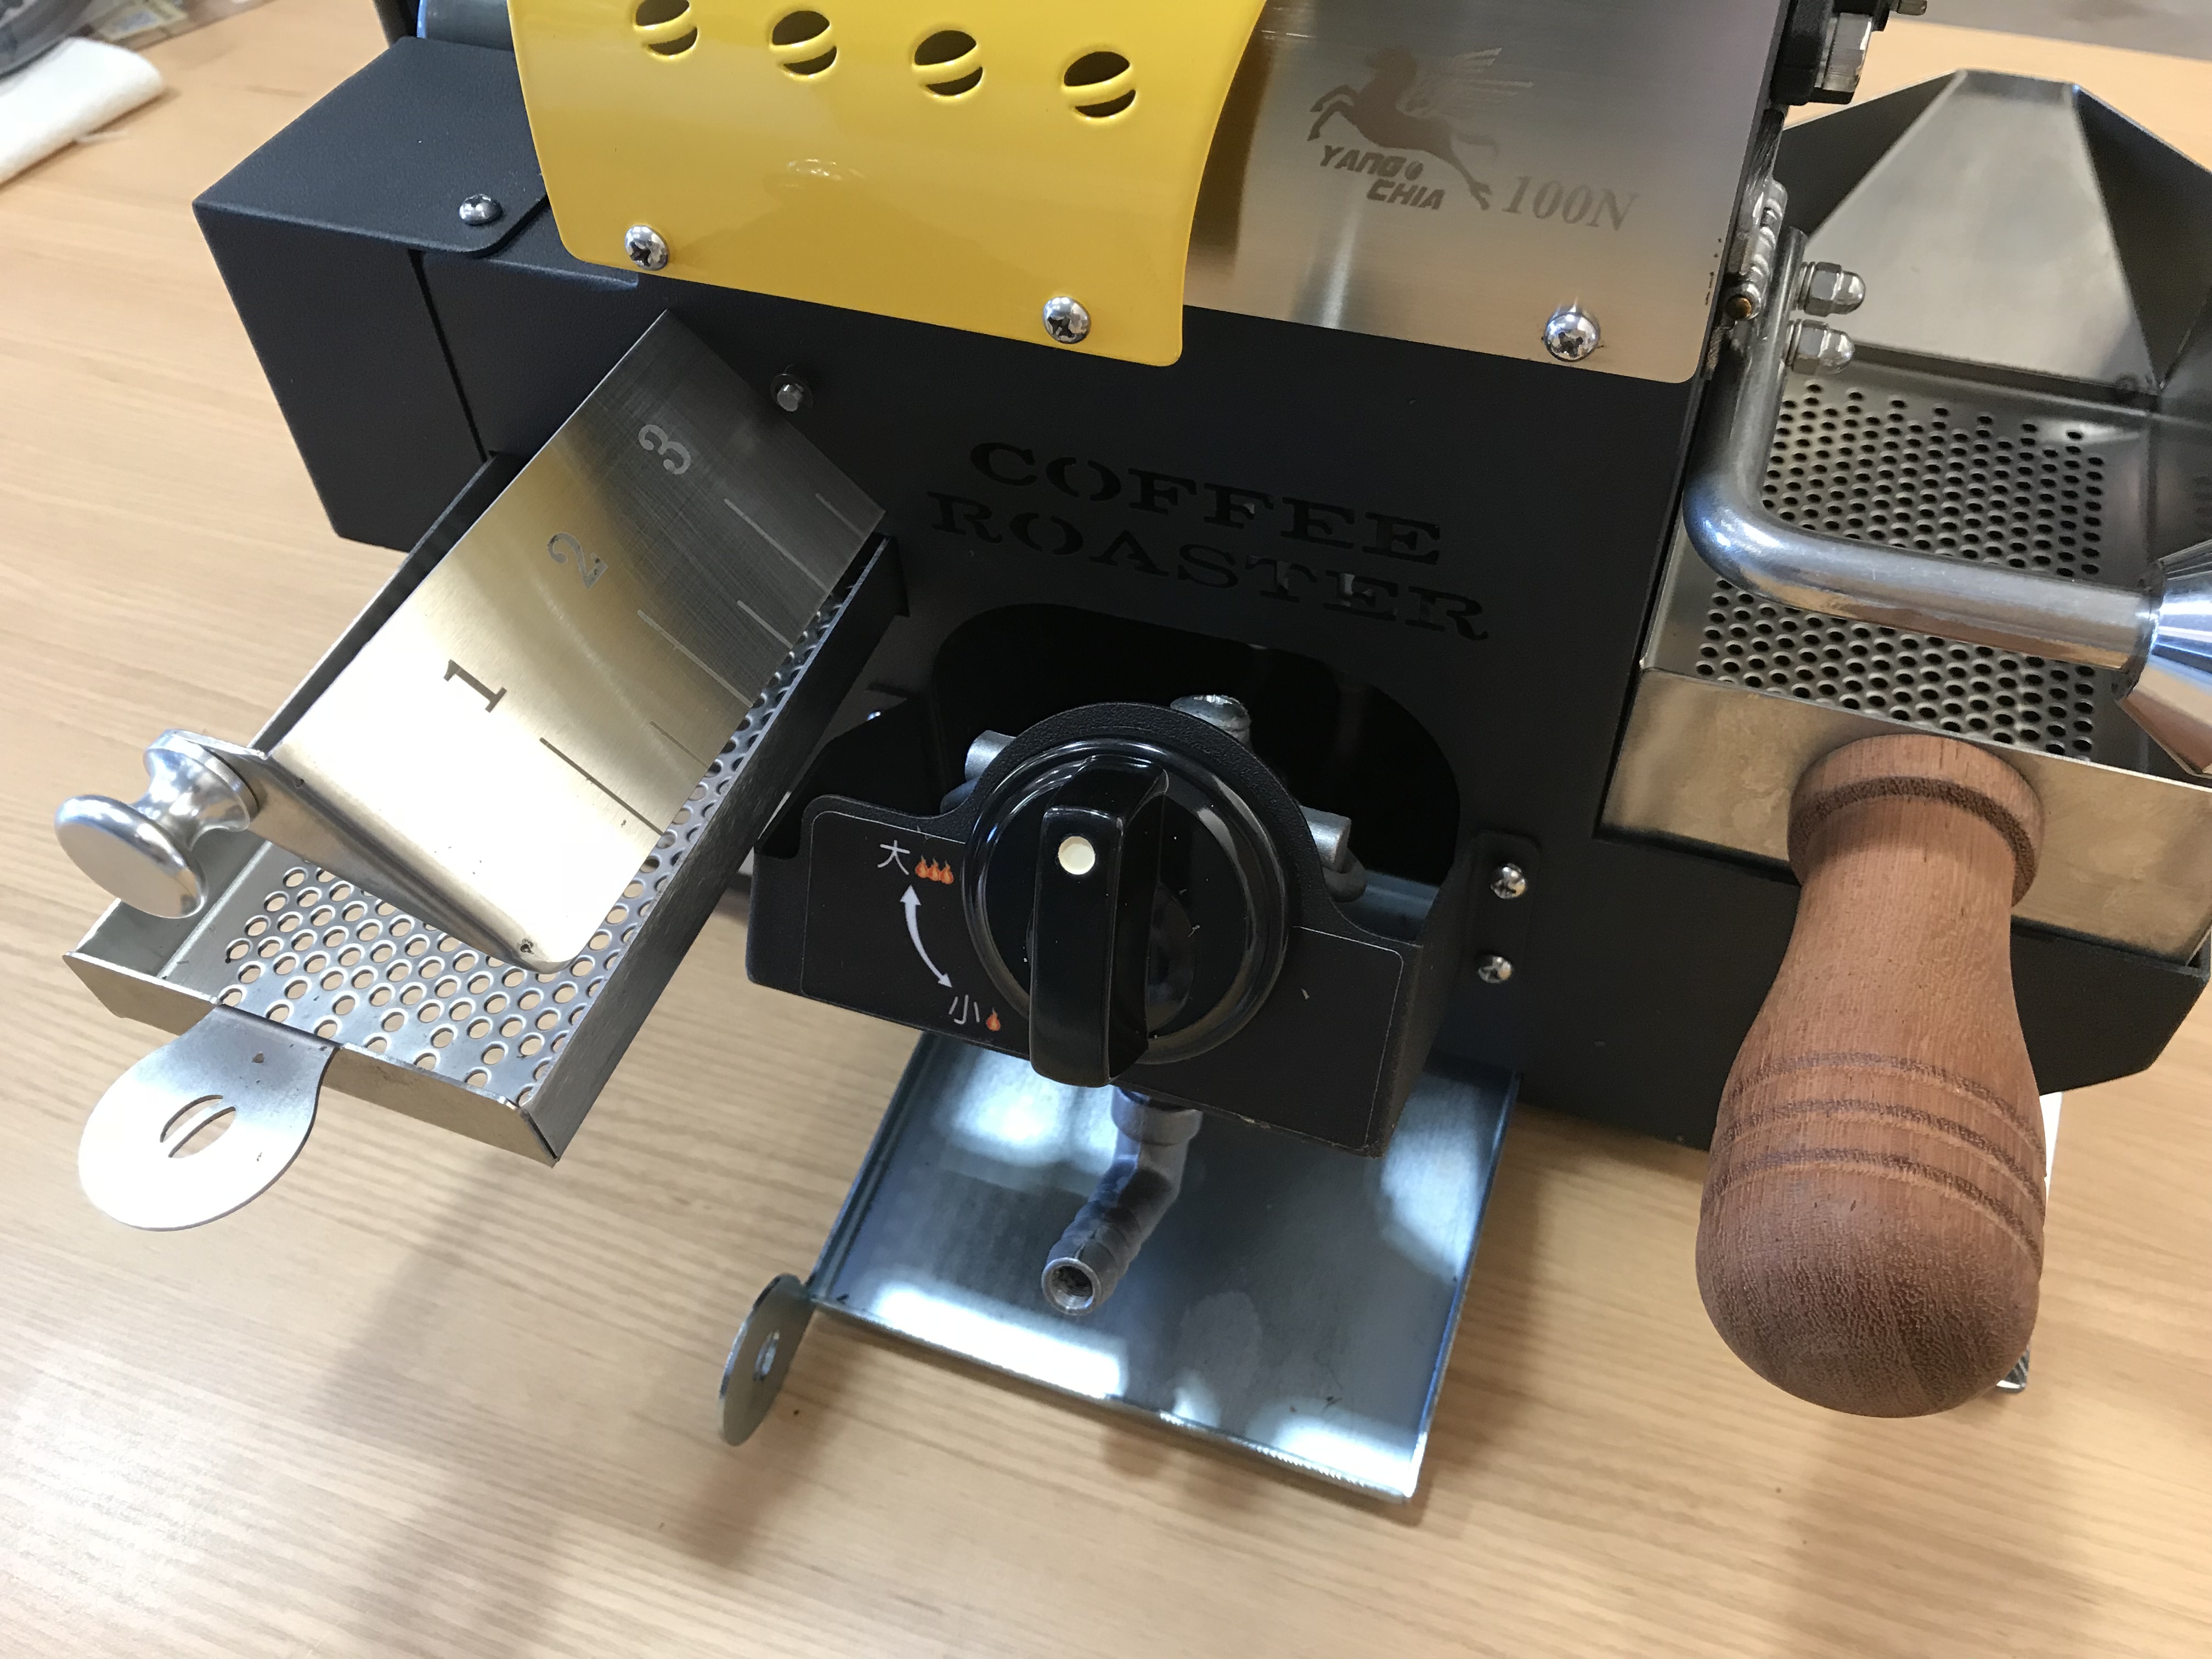
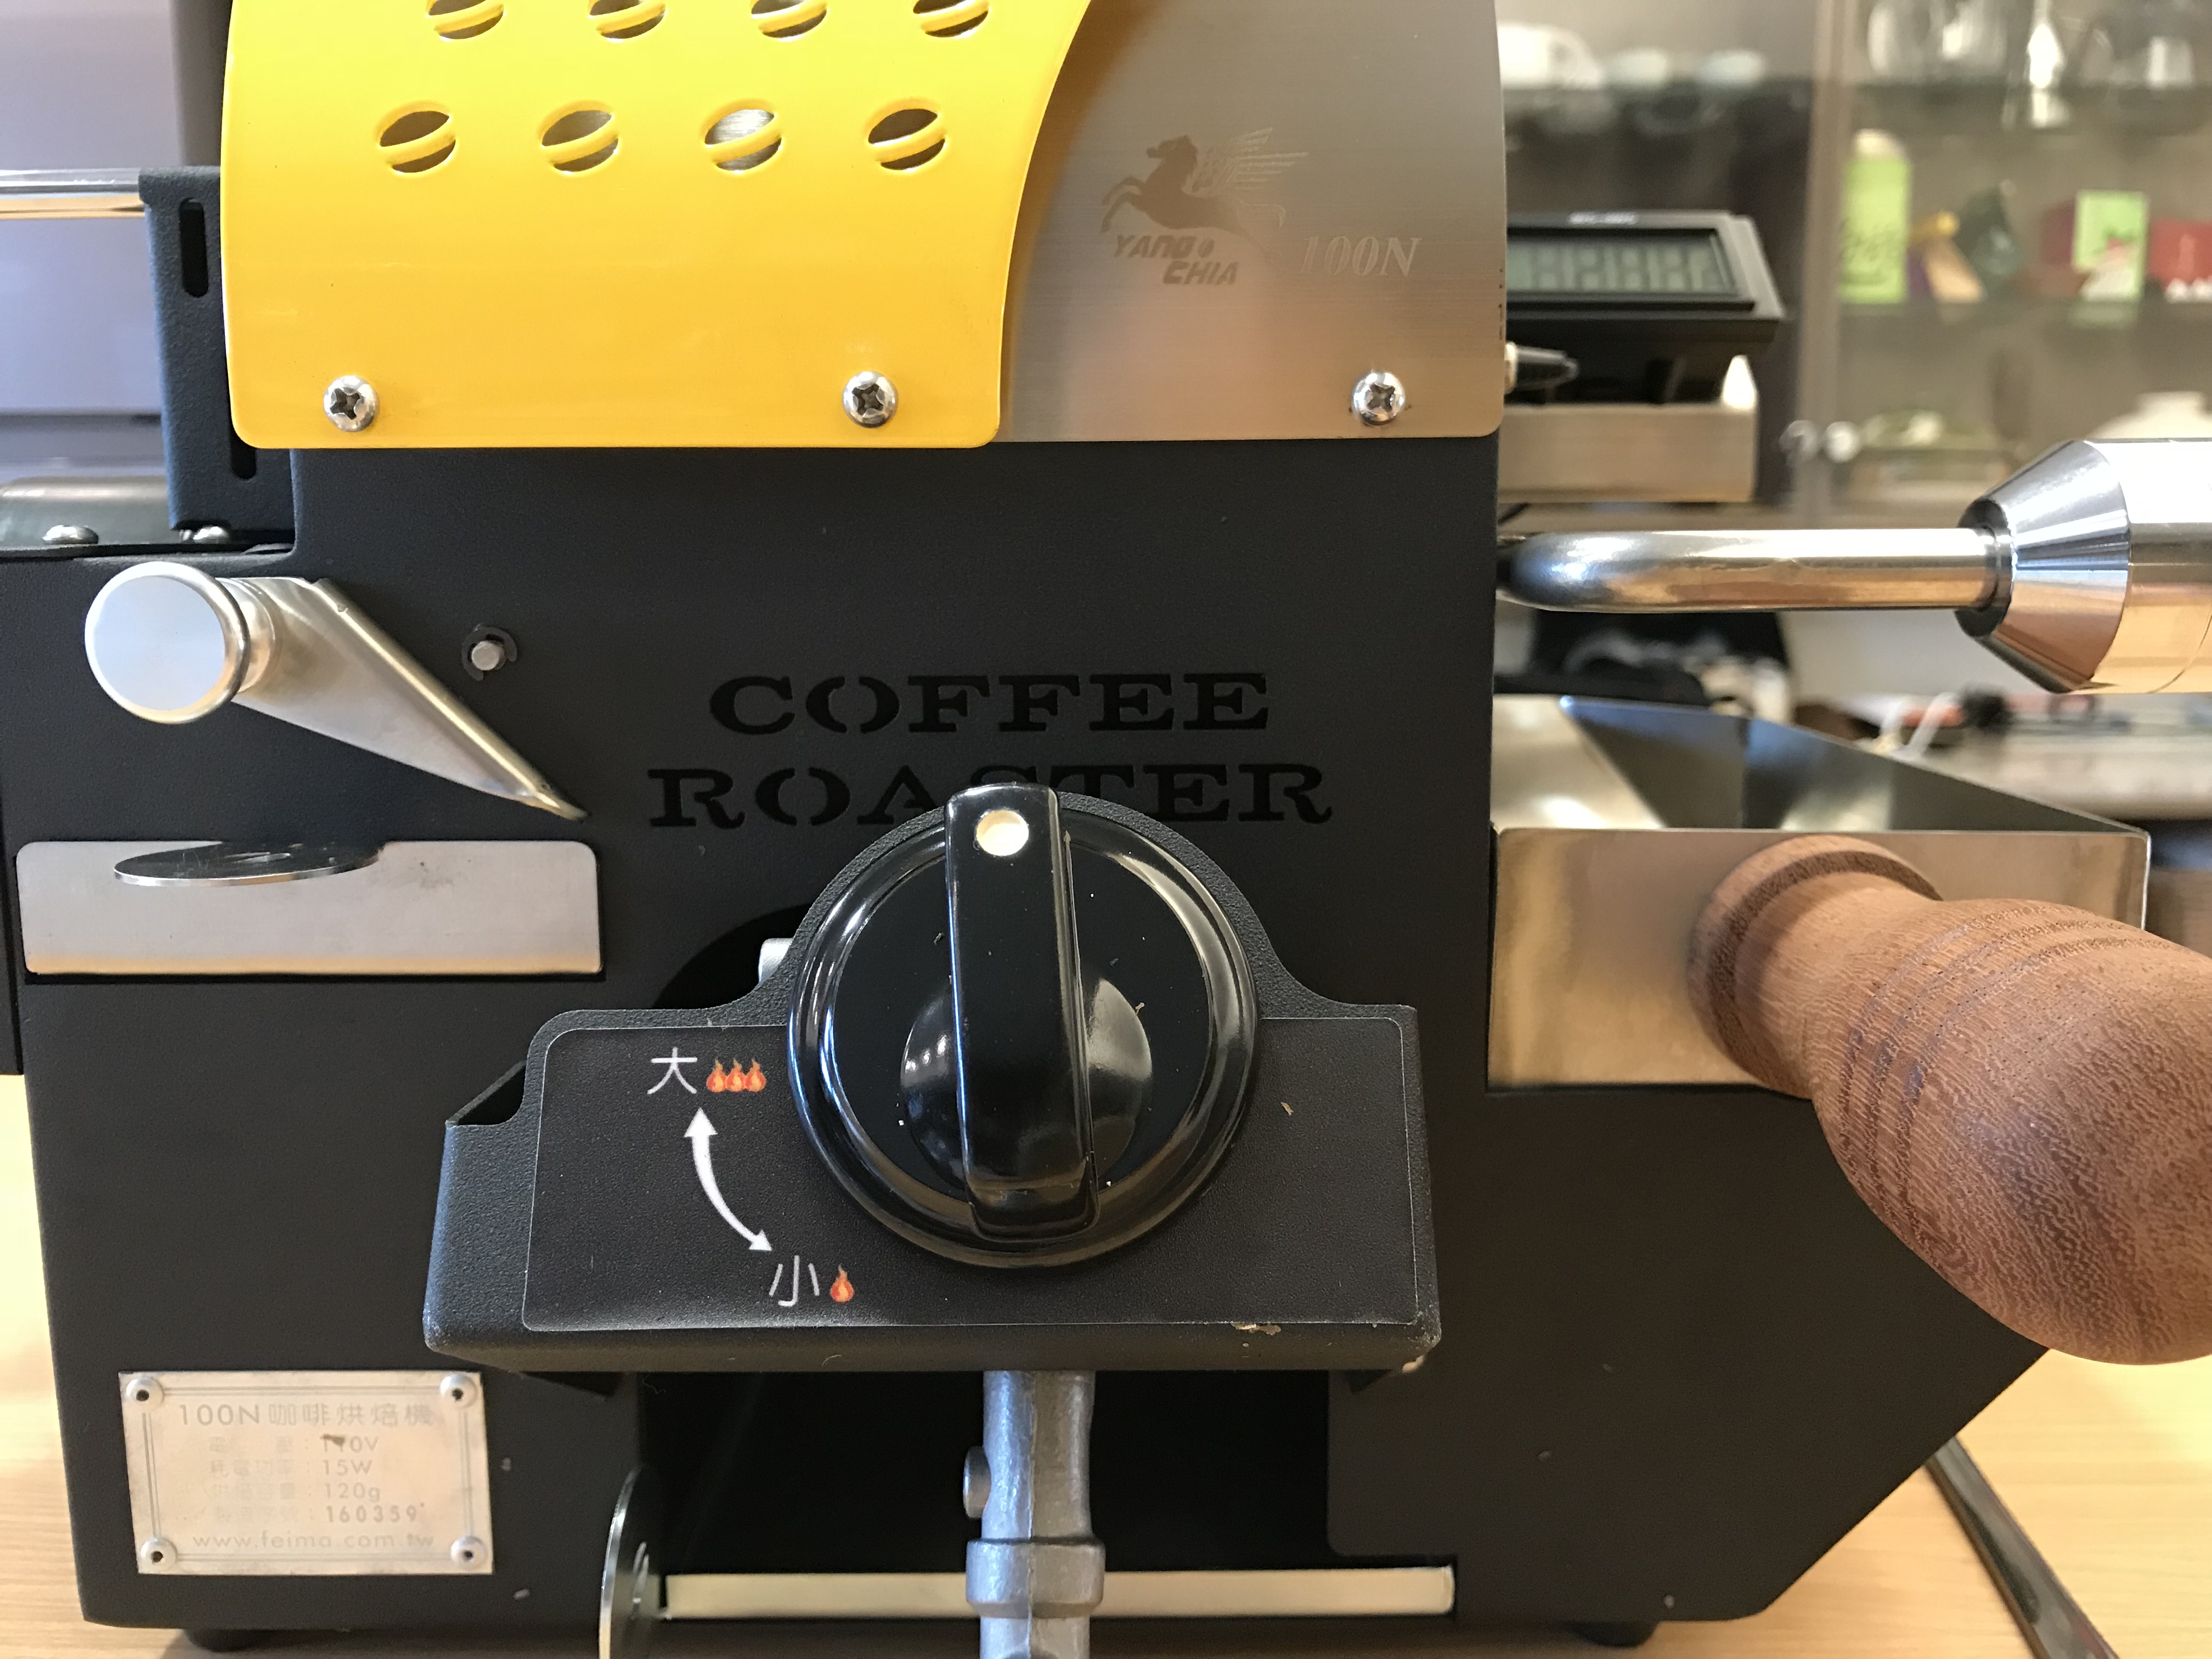
Roasting adjustments consist of adjustable heat and air. The gas knob has roughly three settings; high, low, and off. Air slider has 1-5 with half steps in between. The high/low choices with gas can present some challenges. Luckily the air control can mitigate some of the issues.
Feima 100n Gas and Air Controls
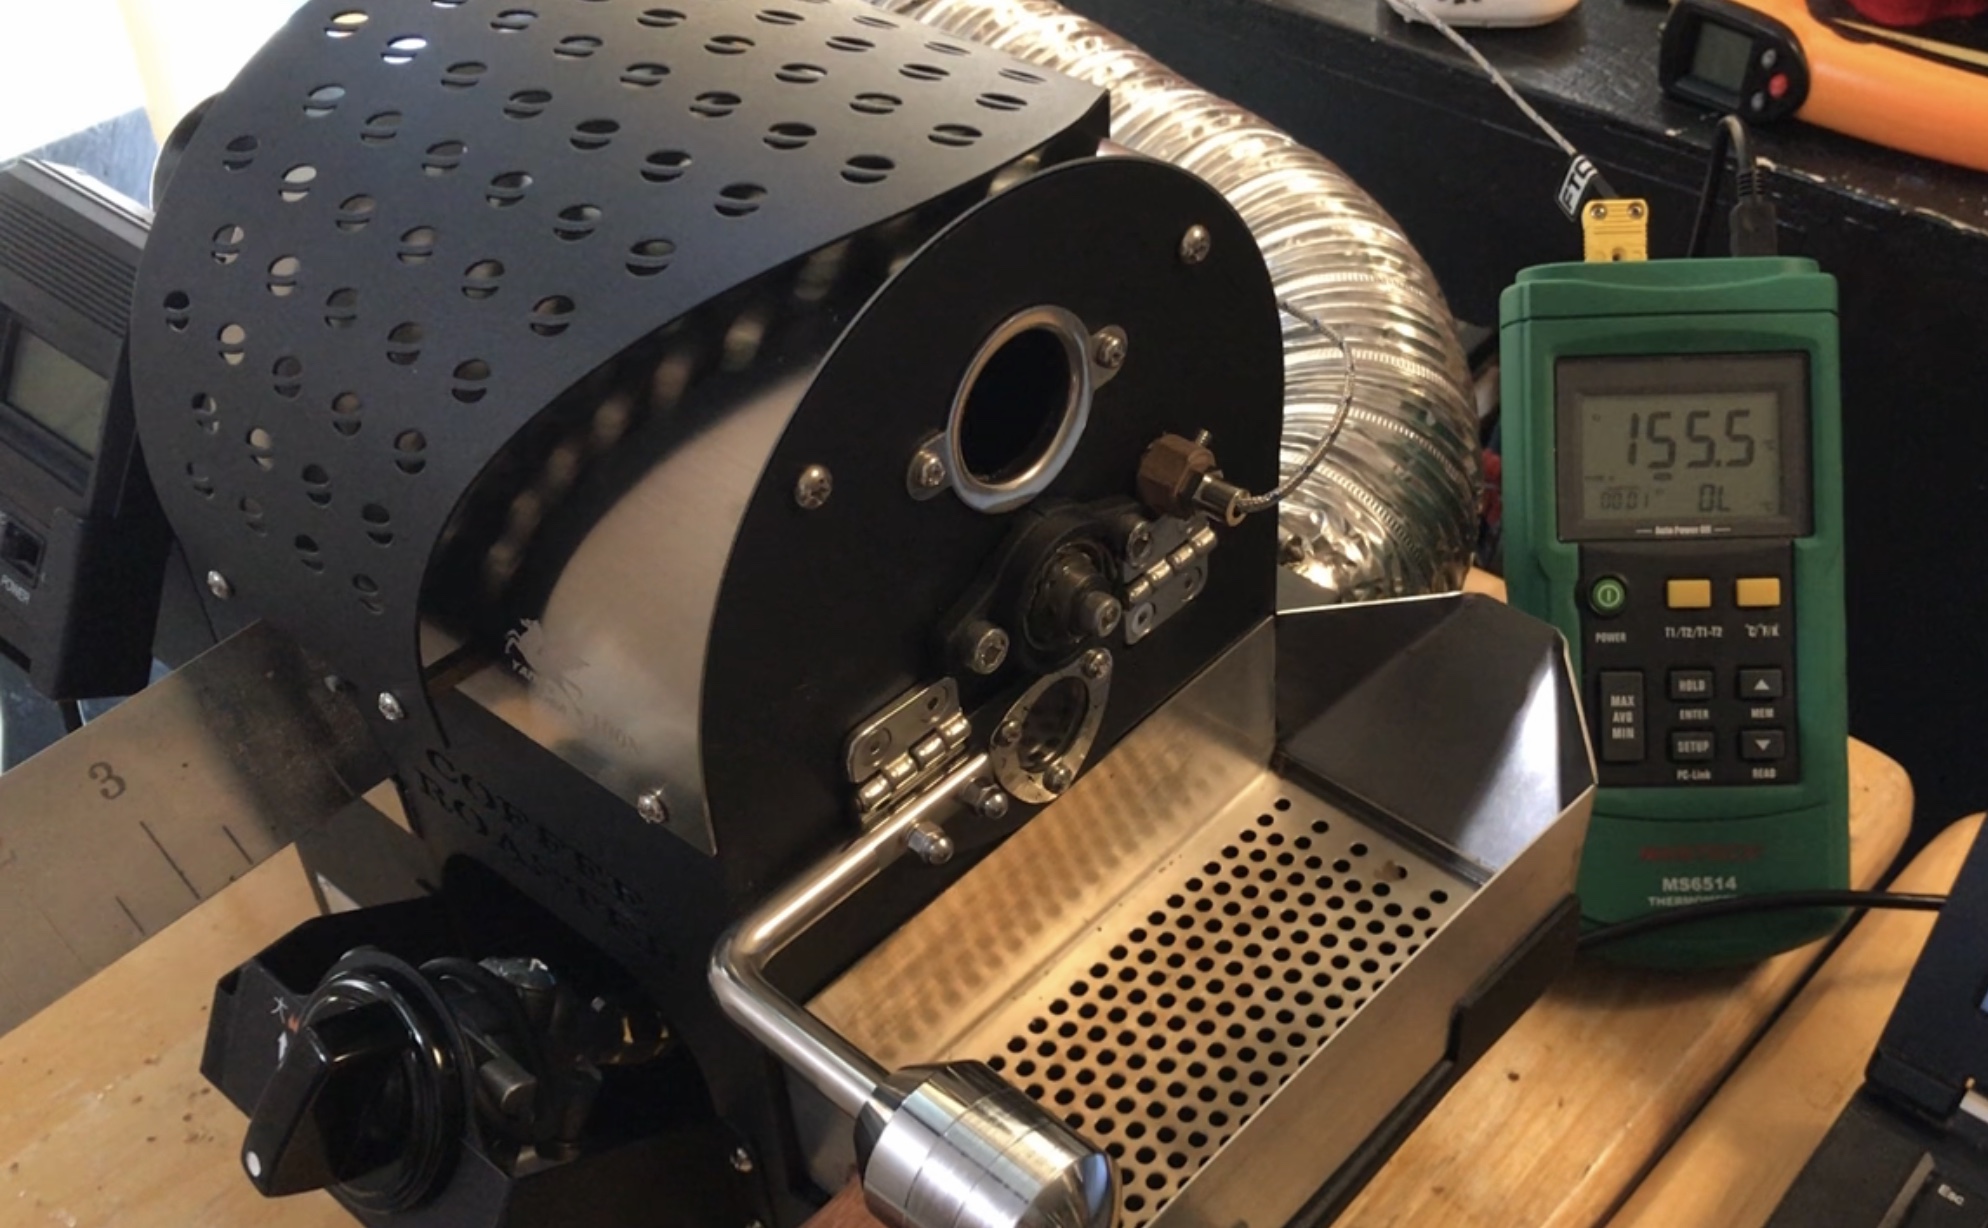
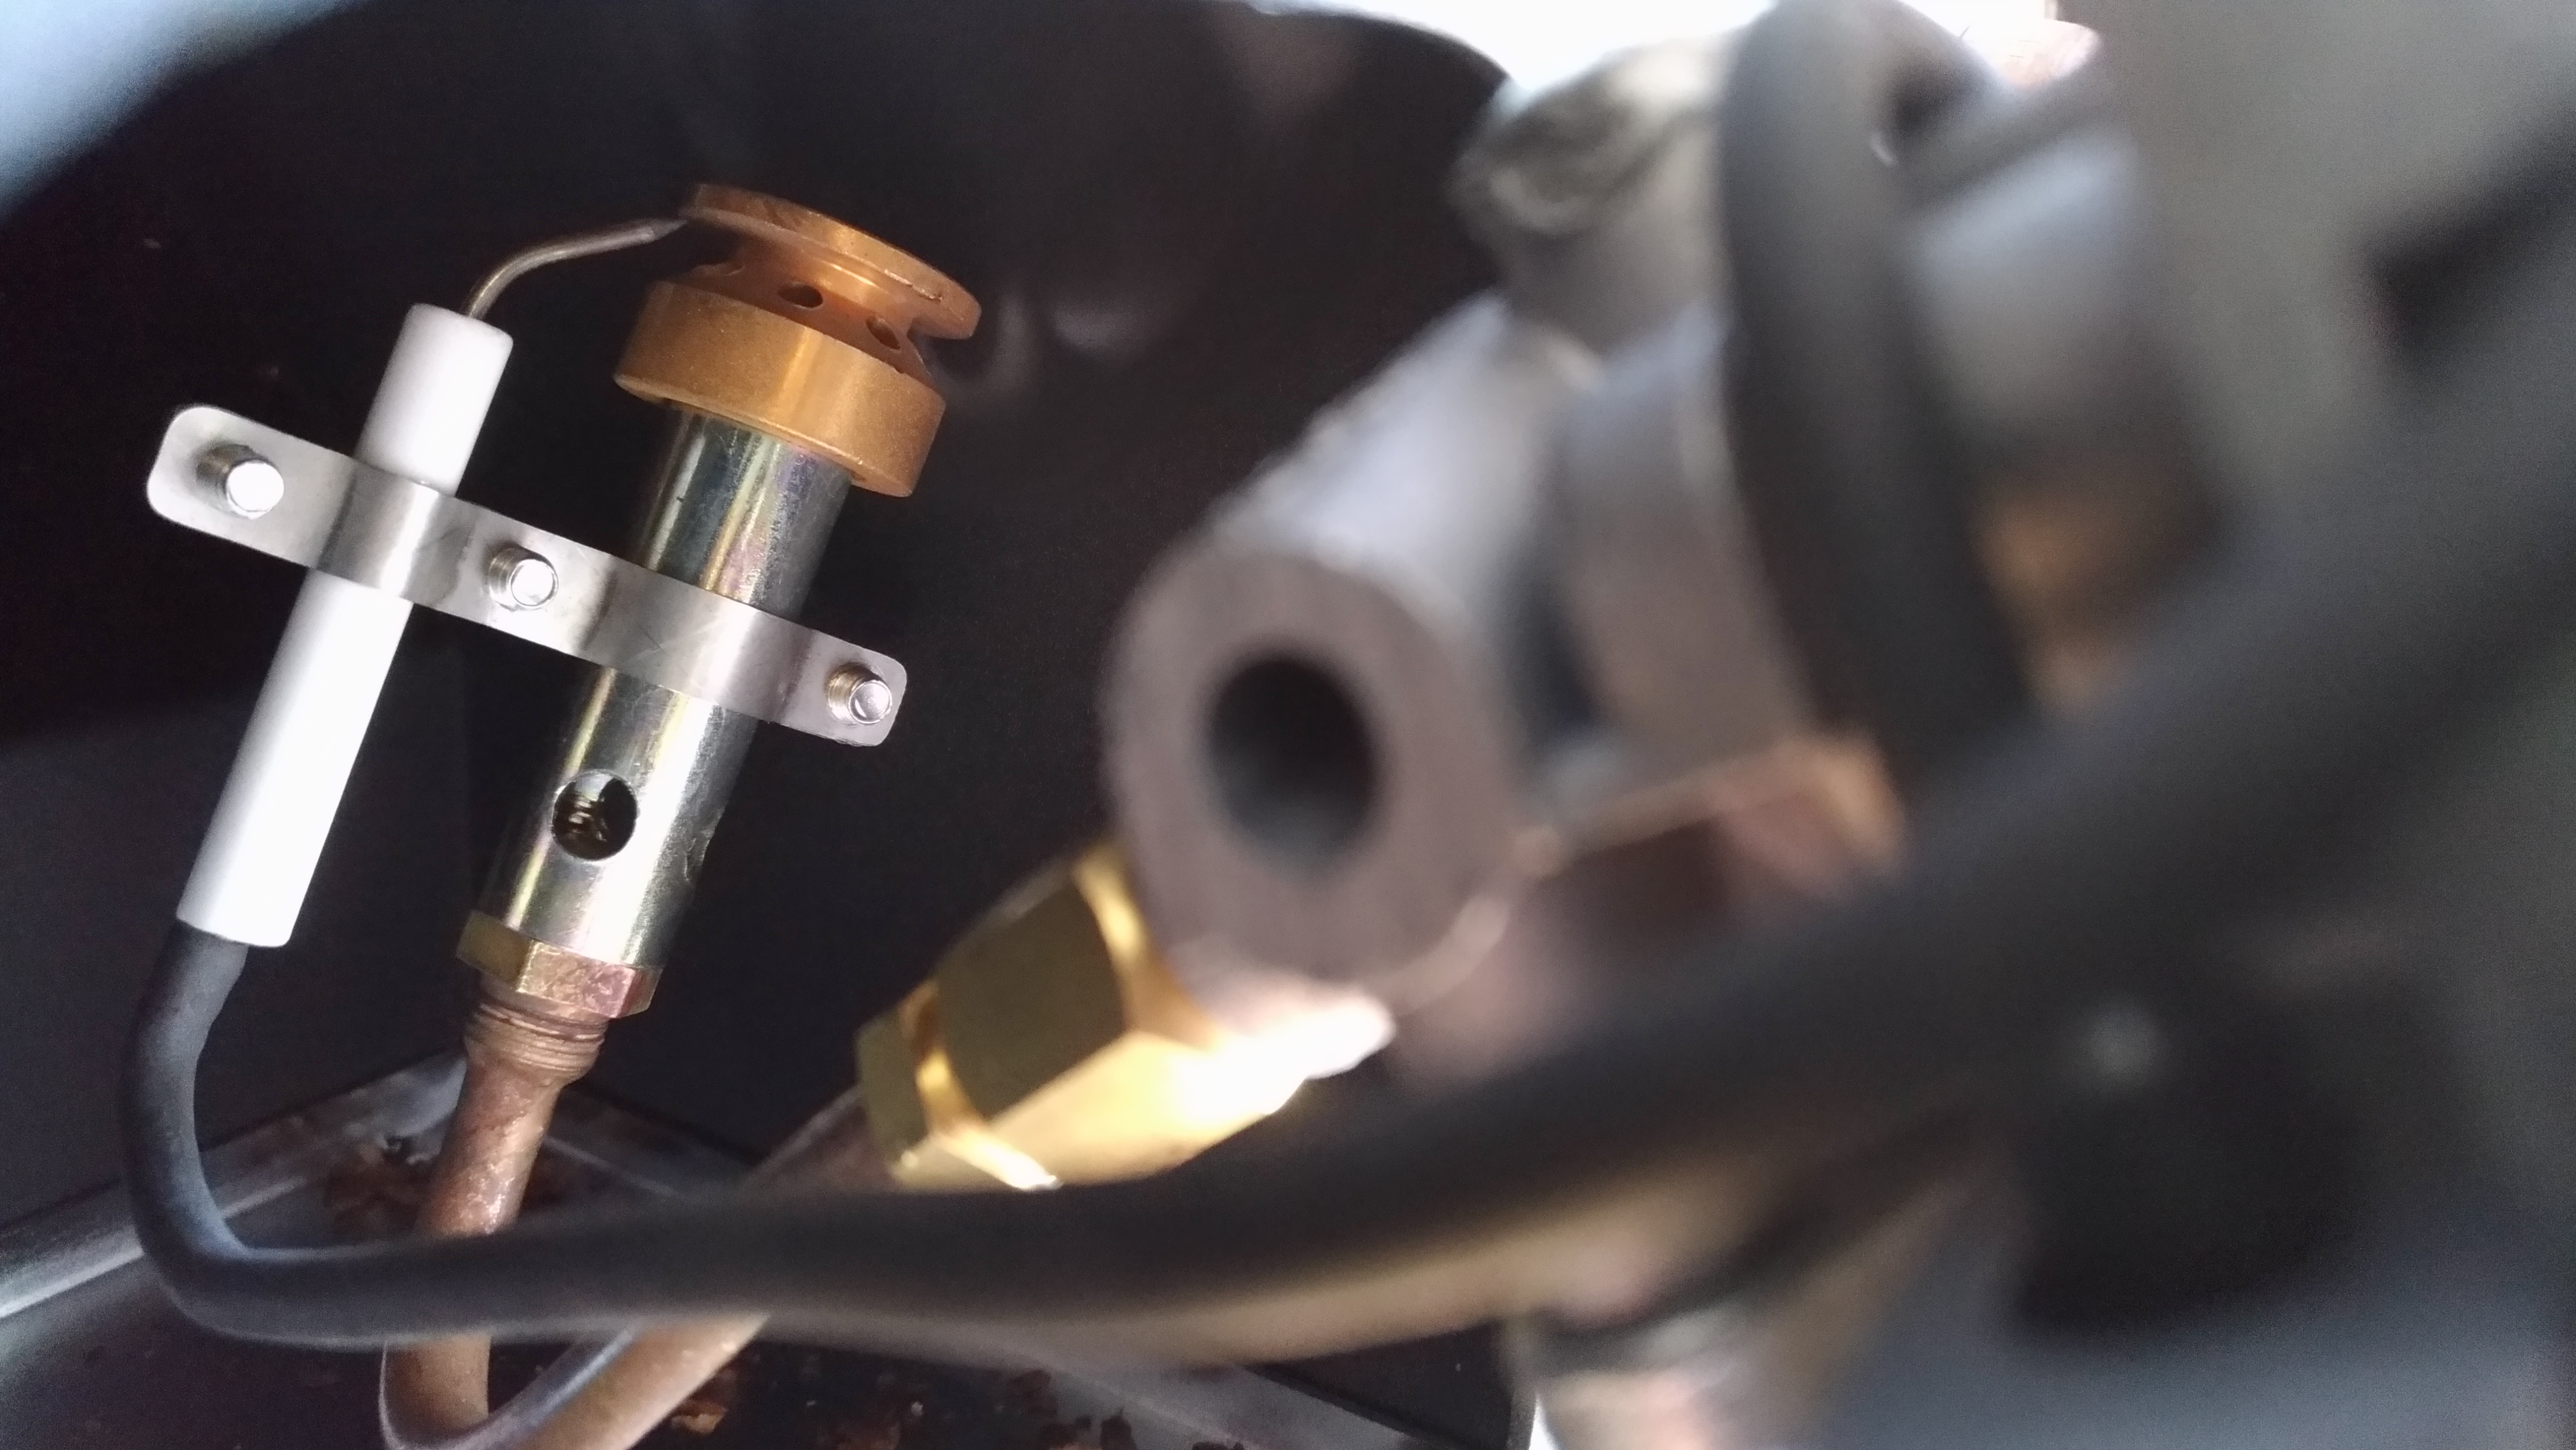
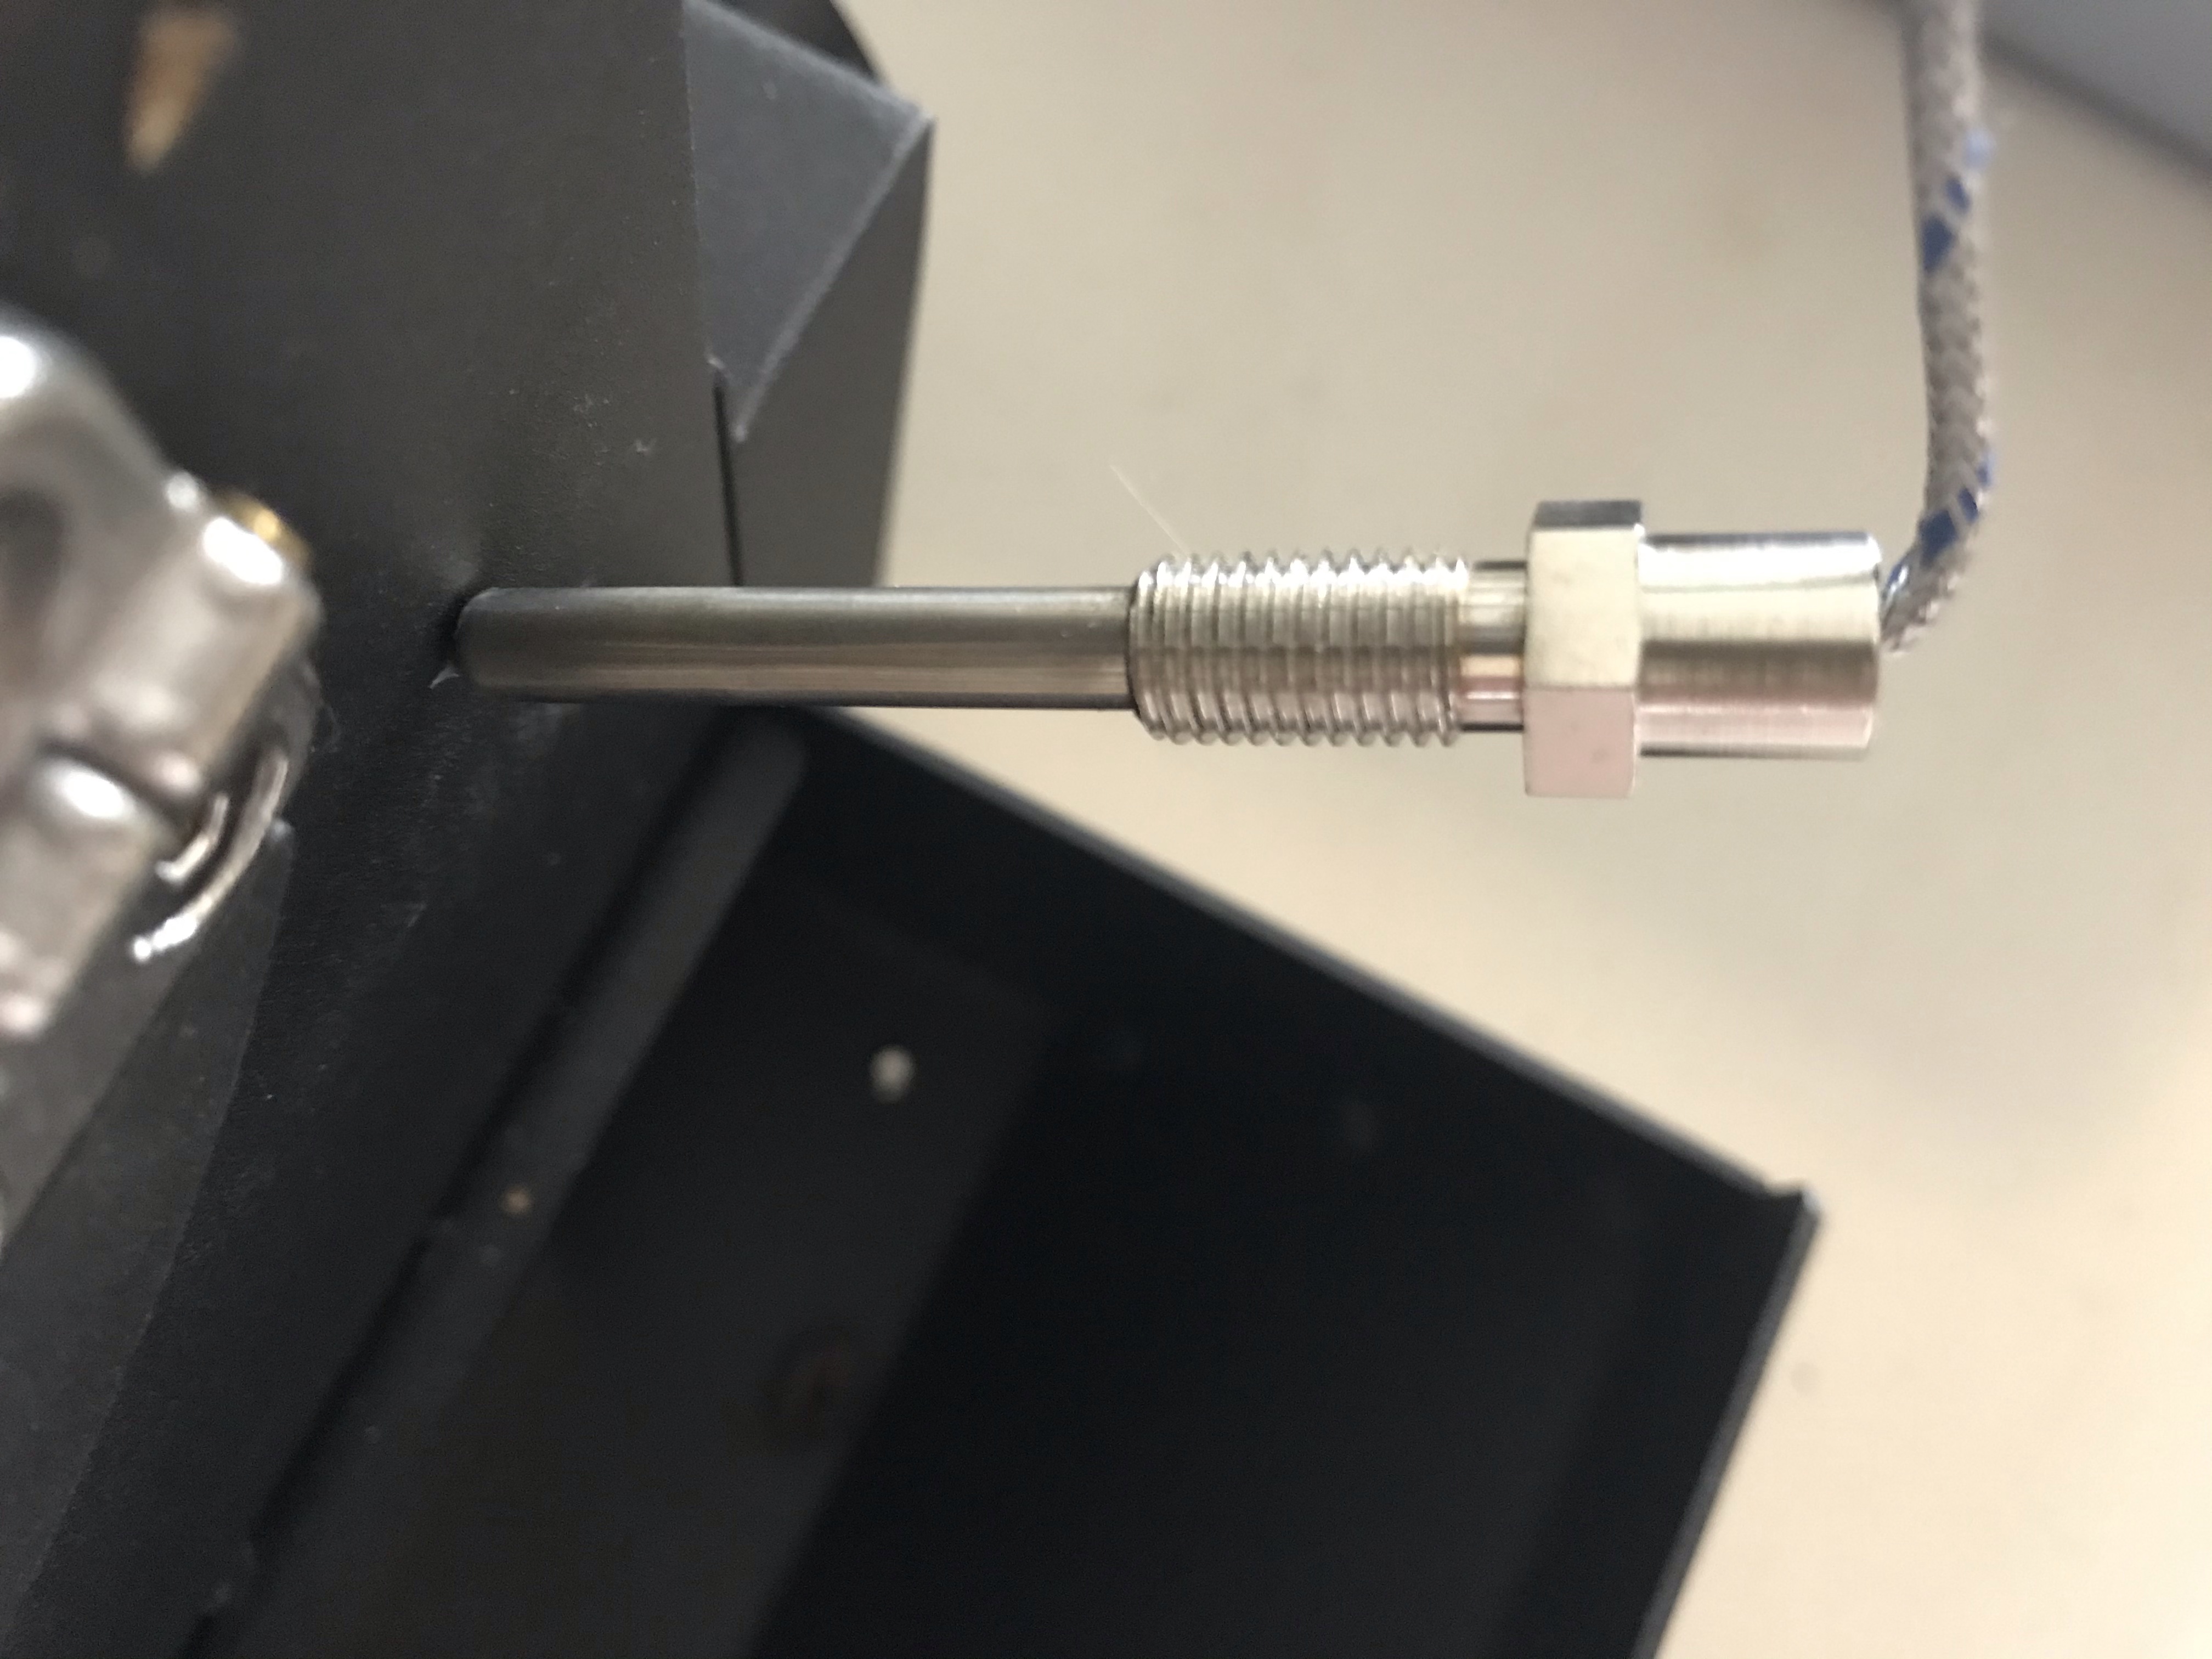
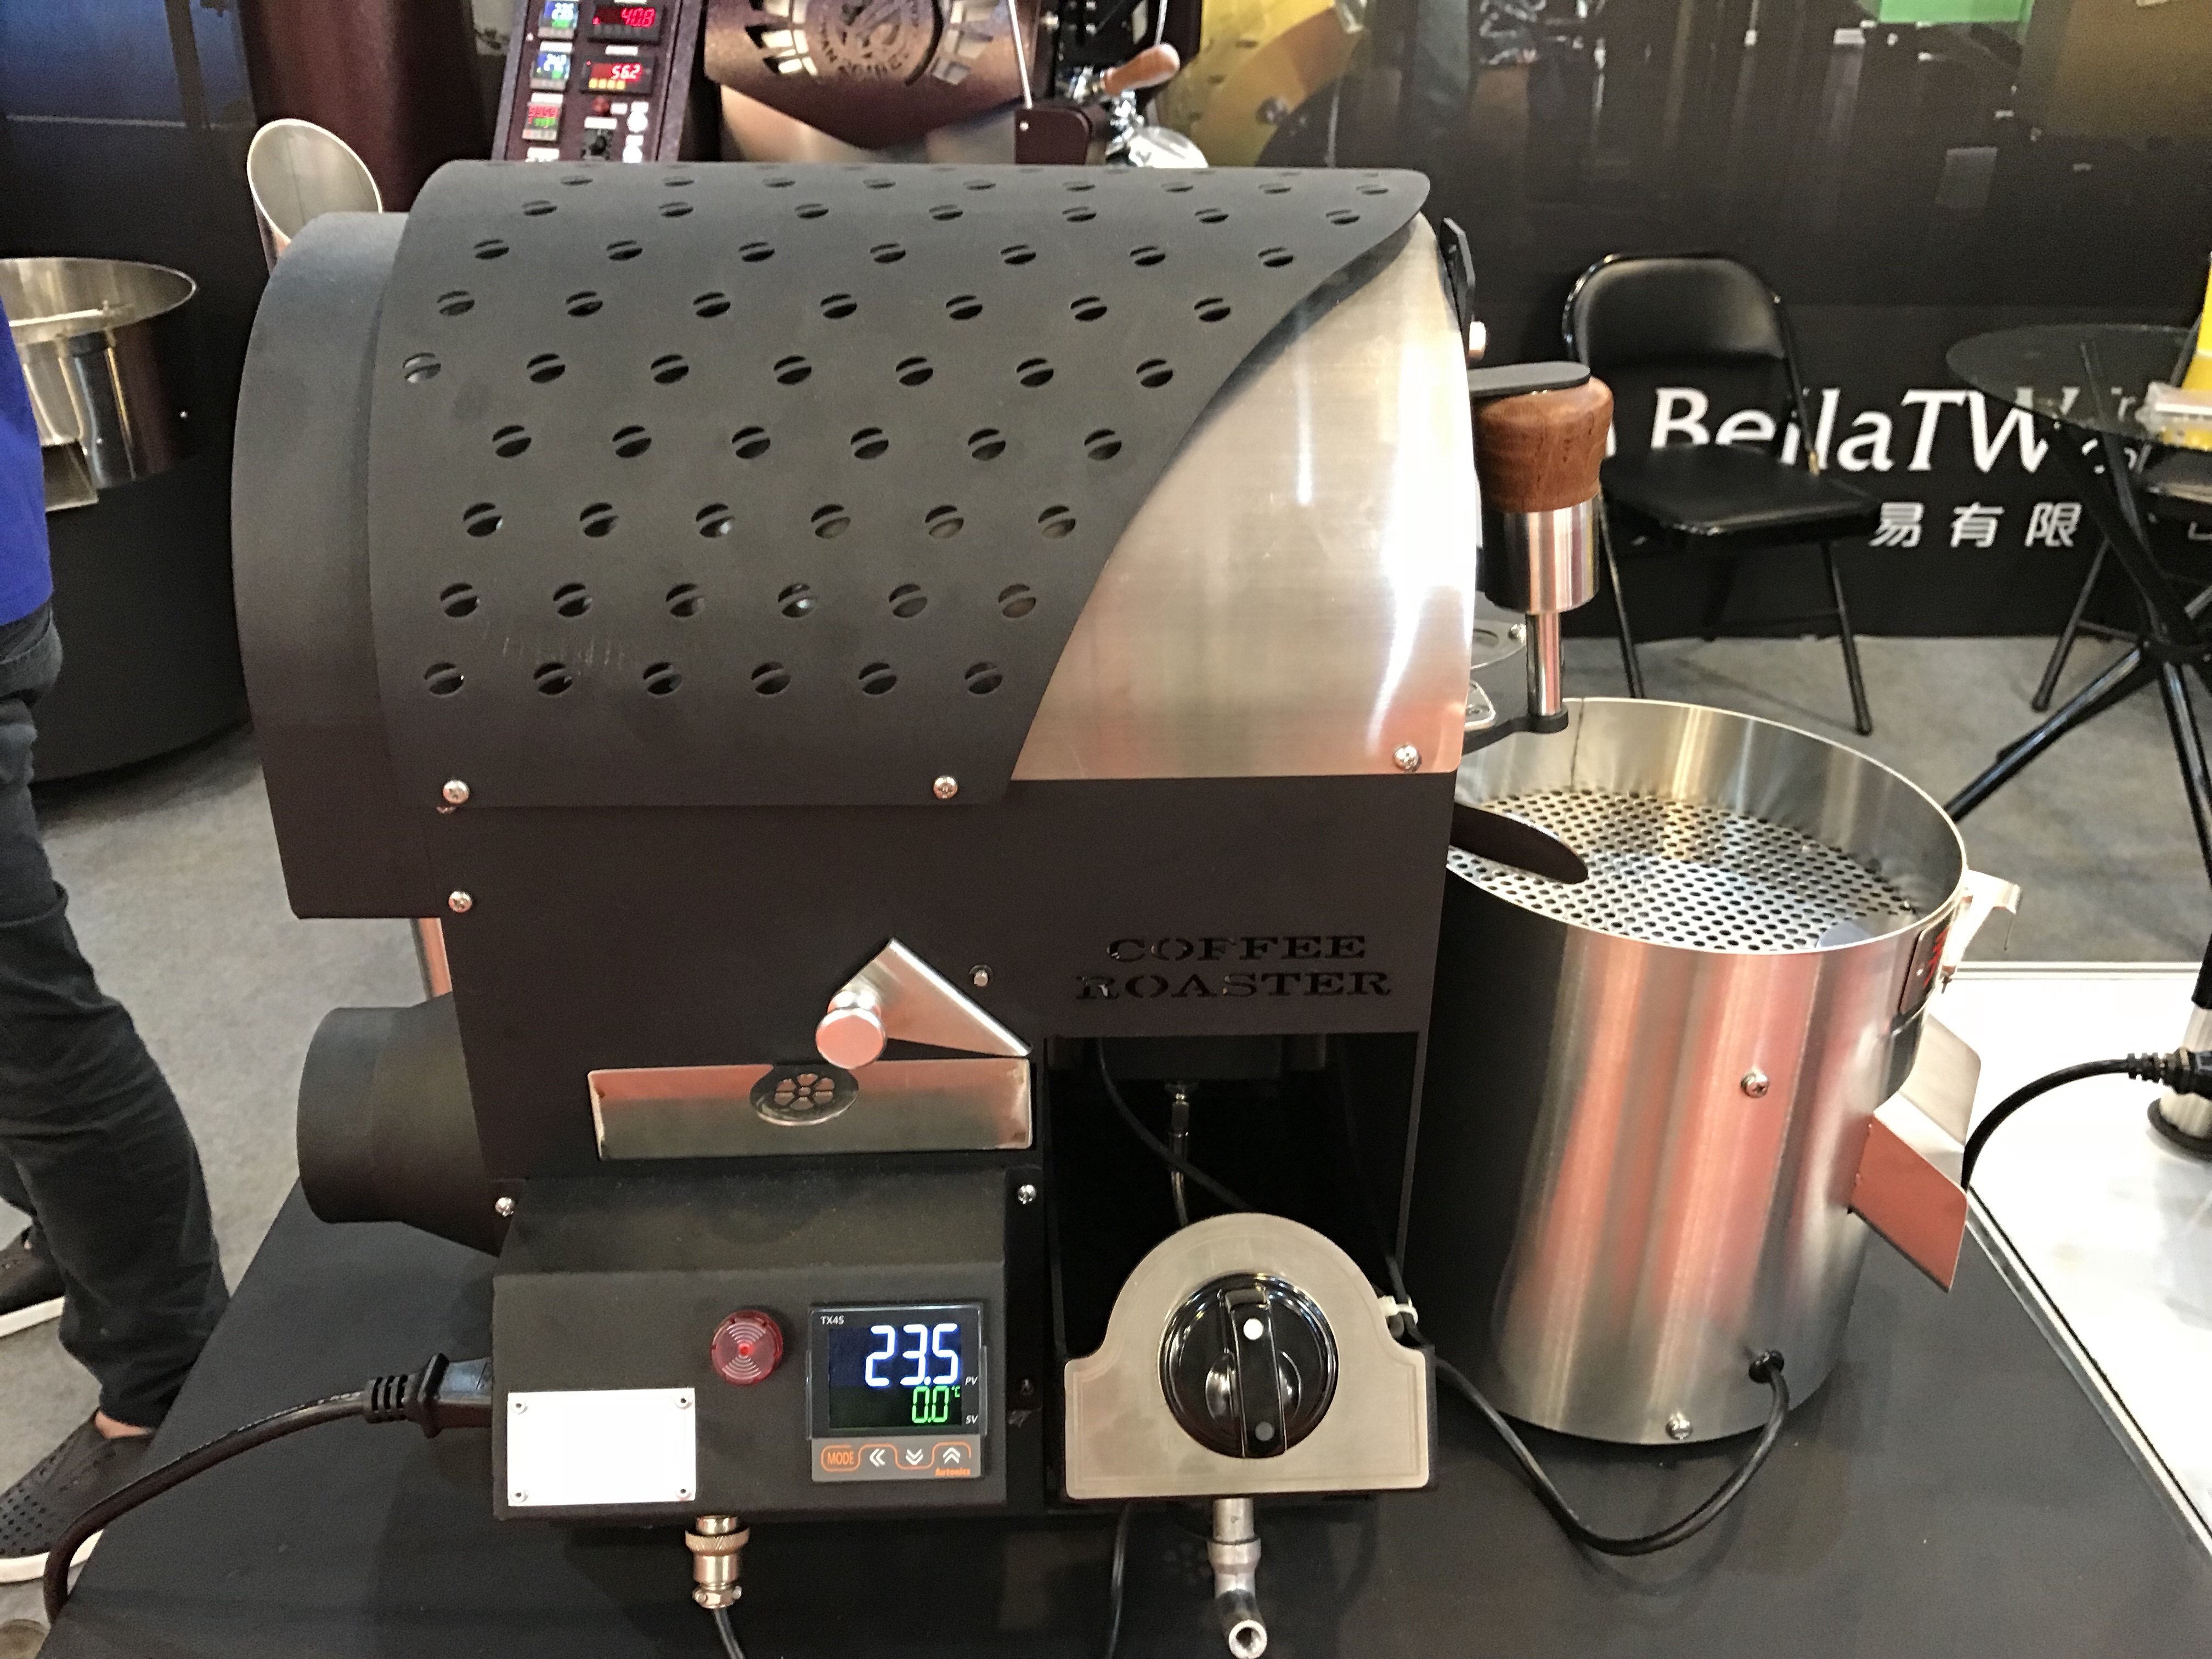
The thermocouple now has a mini-K plug, thermometer only reads in *C; after 200C displays whole numbers. Adding in a data-logging meter gives both a better range of temperature display and the ability to chart using Artisan Roaster Scope or Roastmaster real time data-logging. Thermocouple has a 5mm thick probe and a 8mm base held in place with a set screw.
Feima 100n Thermocouple
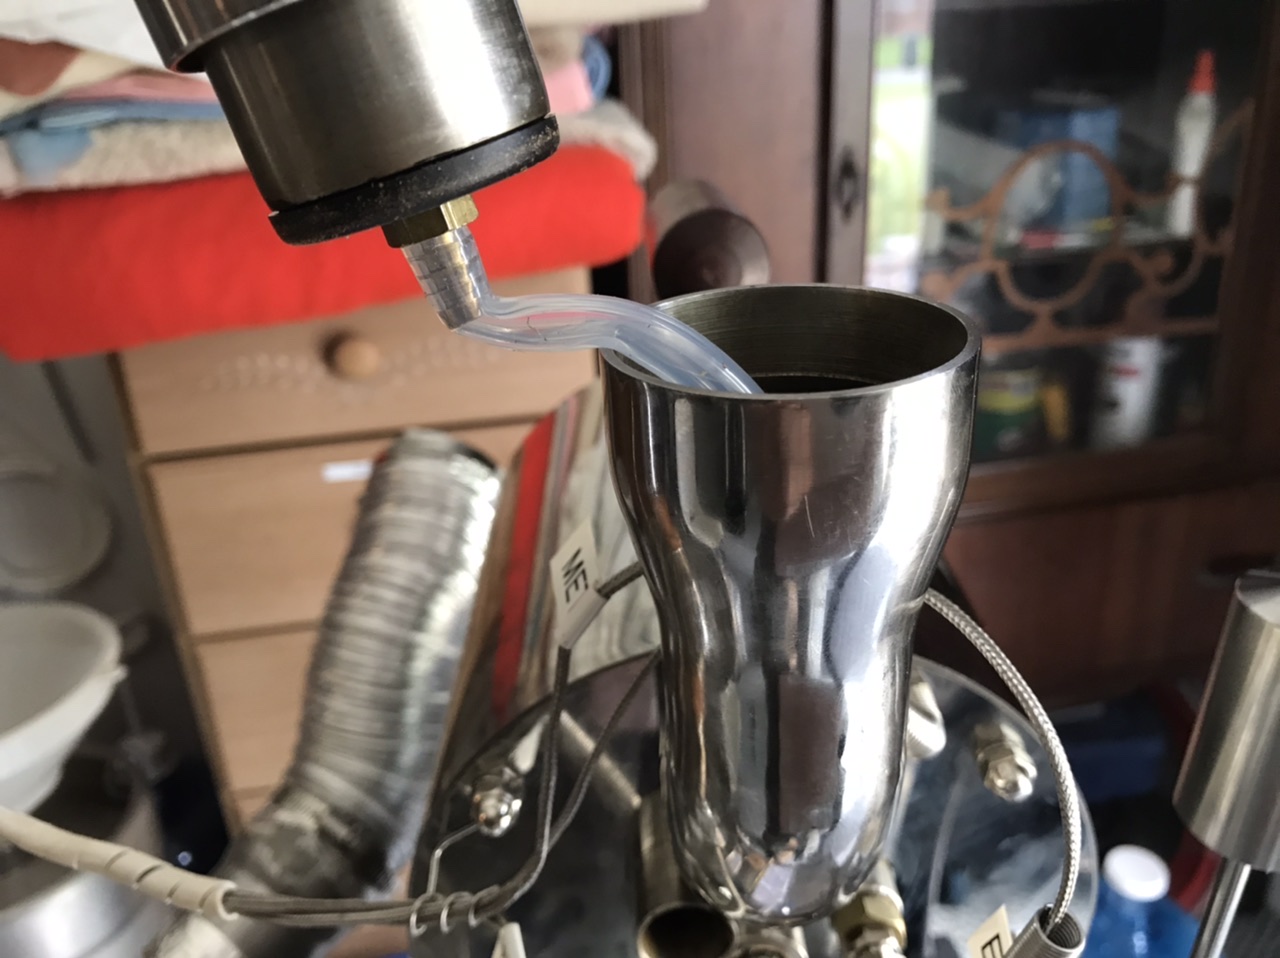
The only practical way to charge the roaster with green coffee, is to use the included charging tube. It seems to have been enlarged and now can hold @170g. Naturally I’m in the process of finding out how much coffee it’s possible to roast at one time; 170g is not an issue.
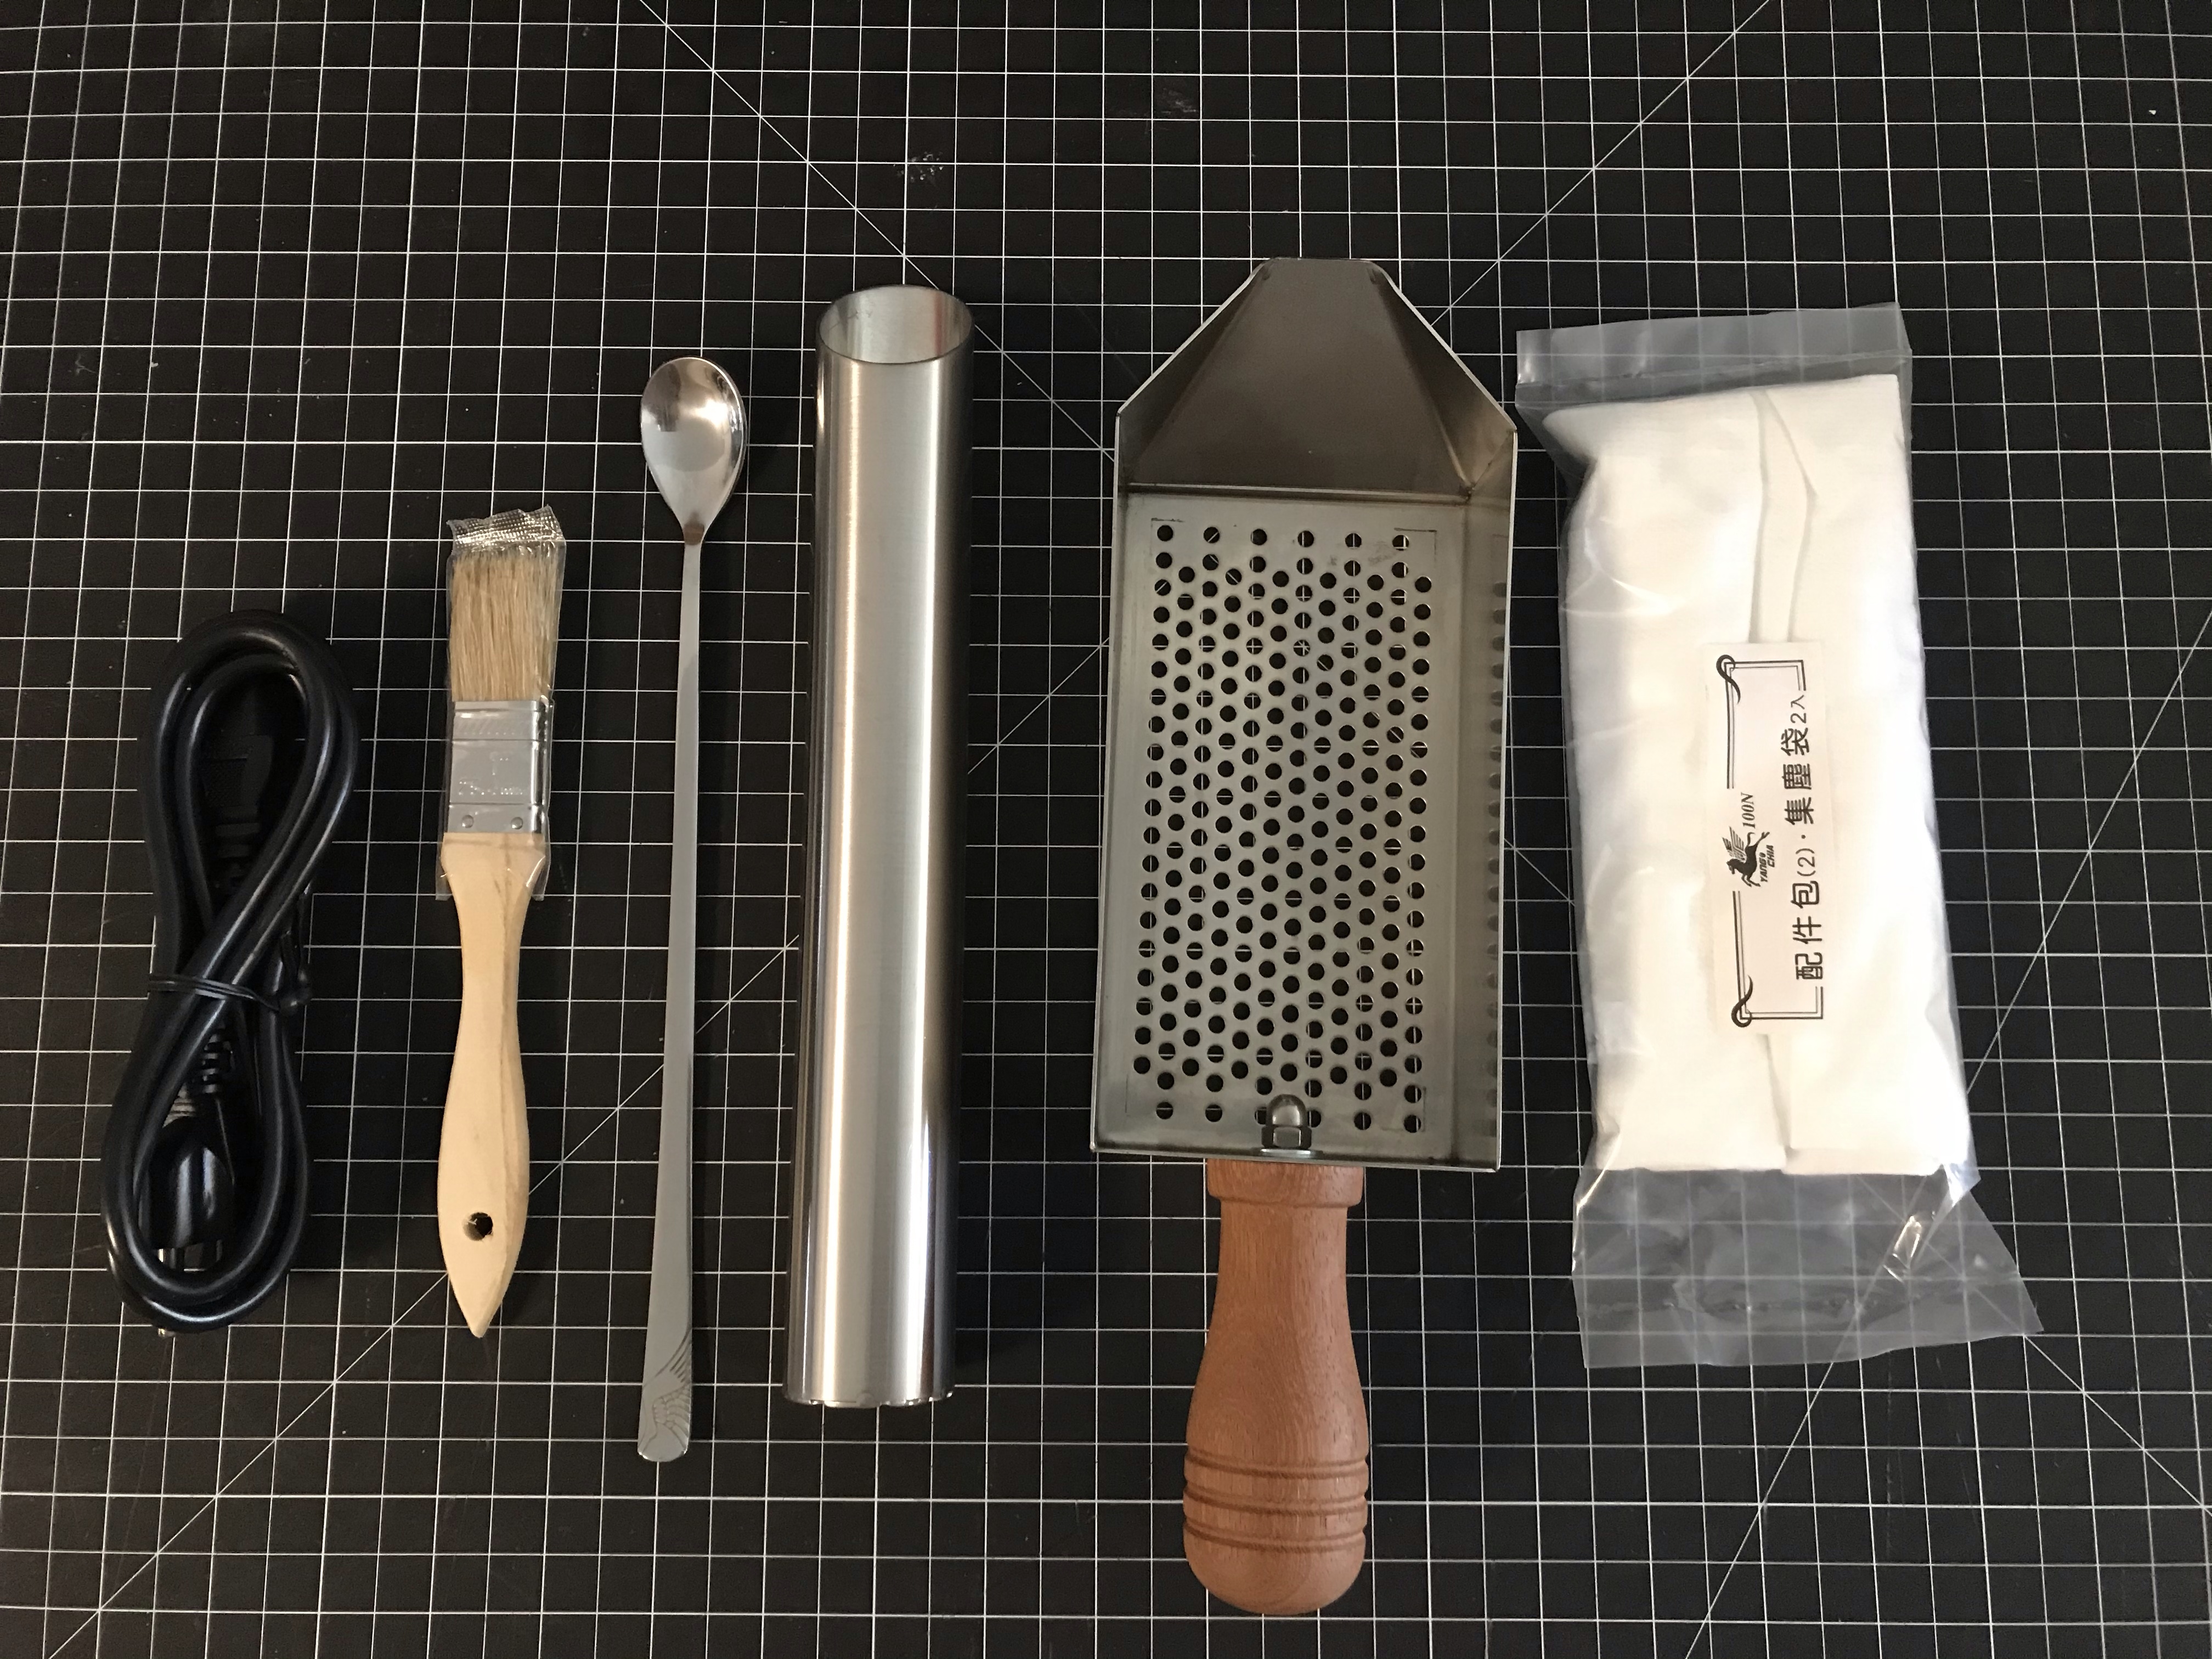
Feima 100n Charging Tube, Cooling Tray, Chaff Bag, Sample Spoon, and Power Cord
There’s an additional viewing window along with a chamfered steel plate inside the door. A lot less chaff is dropping into the catch tray than version 1. At first I though the viewing window was superfluous as roasted beans can be dipped out with the included spoon. At least while new it’s easy to see the transition from green to light brown thru the window or chaff floating around. A nicely done improvement!
Feima 100n Roast Viewing Window


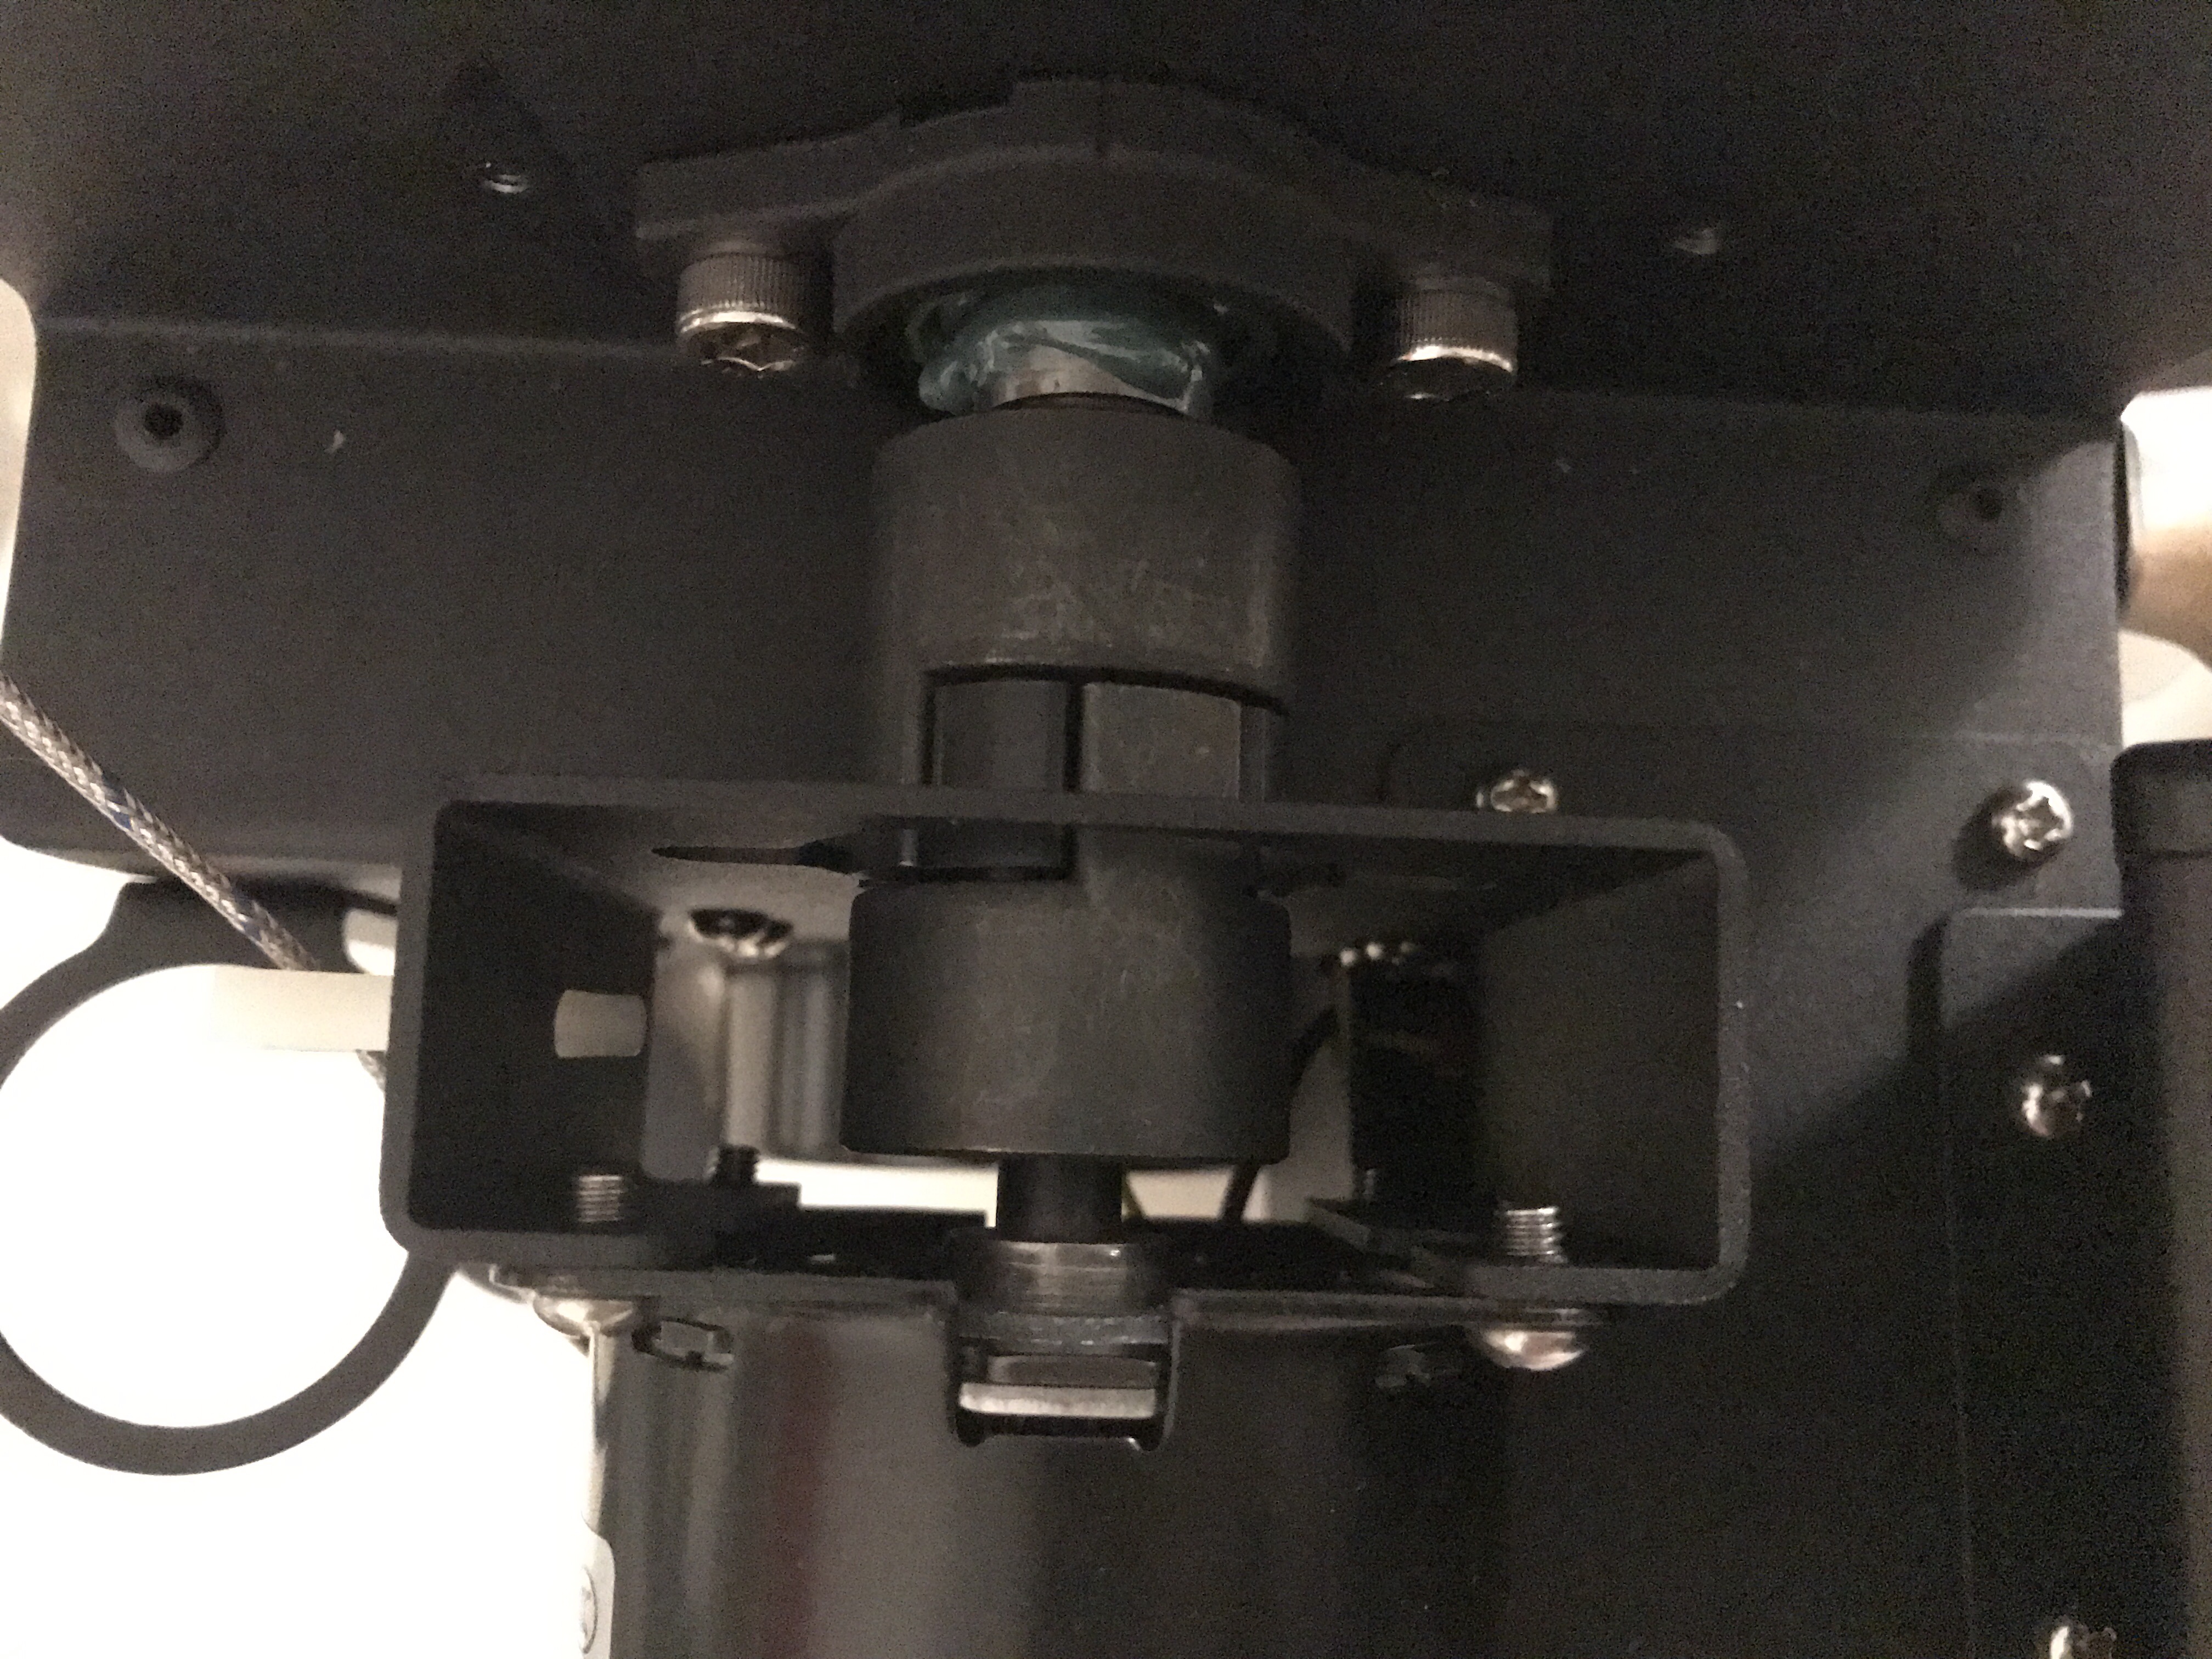
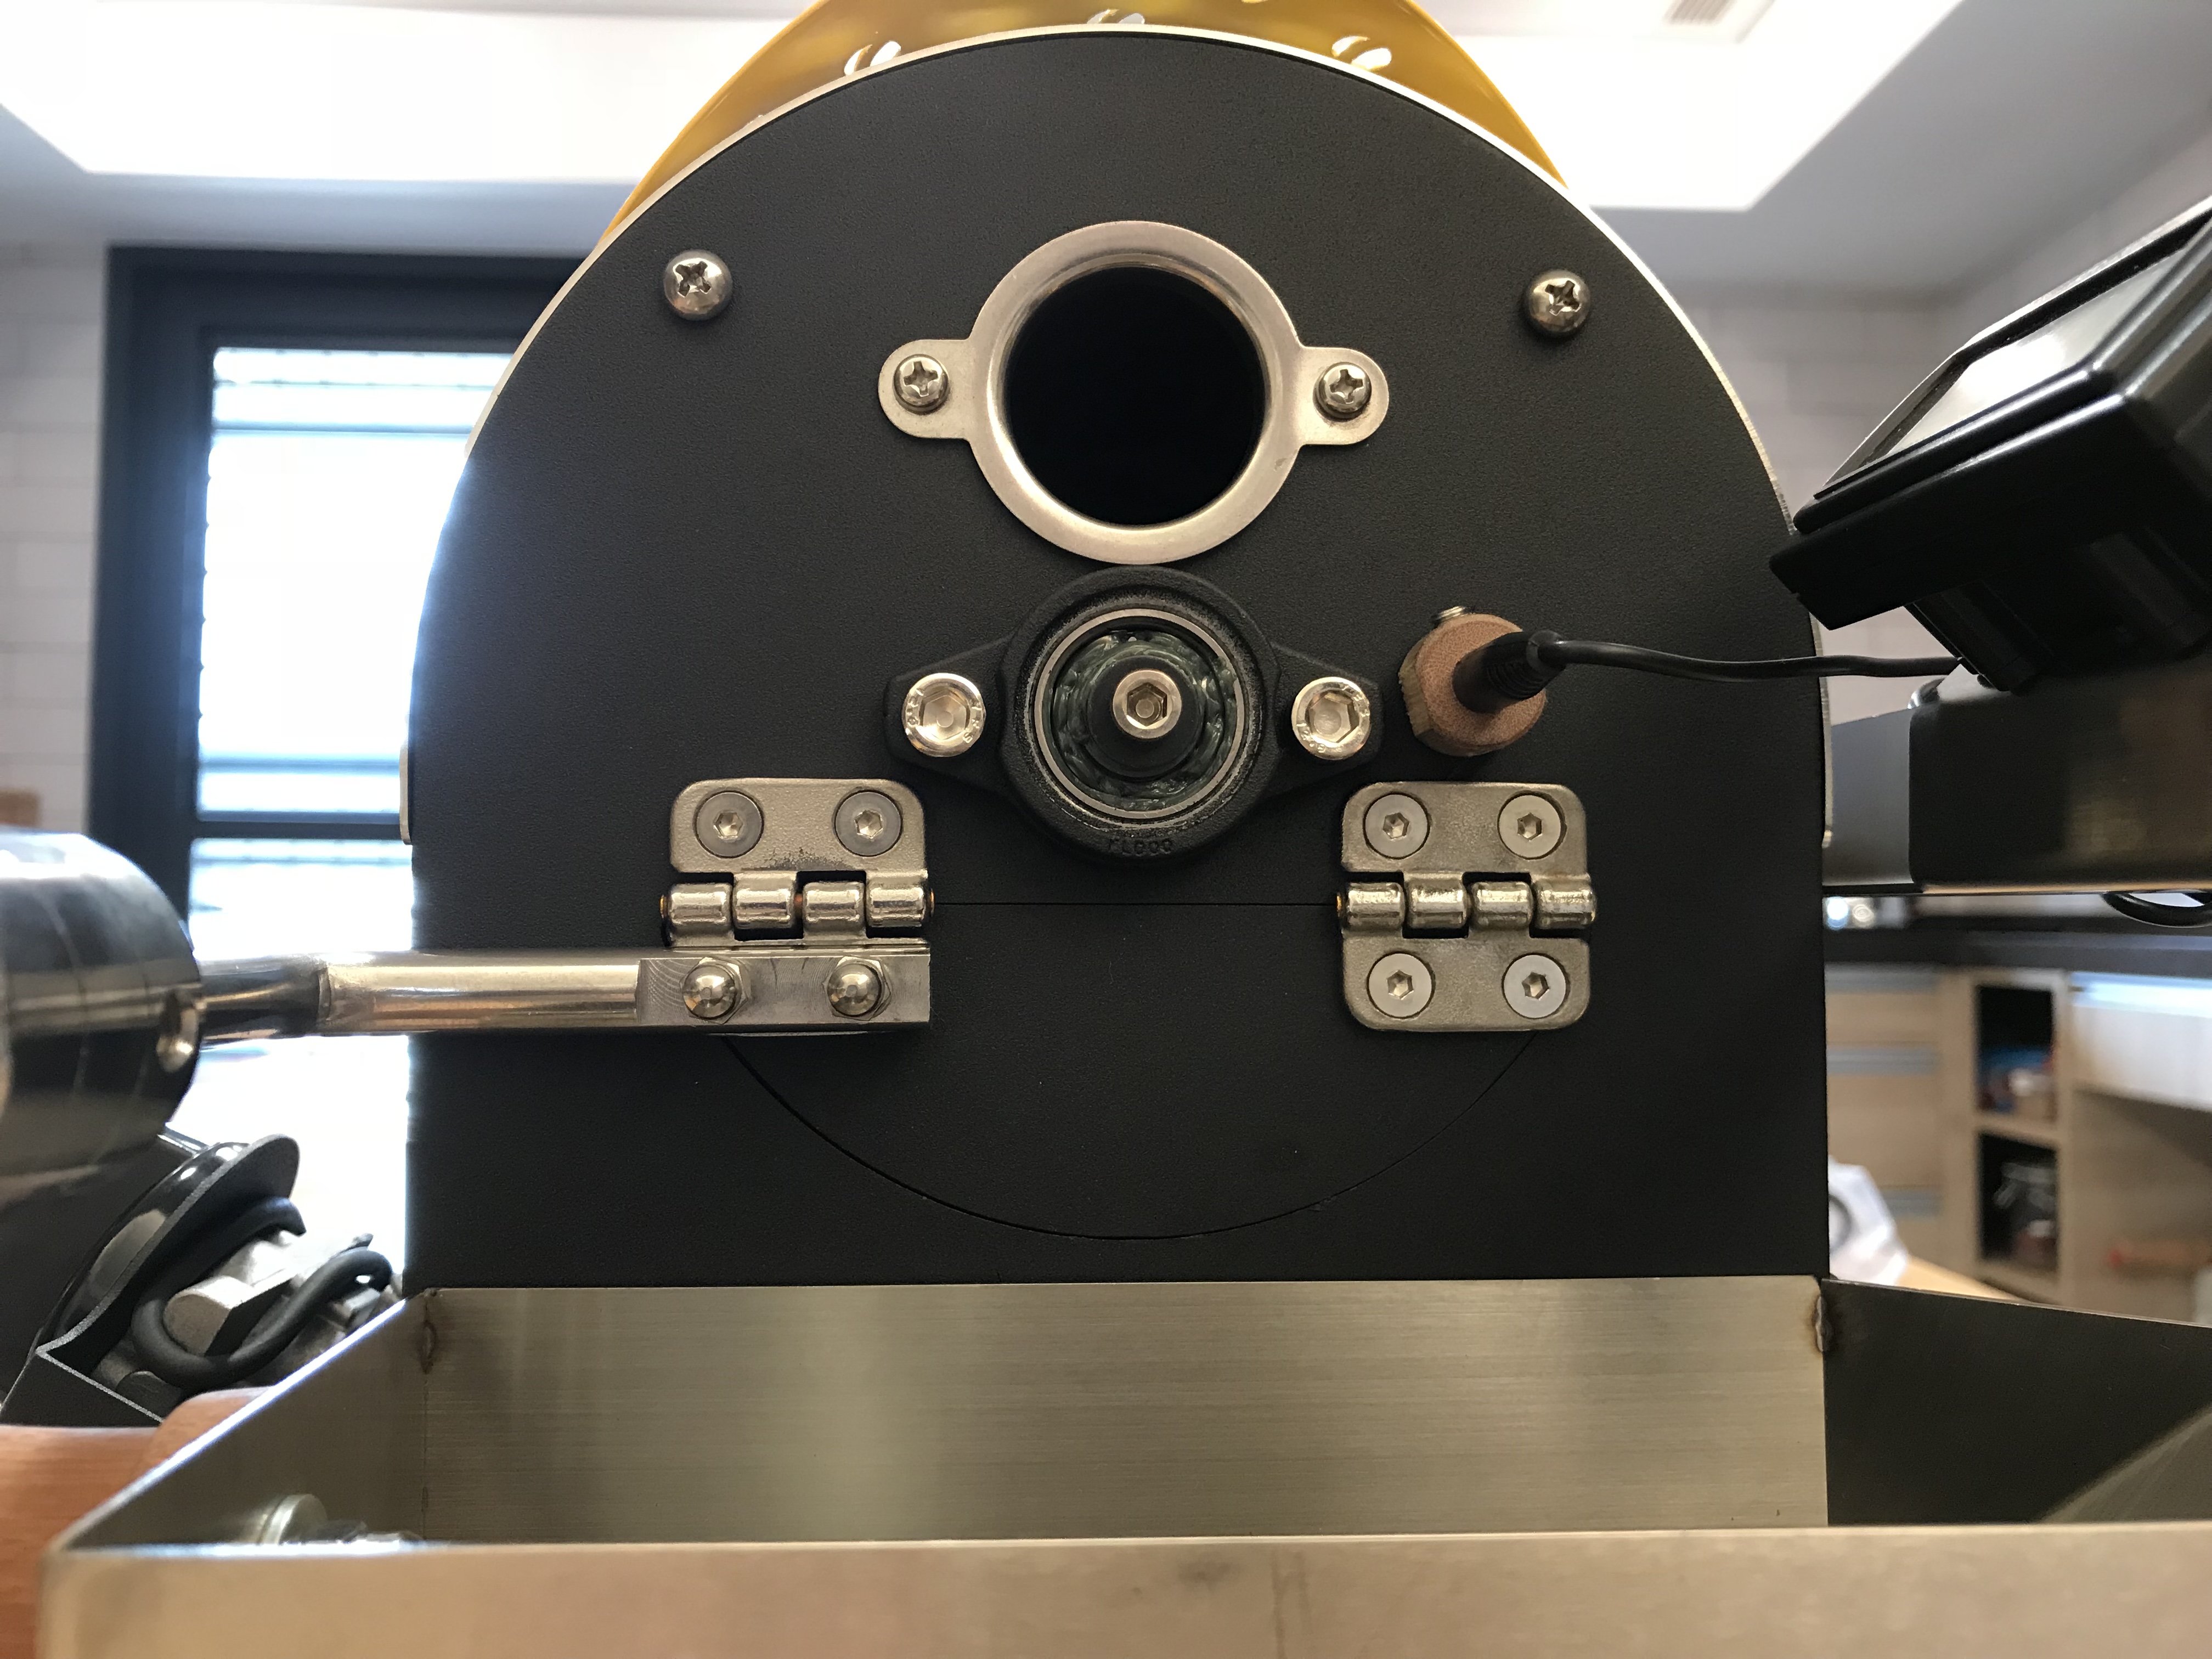
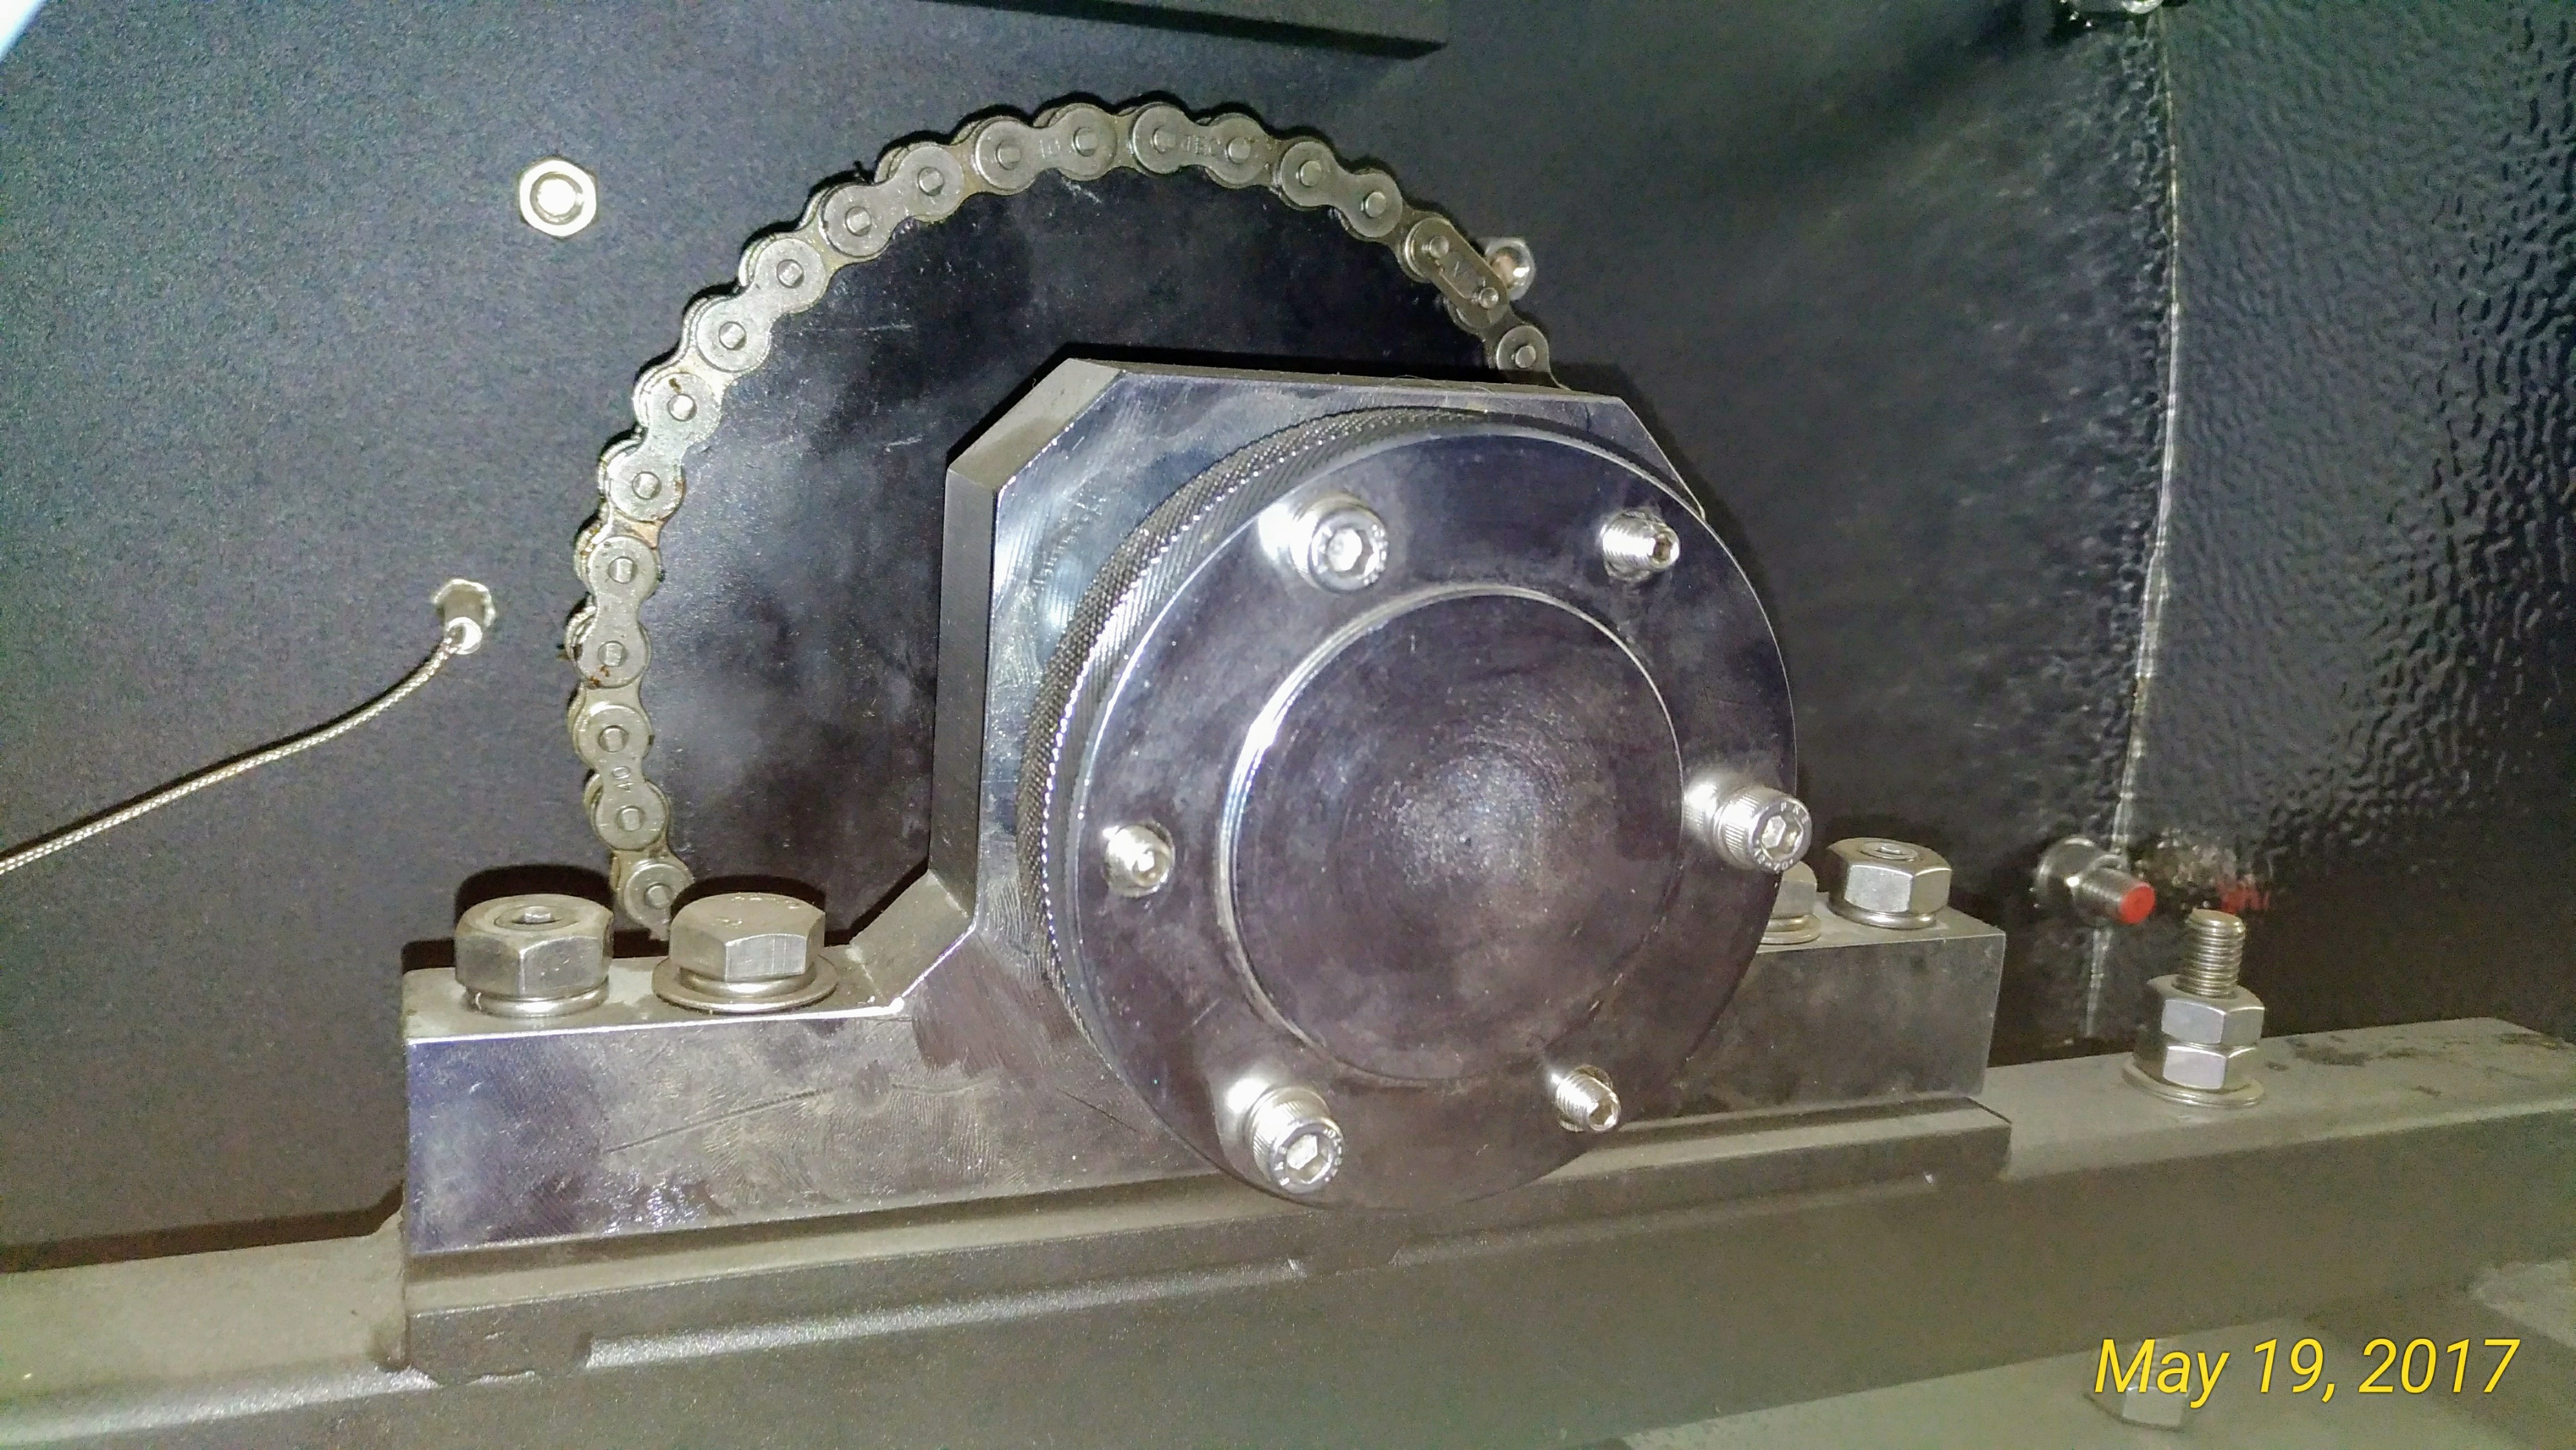
The drum shaft has been upgraded, two cap head screws secure the drum to faceplate gap; one on a keyed slot.
Feima 100n Internal Drum Shaft
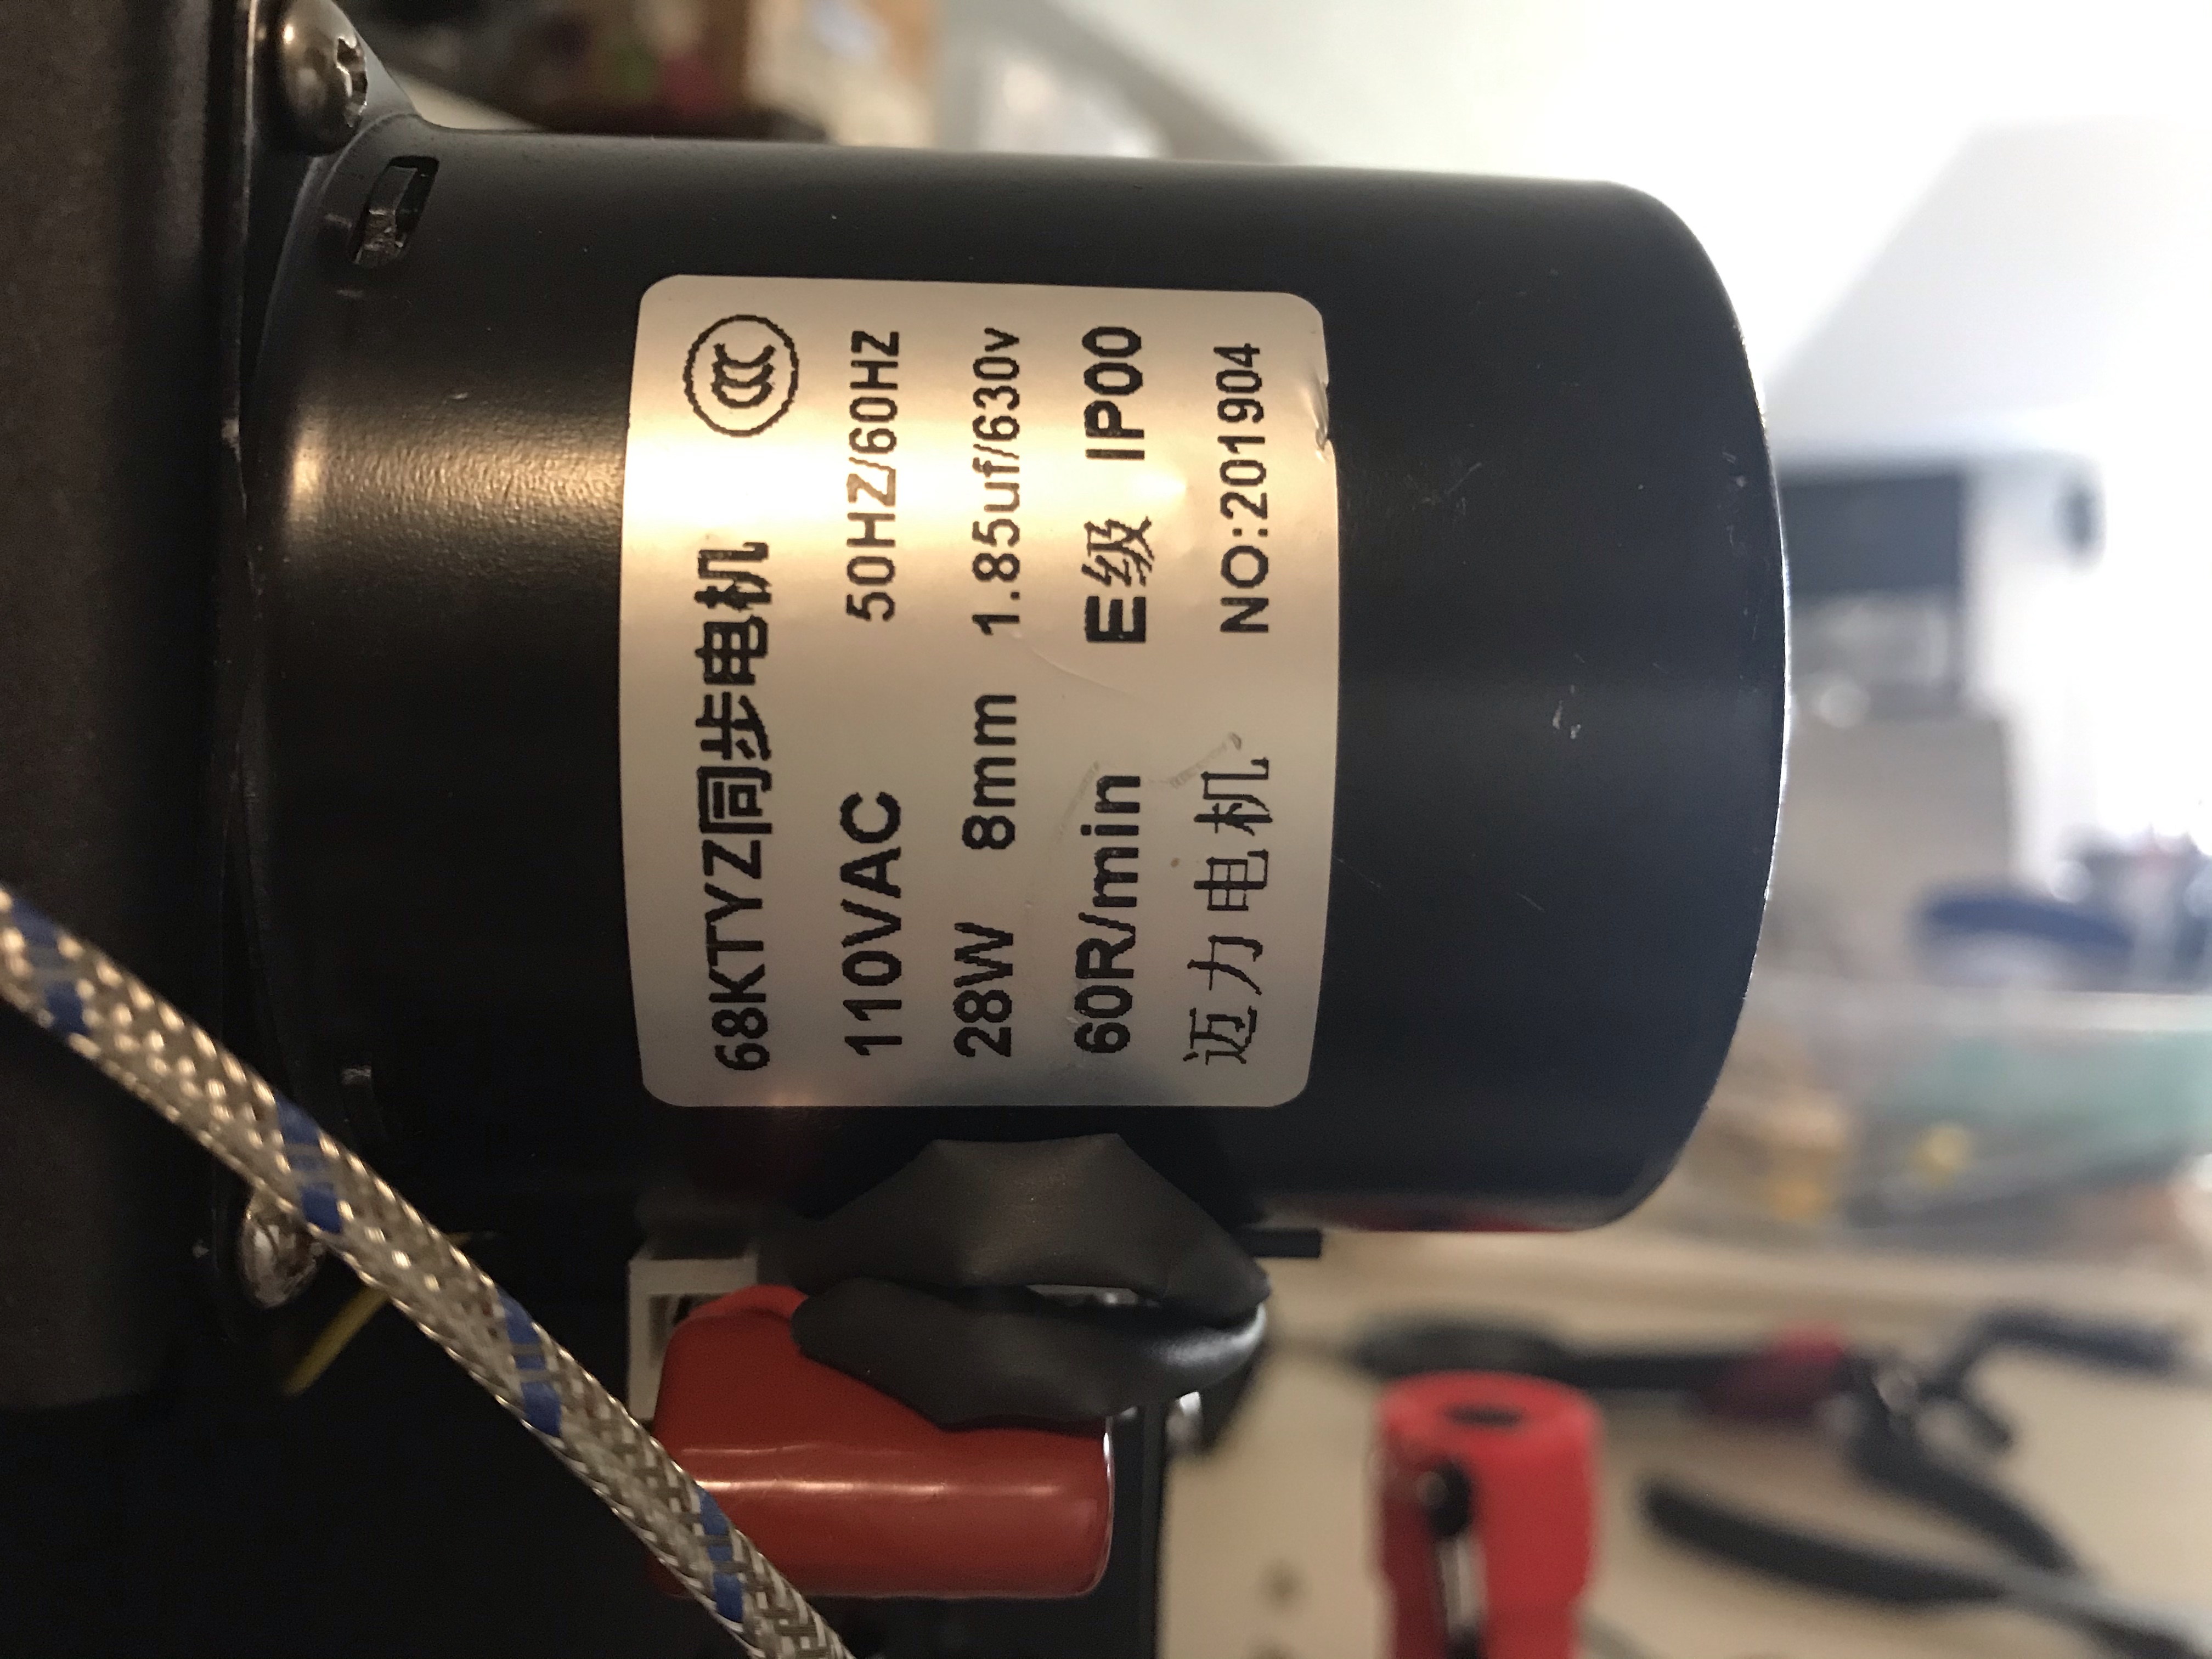
Feima 100n Drum Motor
Feima 100n Lovejoy Coupling for Motor – Rear Bearing
Feima 100n Instructions – Part of the roasting advice is for “double roasting” where the beans are partially roasted, cooled, and re-roasted again. I think this ends up being more confusing than it needs to be; illustrating an obscure type of profile.
Feima 100n Instruction Brochure

In the past the Feima 100n was available in a variety of cool colors, my favorite was yellow. Now version II is only available in black, and that’s fine with all the numerous upgrades/improvements. The only parts not included are the gas hose and regulator, which can vary from country to country. The hose barb connection is 3/8”, has some internal threads as well. It’s also possible to run the Feima 100n with a one pound camping propane cylinder adaptor, connected to a low pressure regulator. It’s plenty big enough for a one or two person coffee drinking household; or even a low cost sample roaster.
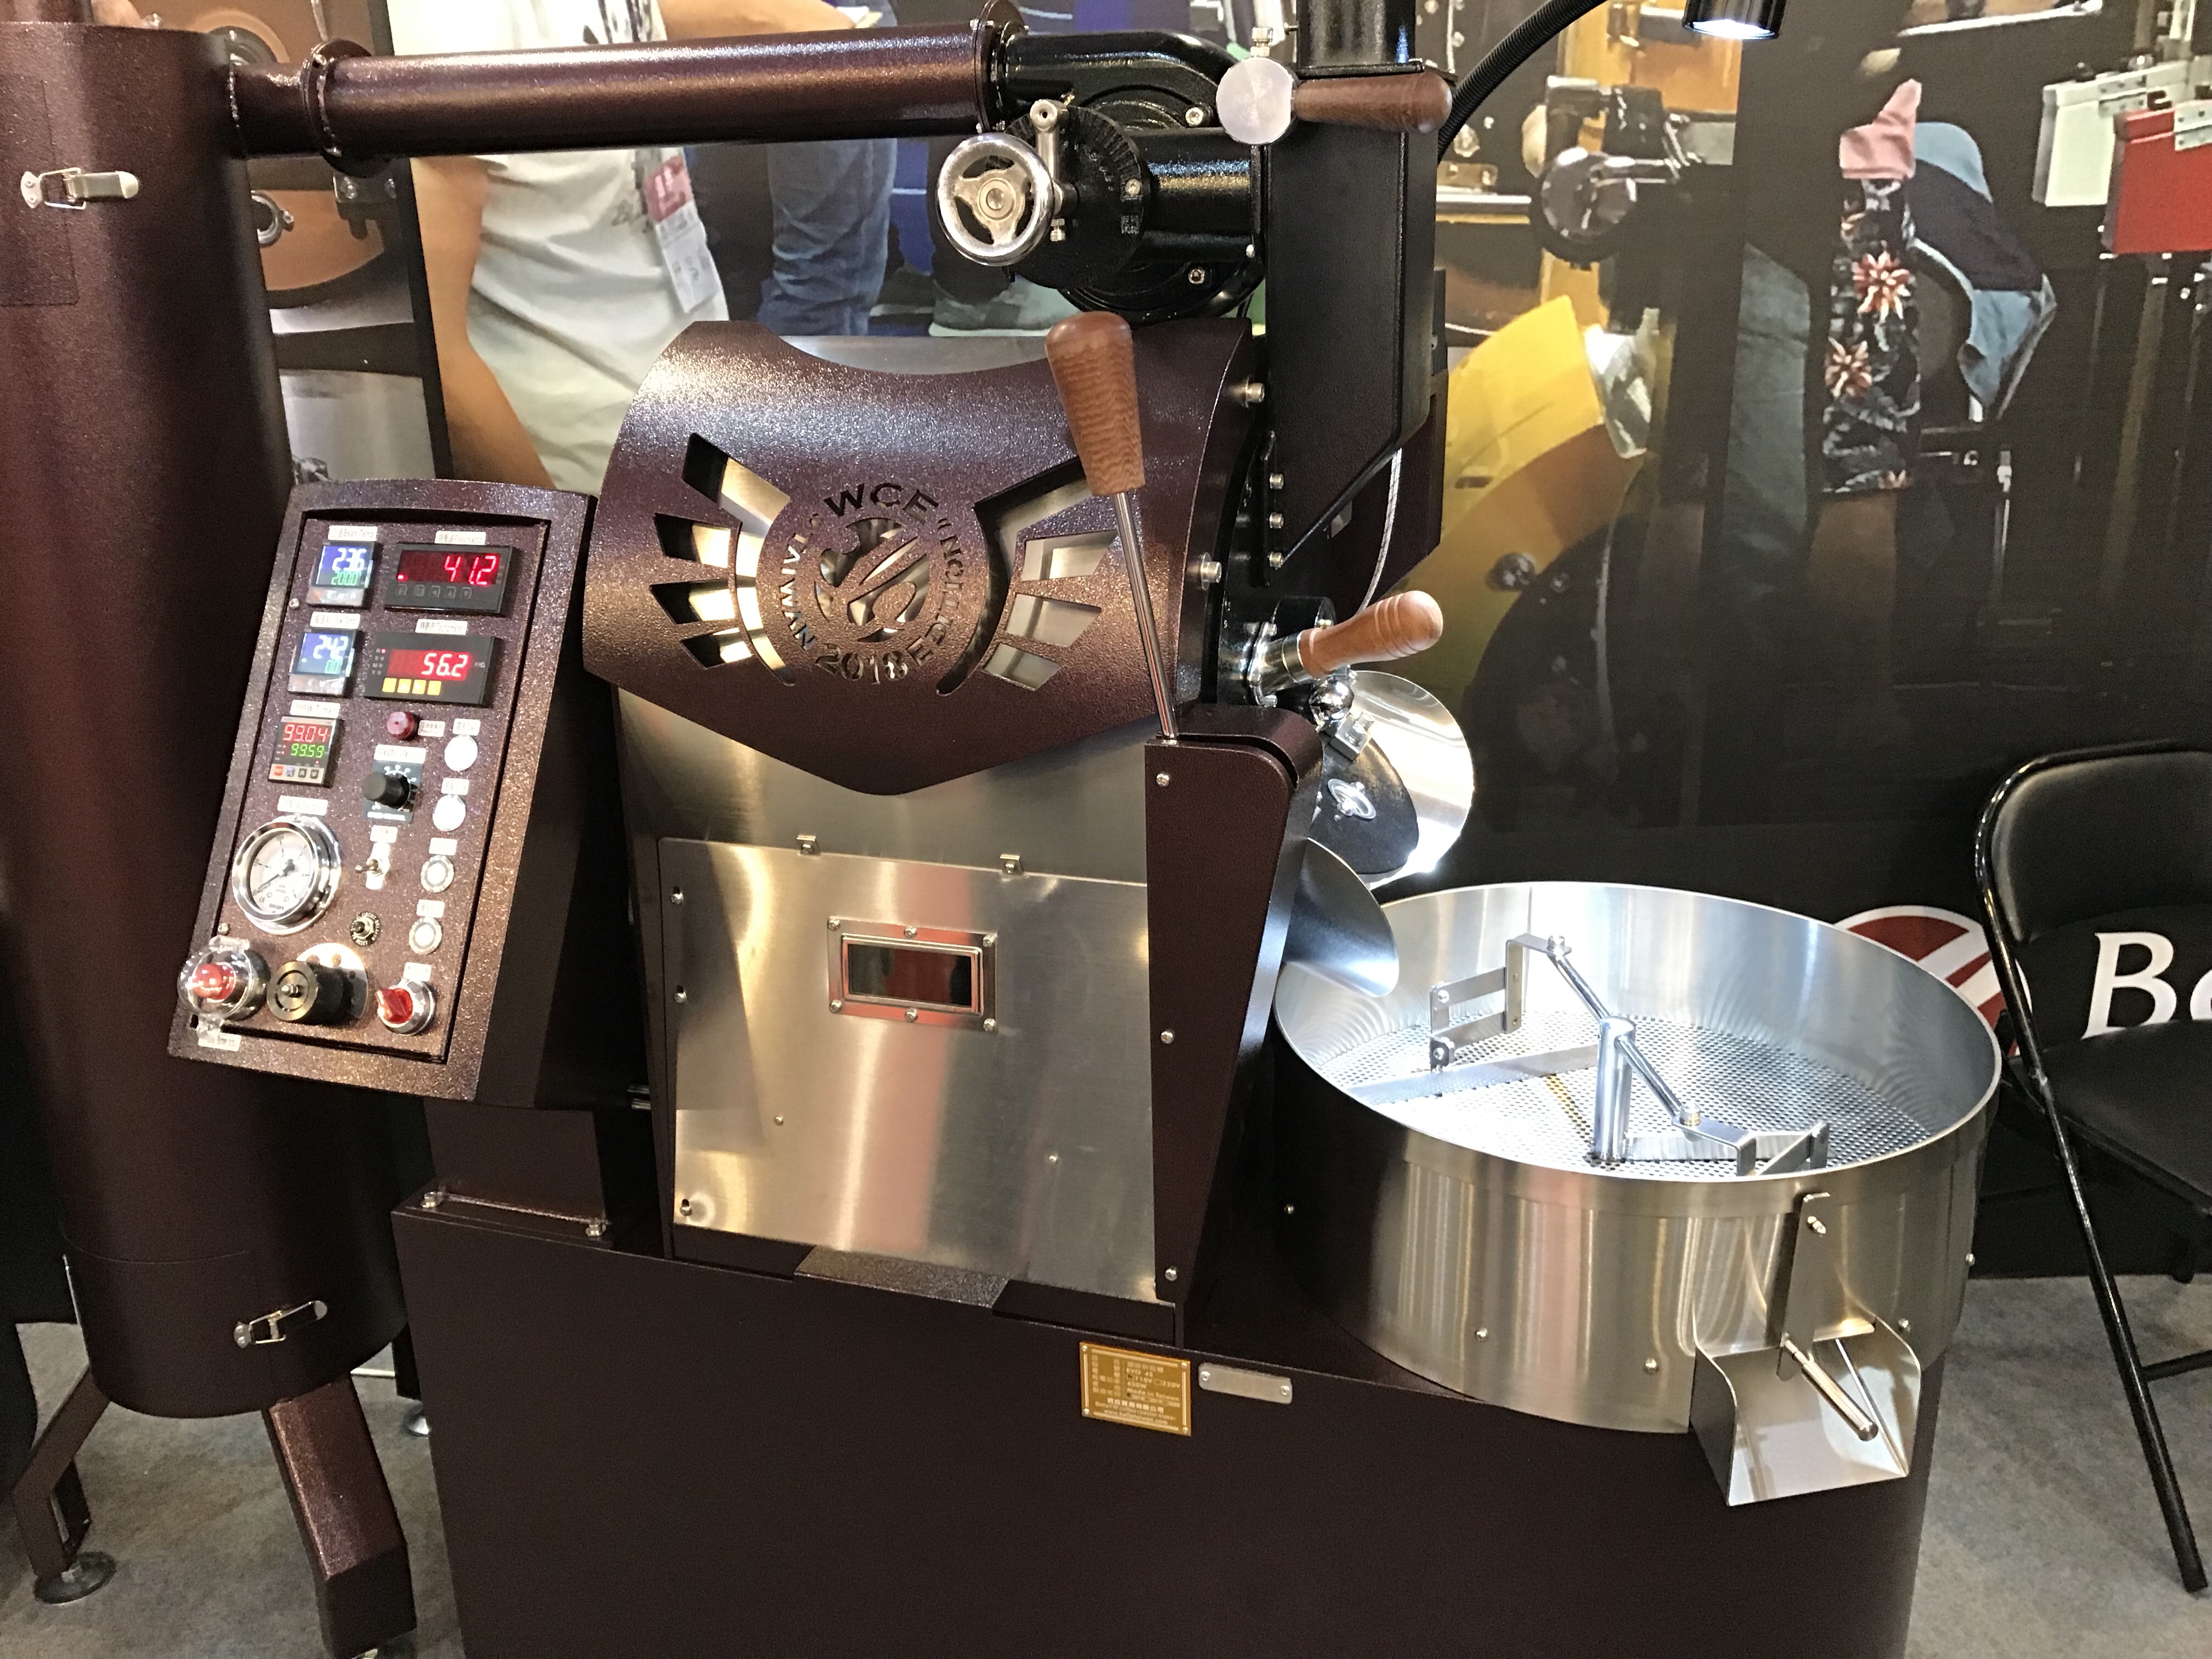
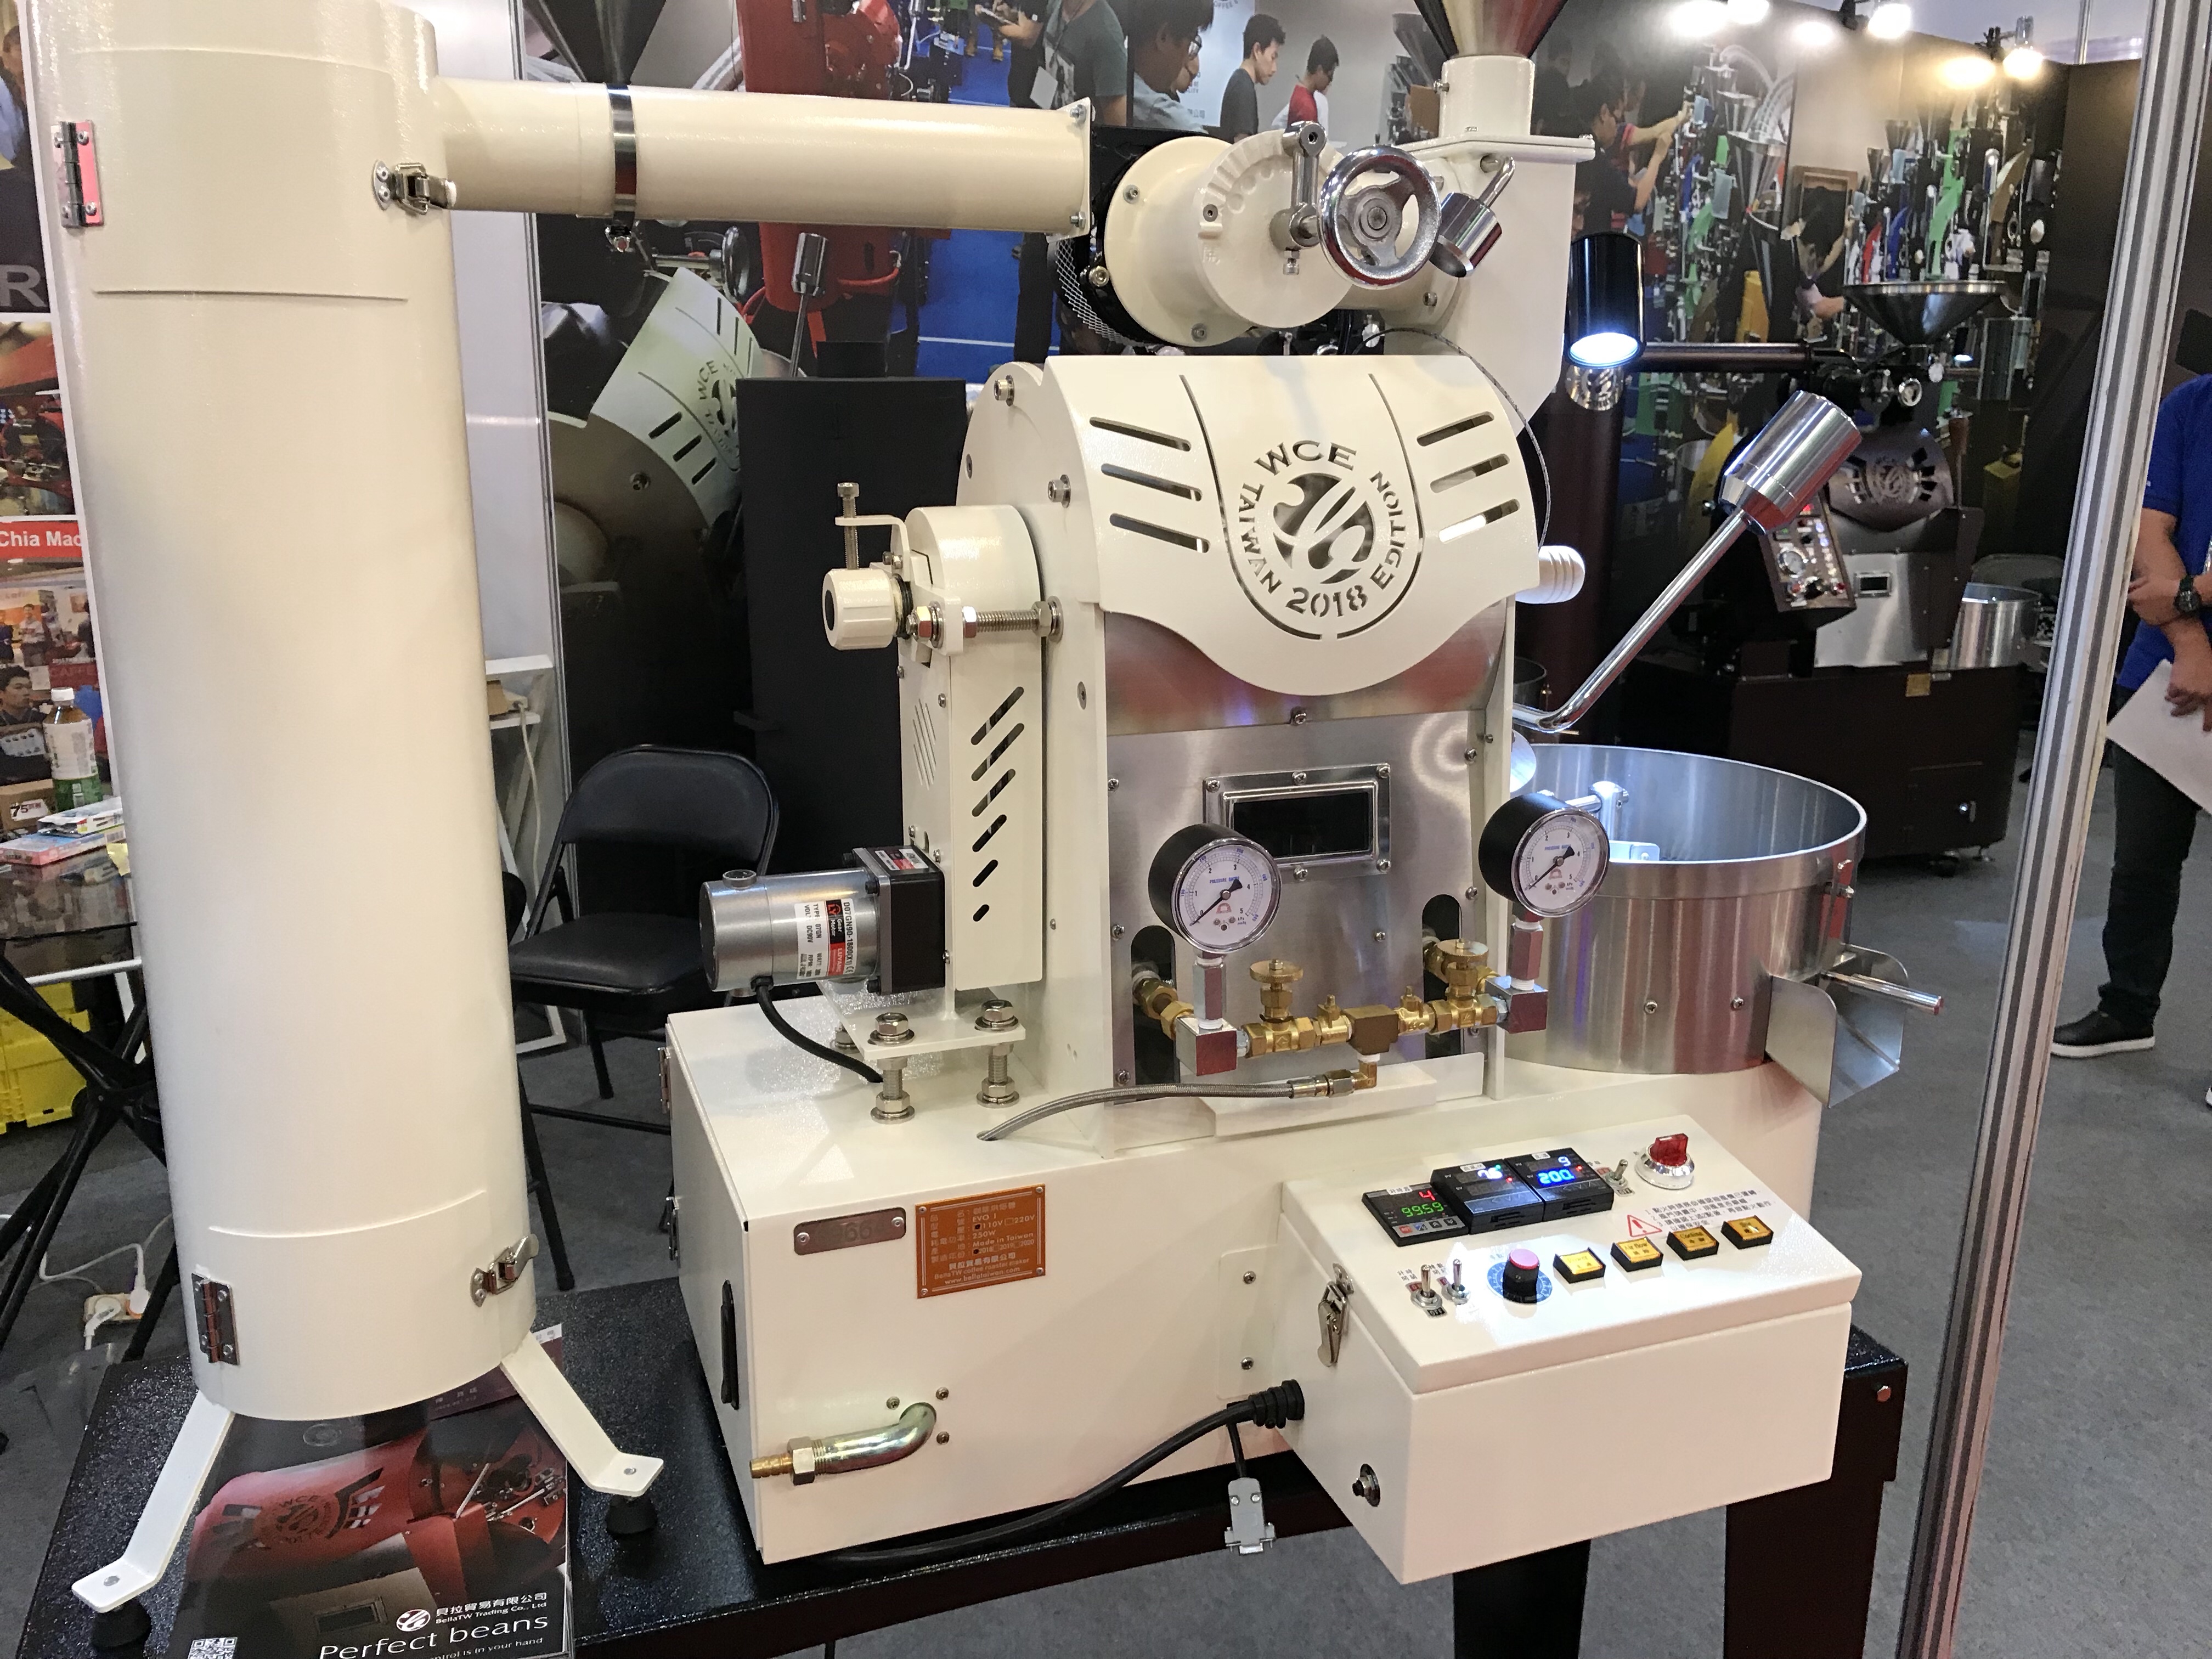
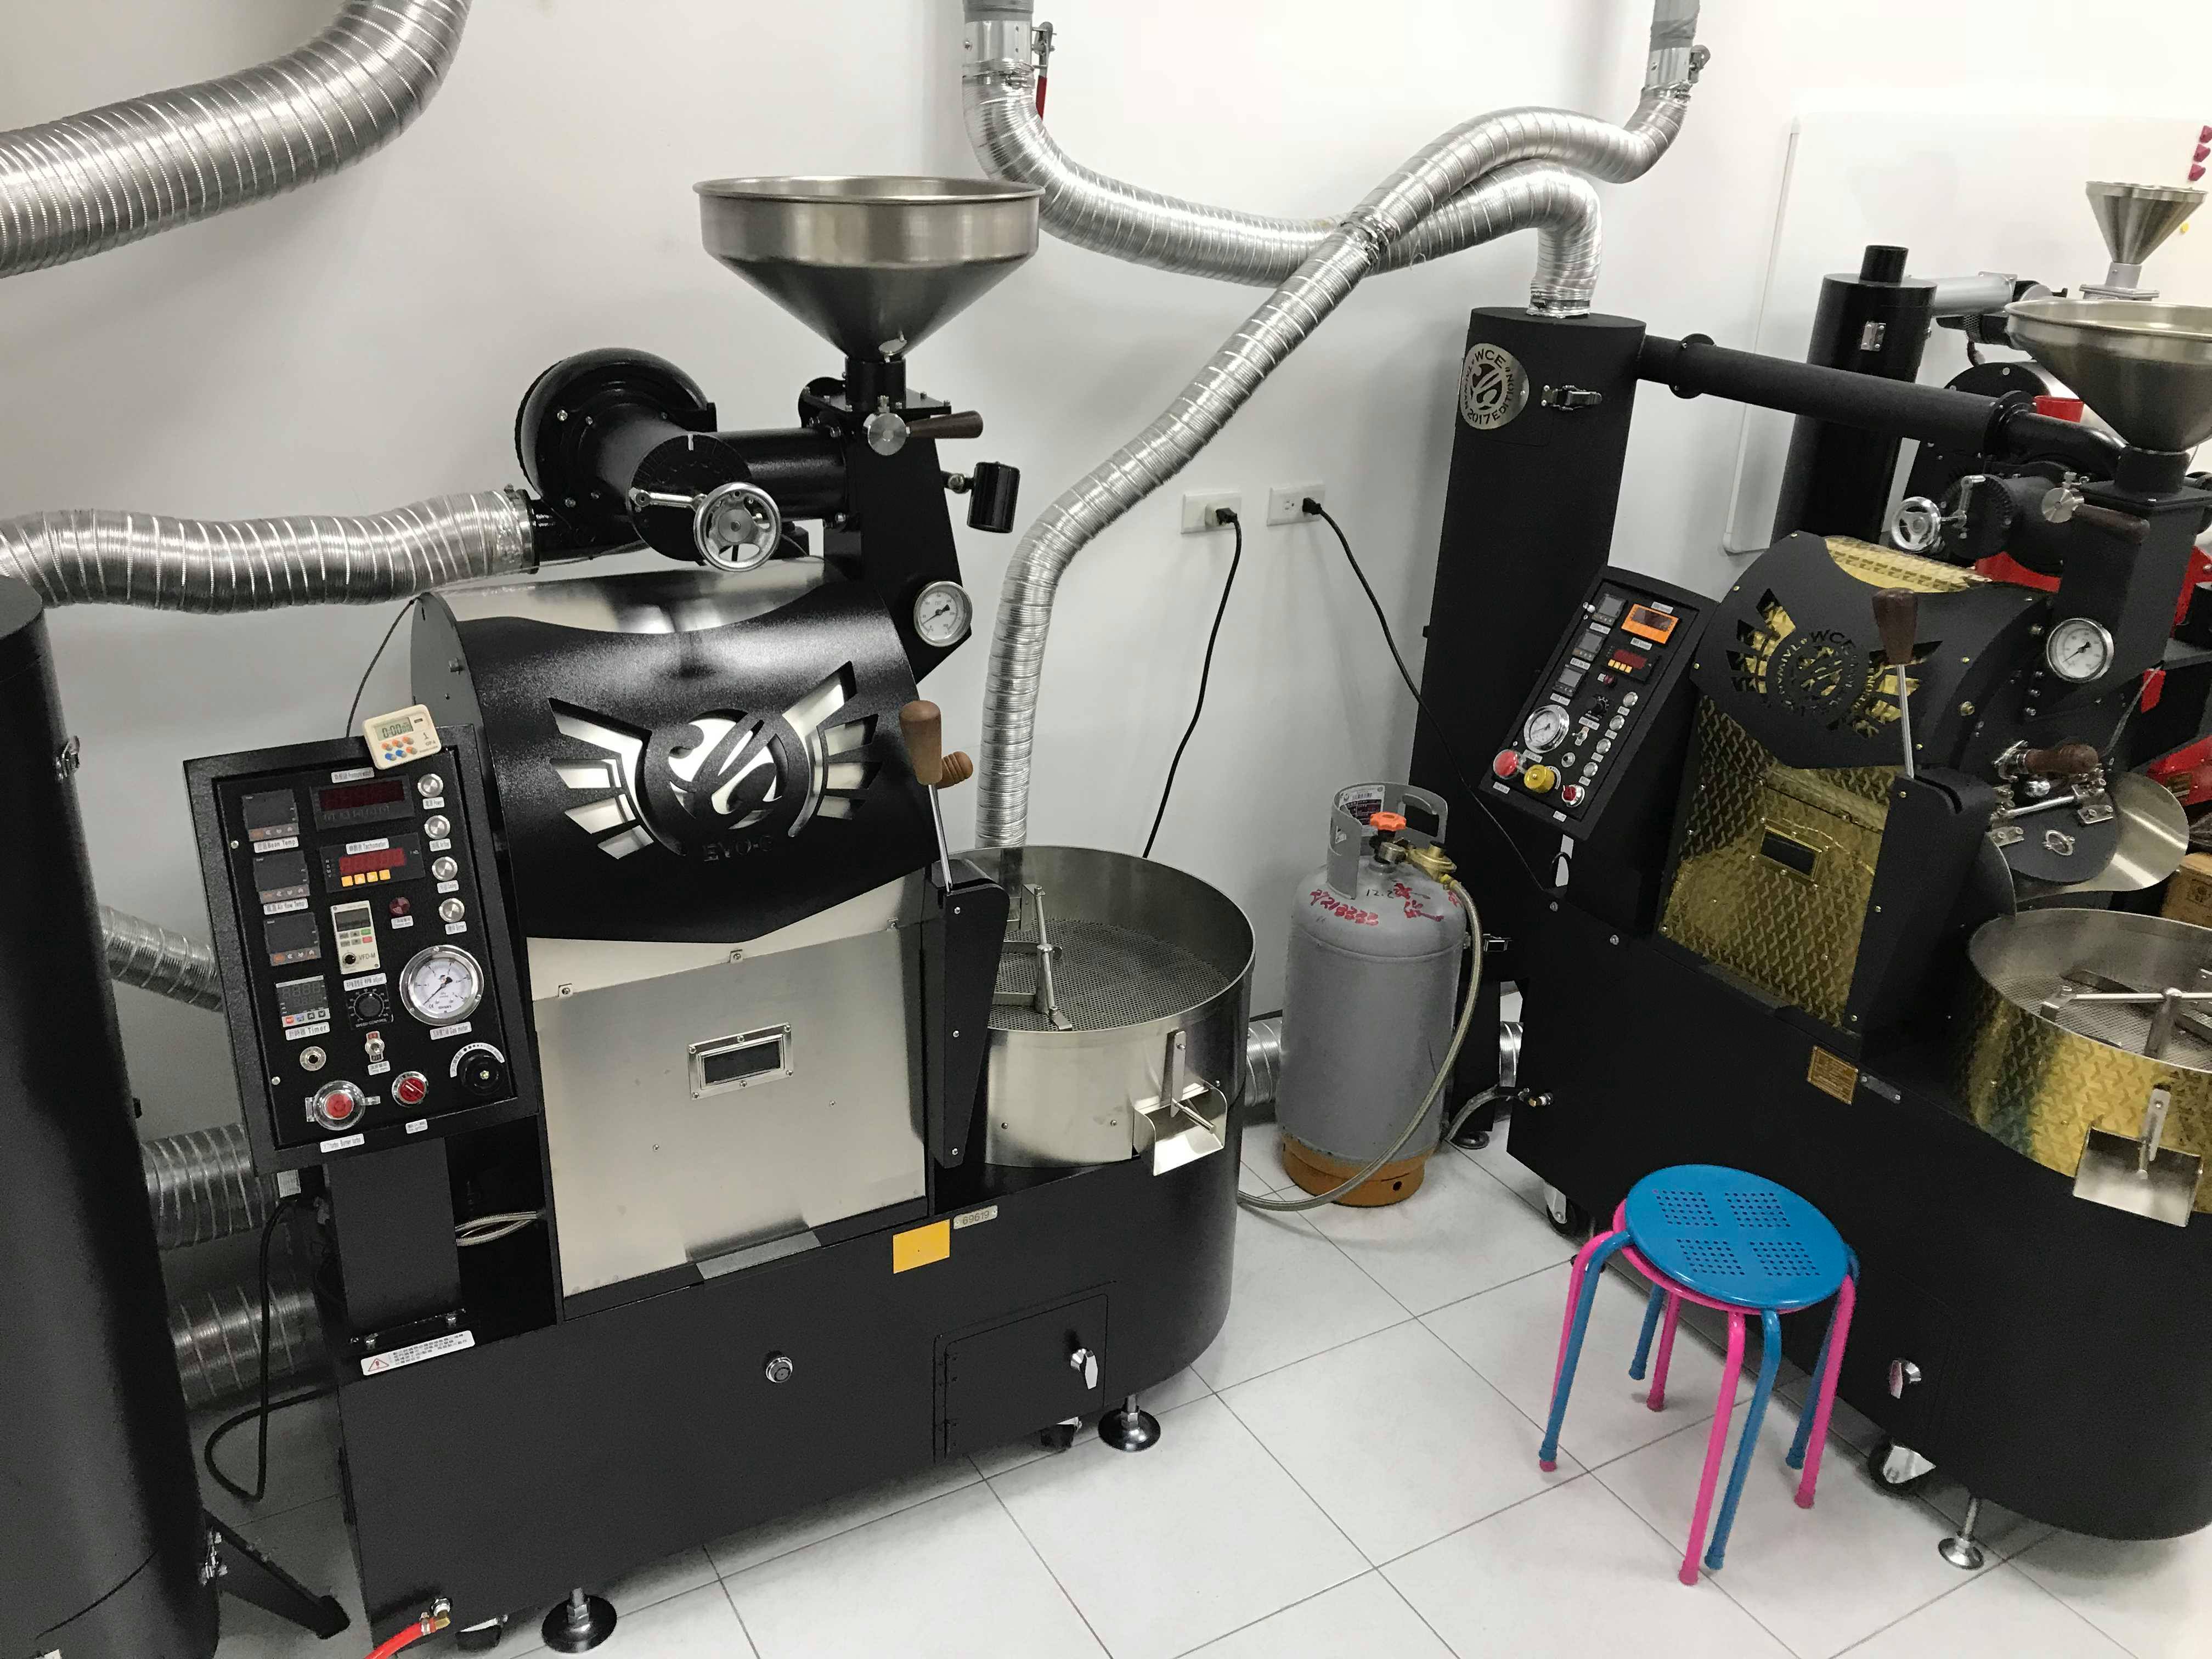
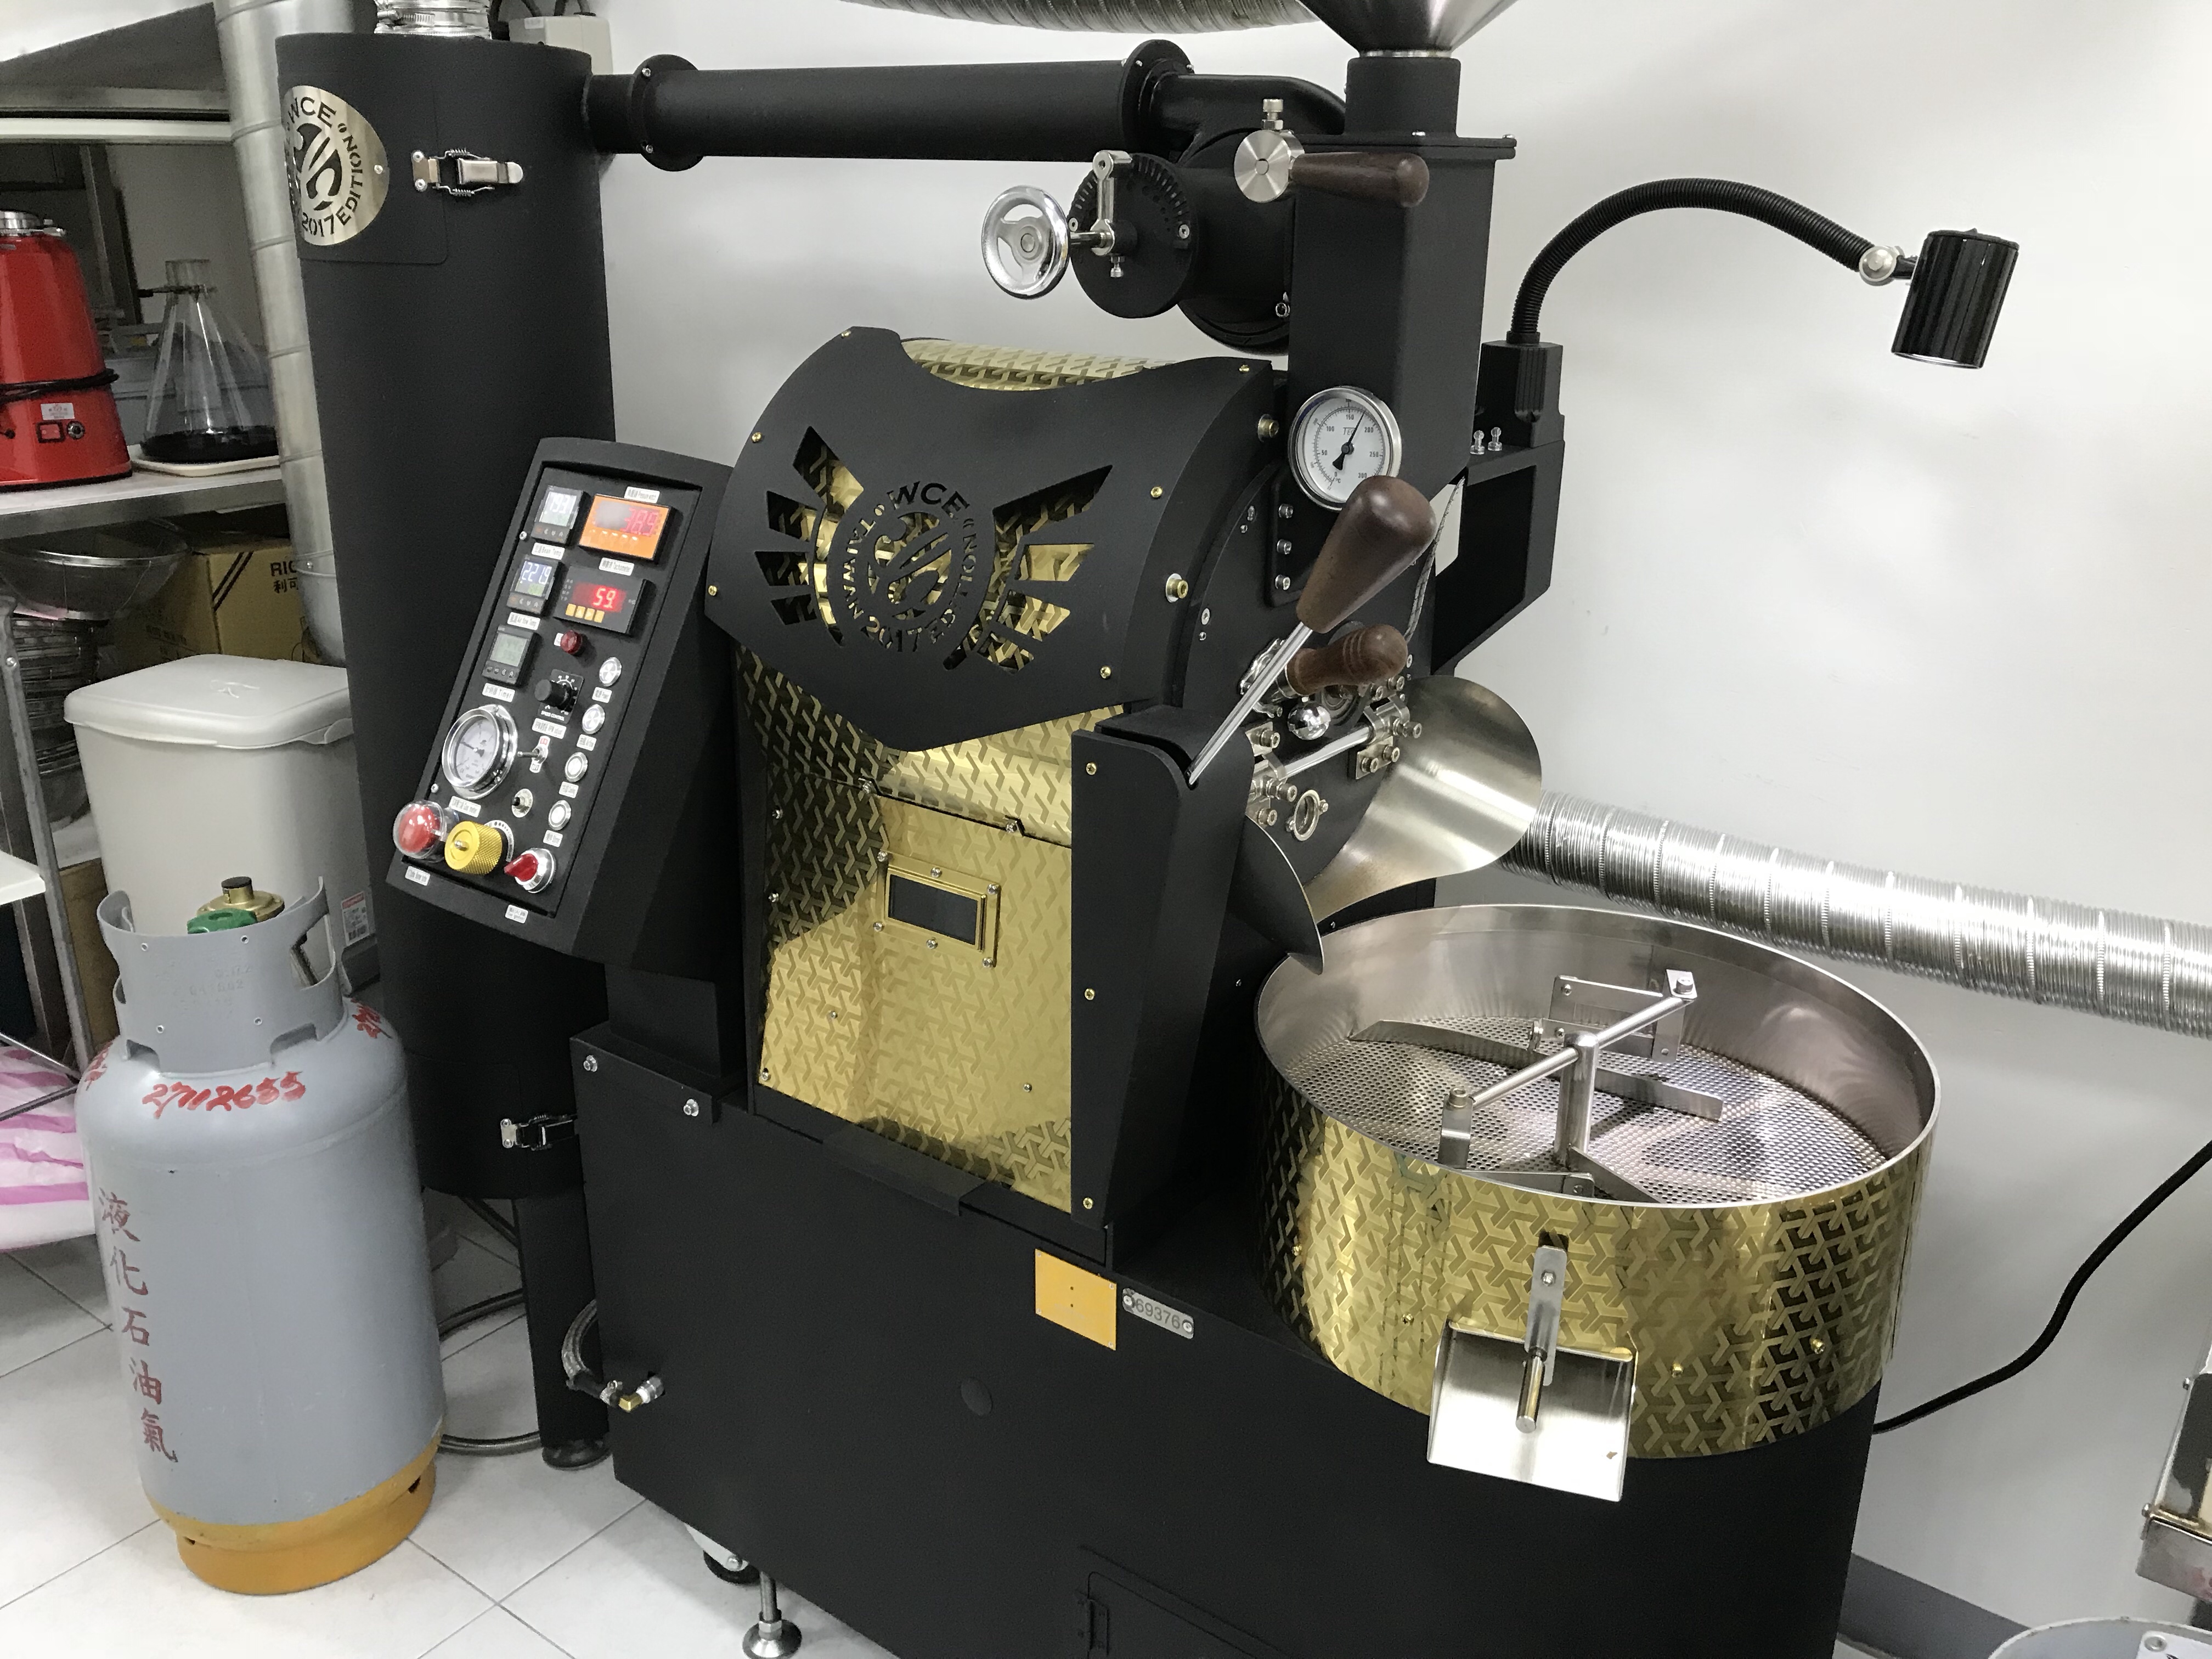
BellaTaiwan EVO-X 12 kilogram Coffee Roaster – First Look
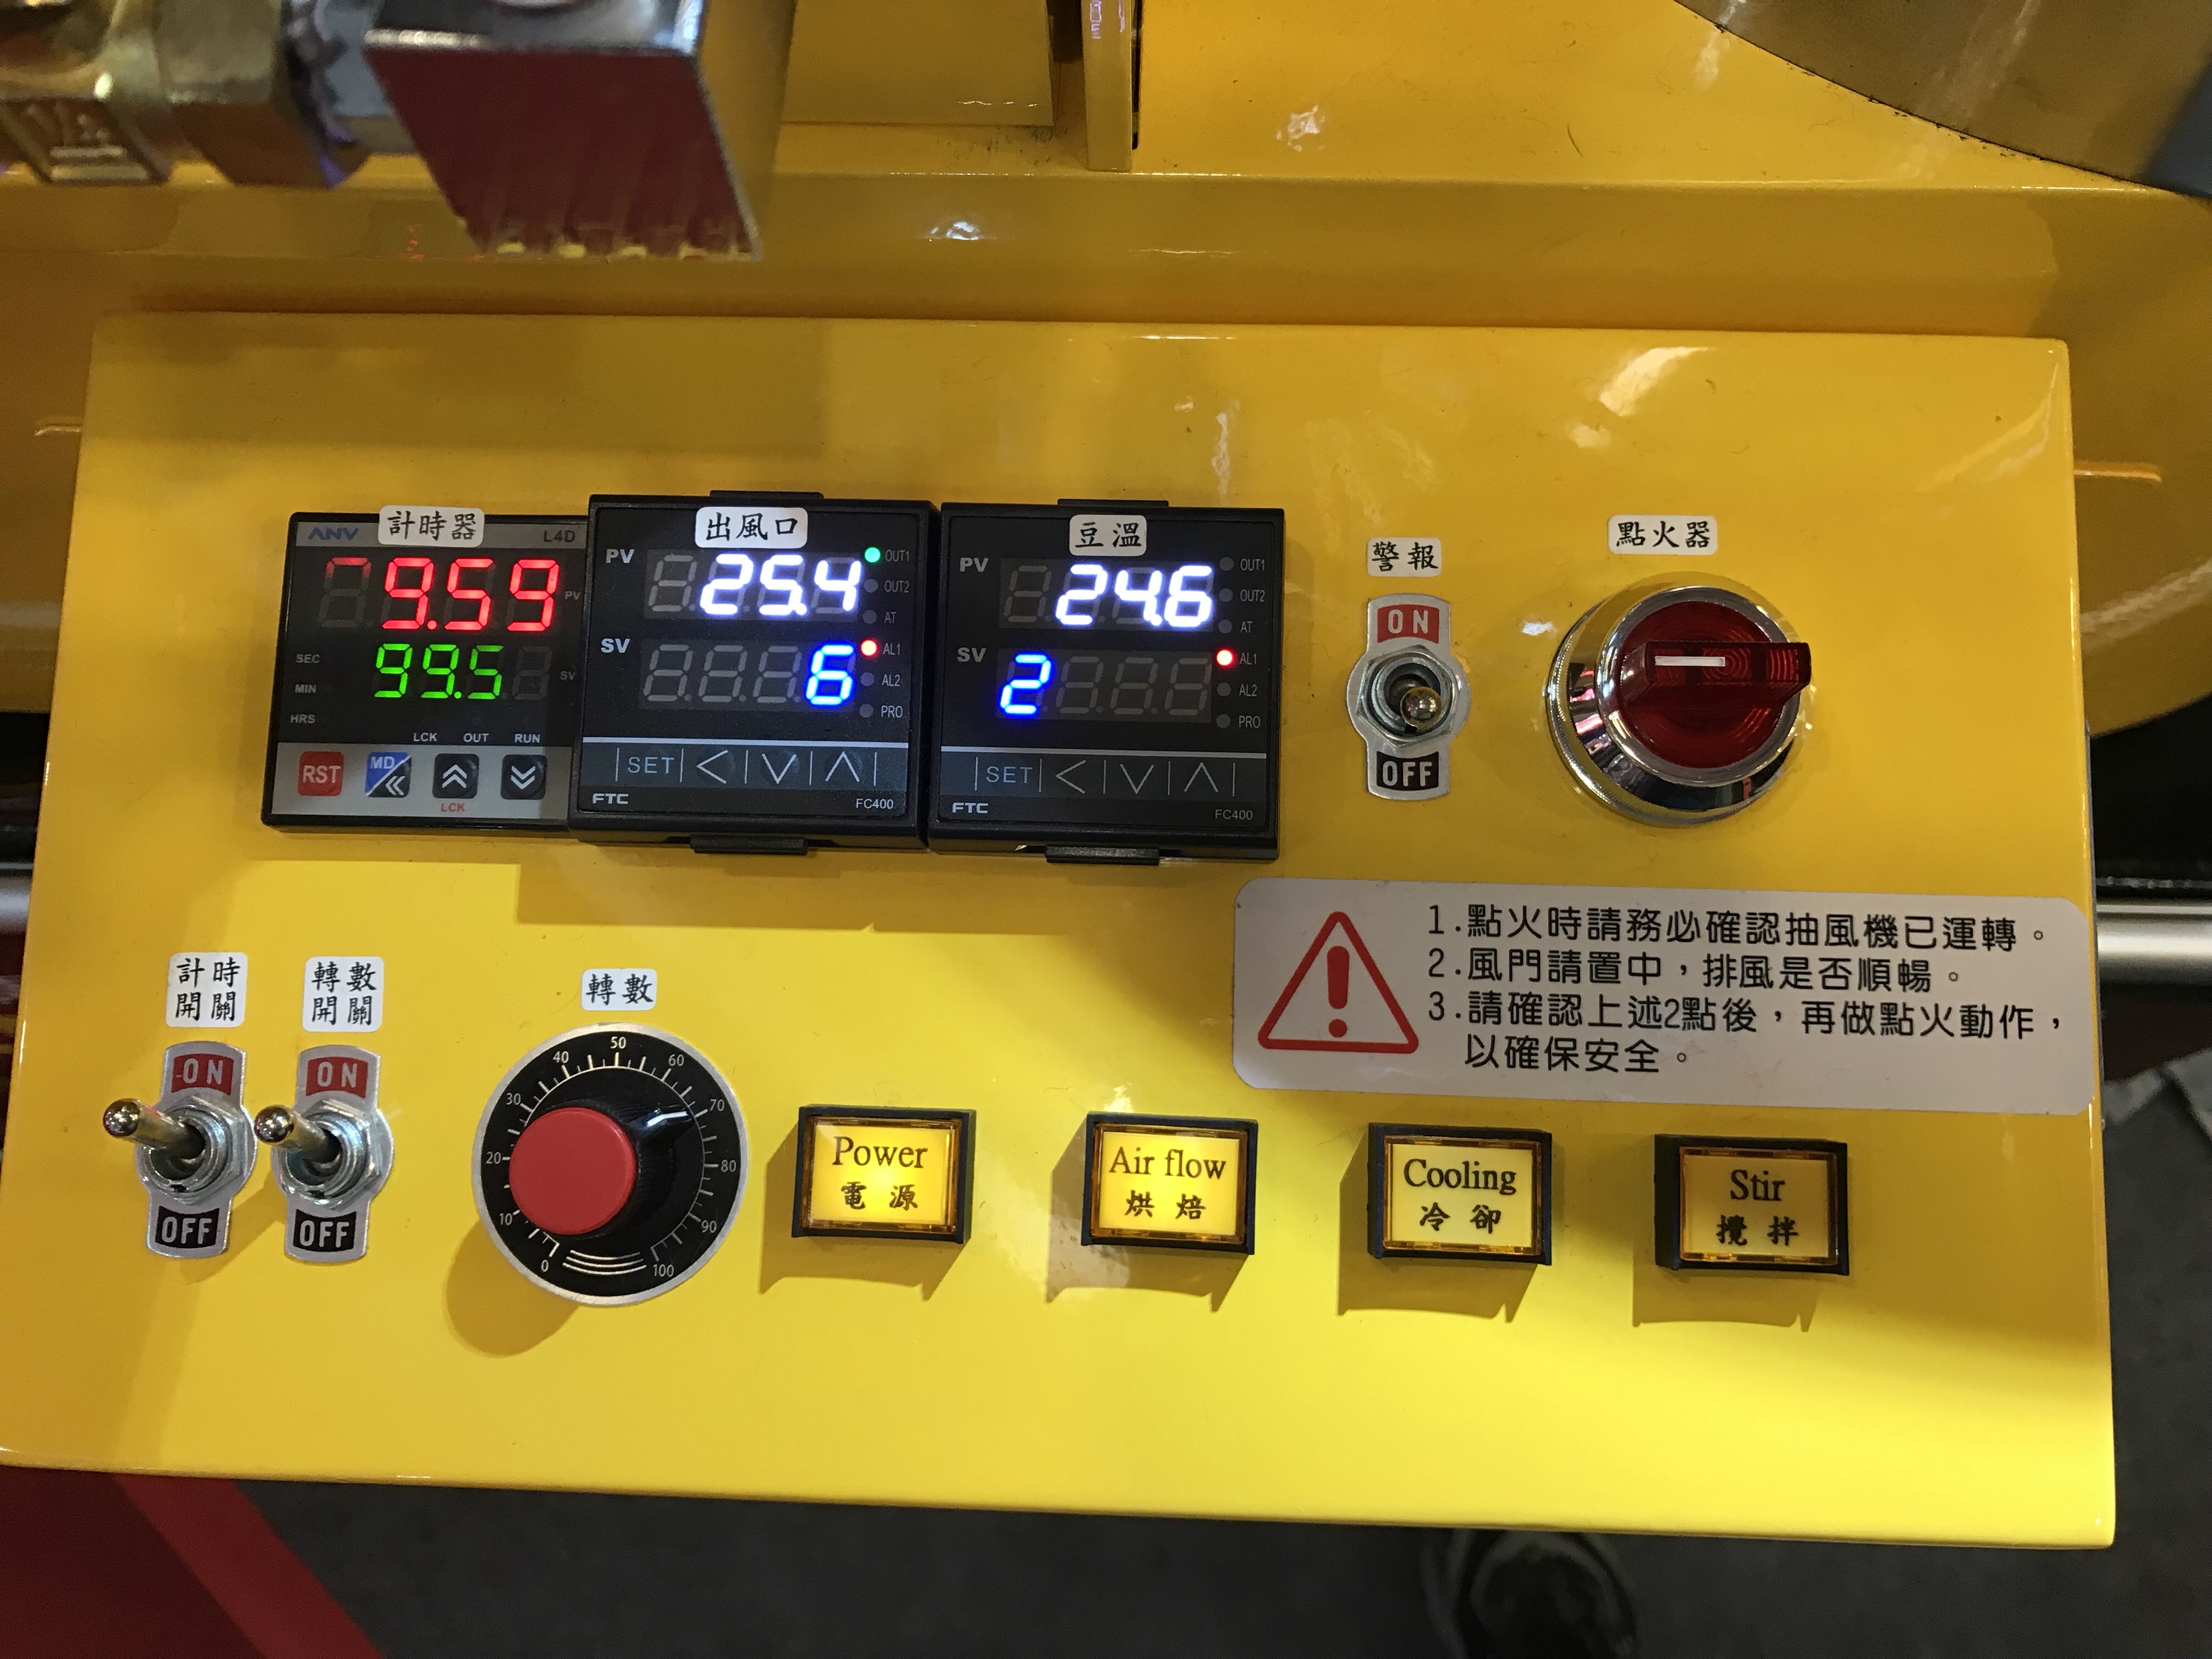
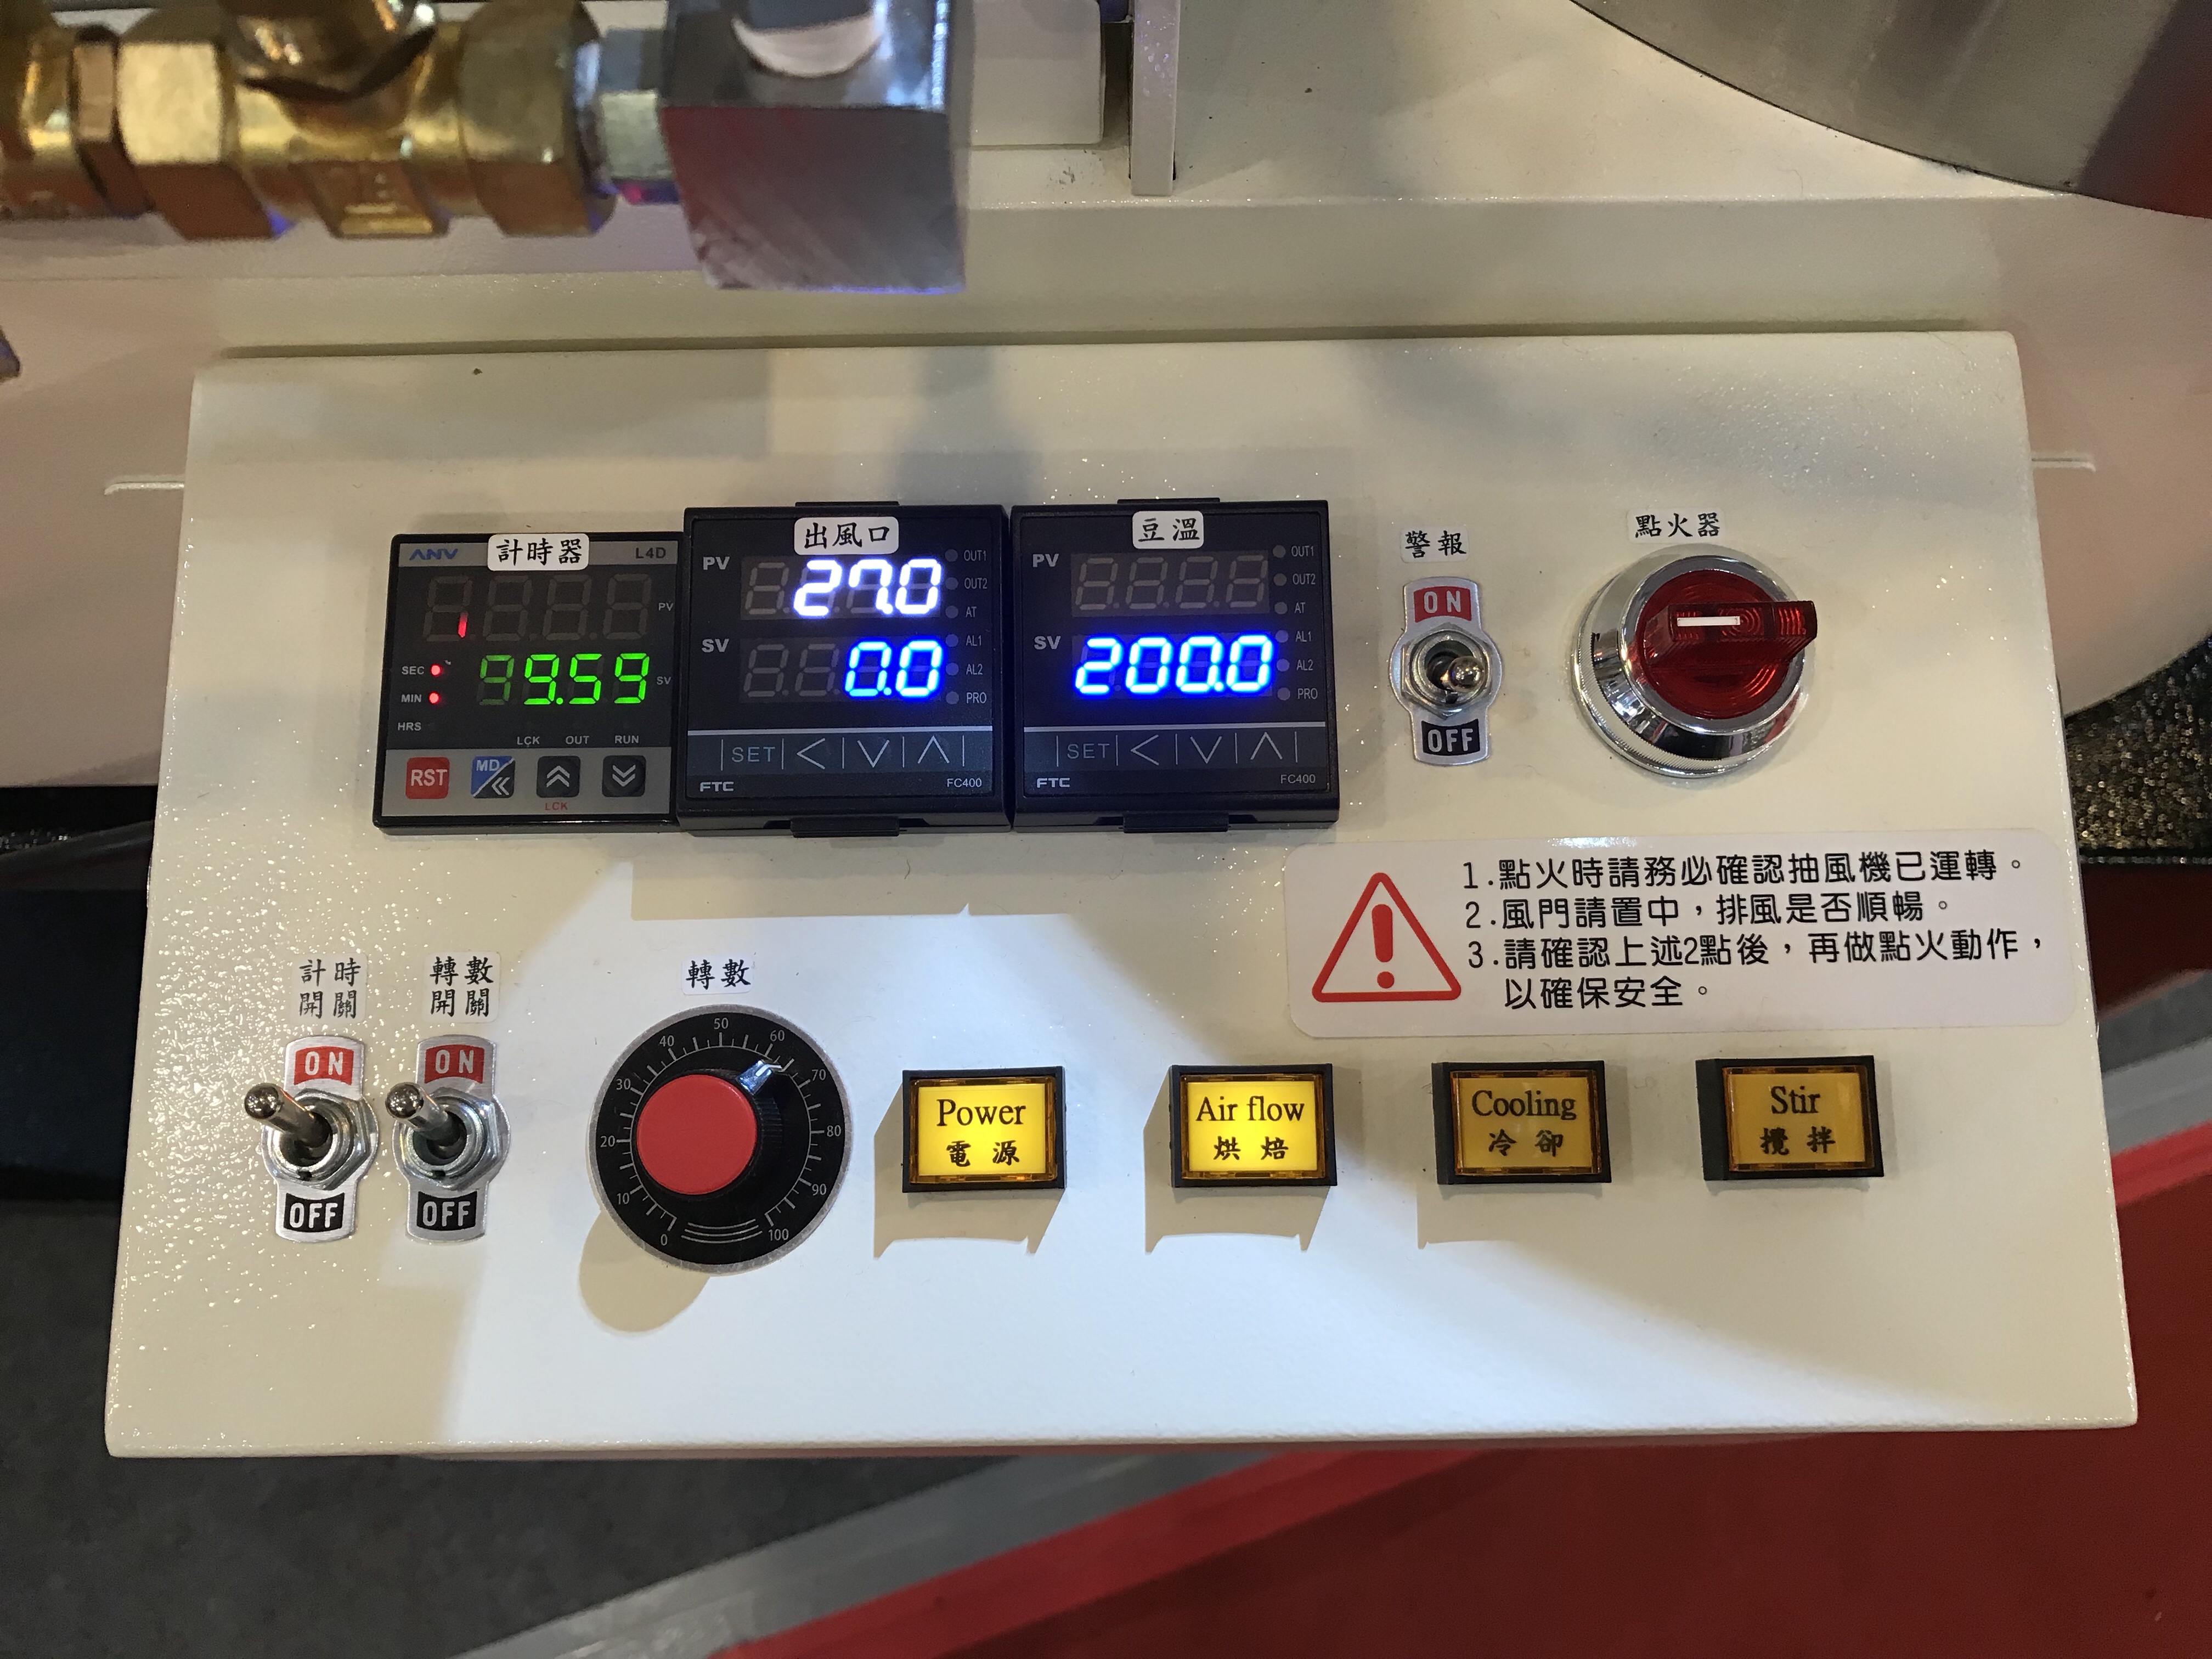
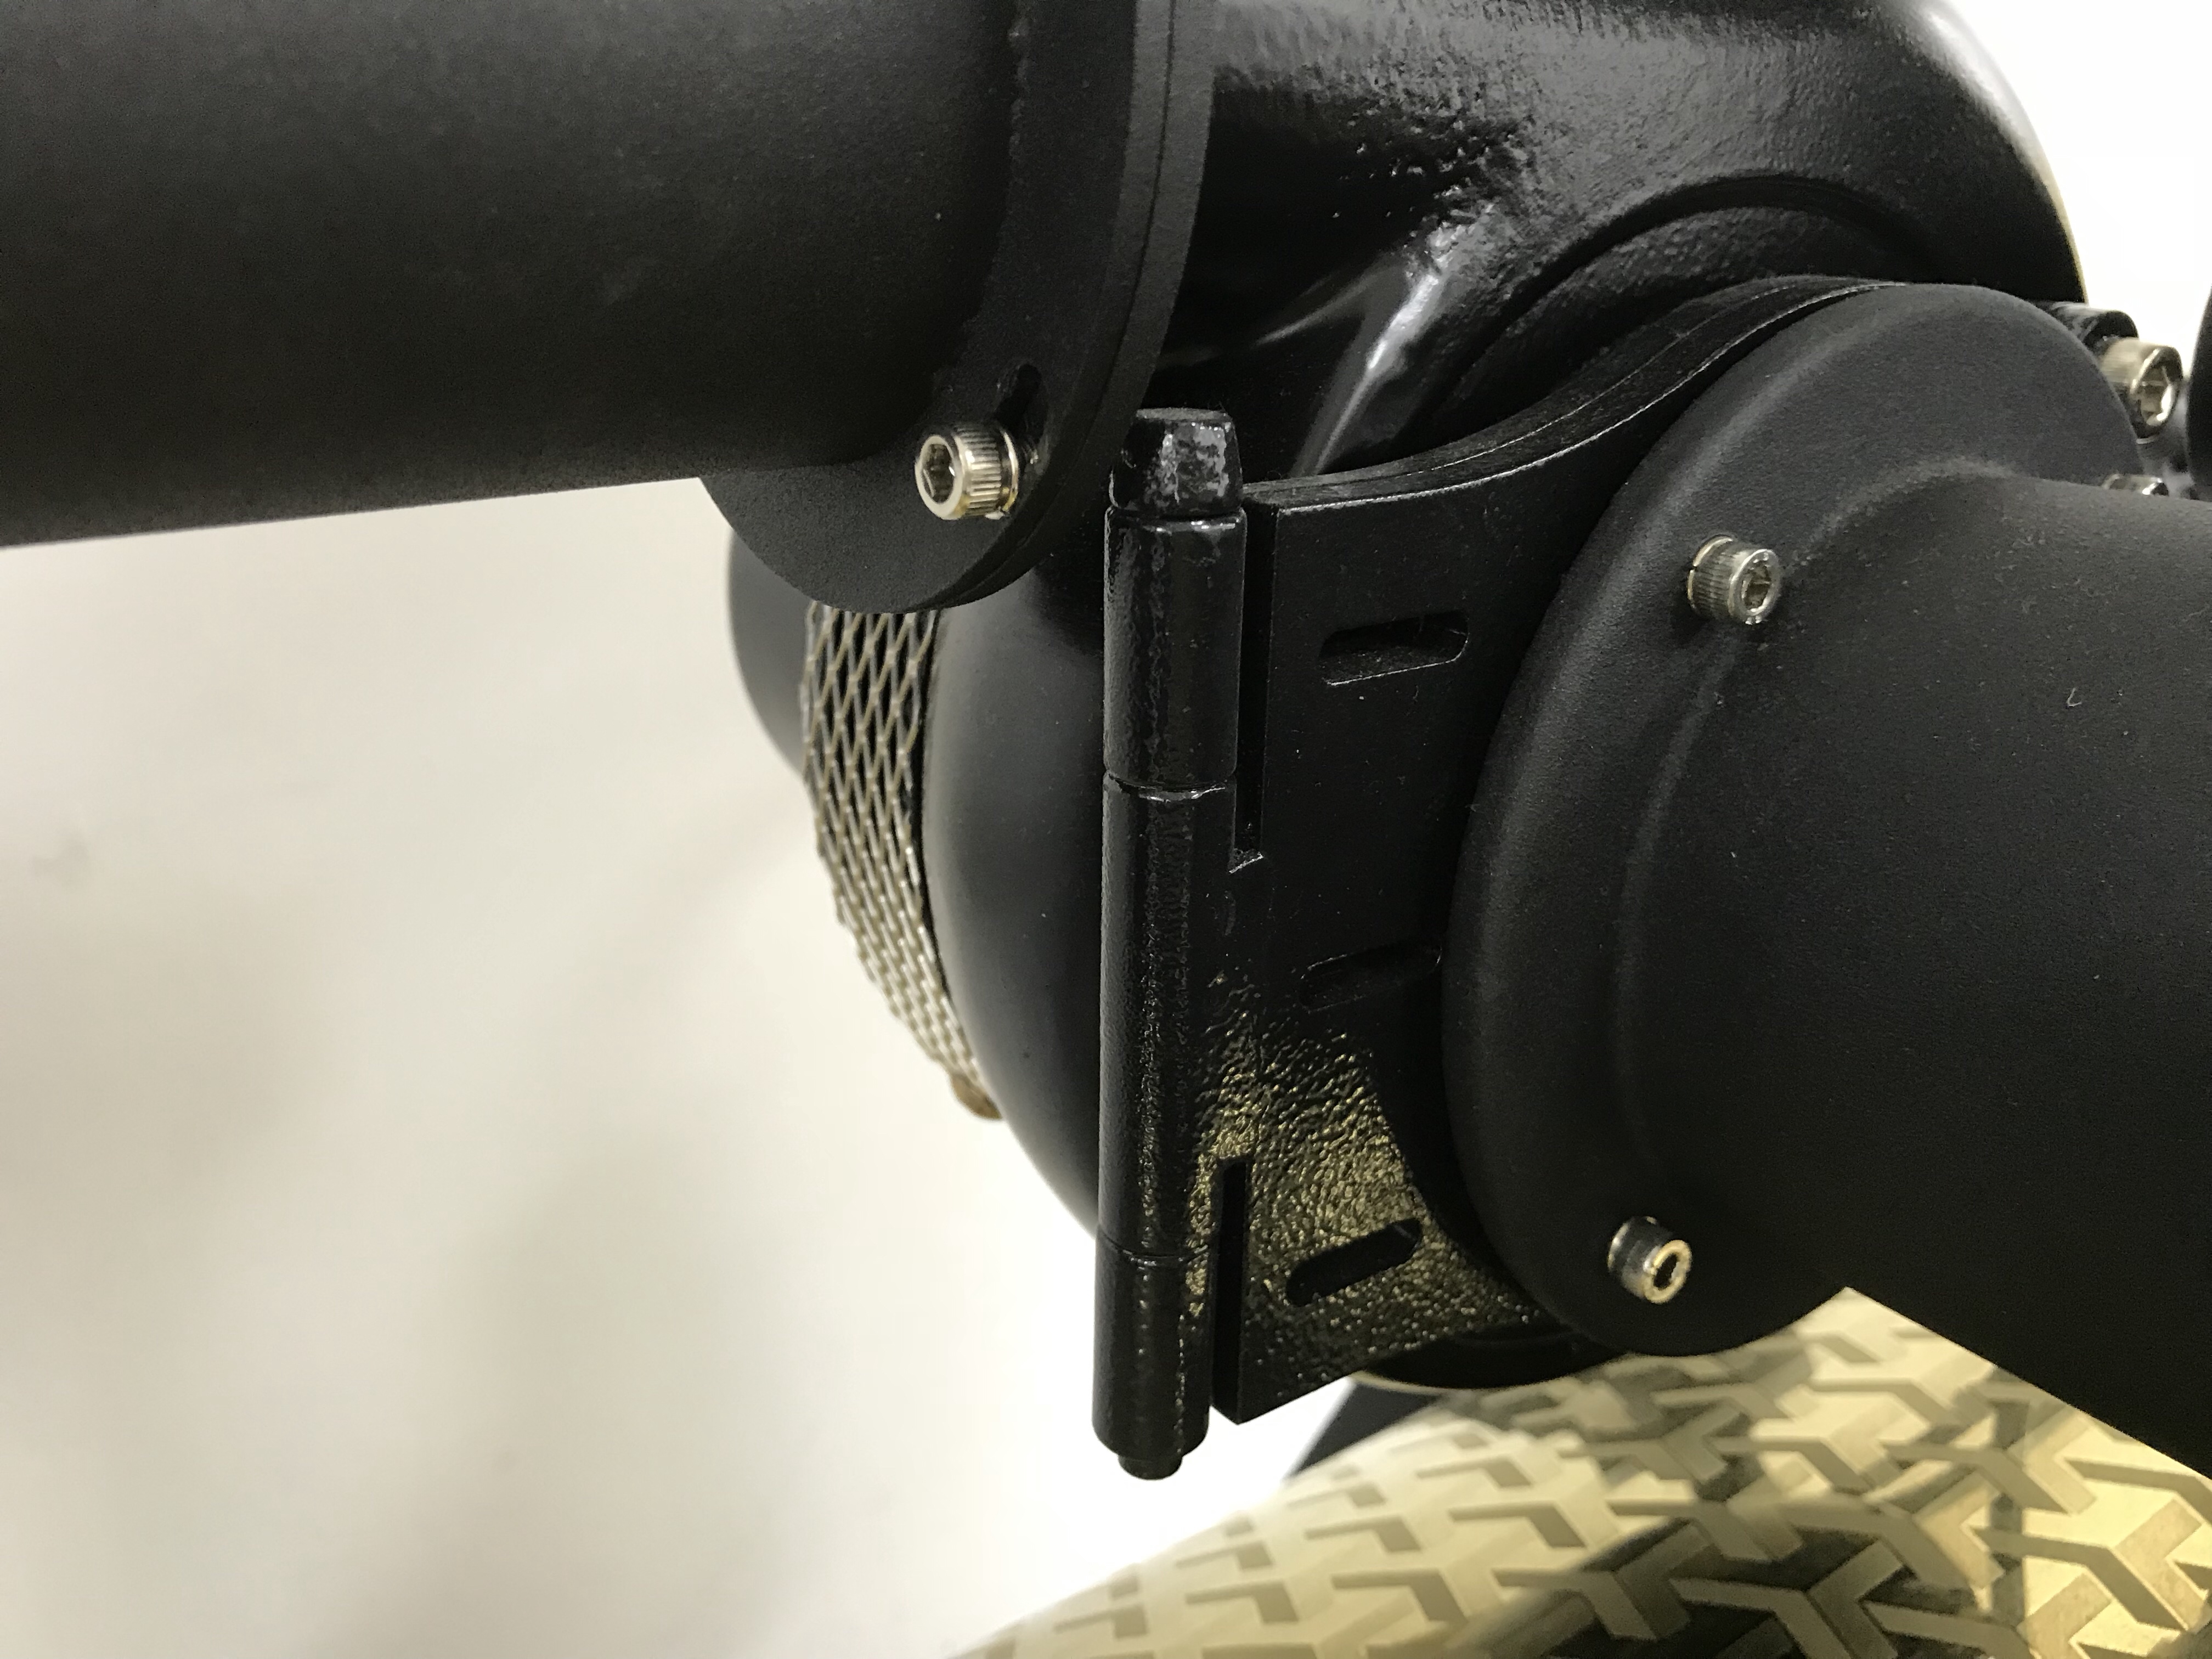
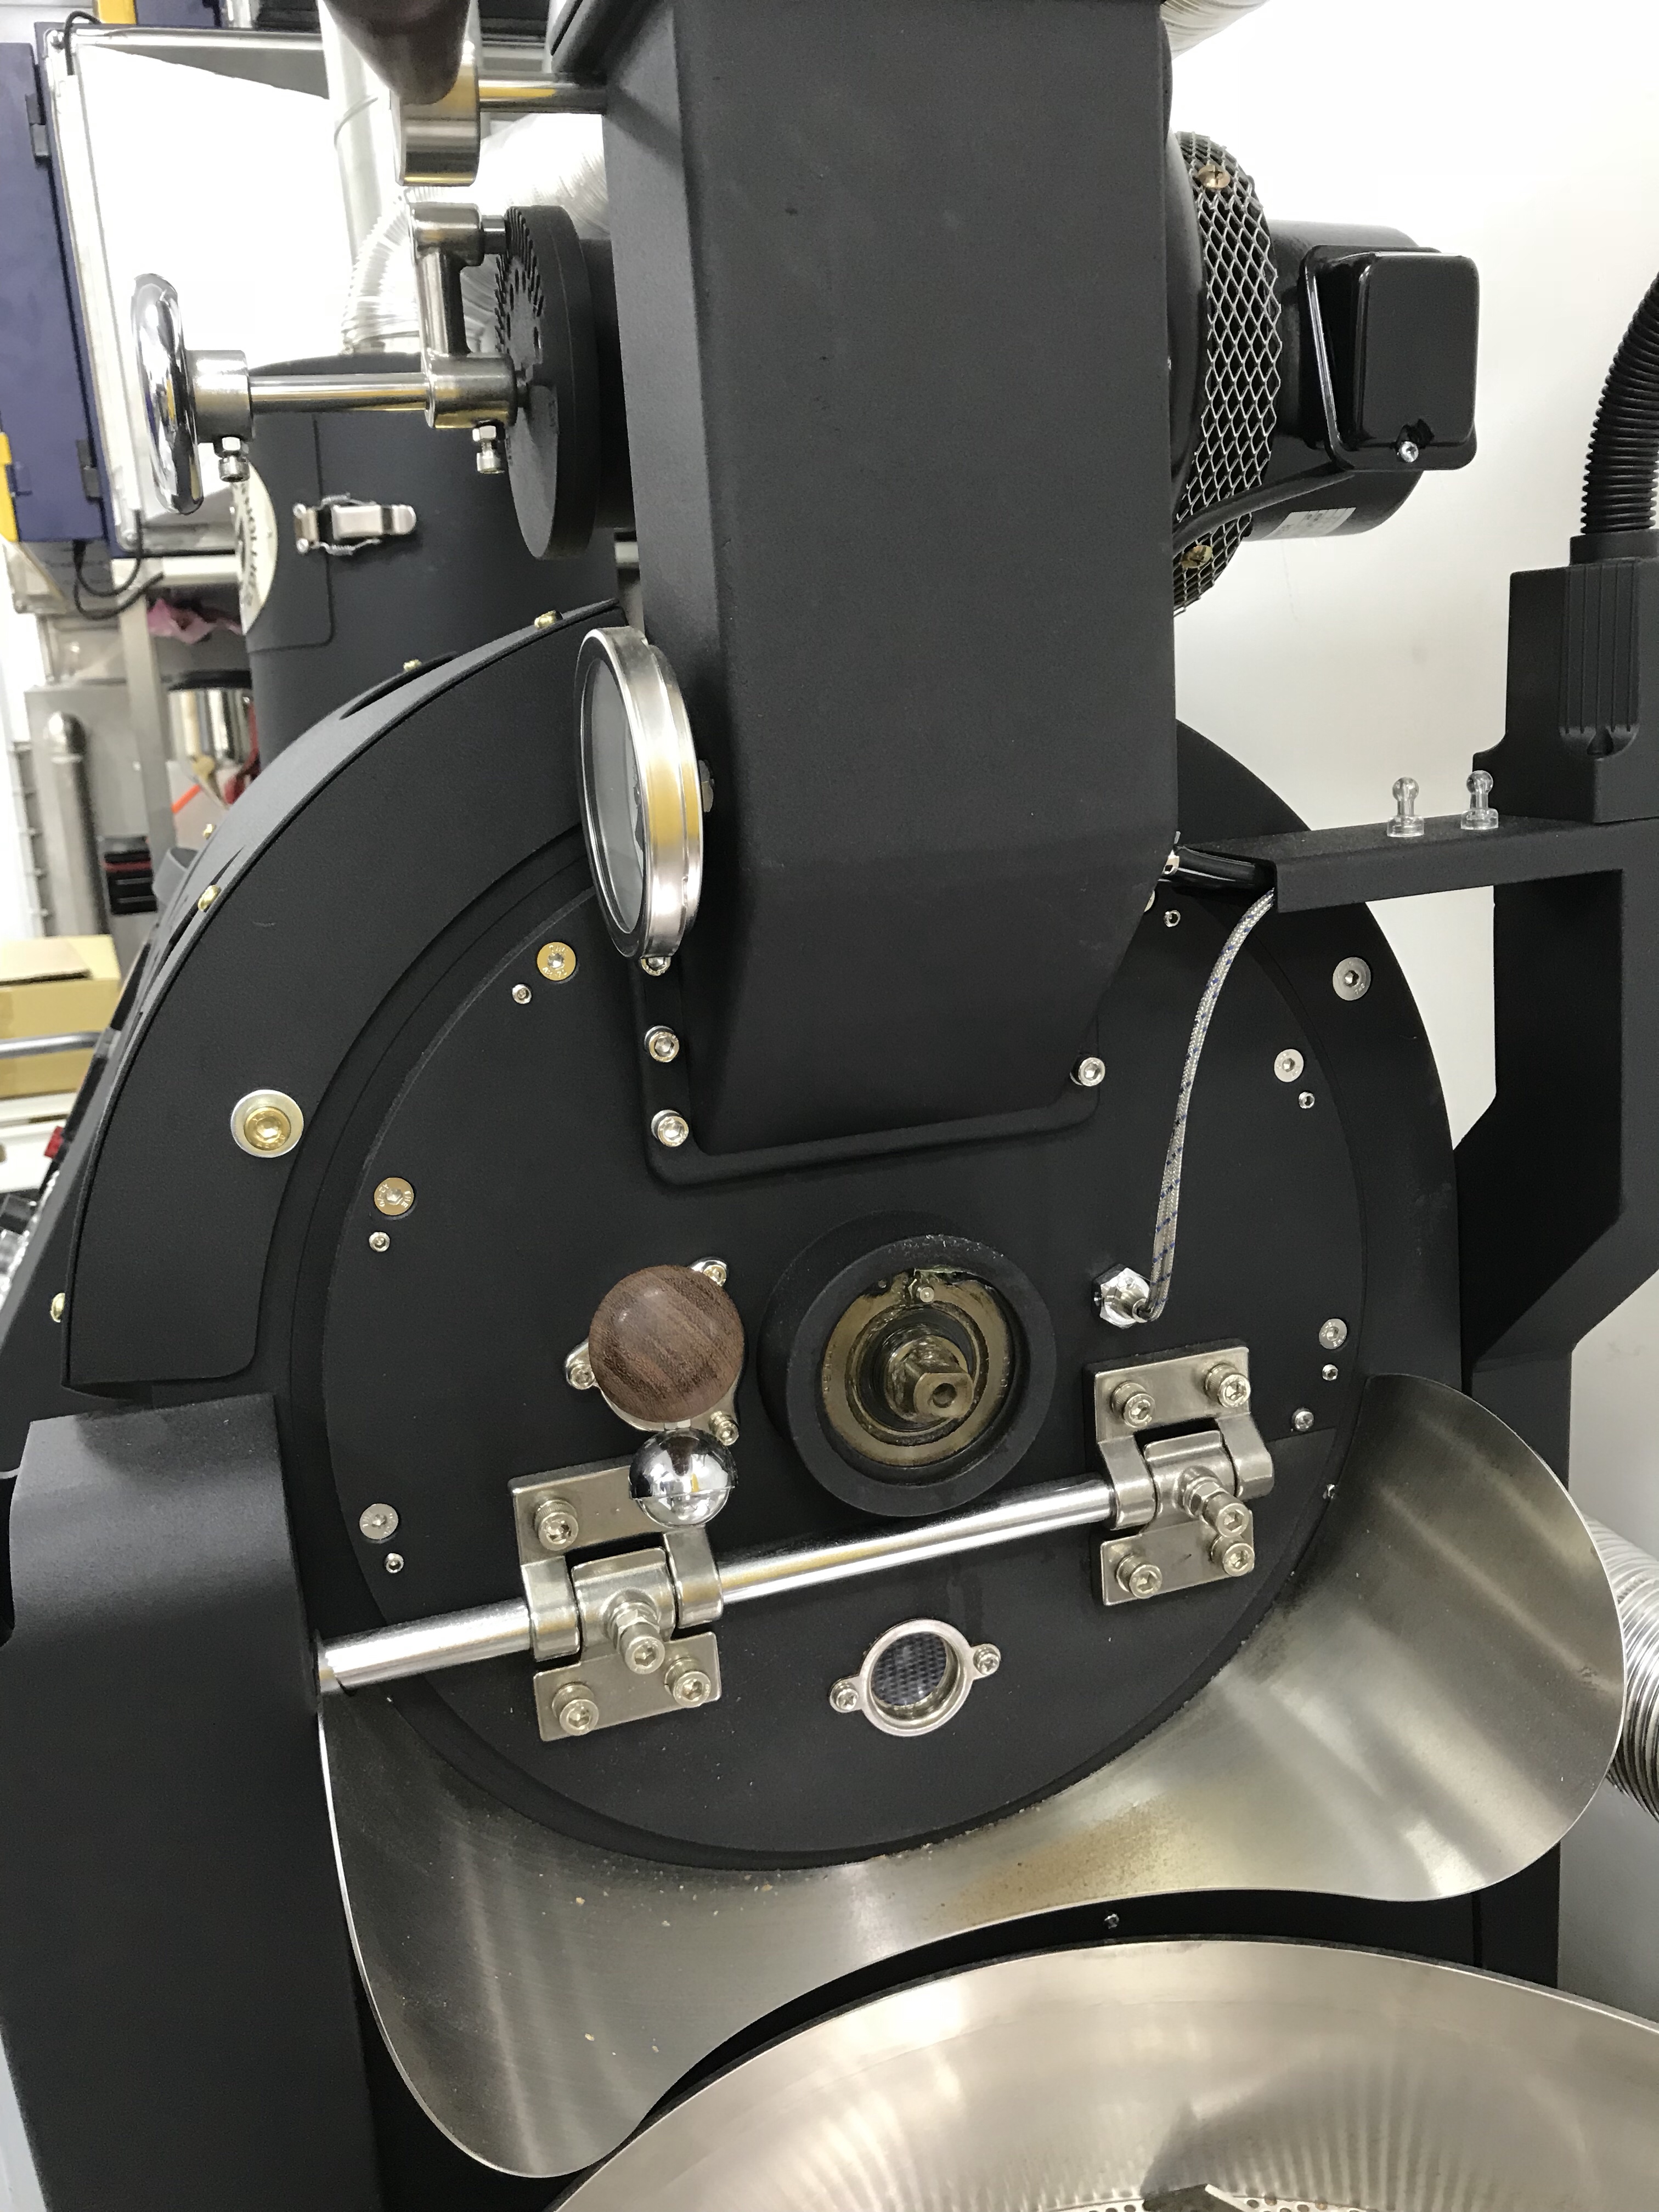
BellaTaiwan EVO-X Control Panel

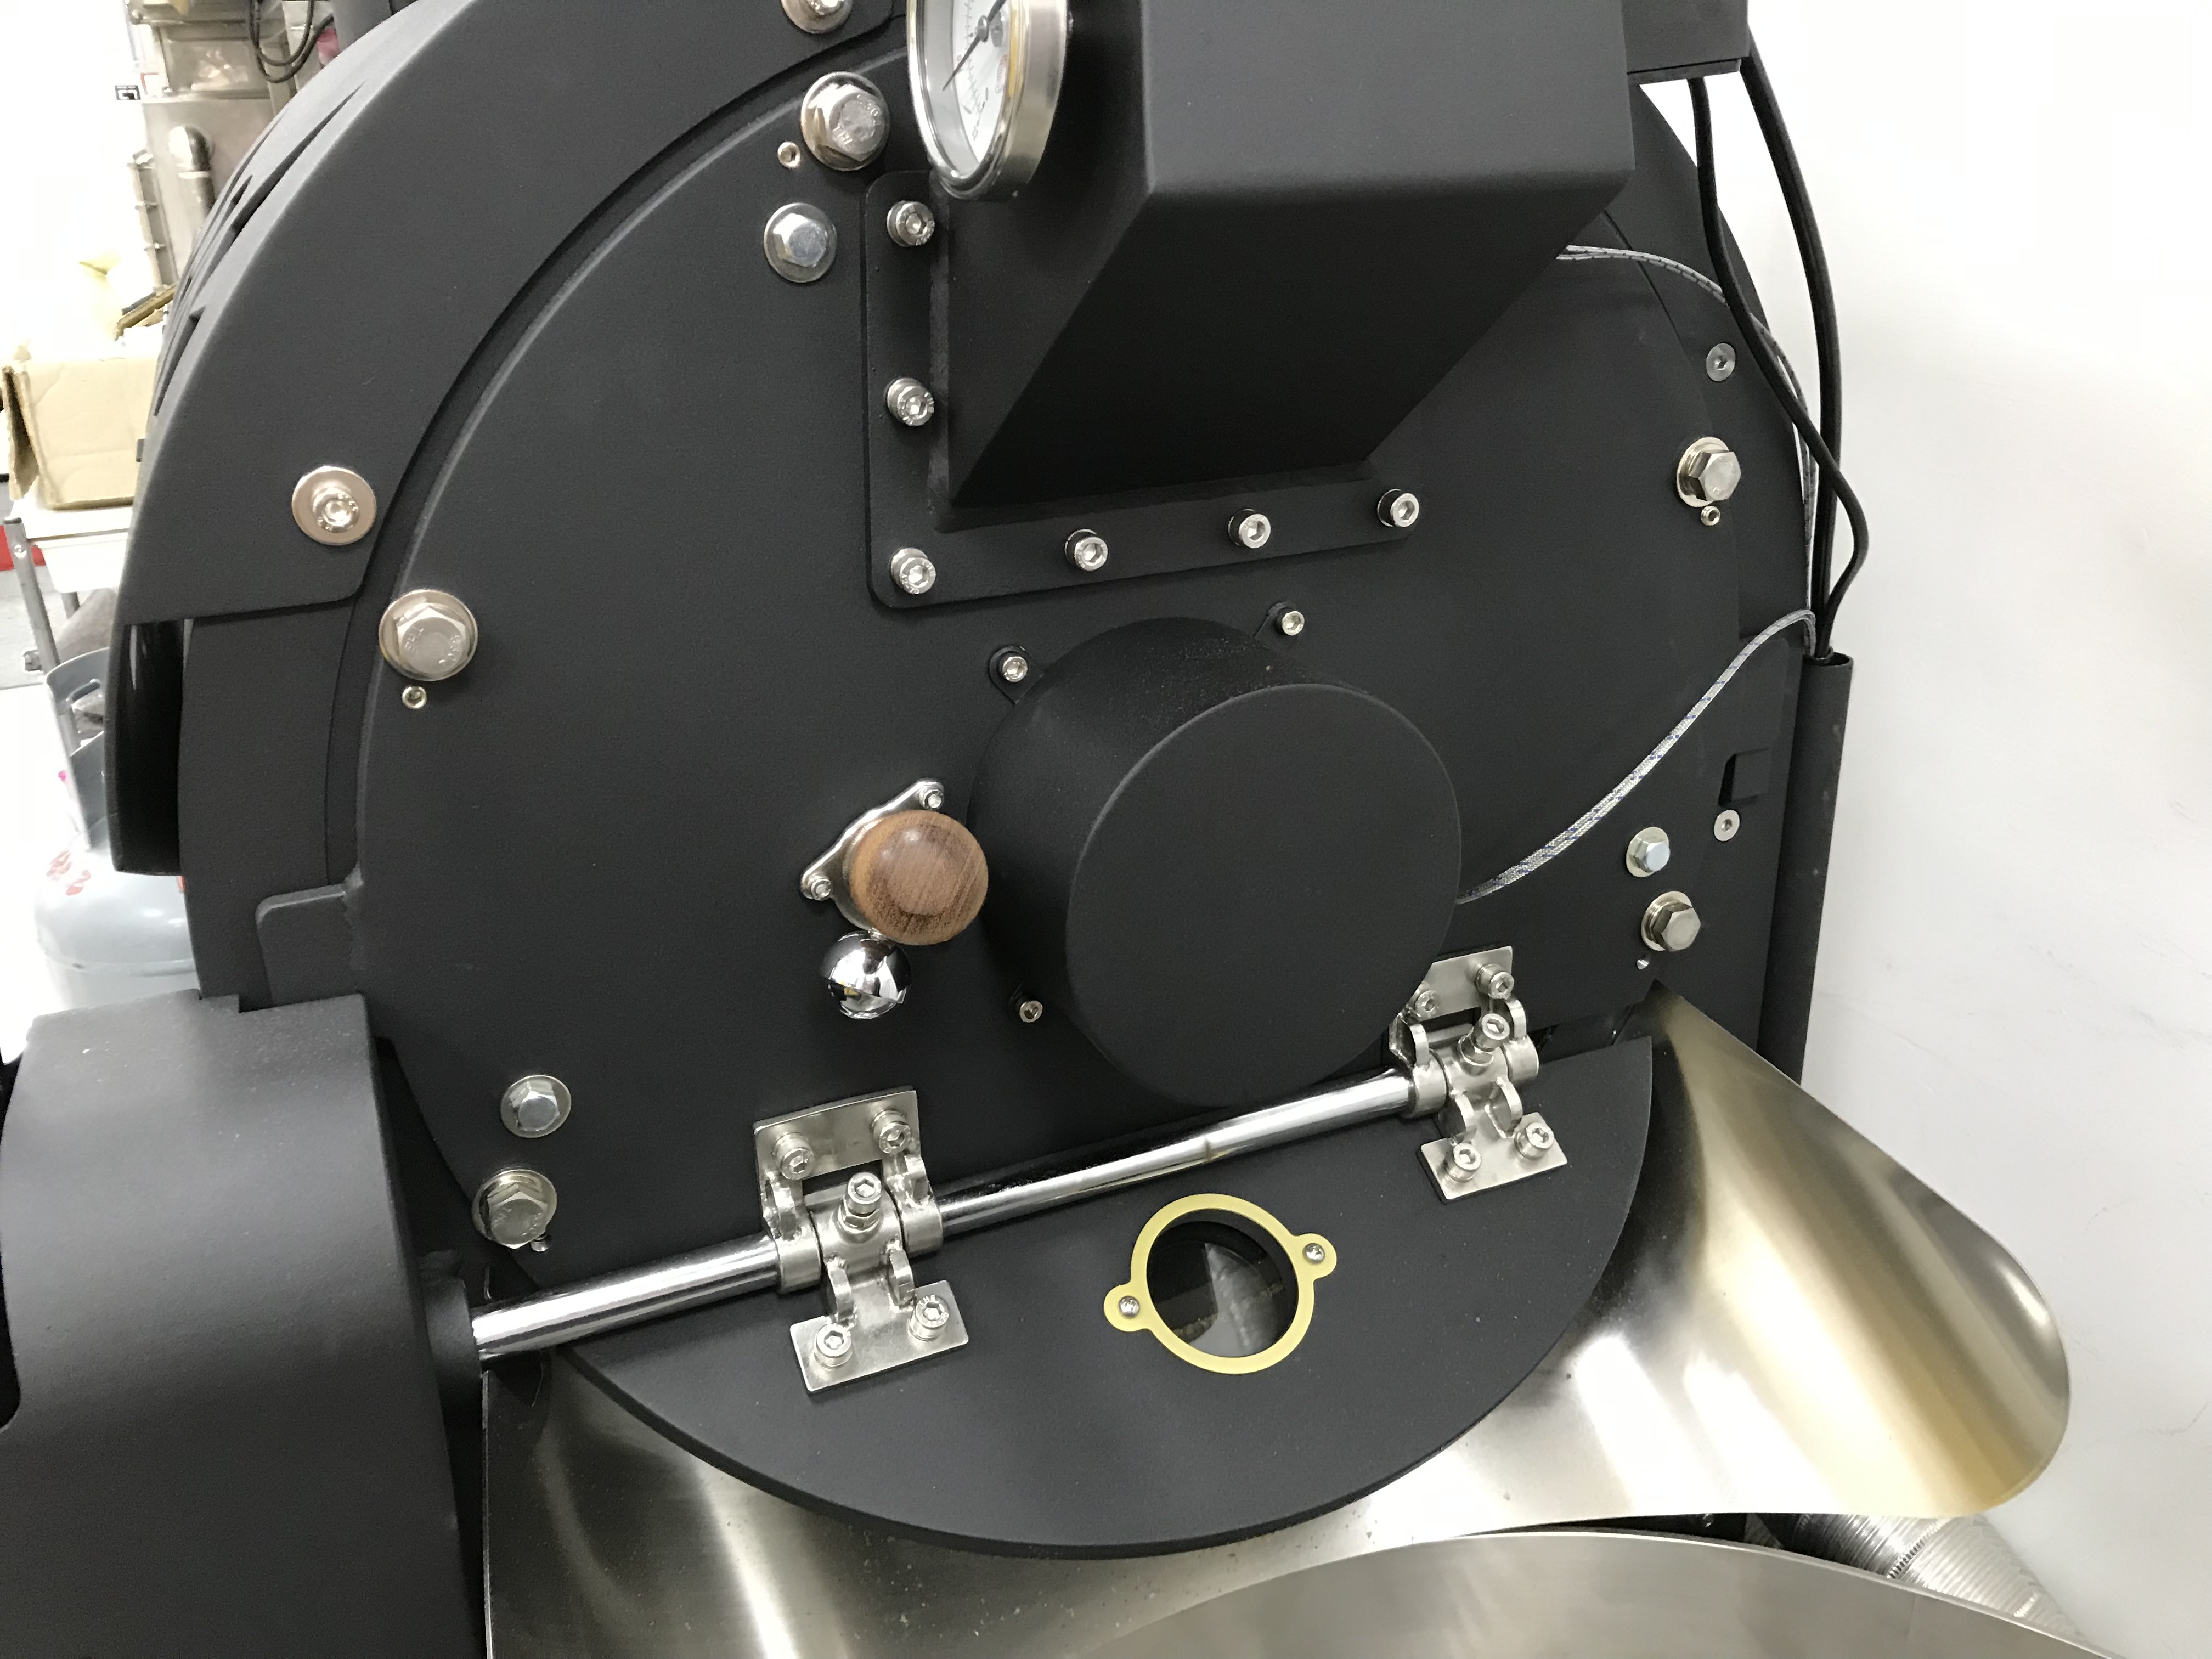
BellaTaiwan EVO-X Face Plate
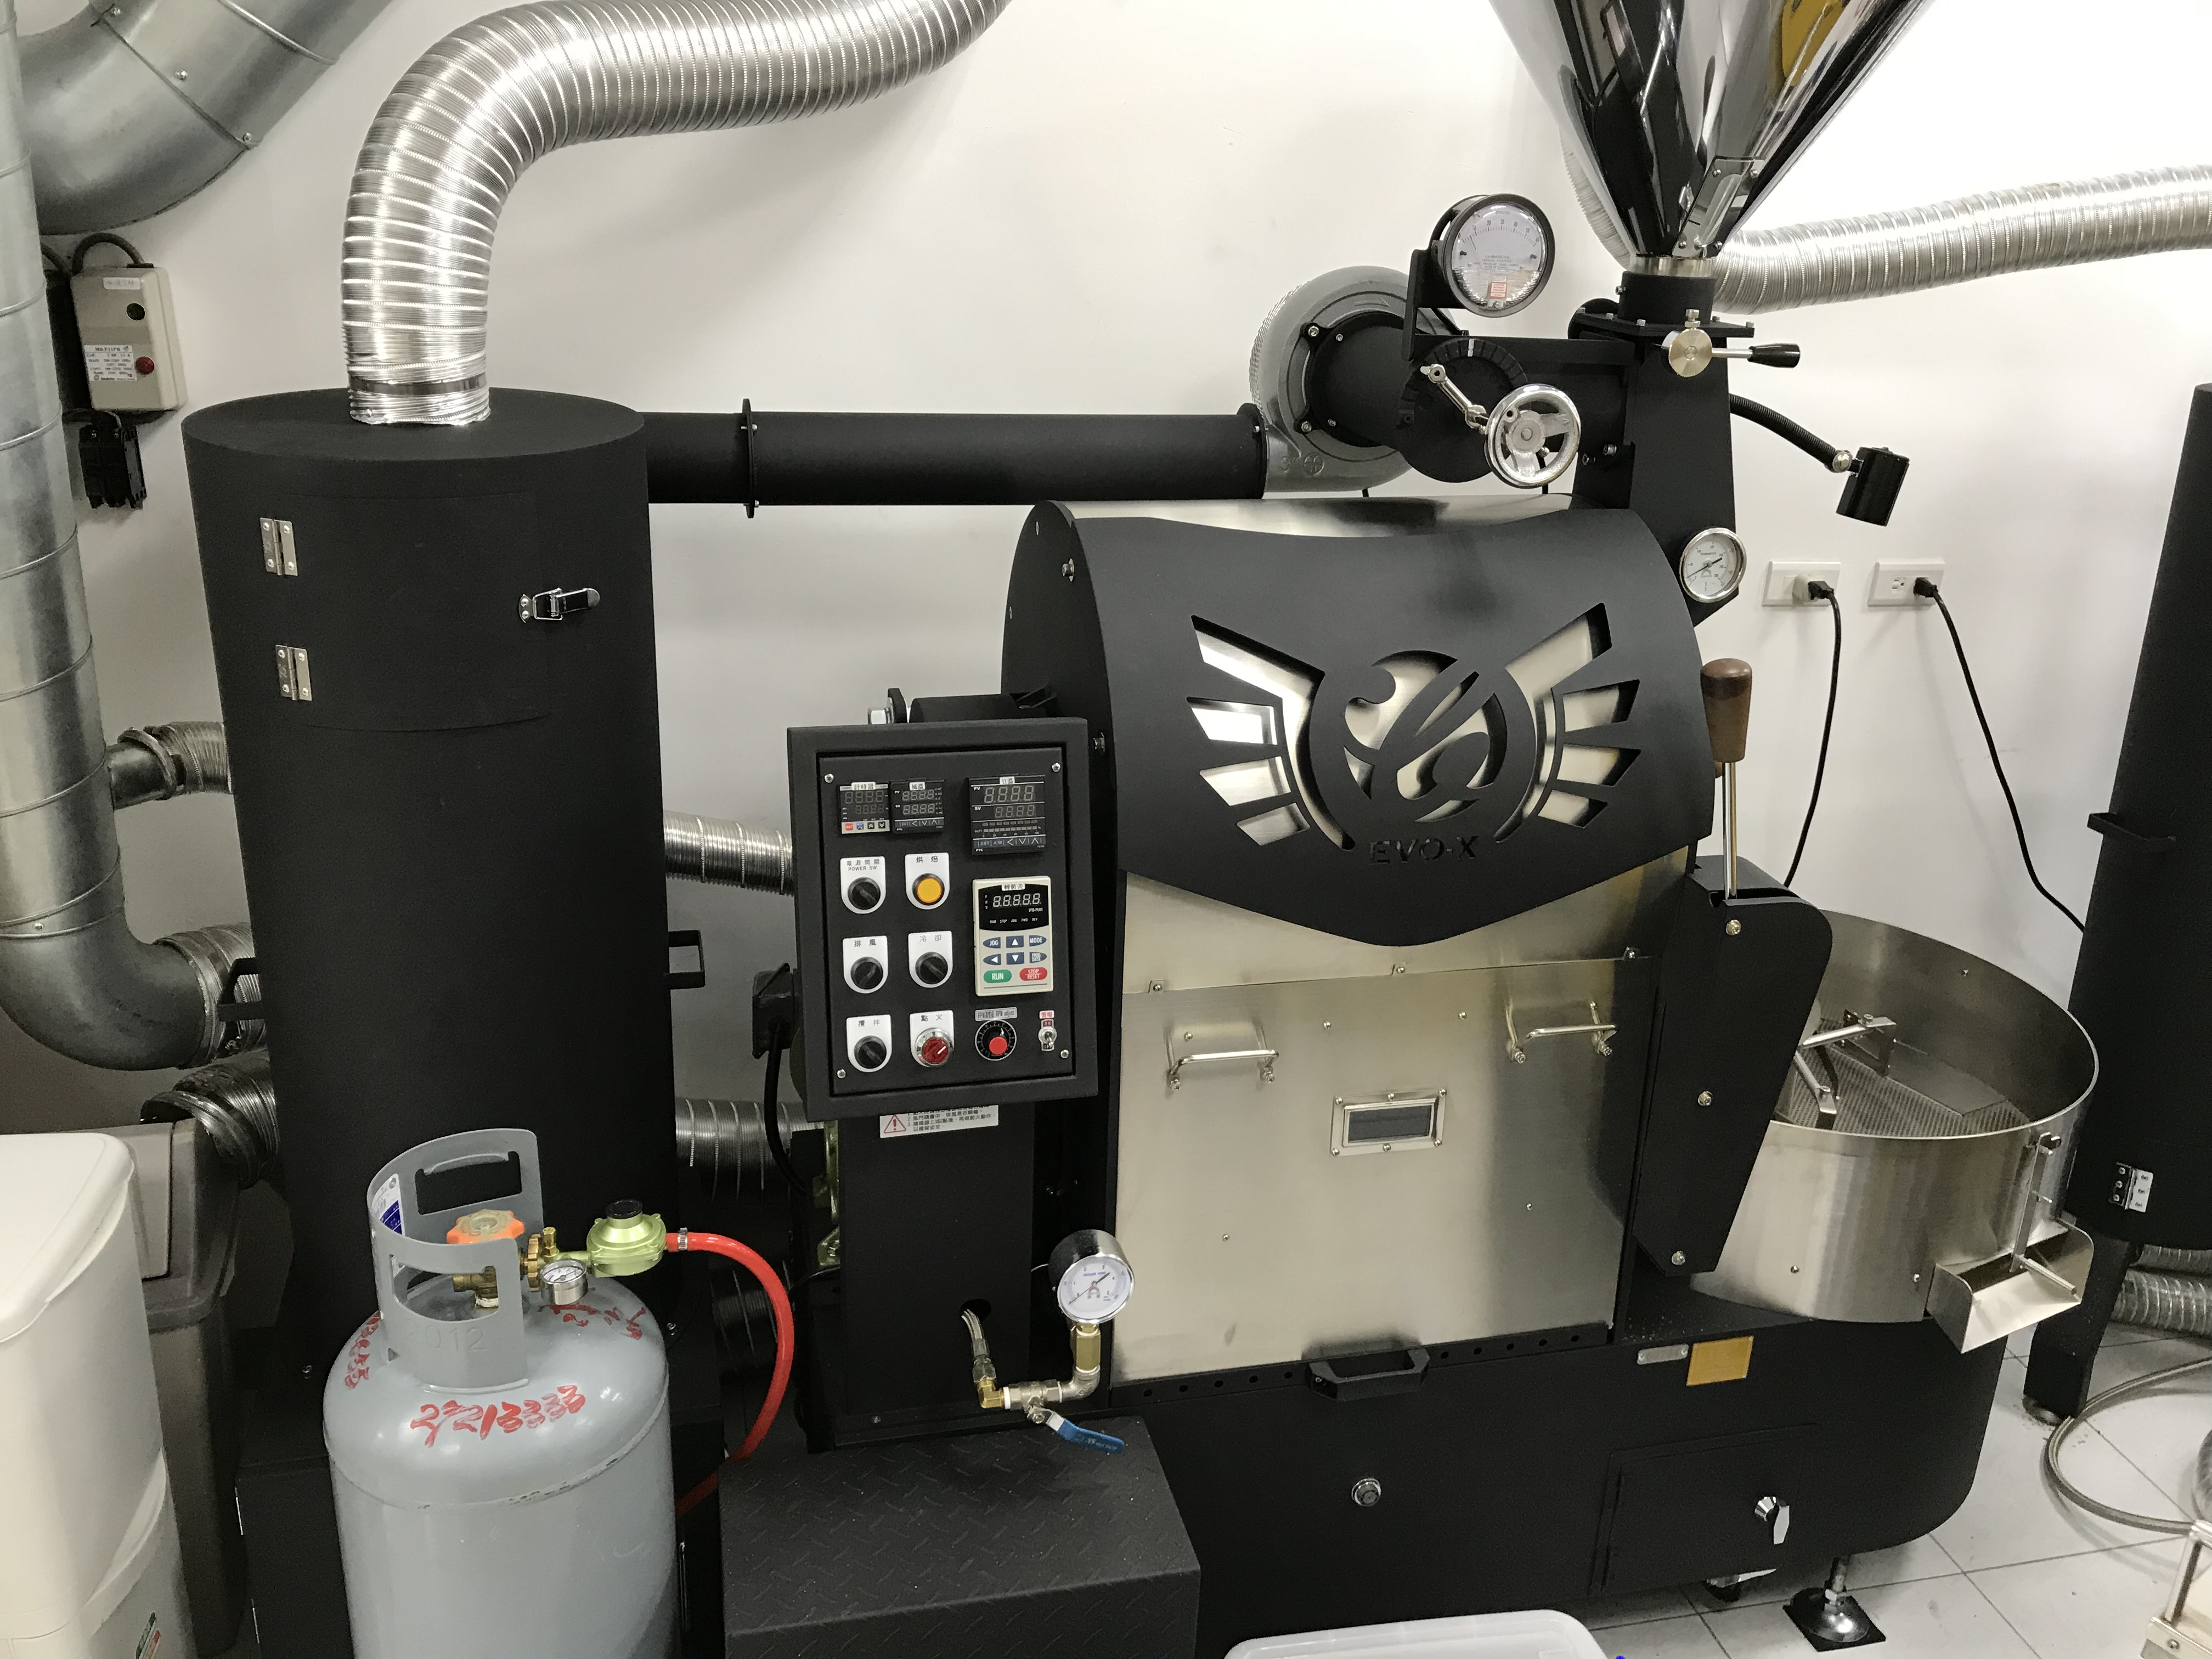
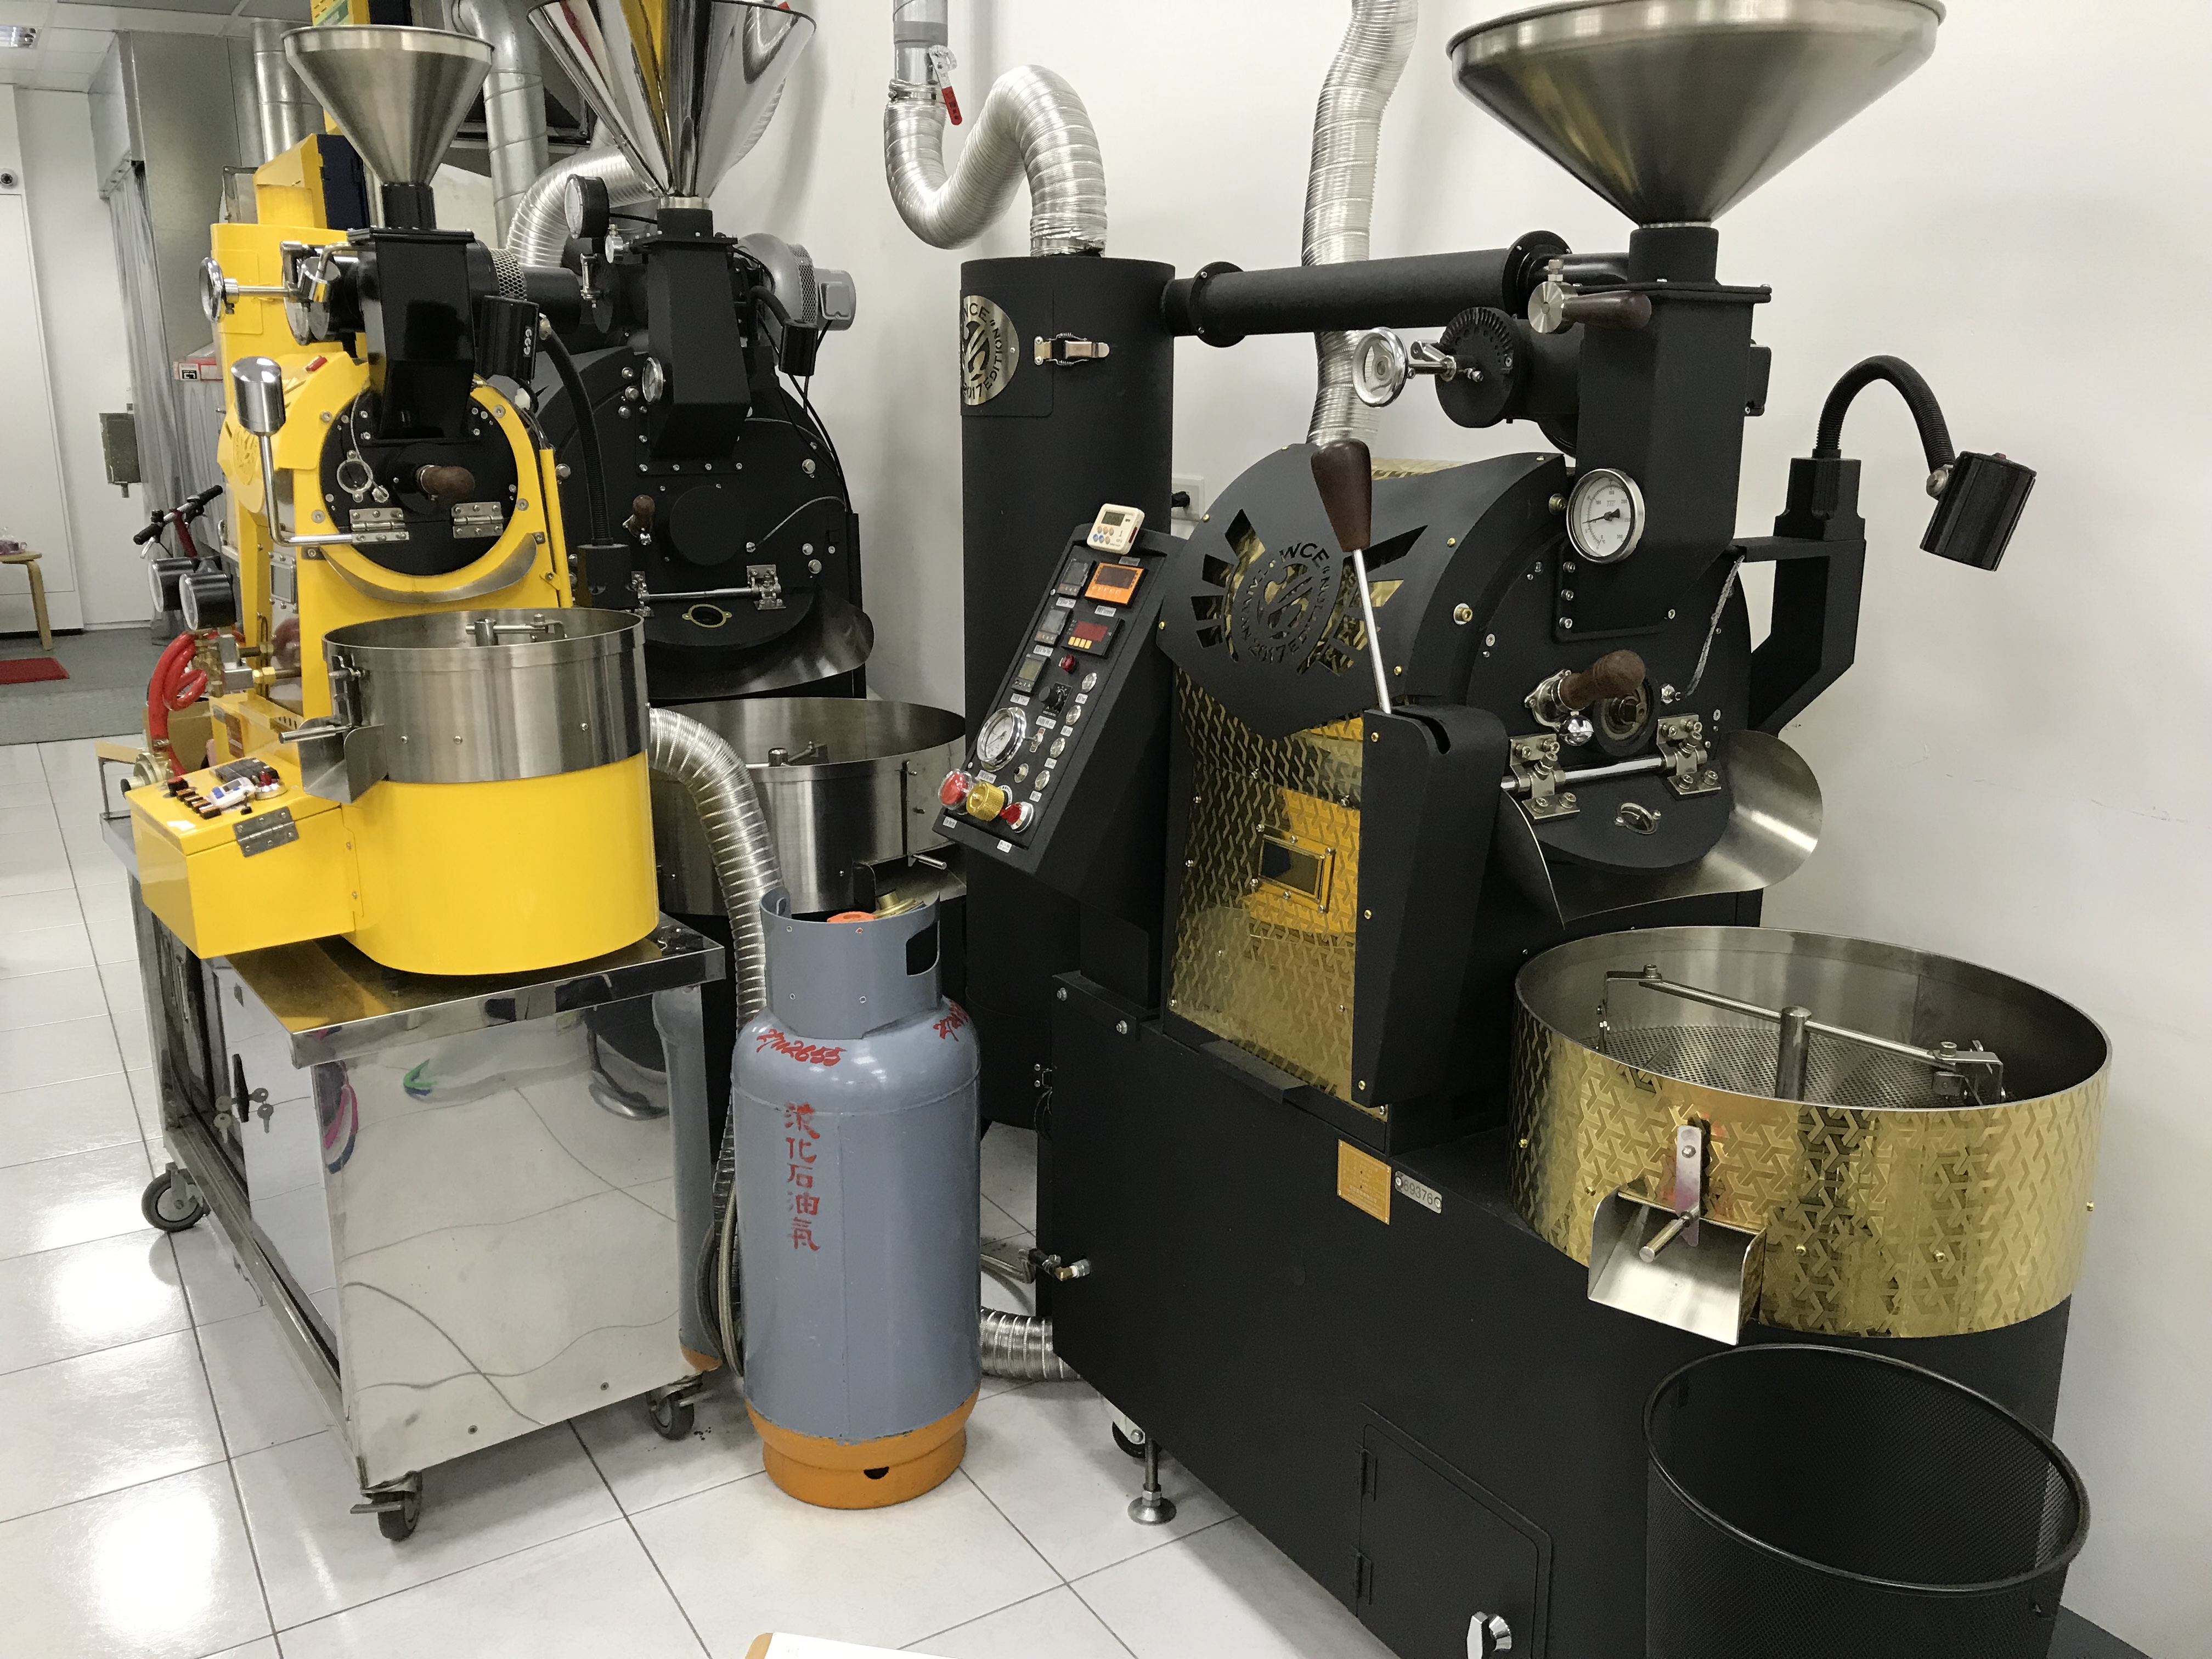
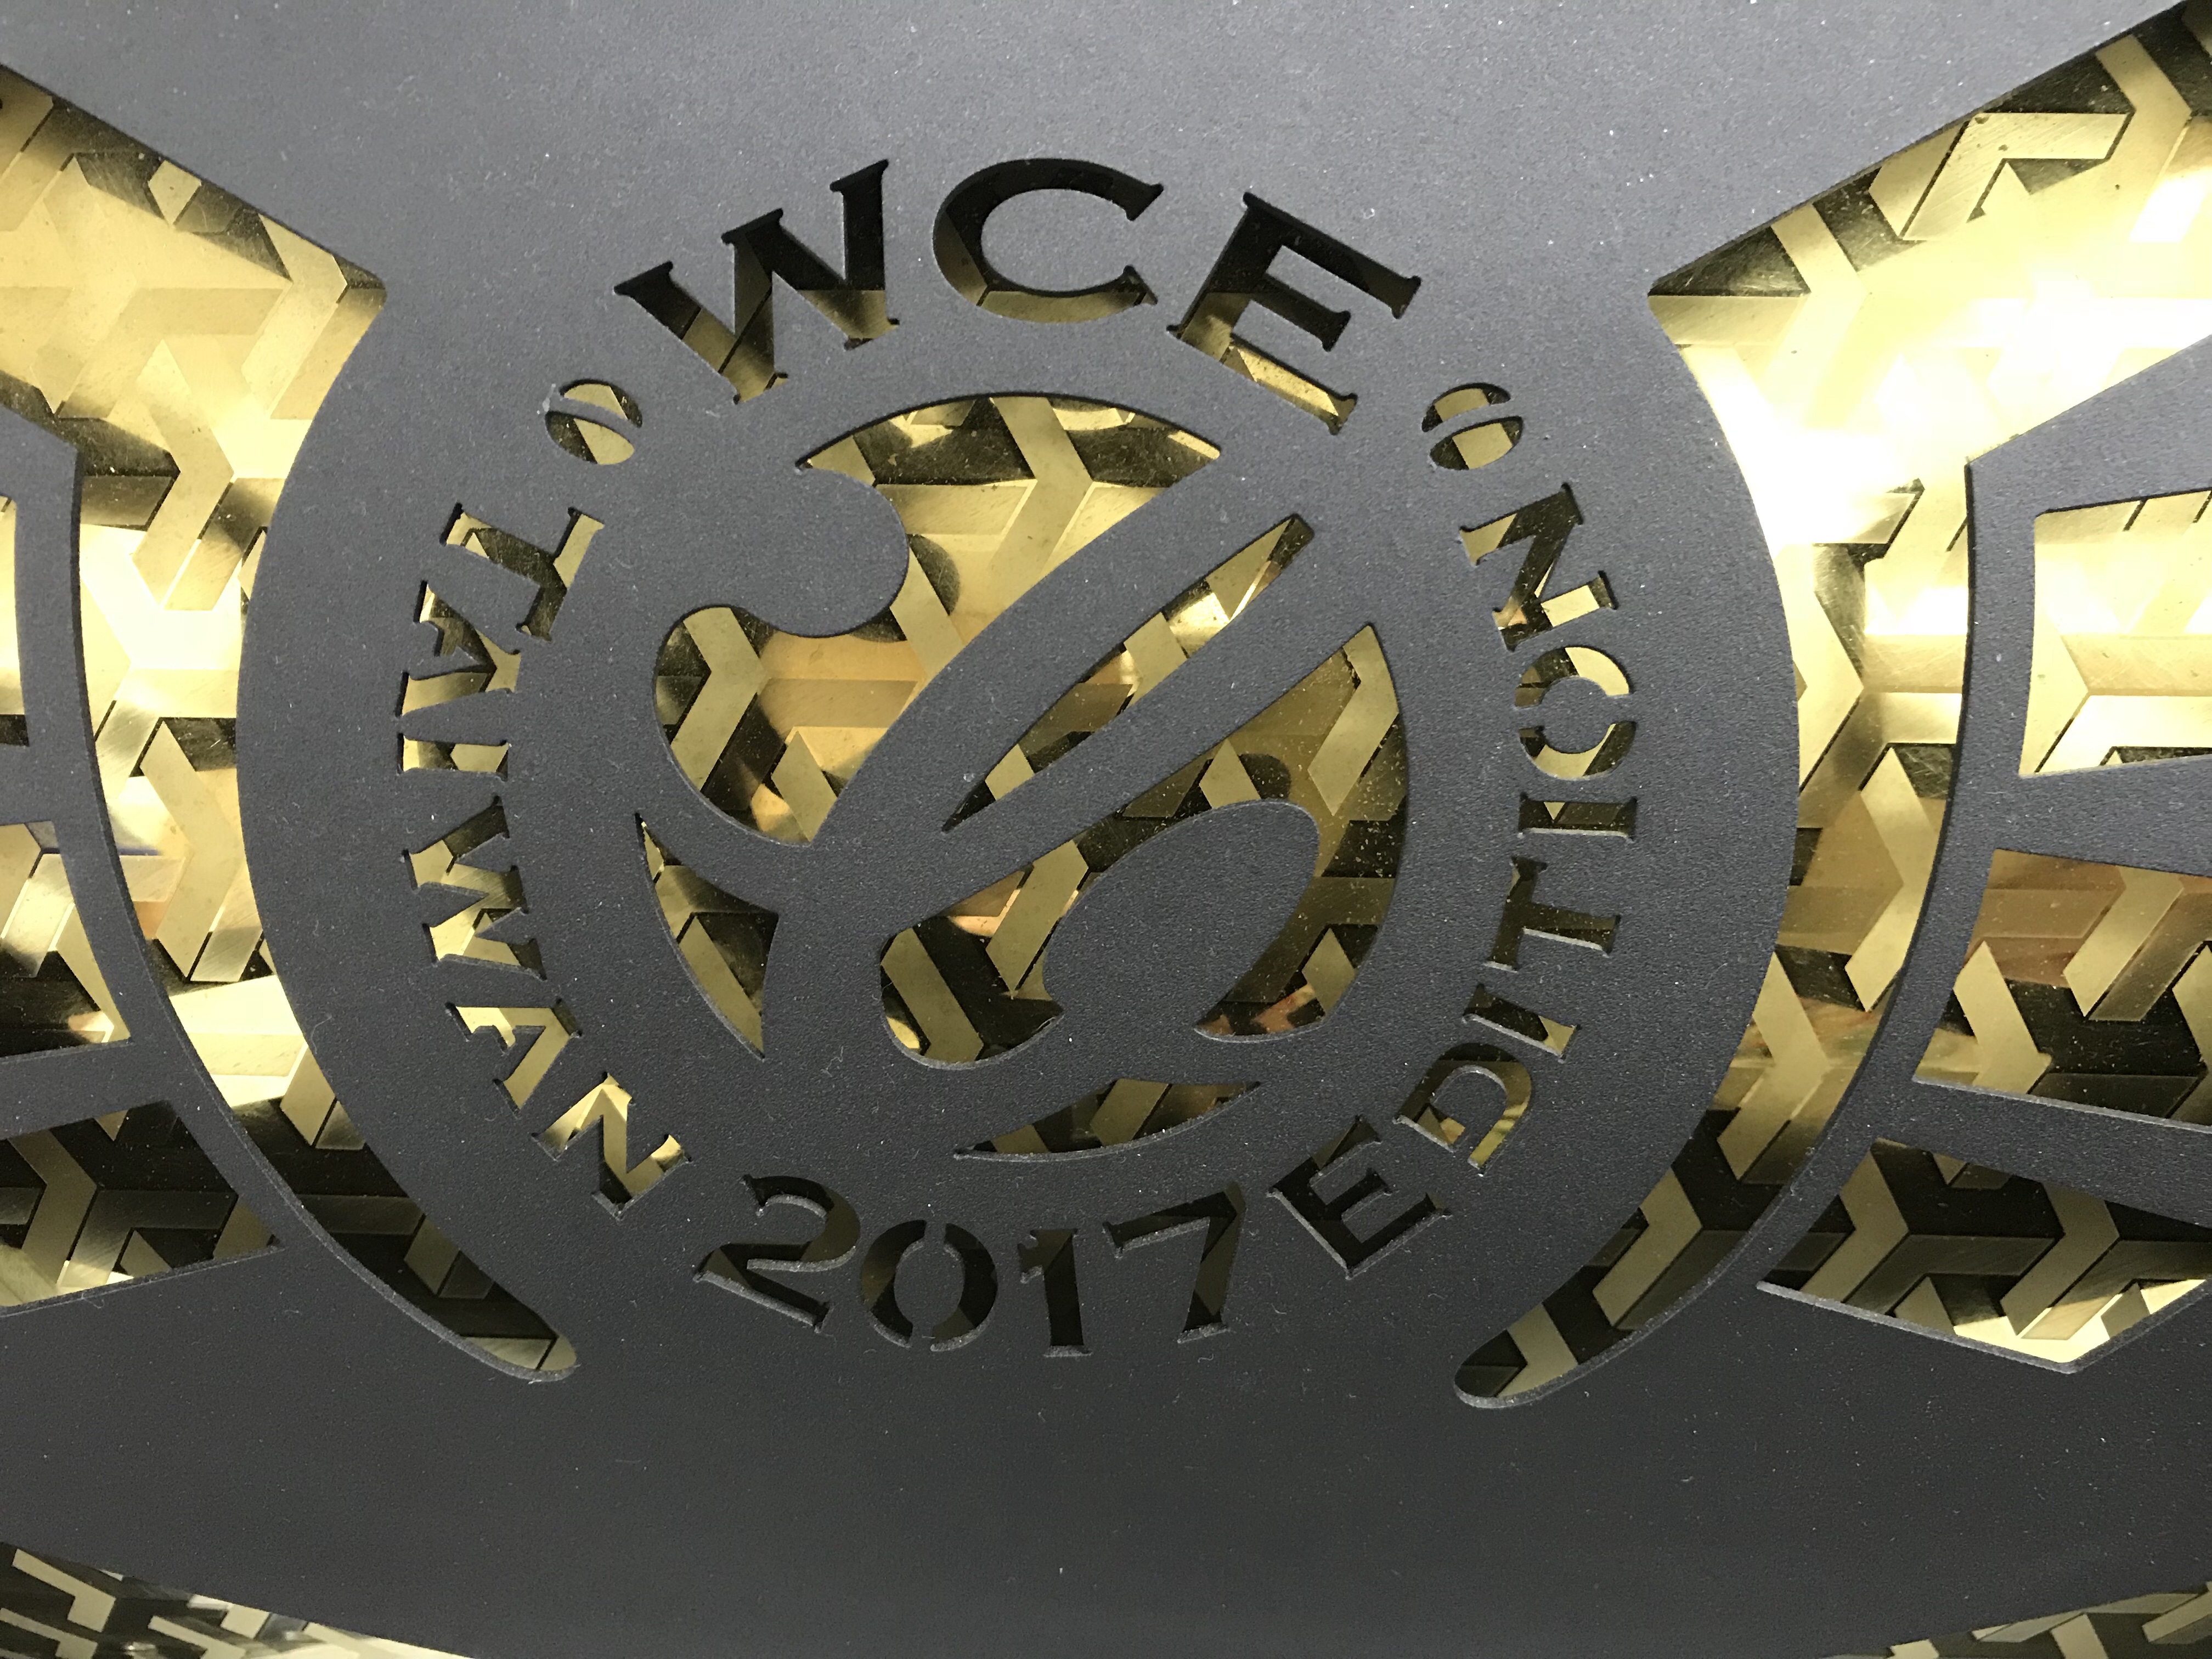
BellaTaiwan EVO-X Coffee Roaster – Center (EVO-I WCE left * EVO-4s WCE right) at the Taipei showroom setup on a custom water powered air filtration system.
BellaTaiwan EVO-X 12kg Coffee Roaster is a natural progression in the EVO line of: EVO-1, EVO-4, EVO-4s, EVO-6, and EVO-6s. BellaTaiwan is developing the upgraded EVO-Xs similar to the other “S” versions.
This topic came up in the old “Huky Form” which is currently closed but still open for search results. https://www.hukyforum.com/index.php?topic=1091.0
If the maximum pressure is 3kPa does 1.5kPa produce 1/2 the heat output? Does 2kPa produce twice the heat of 1kPa? Maybe those assumptions are not entirely correct?
ROR, projected roast progress, trial and error are more likely predominate factors in choosing gas setting. If you worked out Artisan graphic values based on simple arithmetic like I did, they may not be accurate.
Here’s the full discussion and at the end of this post is an excel file using Eugenm’s formula with user input. I ended up downloading the excel file to Google Drive then opening in Google Sheets.
_______________________________________________________


|
Pages: [1]
|
___________________________________________________
I asked Apple our family mathematician if she could create an excel spreadsheet based on Eugenm’s formula. You can find the file below and hopefully get it working.
It’s very interesting at least and I’m wondering how the general roasting community, especially those with a scientific background make of it. Unfortunately Bernoulli’s law does not take into account the rate of heat absorption/radiation green coffee exhibits during the coffee roasting process.
Here’s the link to the Dropbox file, while I try to embed the excel file.
https://www.dropbox.com/s/7fsh16kd5cvrtph/coffee%20roasting%20bernoulli.xlsx?dl=0

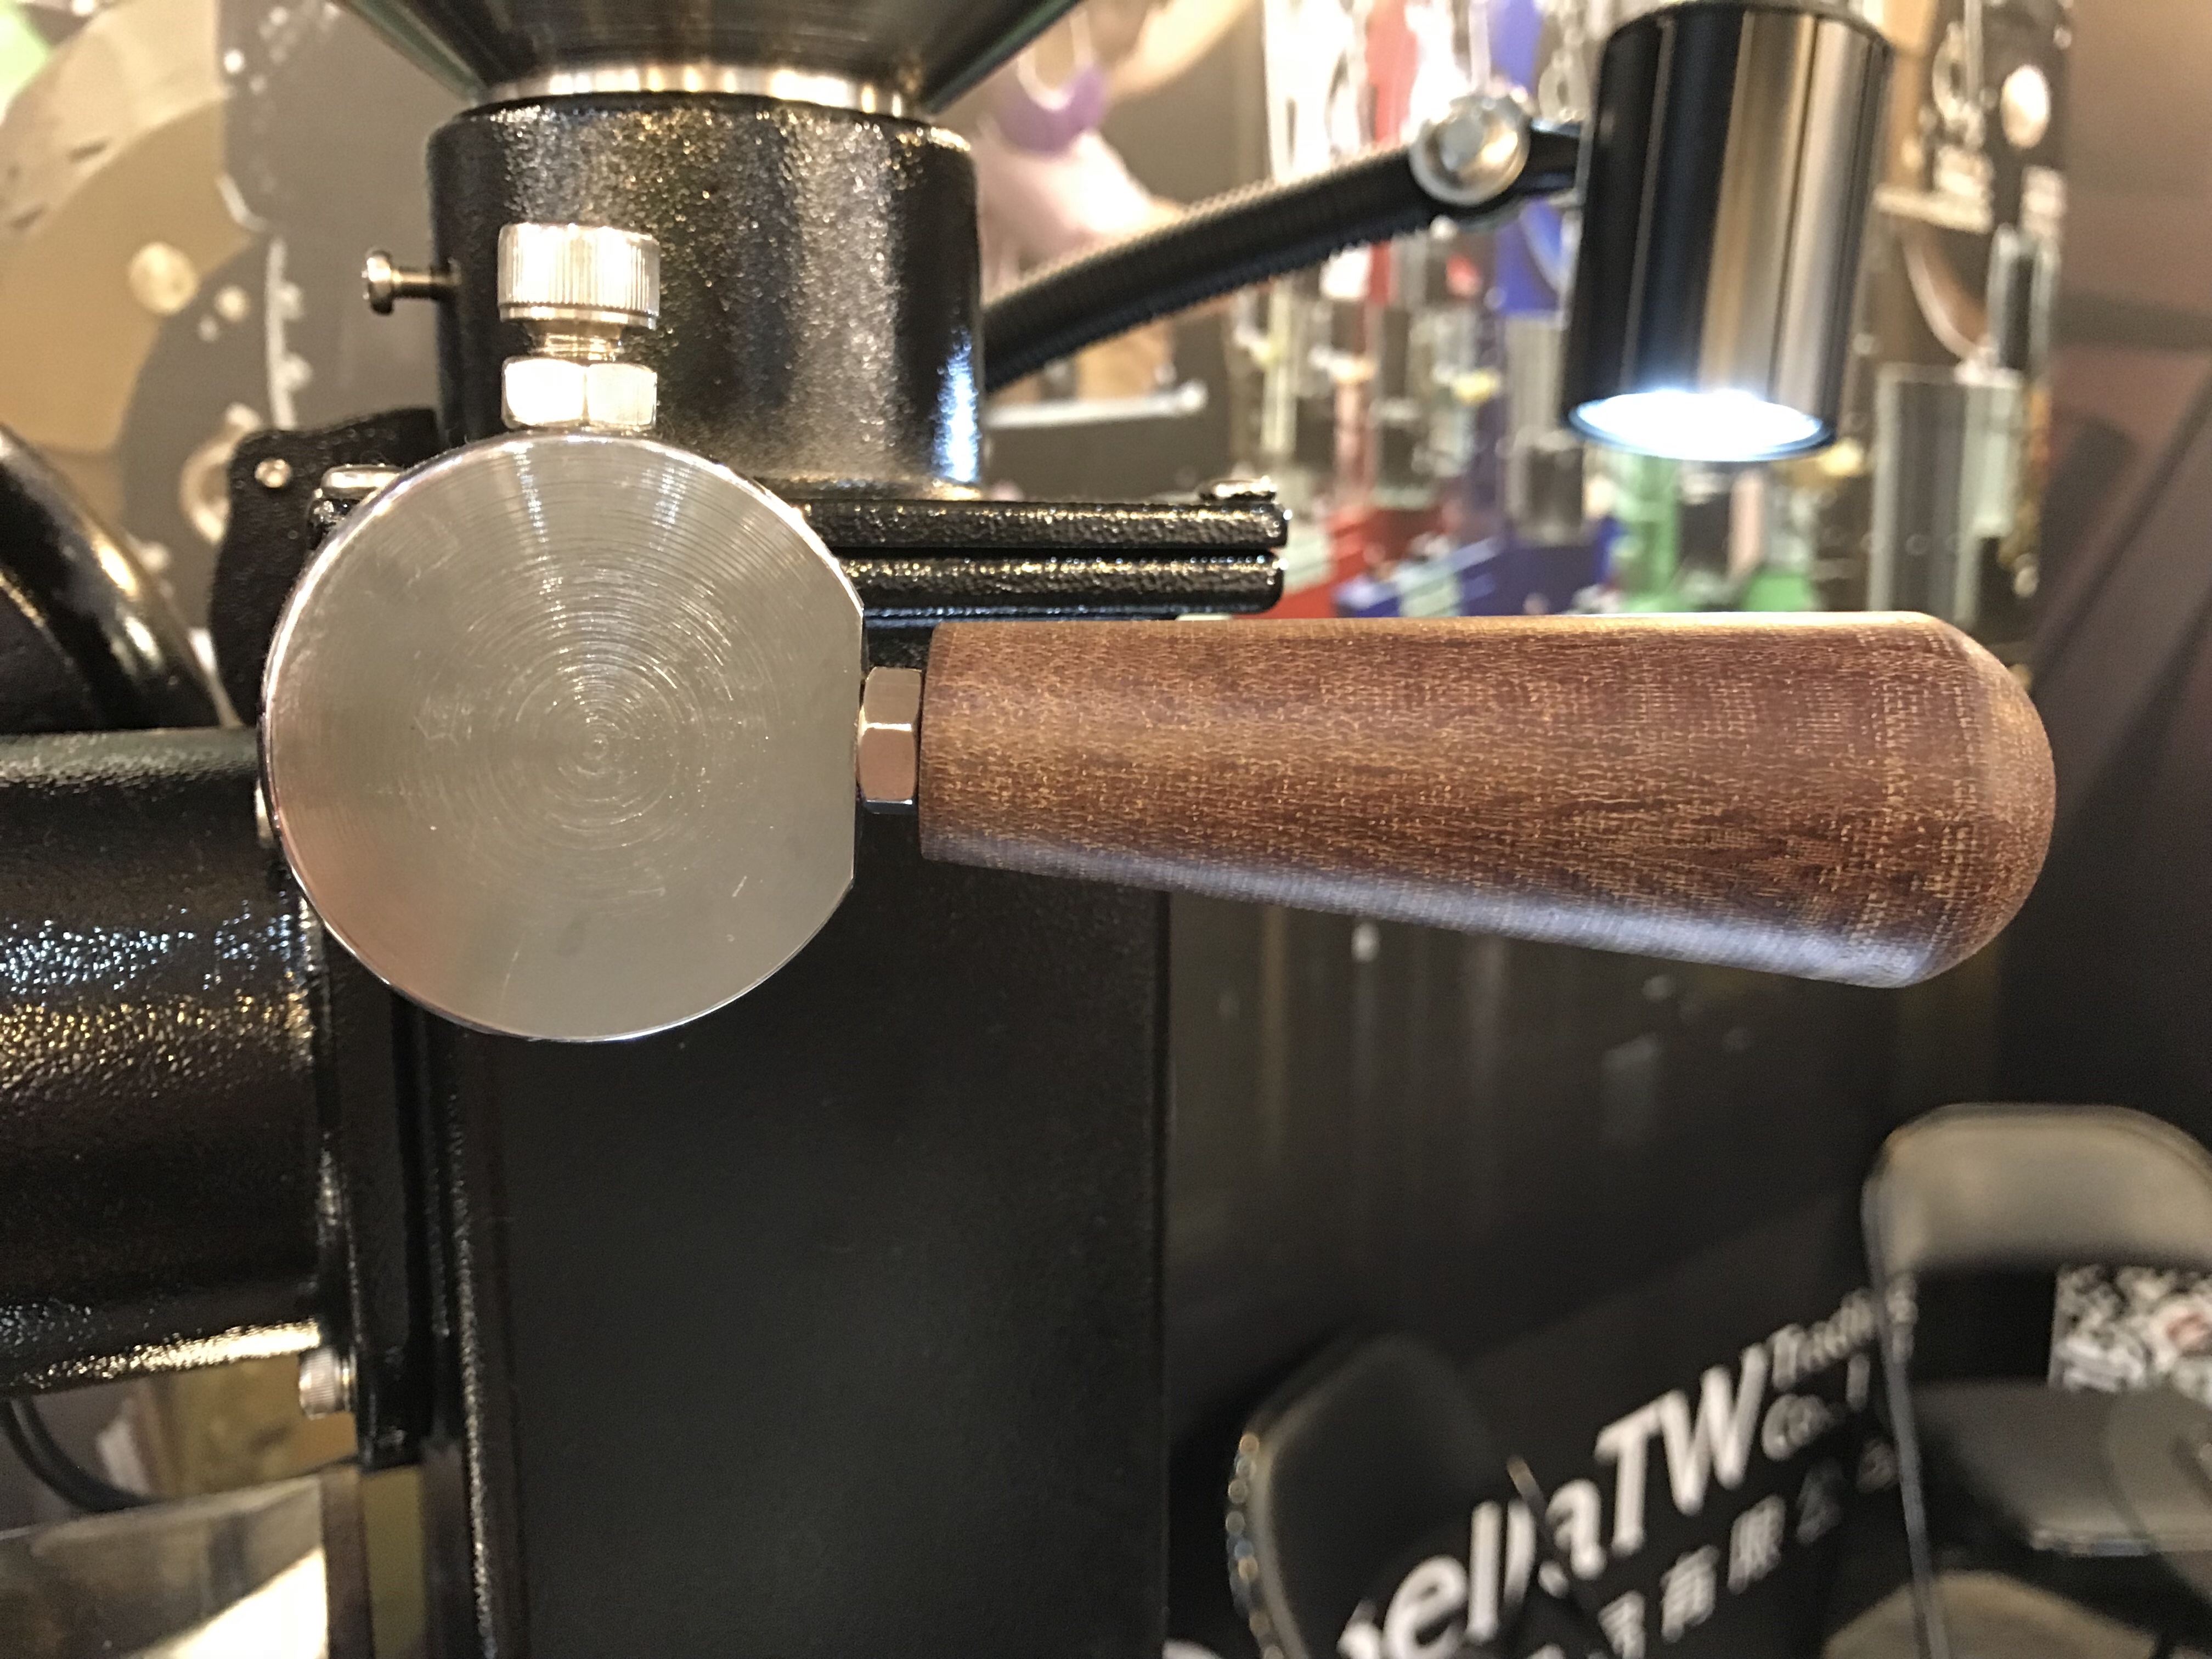
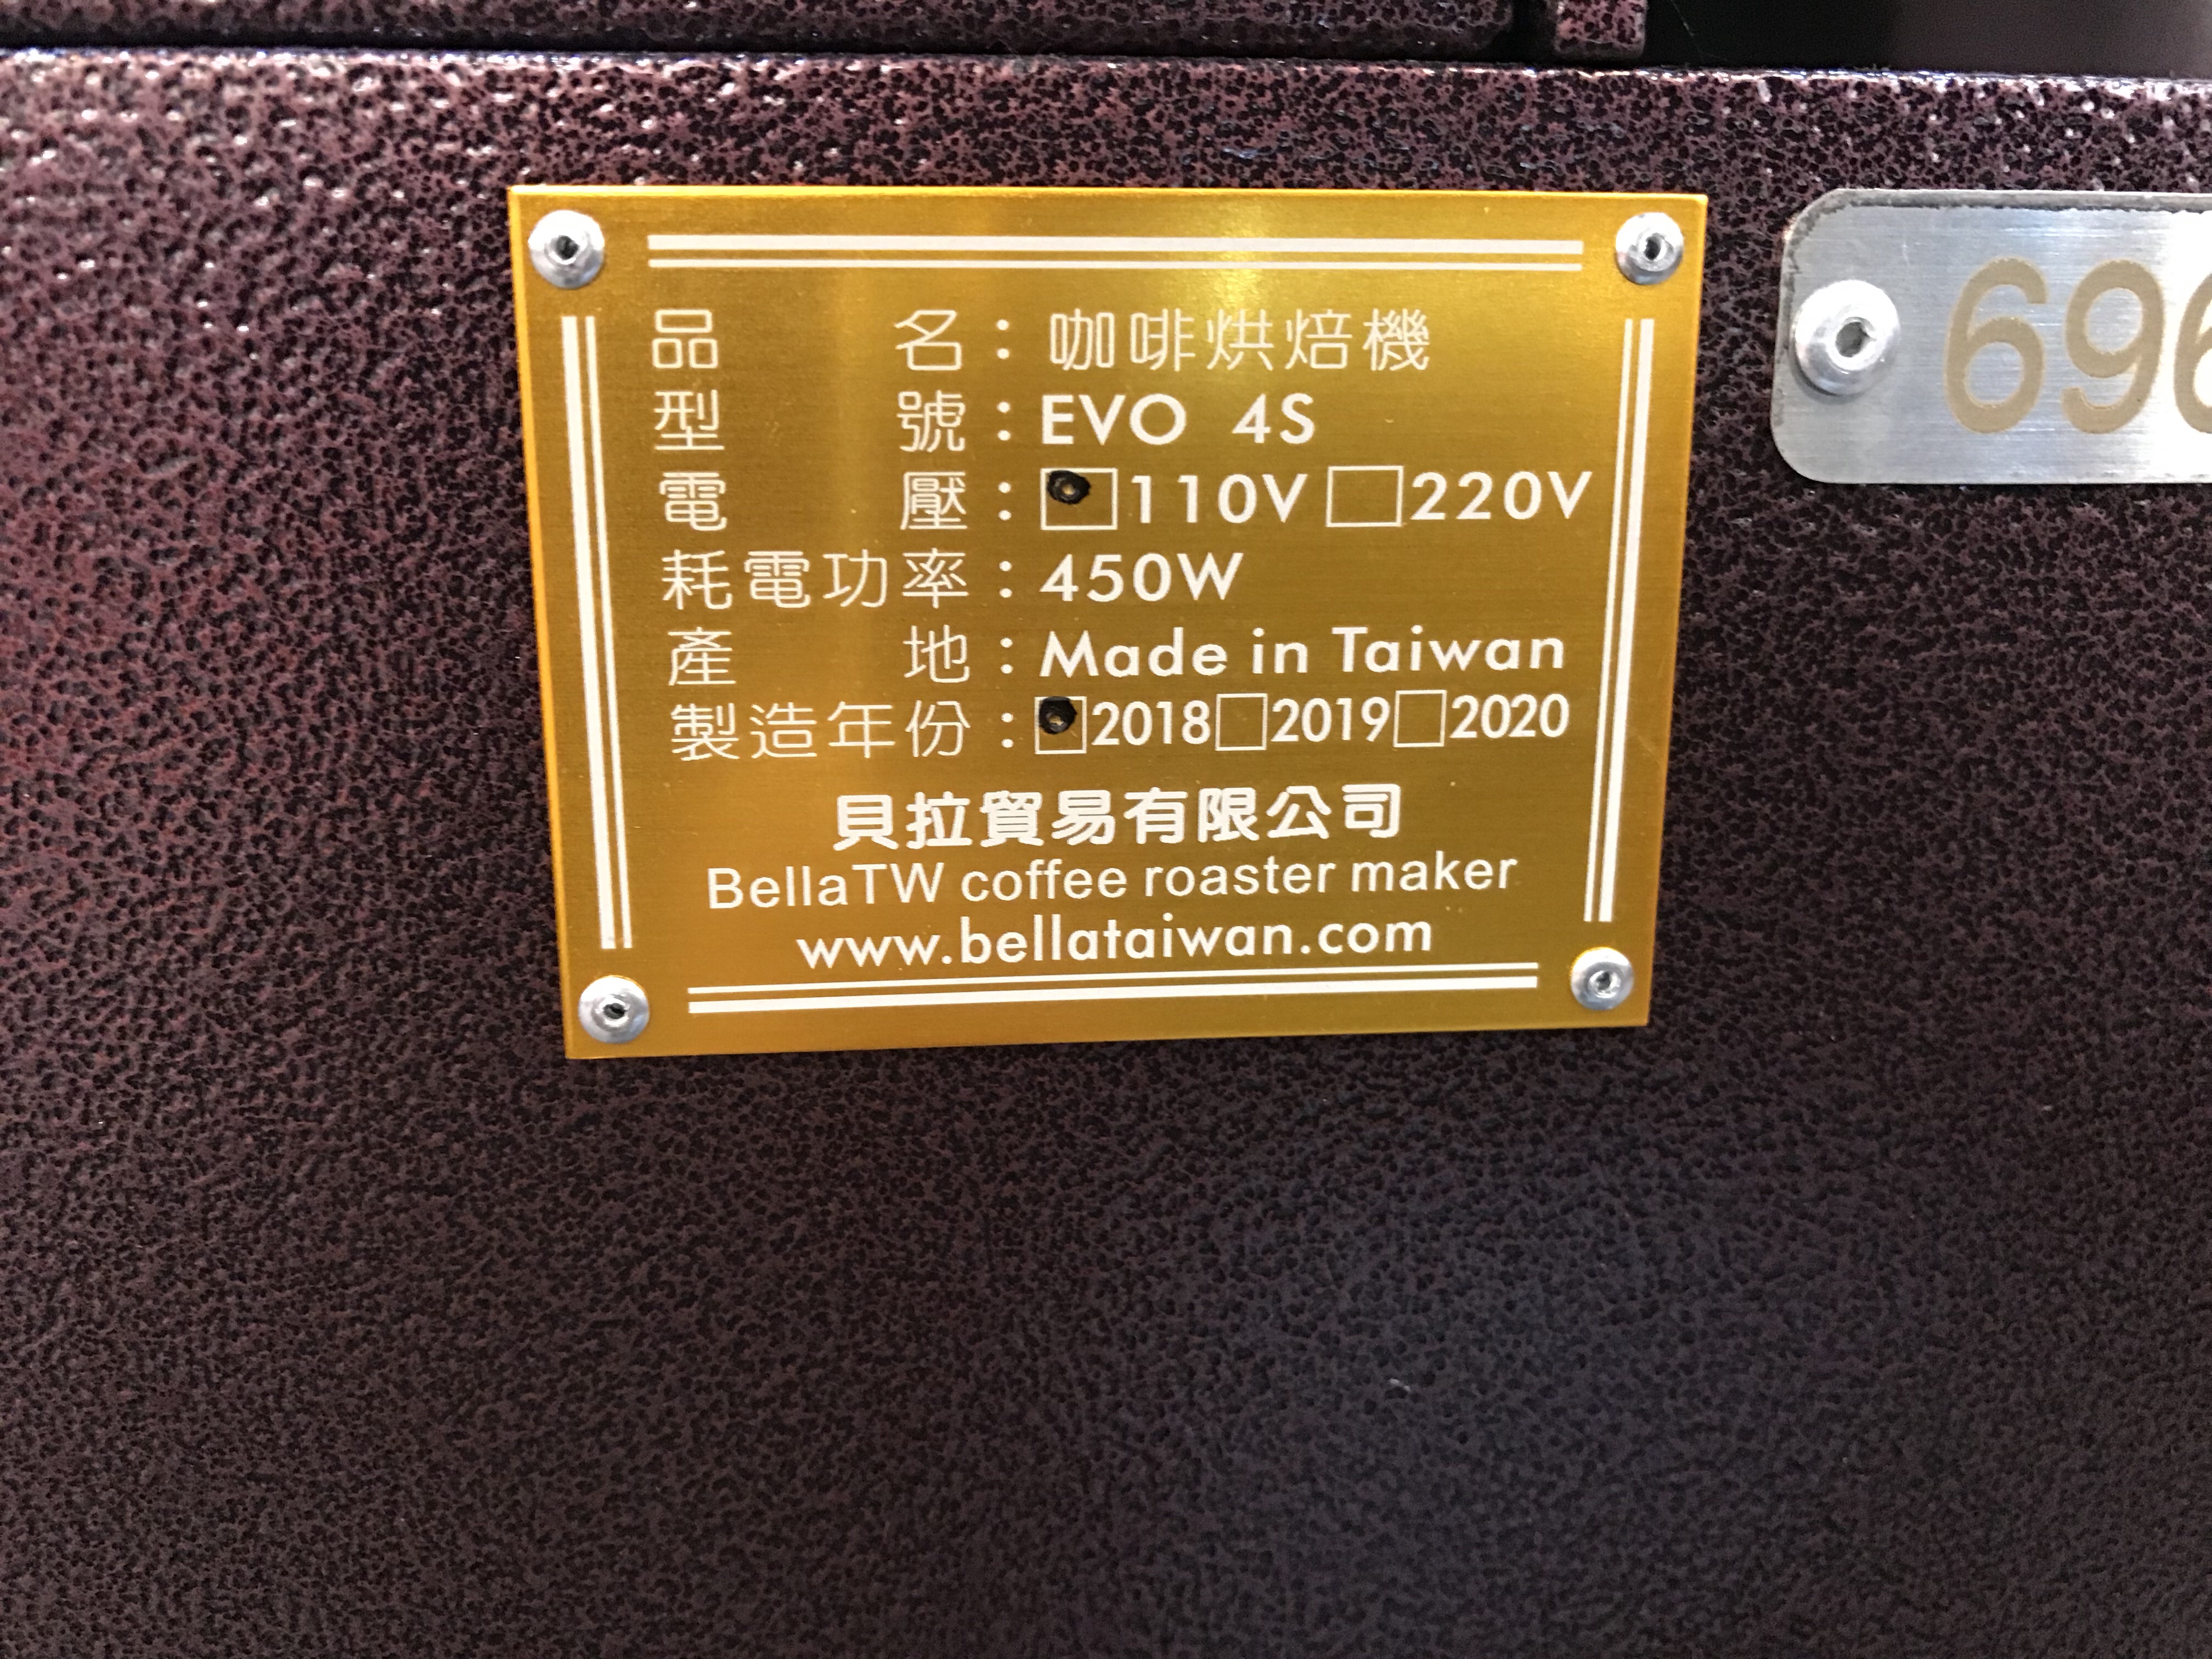
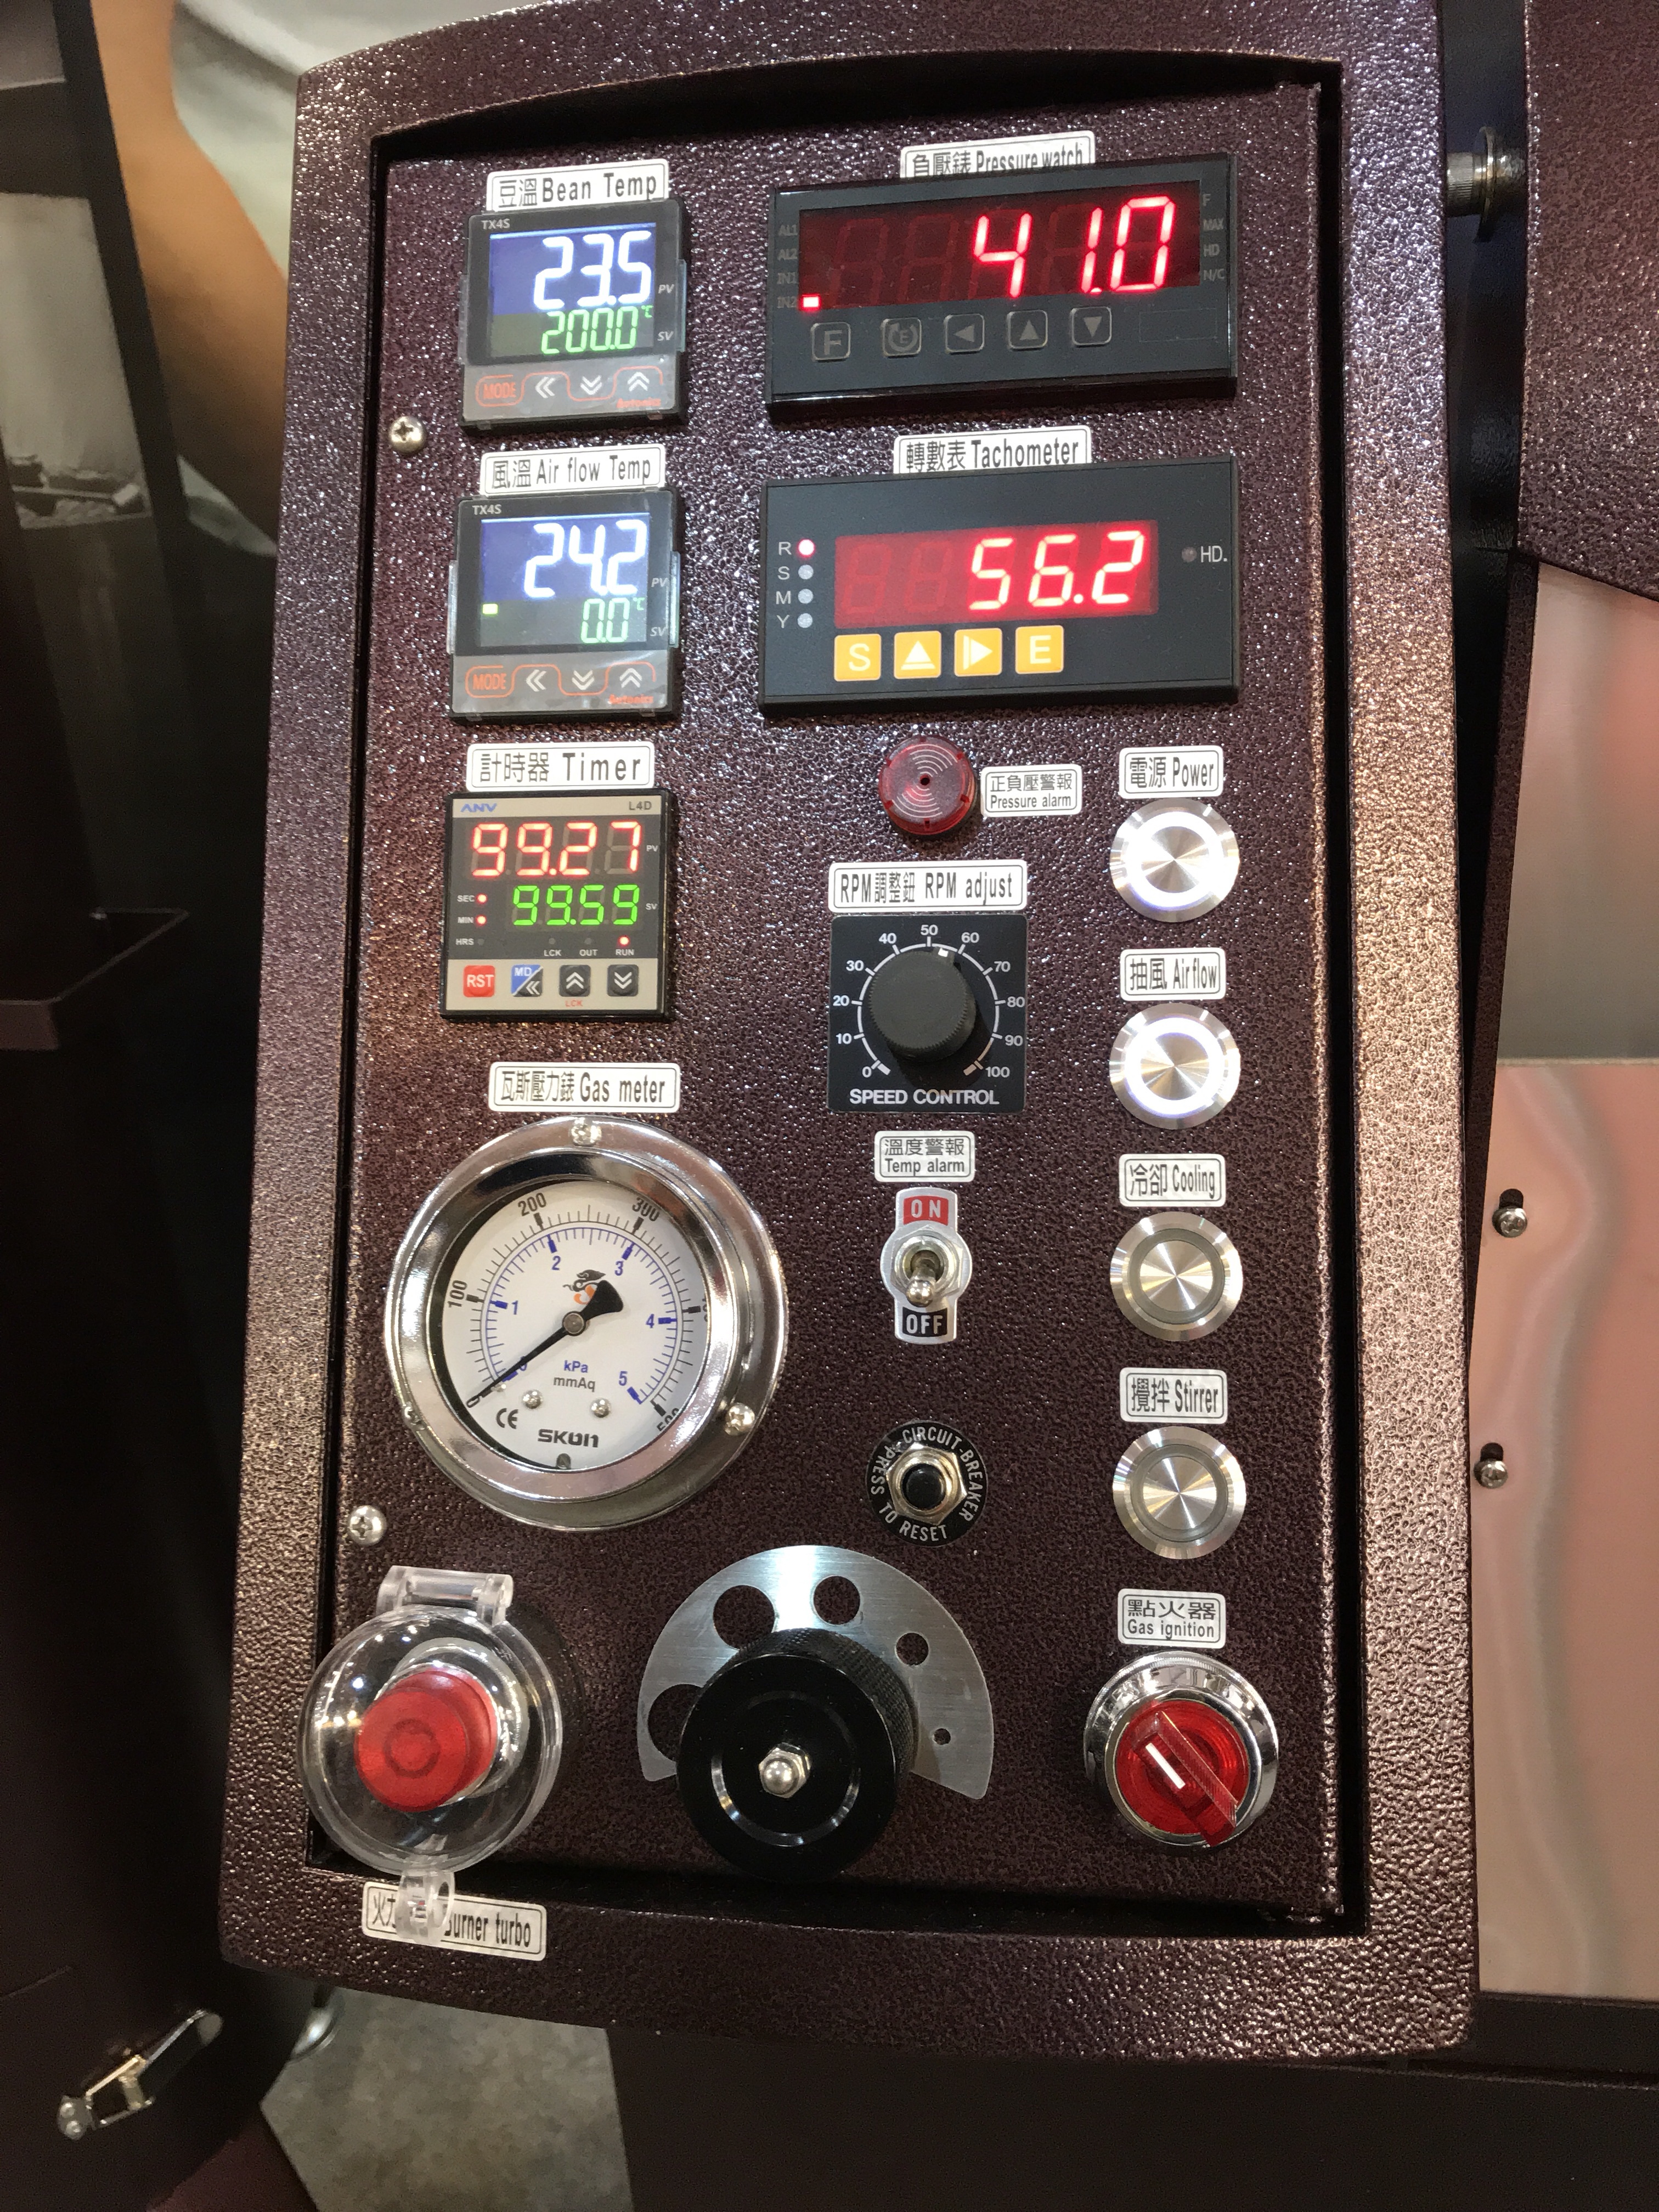 BellaTW EVO-4S Control Panel
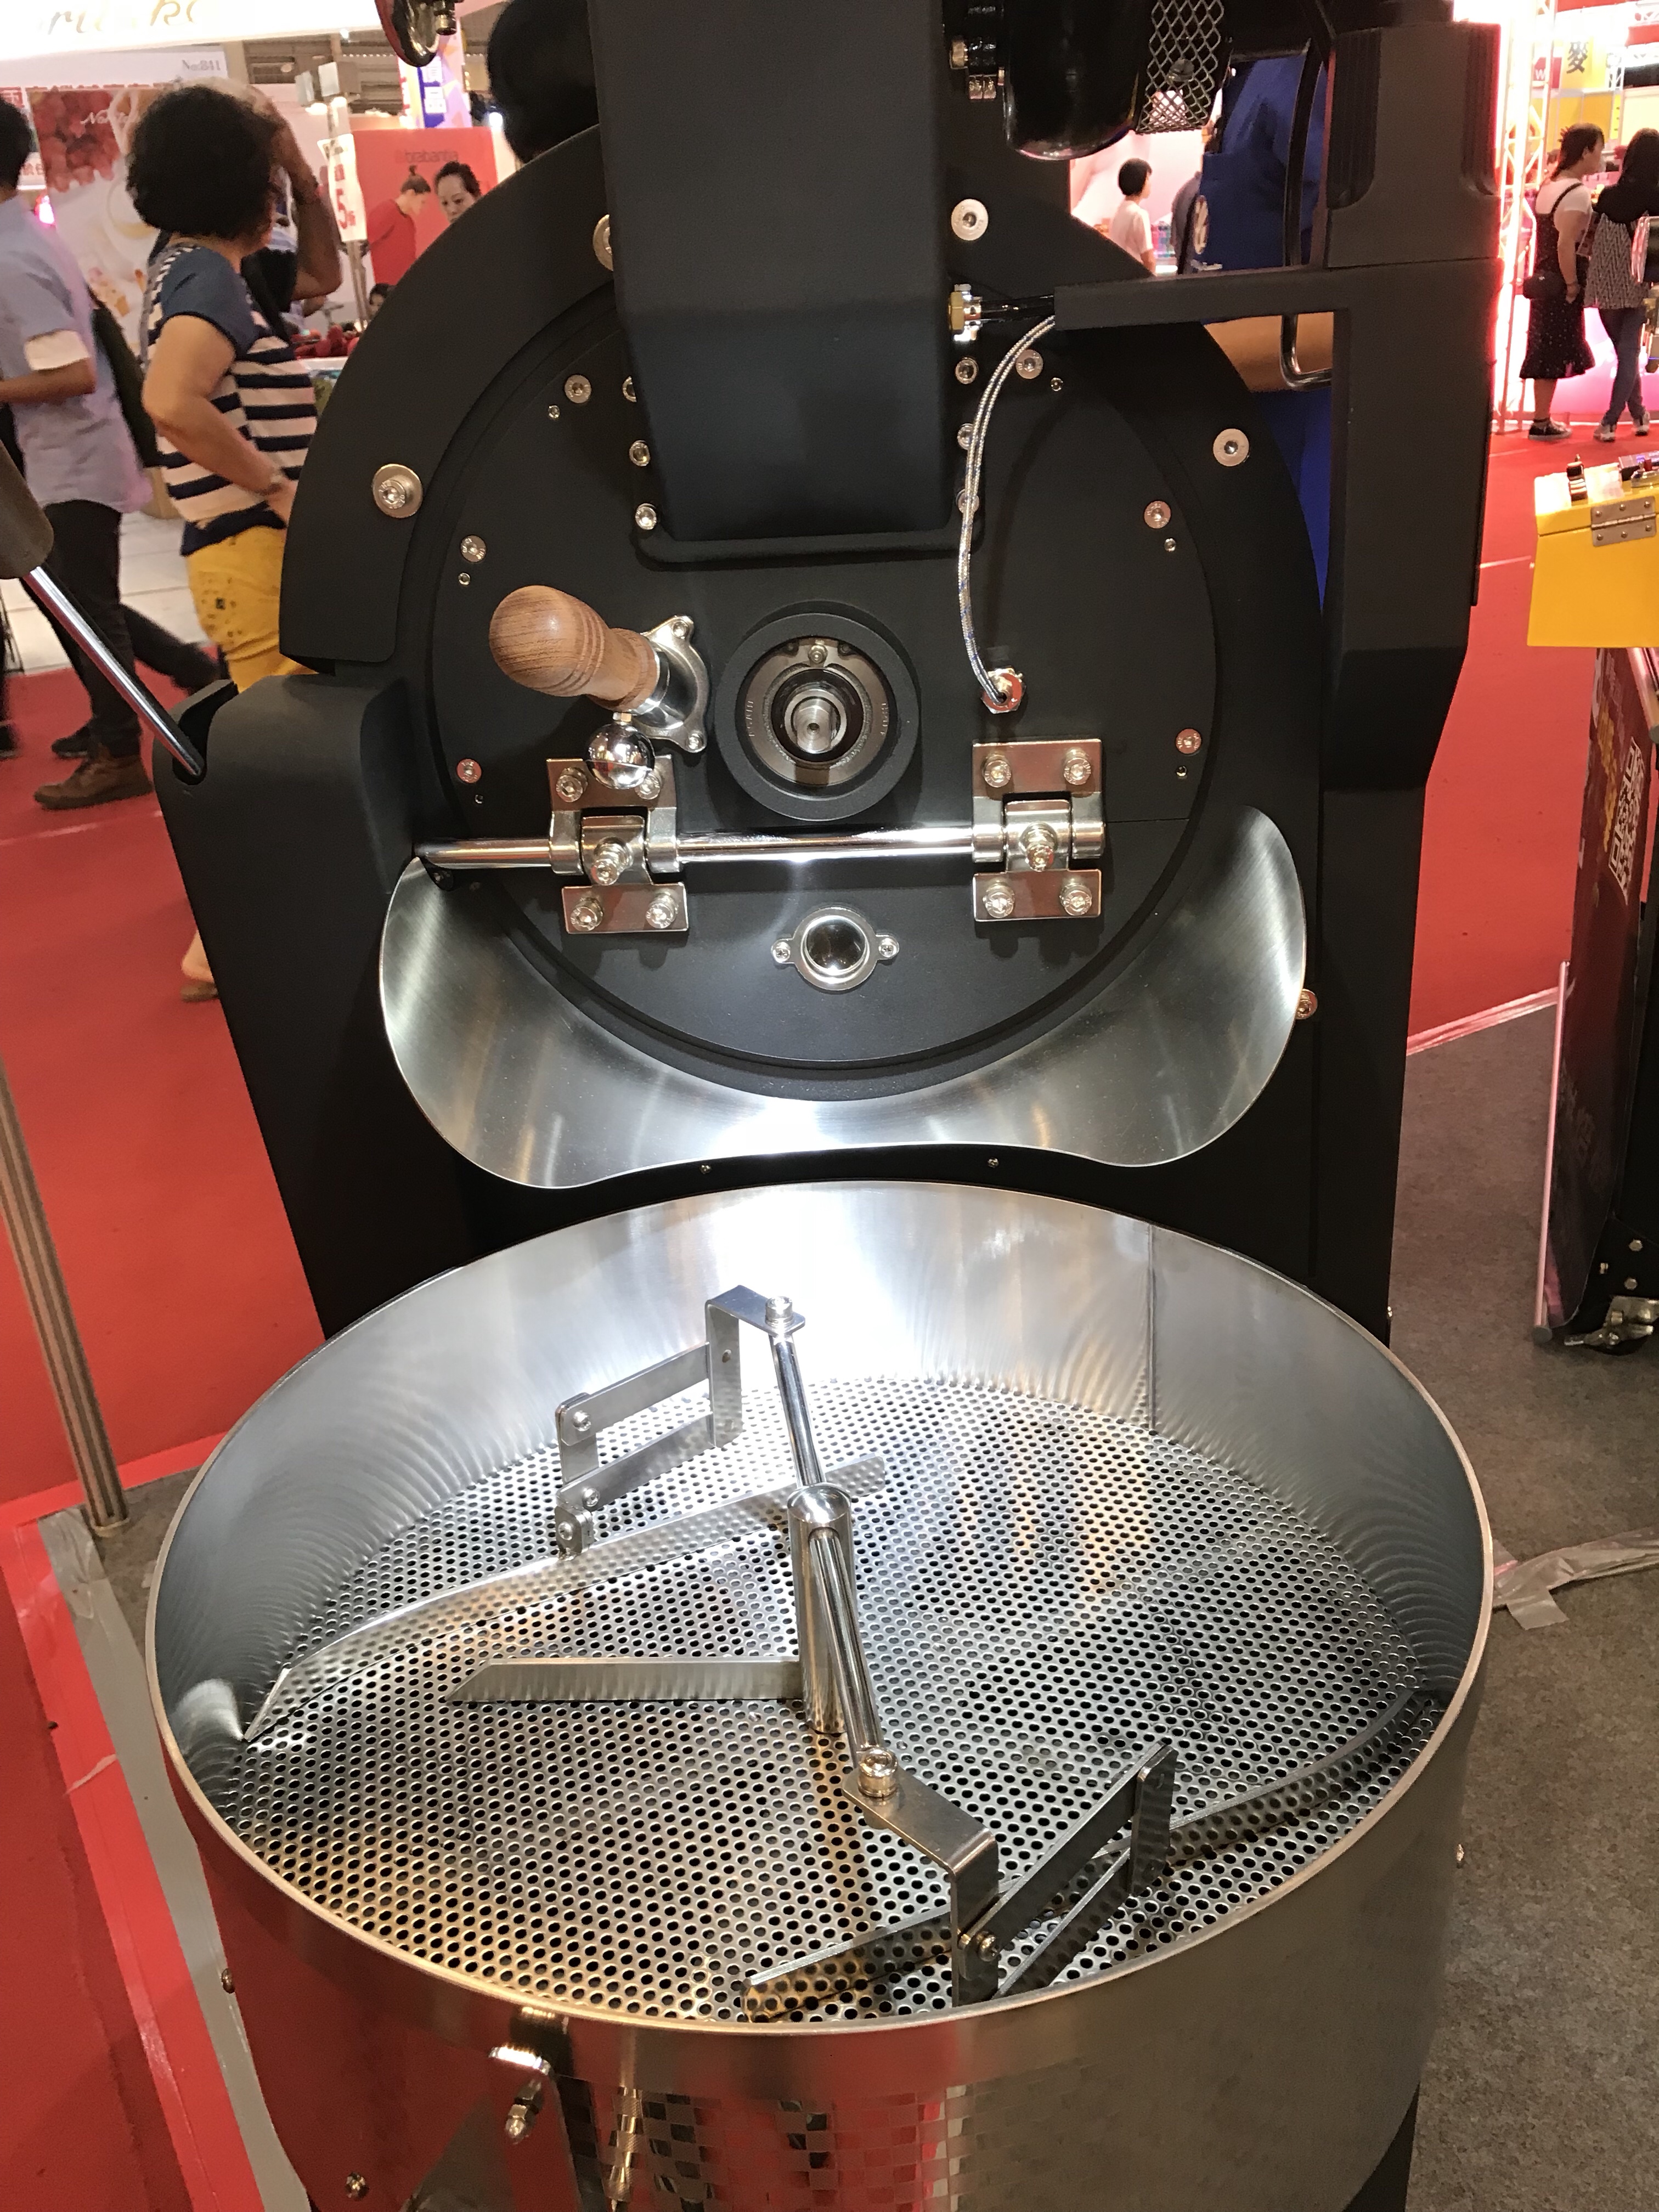

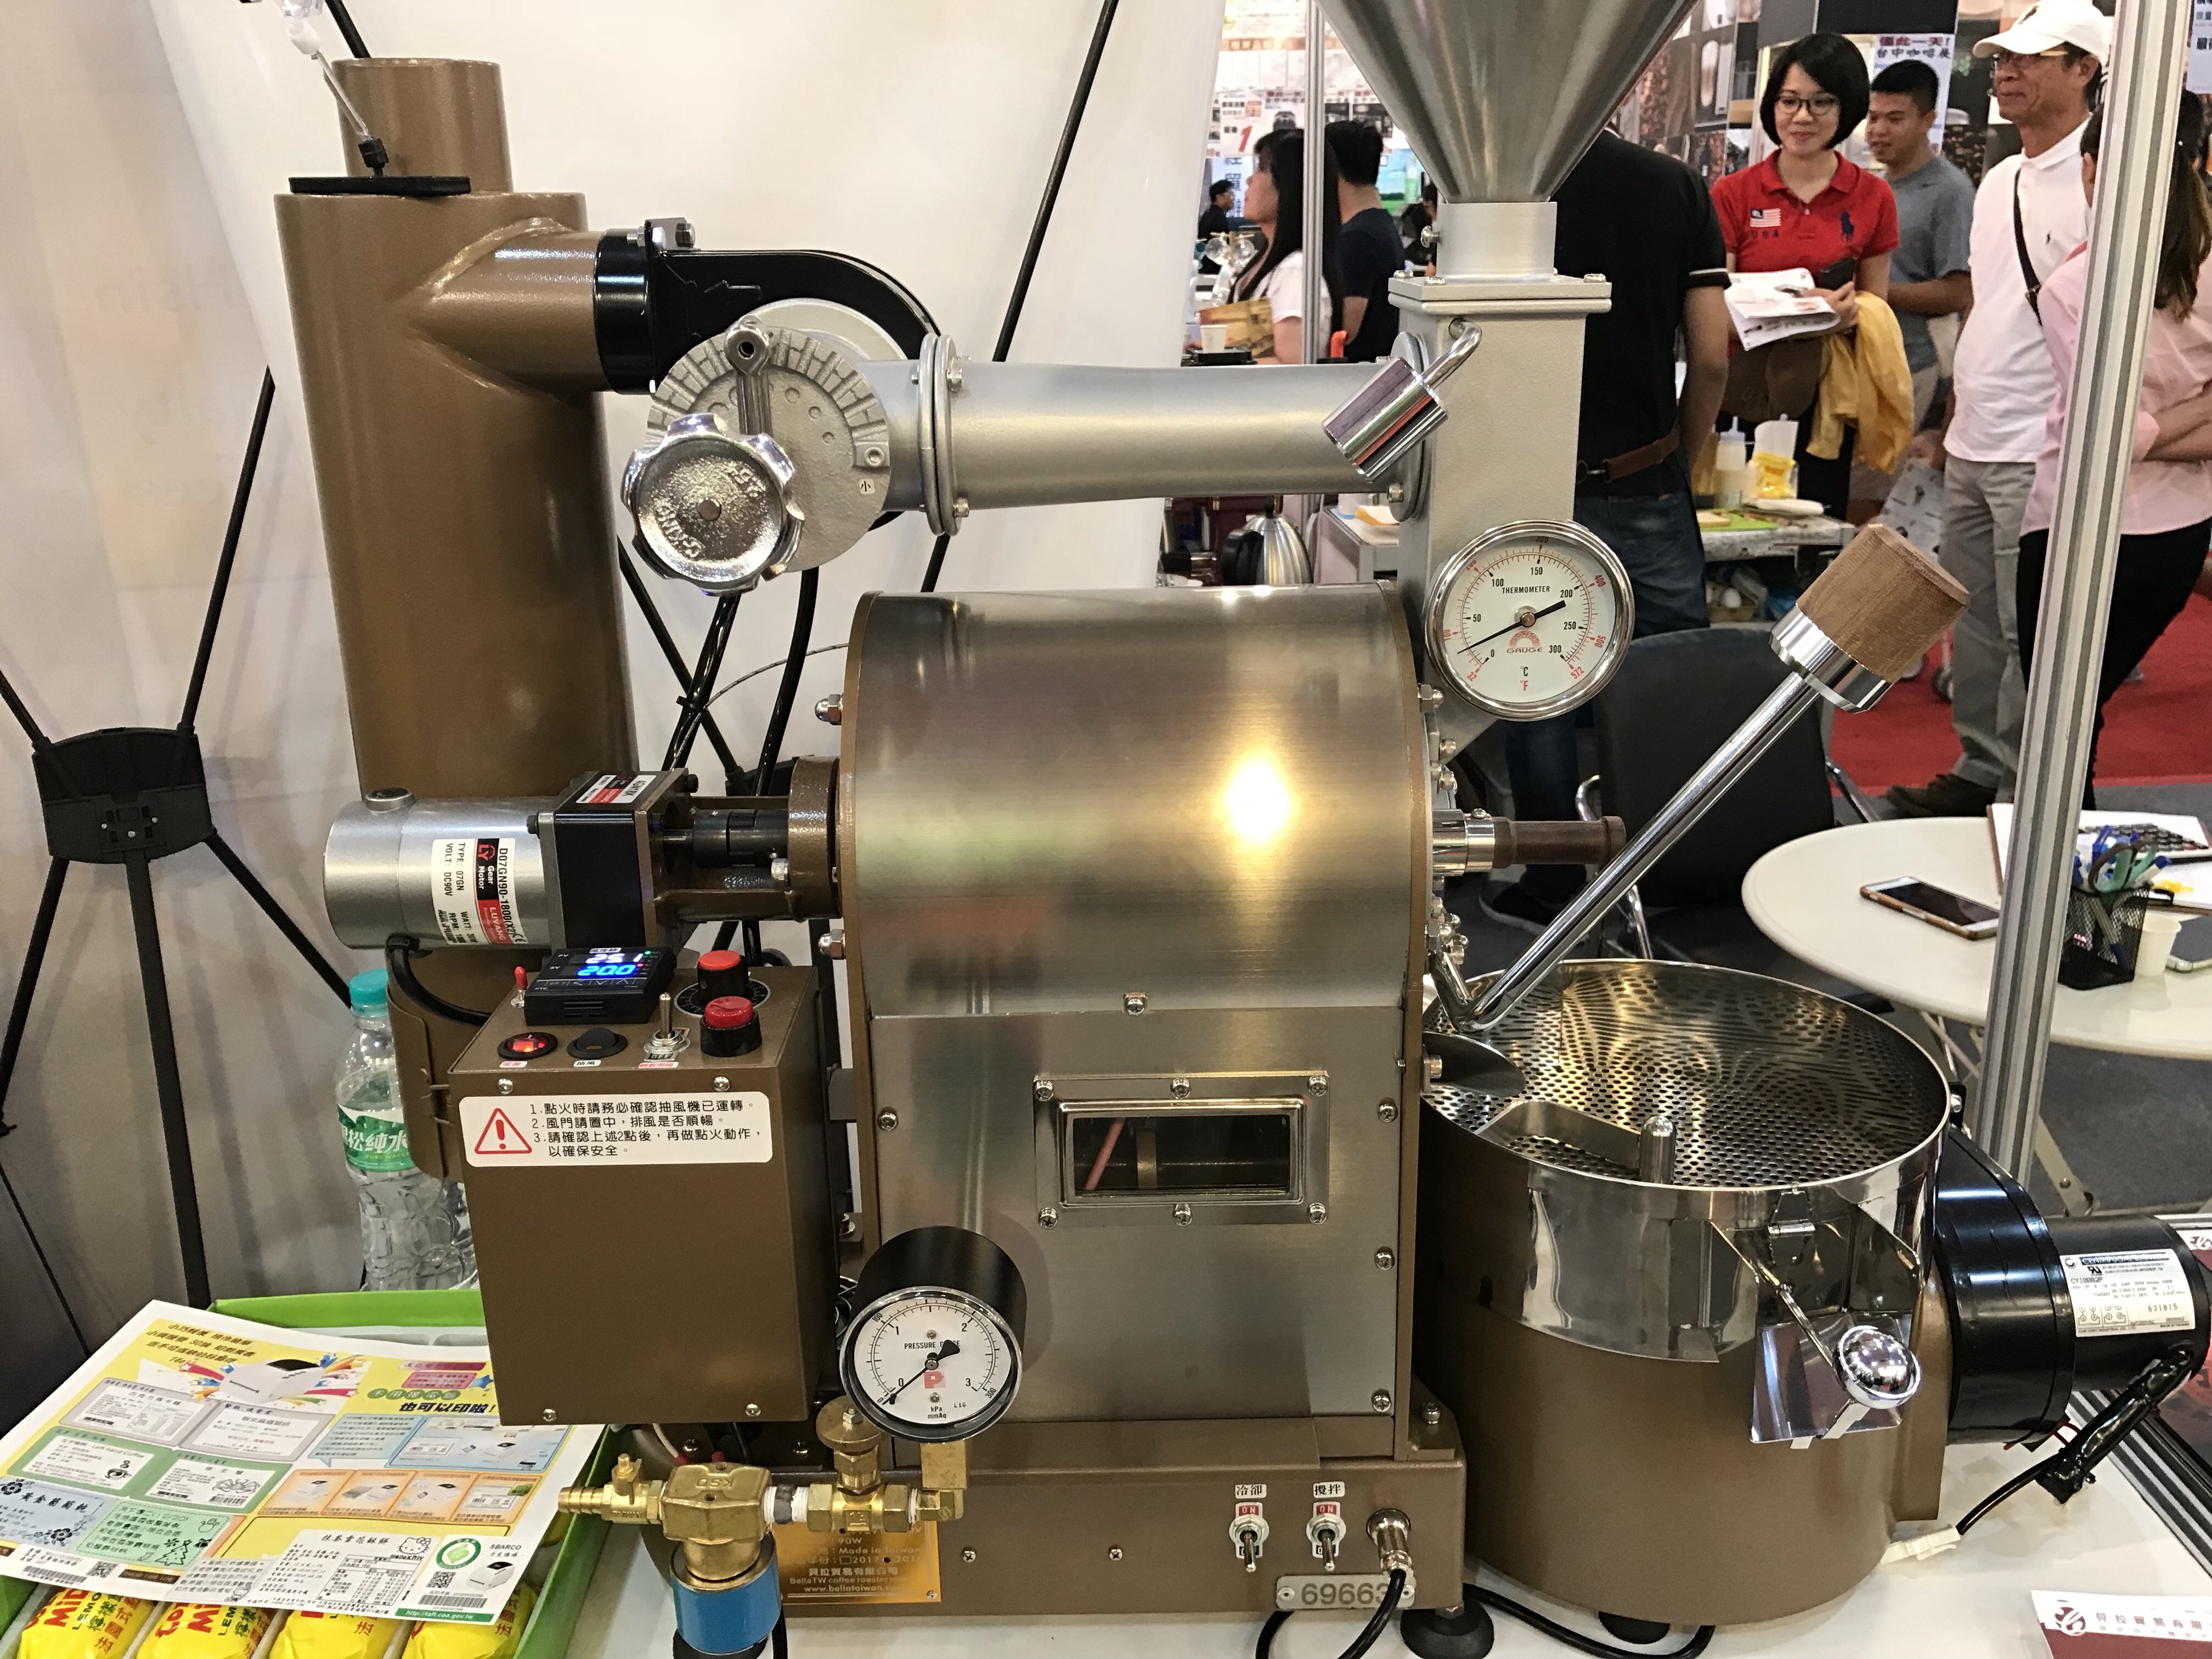
Fustaer L1.5 Kg Coffee Roaster is the latest creation from Taiwan DIY inventor Mr. Tsai. DIY002, DIY003, DIY005, DIY007 are also in his lineup of kit and mod friendly stainless steel small coffee roasters.
Here’s the new Fustaer L1.5 Kg machine being tested at Coffee Play in Taichung. Double Wall Stainless Drum, 47,250btu/h (12.5kw) Italian five row ribbon burner, fast responding BT thermocouple, ET thermocouple, exhaust air thermocouple, 24V DC Cam York adjustable blower, drum air pressure meter, and separate bean cooling fan/stir bar motor.

More information to follow……………
Brand New to Bella TW Trading Co., Ltd. is the EVO-6s 7kg Coffee Roaster with the professional upgrades. Big brother to the EVO-4s professional upgrade, it has 33 turbo burner jets with a bypass switch stepping down to 27 burner jets. VFD air fan motor with front panel controller, digital air pressure meter, BT thermocouple, ET thermocouple, and incoming drum air thermocouple. Digital timer, Digital drum speed indicator, flashing/audible multiple safety alarms, and micro adjustable gas control knob. Datalogging using USB or bluetooth connection.

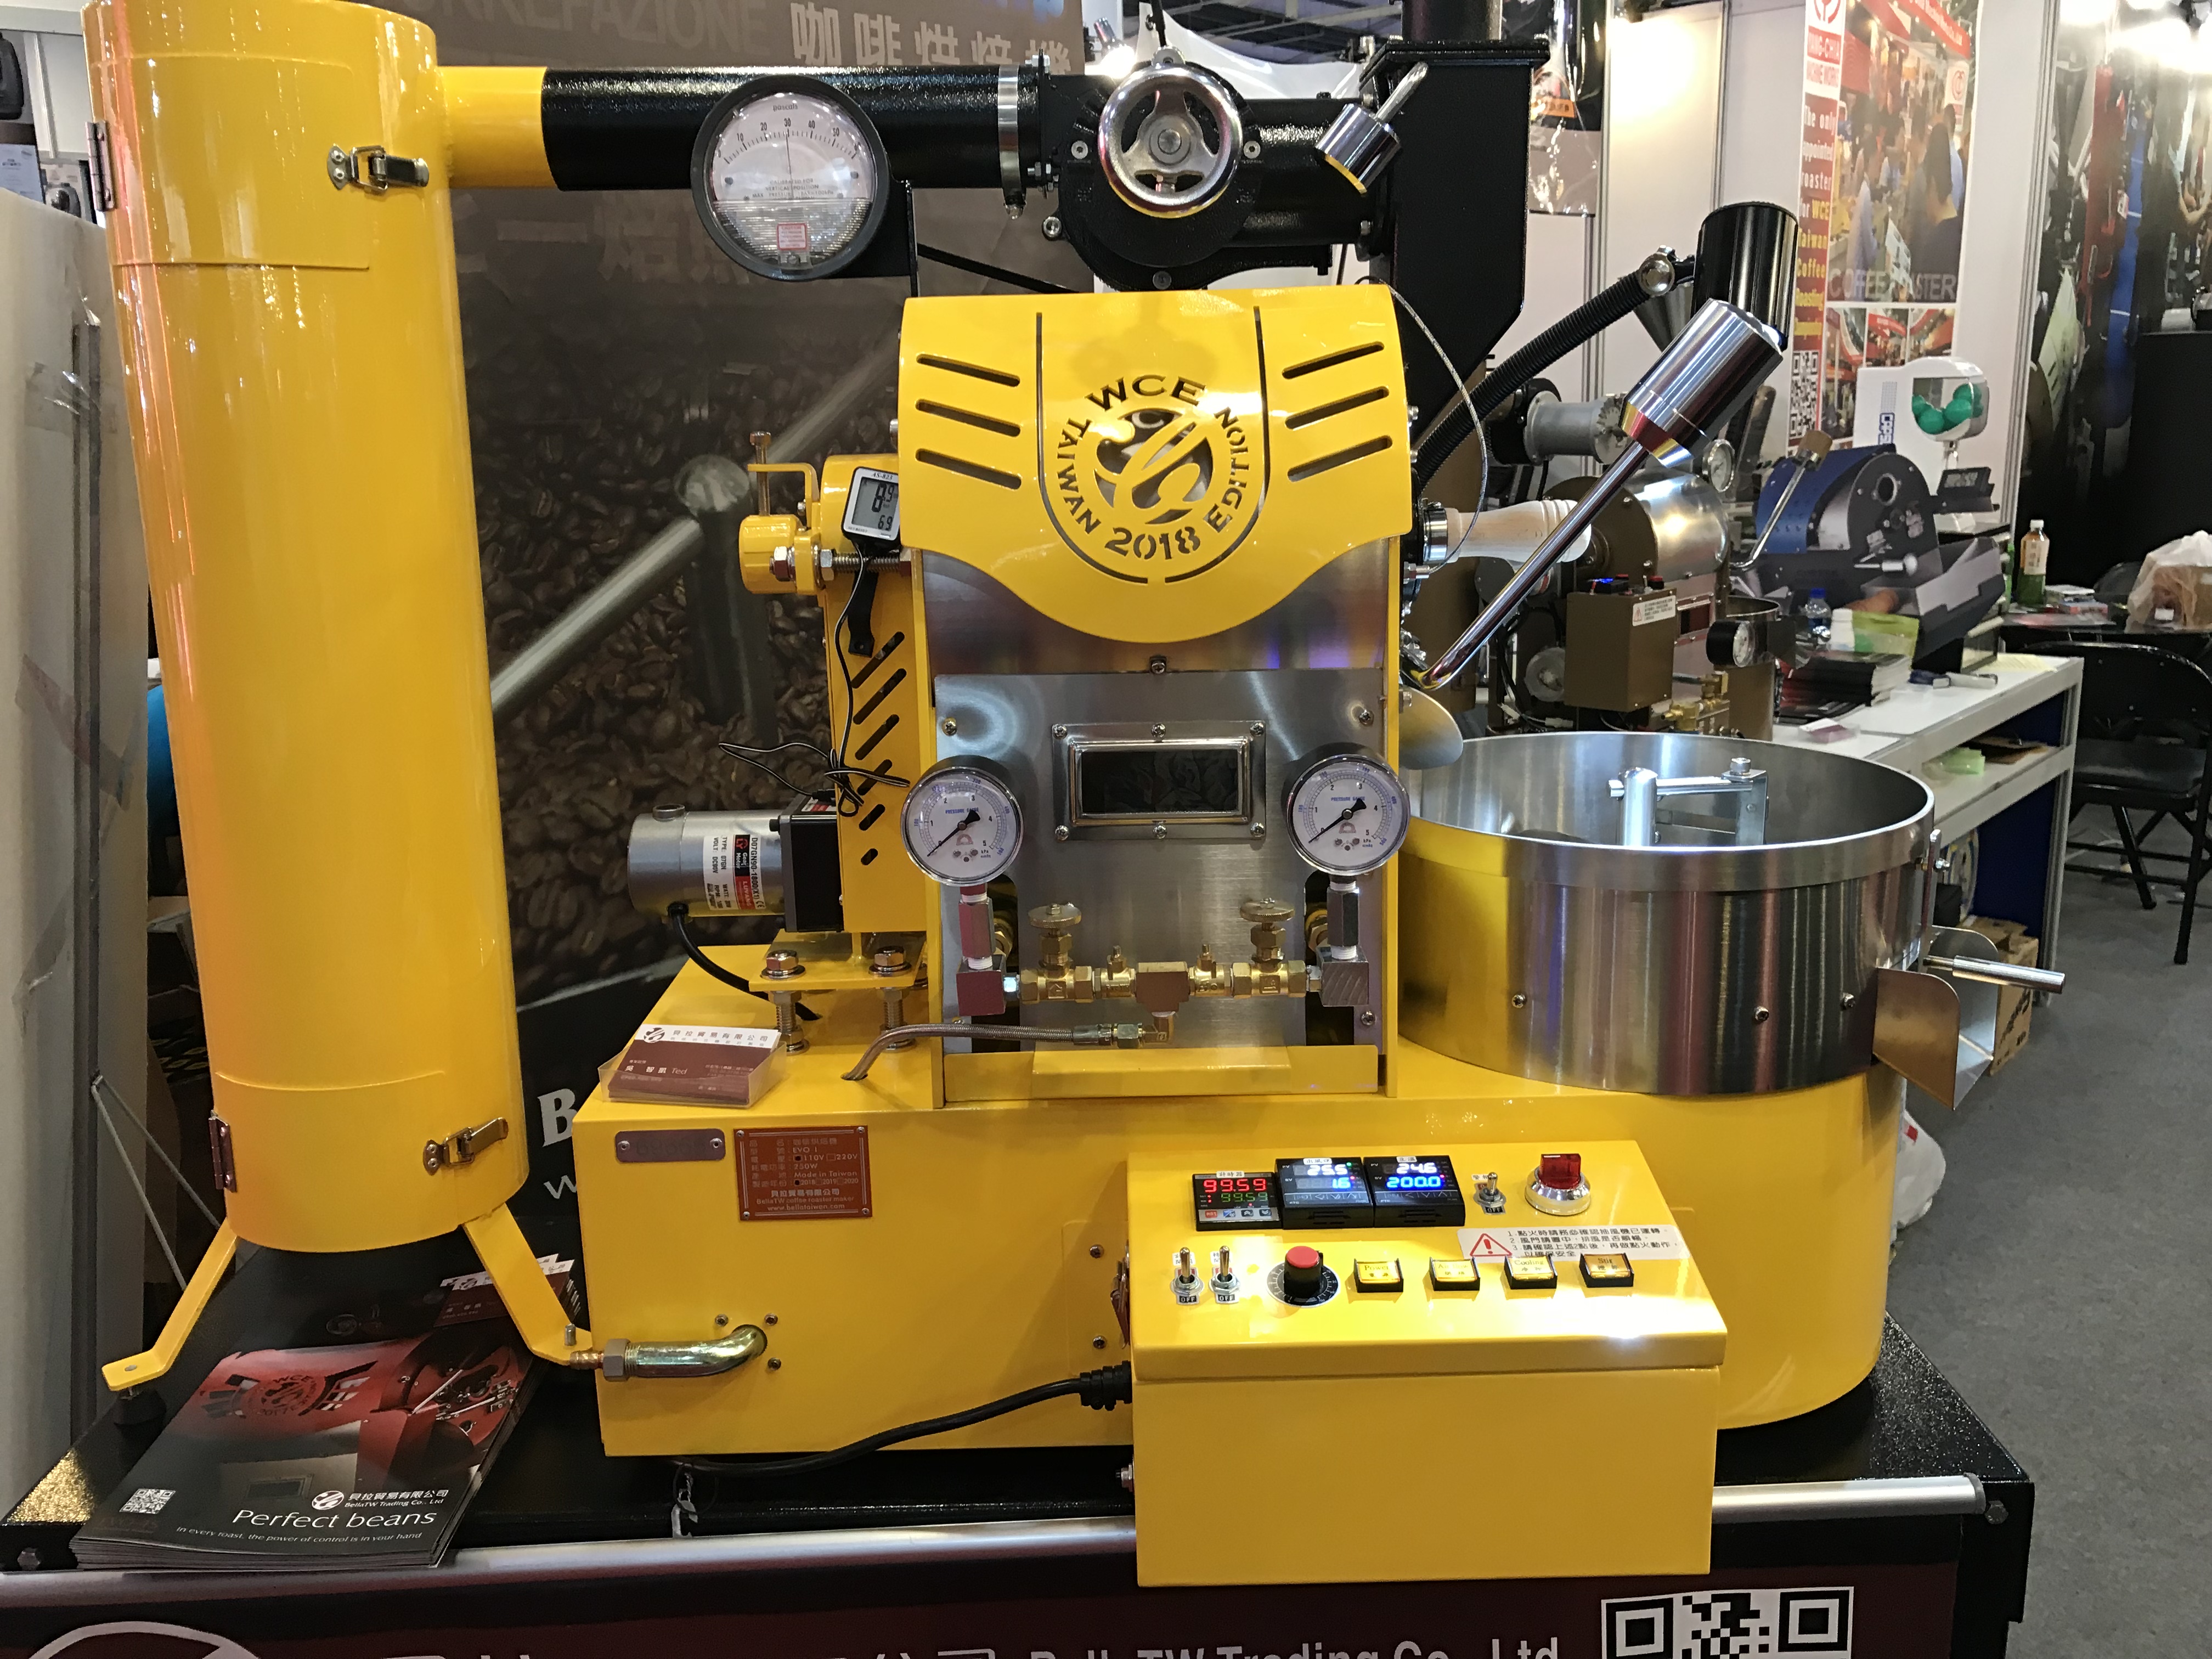
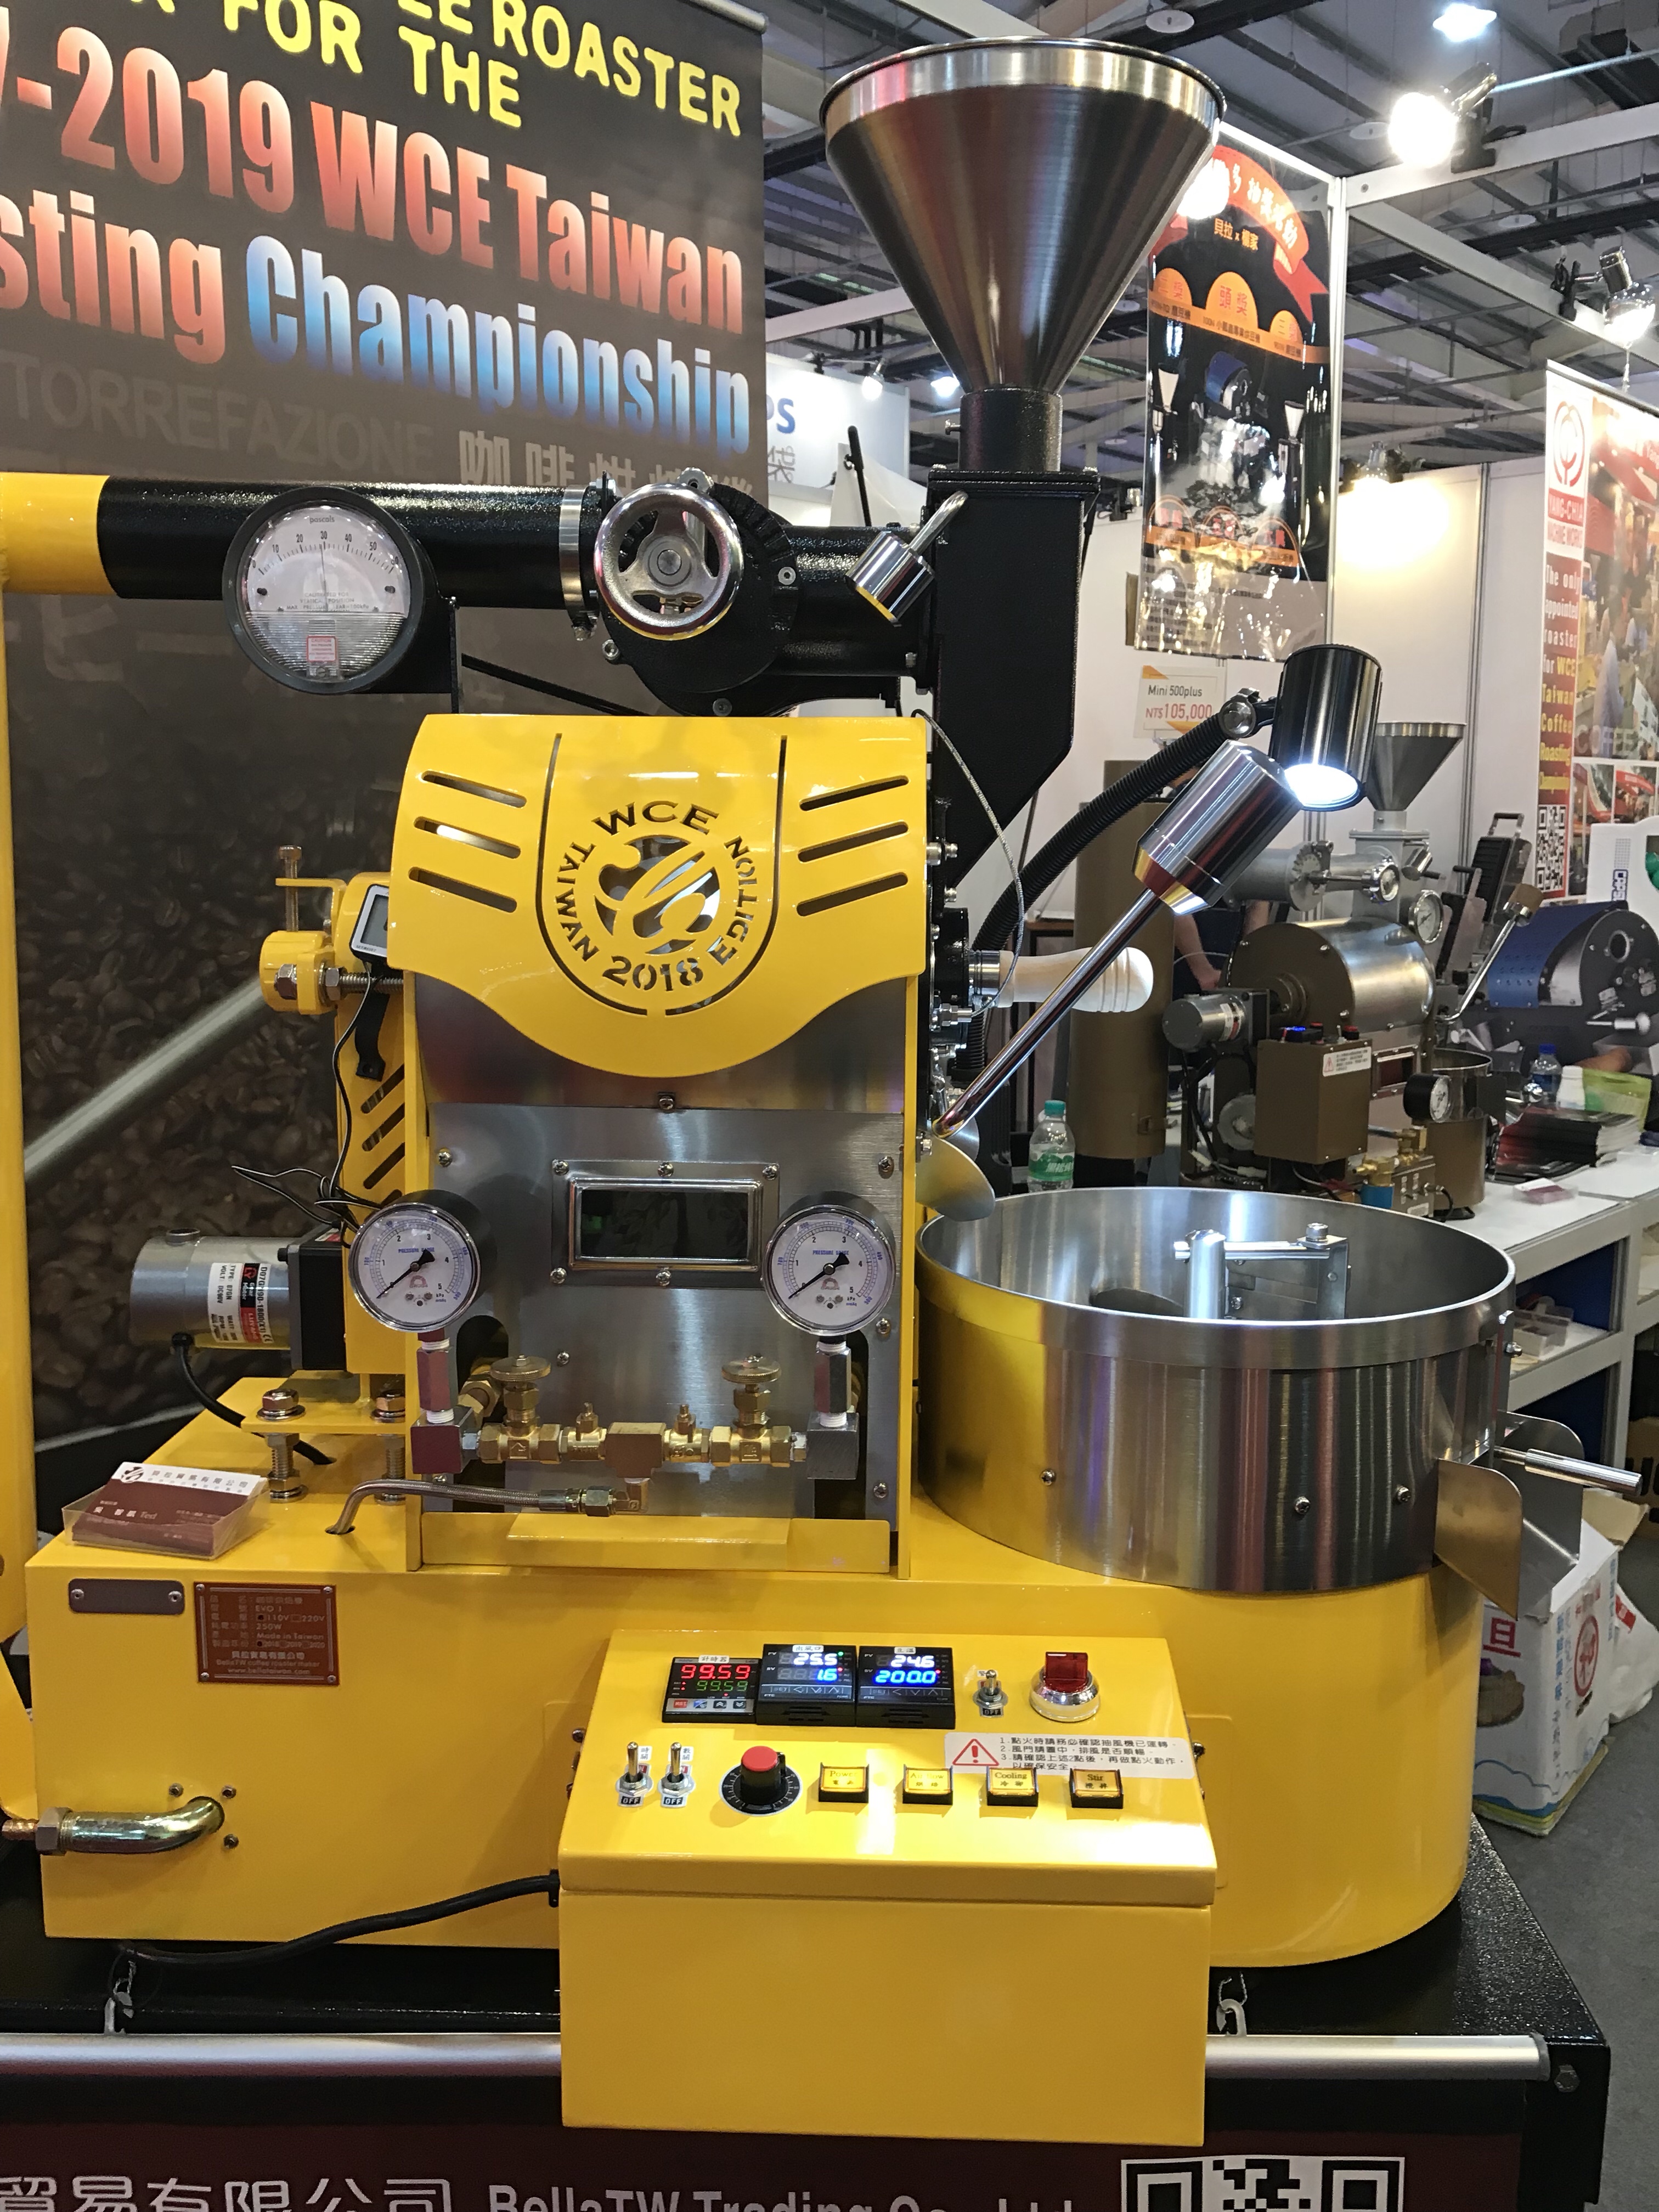
EVO-I Championship Version
EVO-IV Championship Version
EVO-4S Professional Upgrade
EVO-6S Professional Version
EVO-10S Professional Version
more information to follow……………
Email – service@kapokcoffee.com
Taiwan phone – 07 732 5361
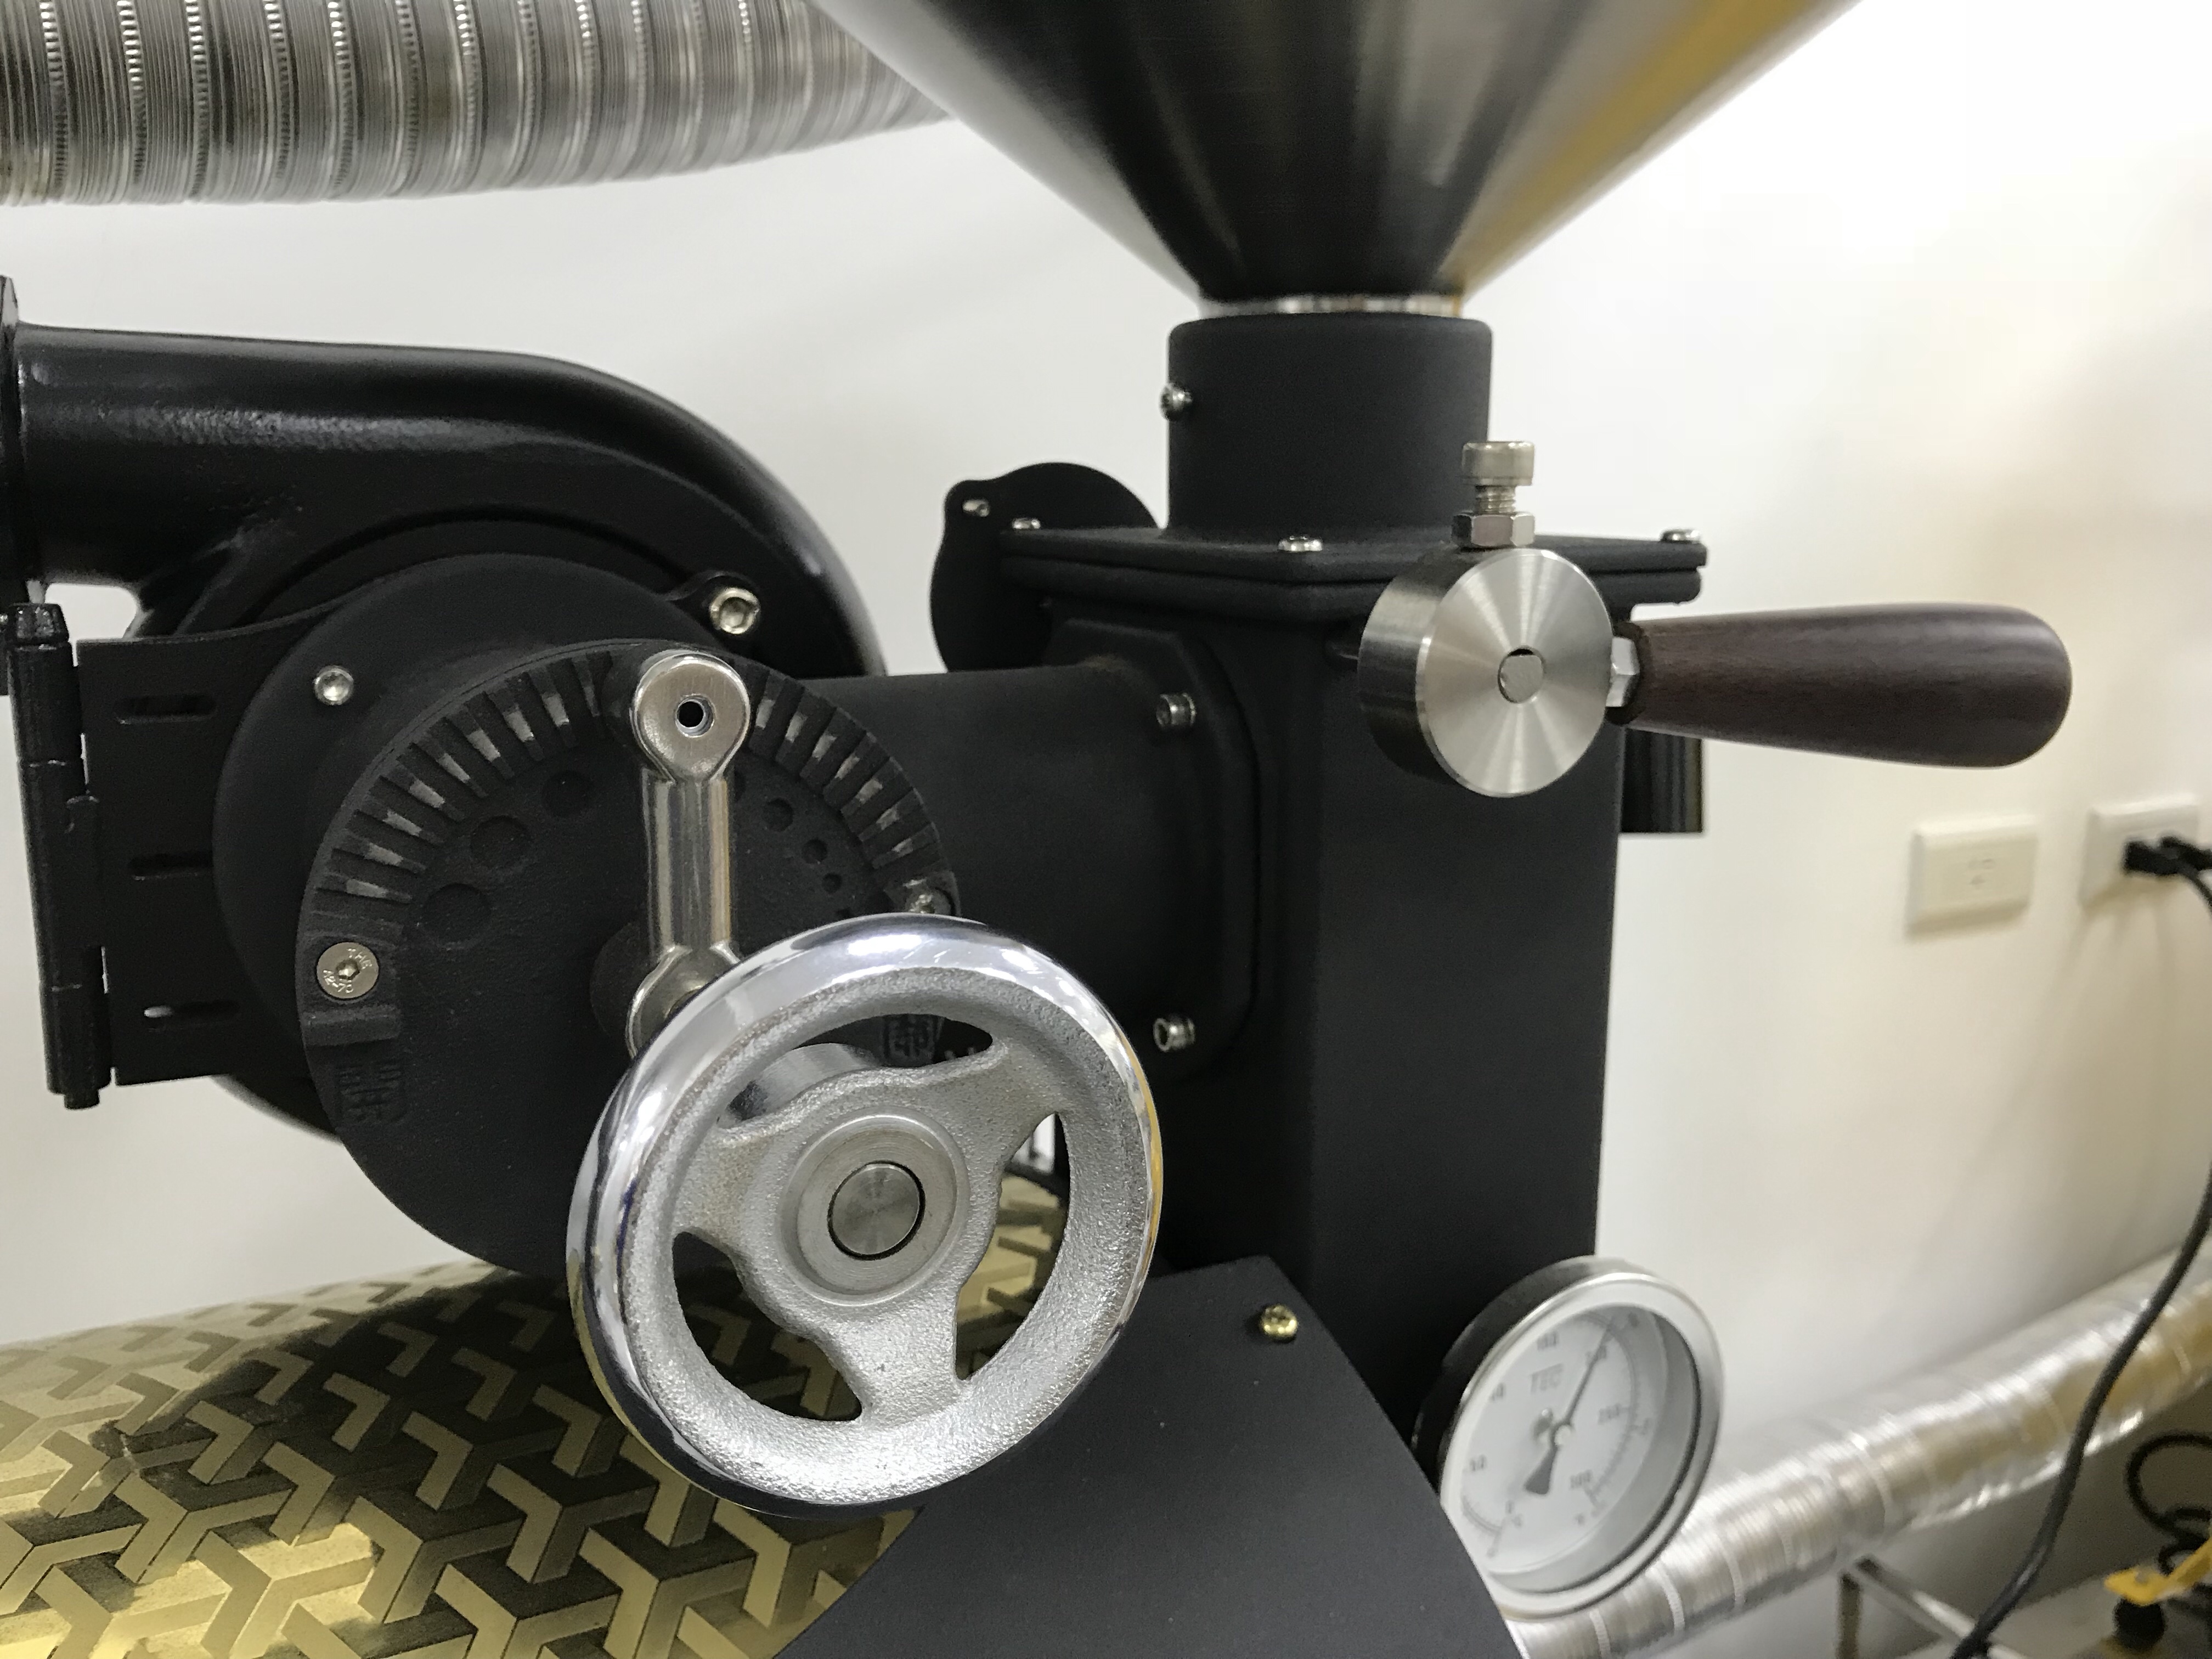
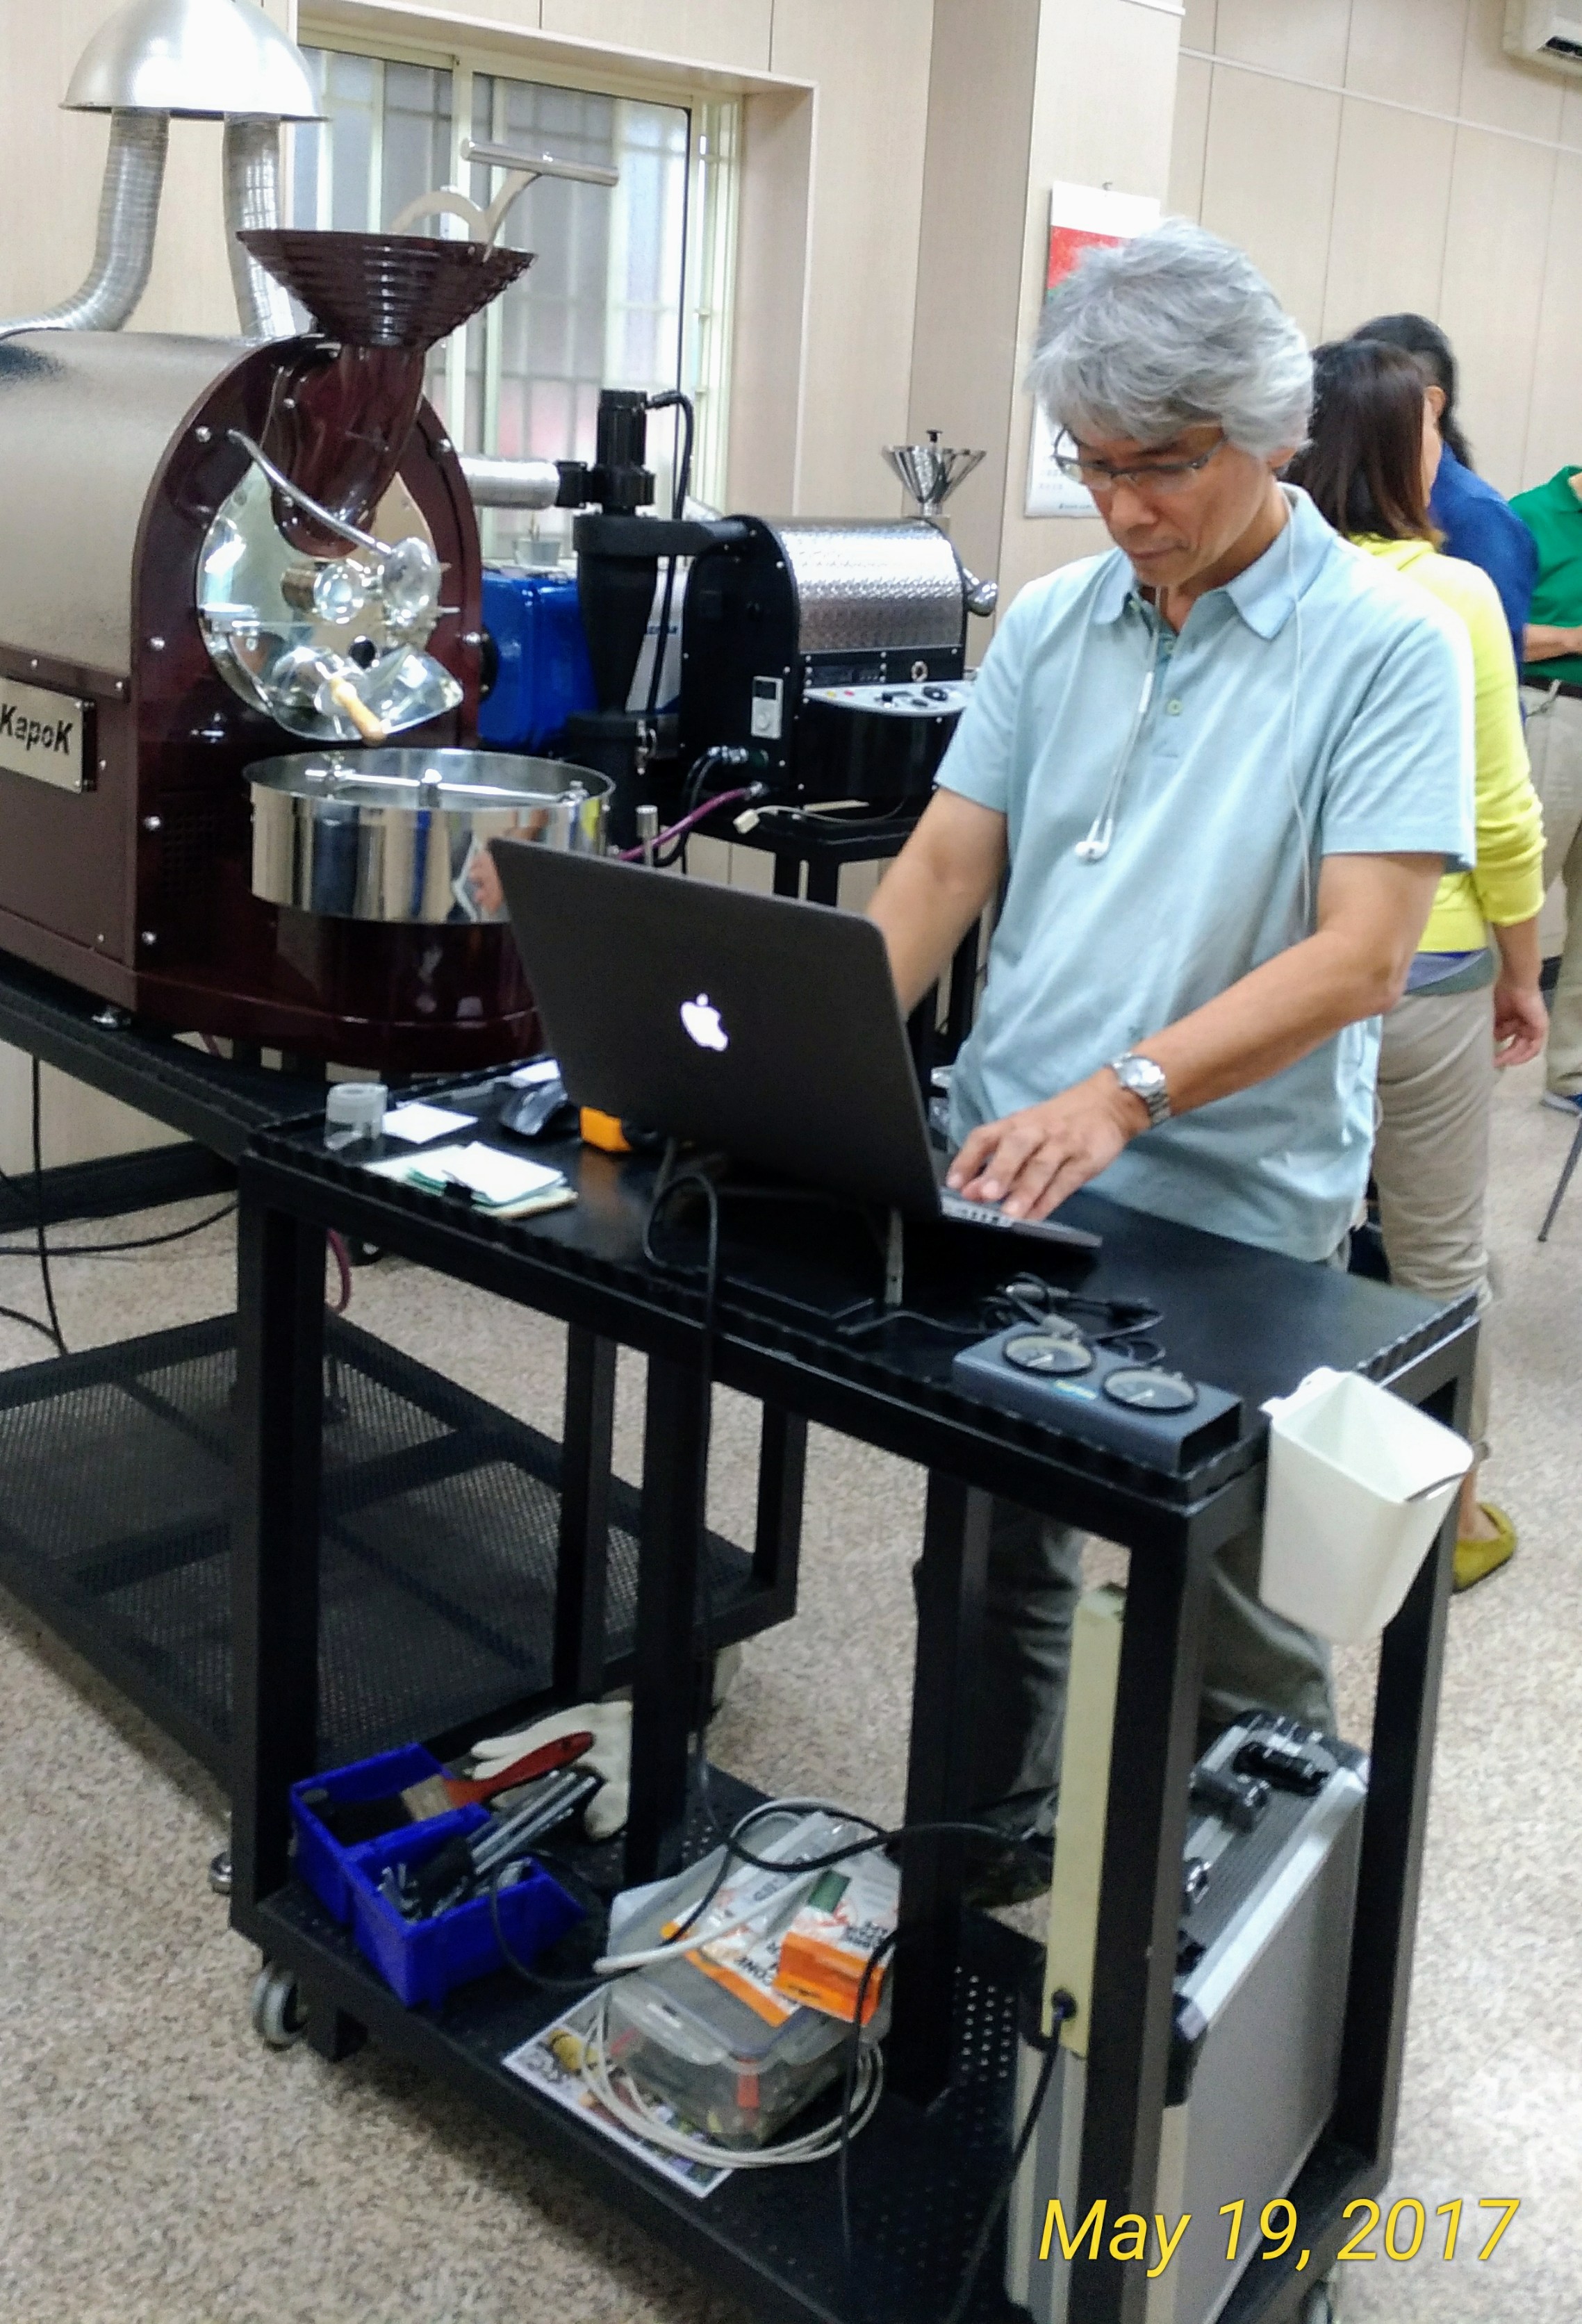
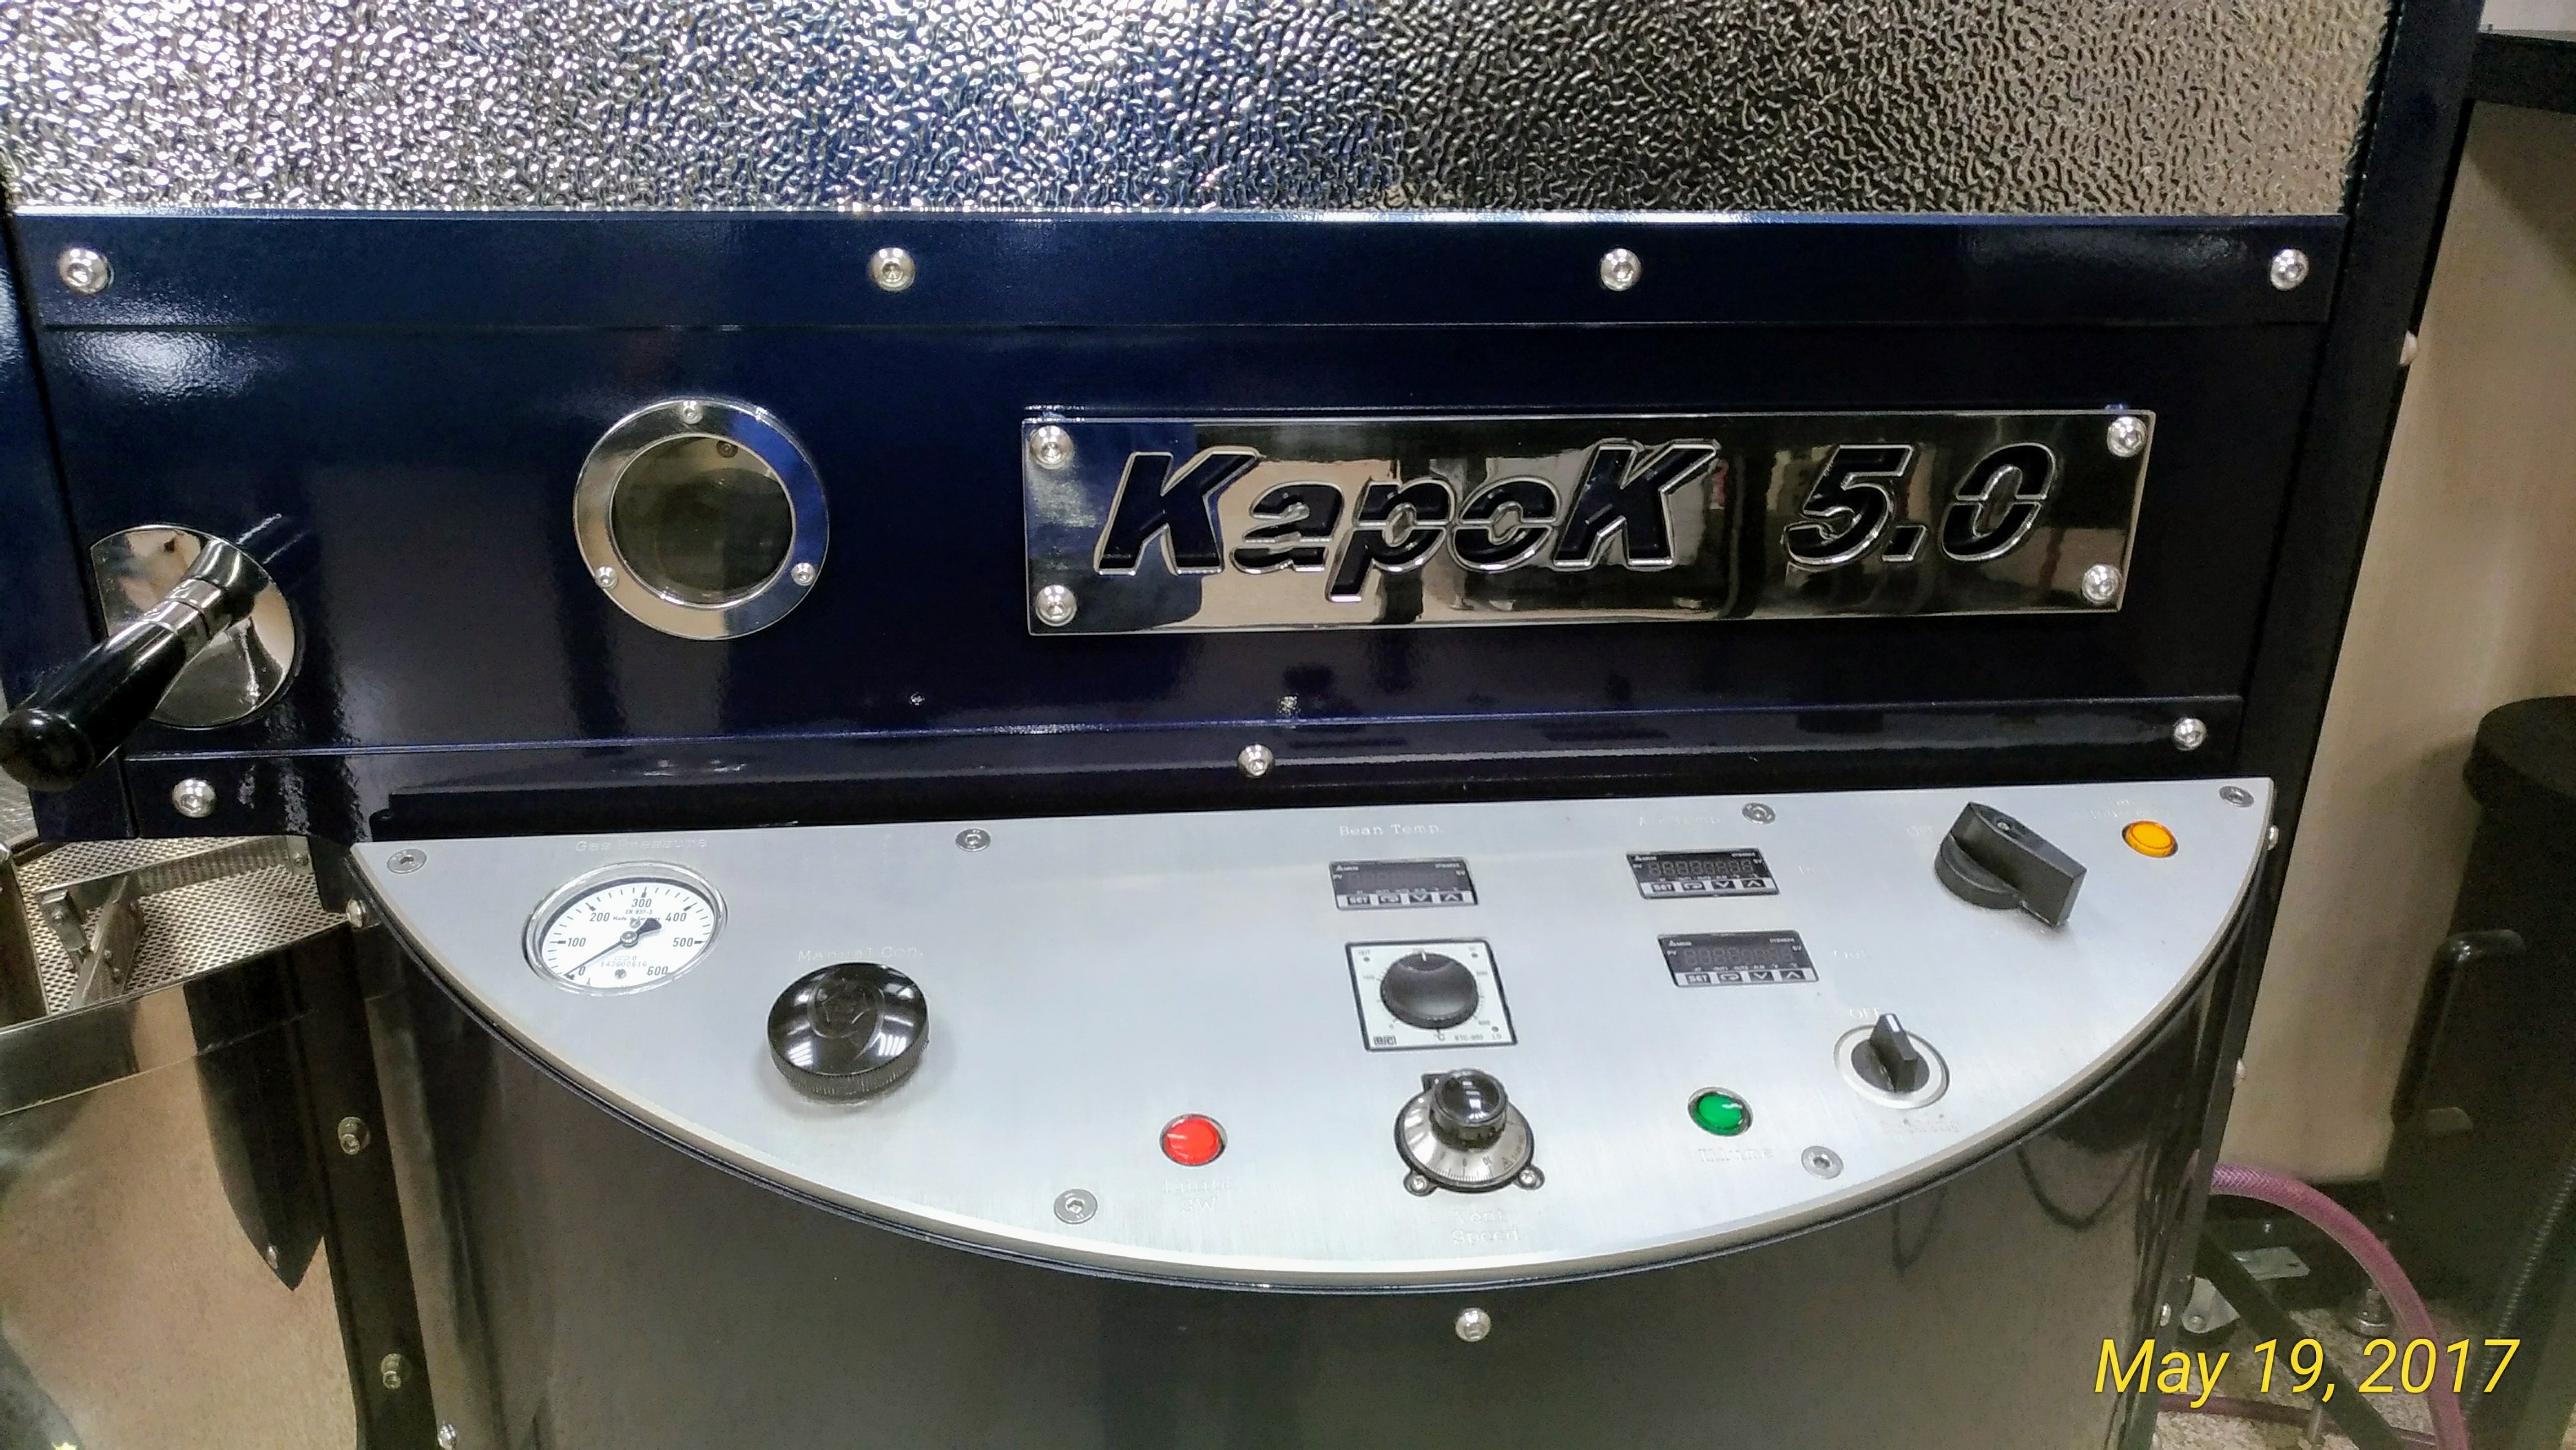
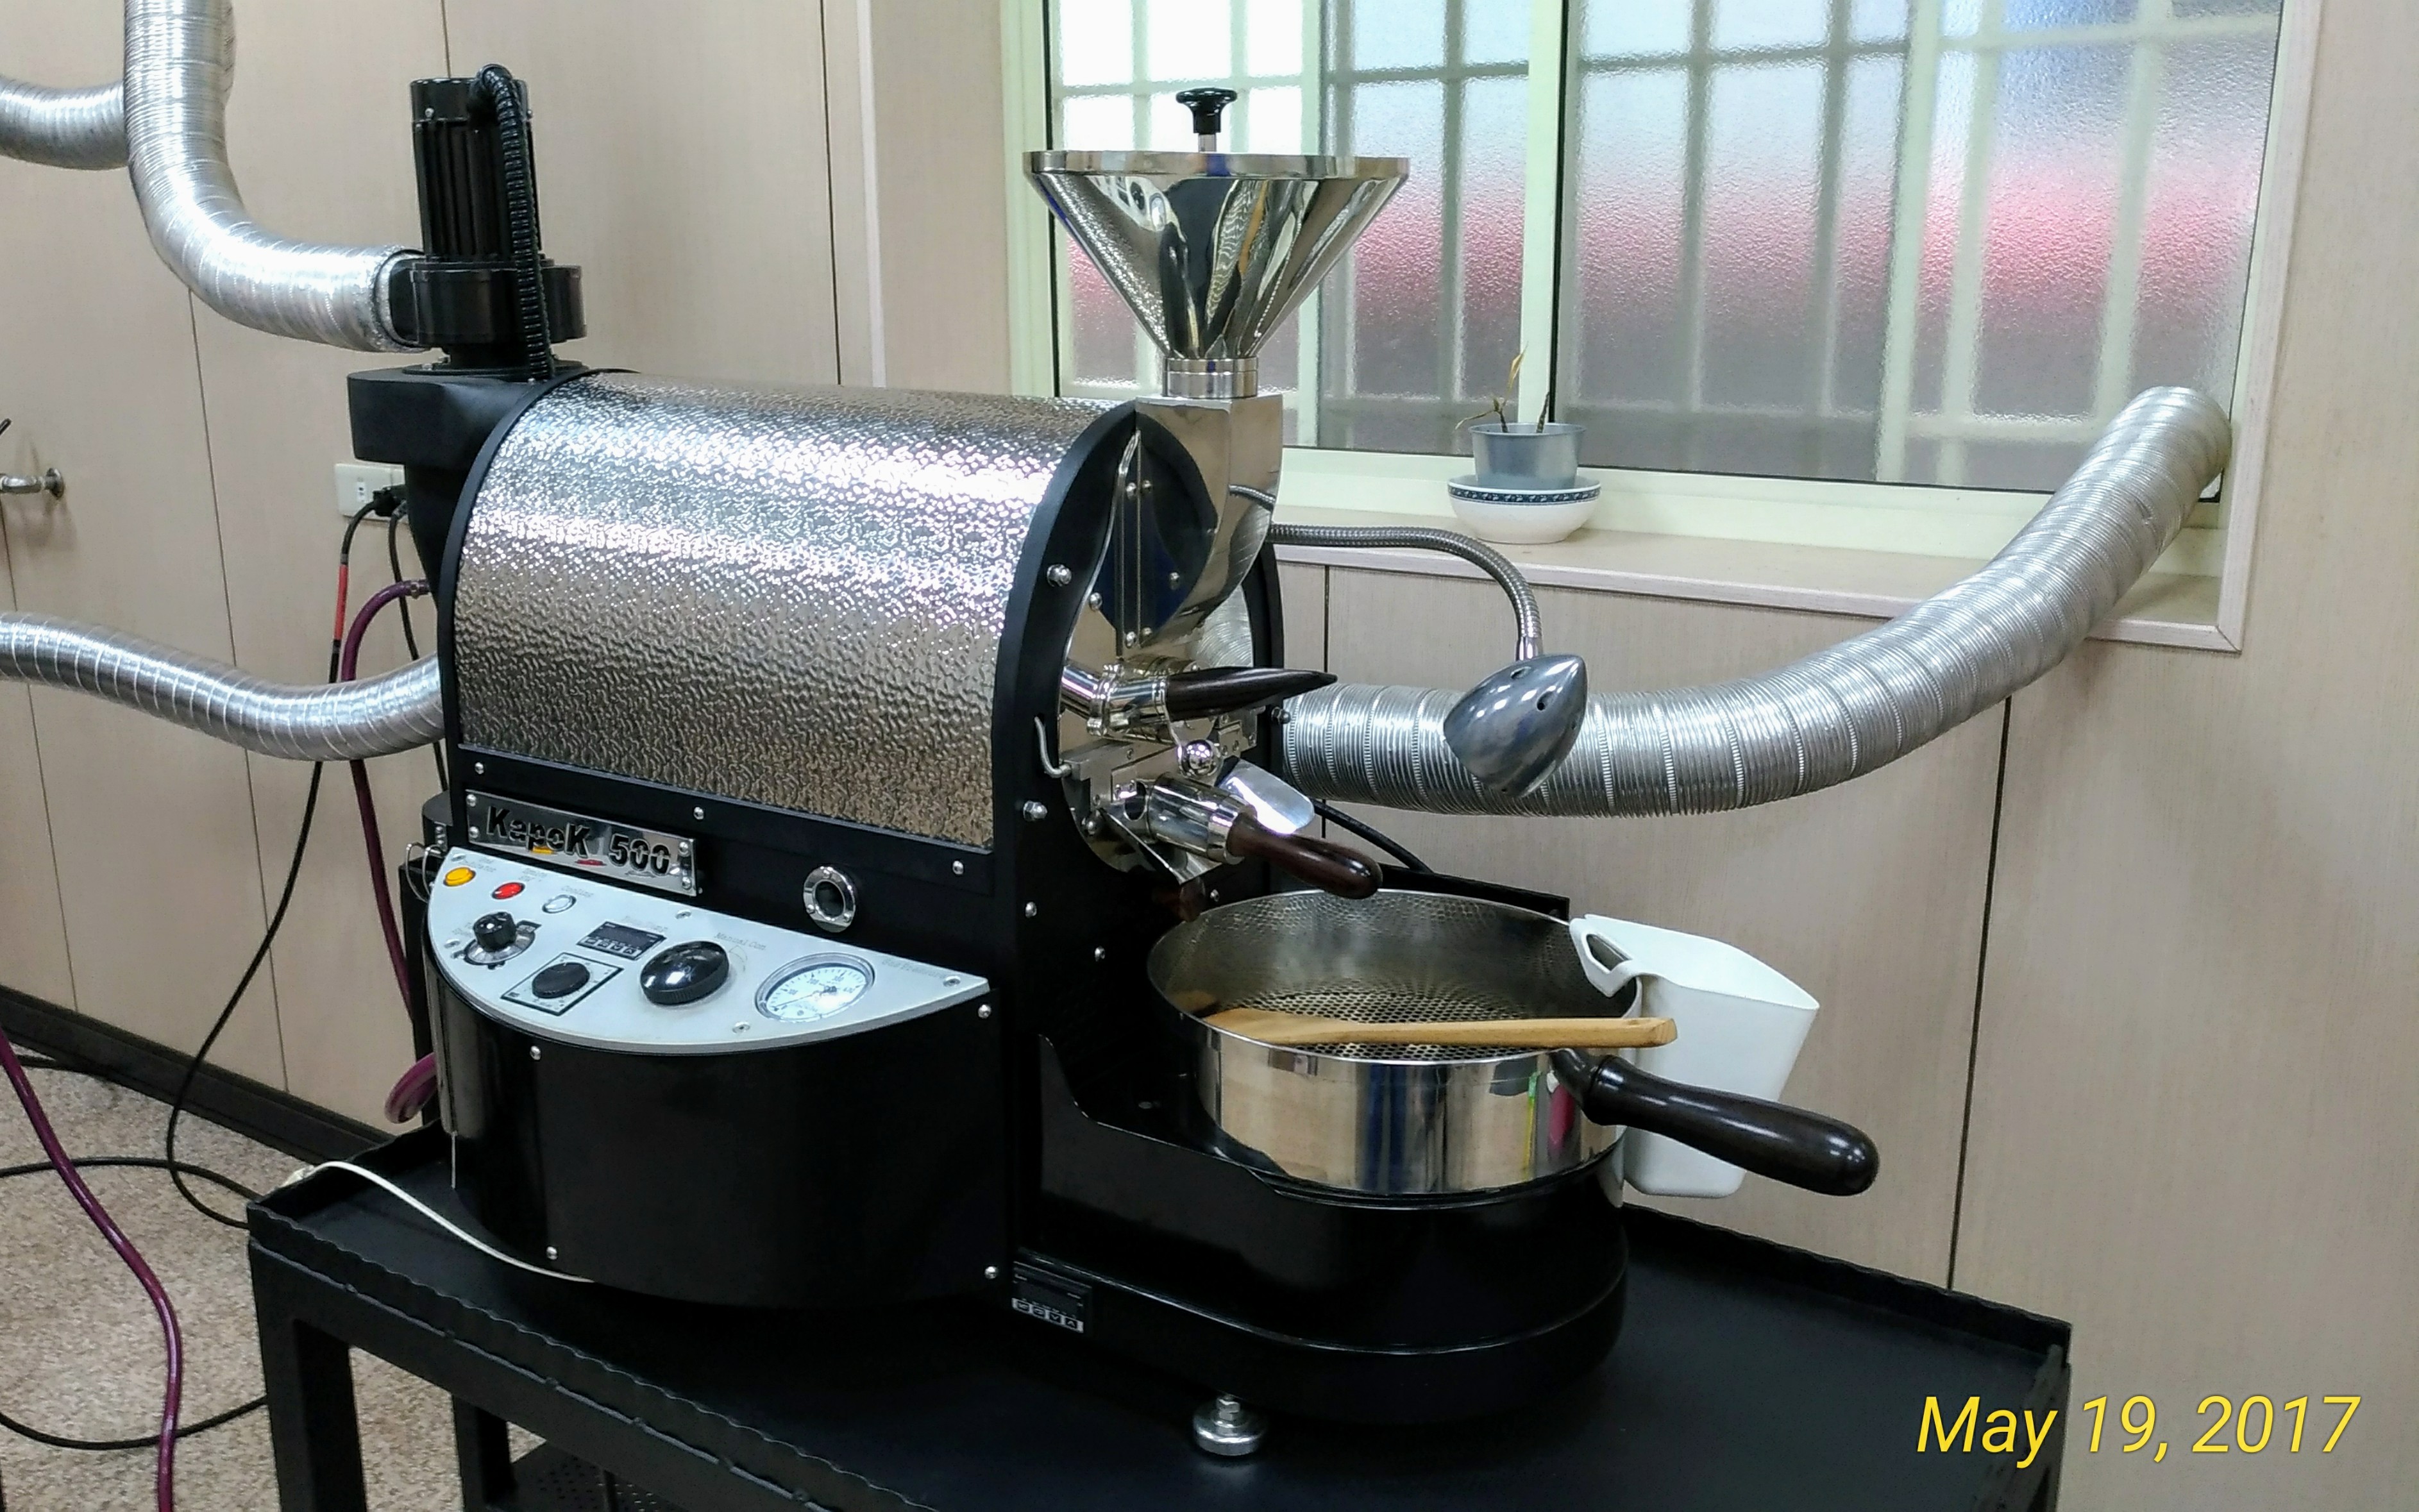
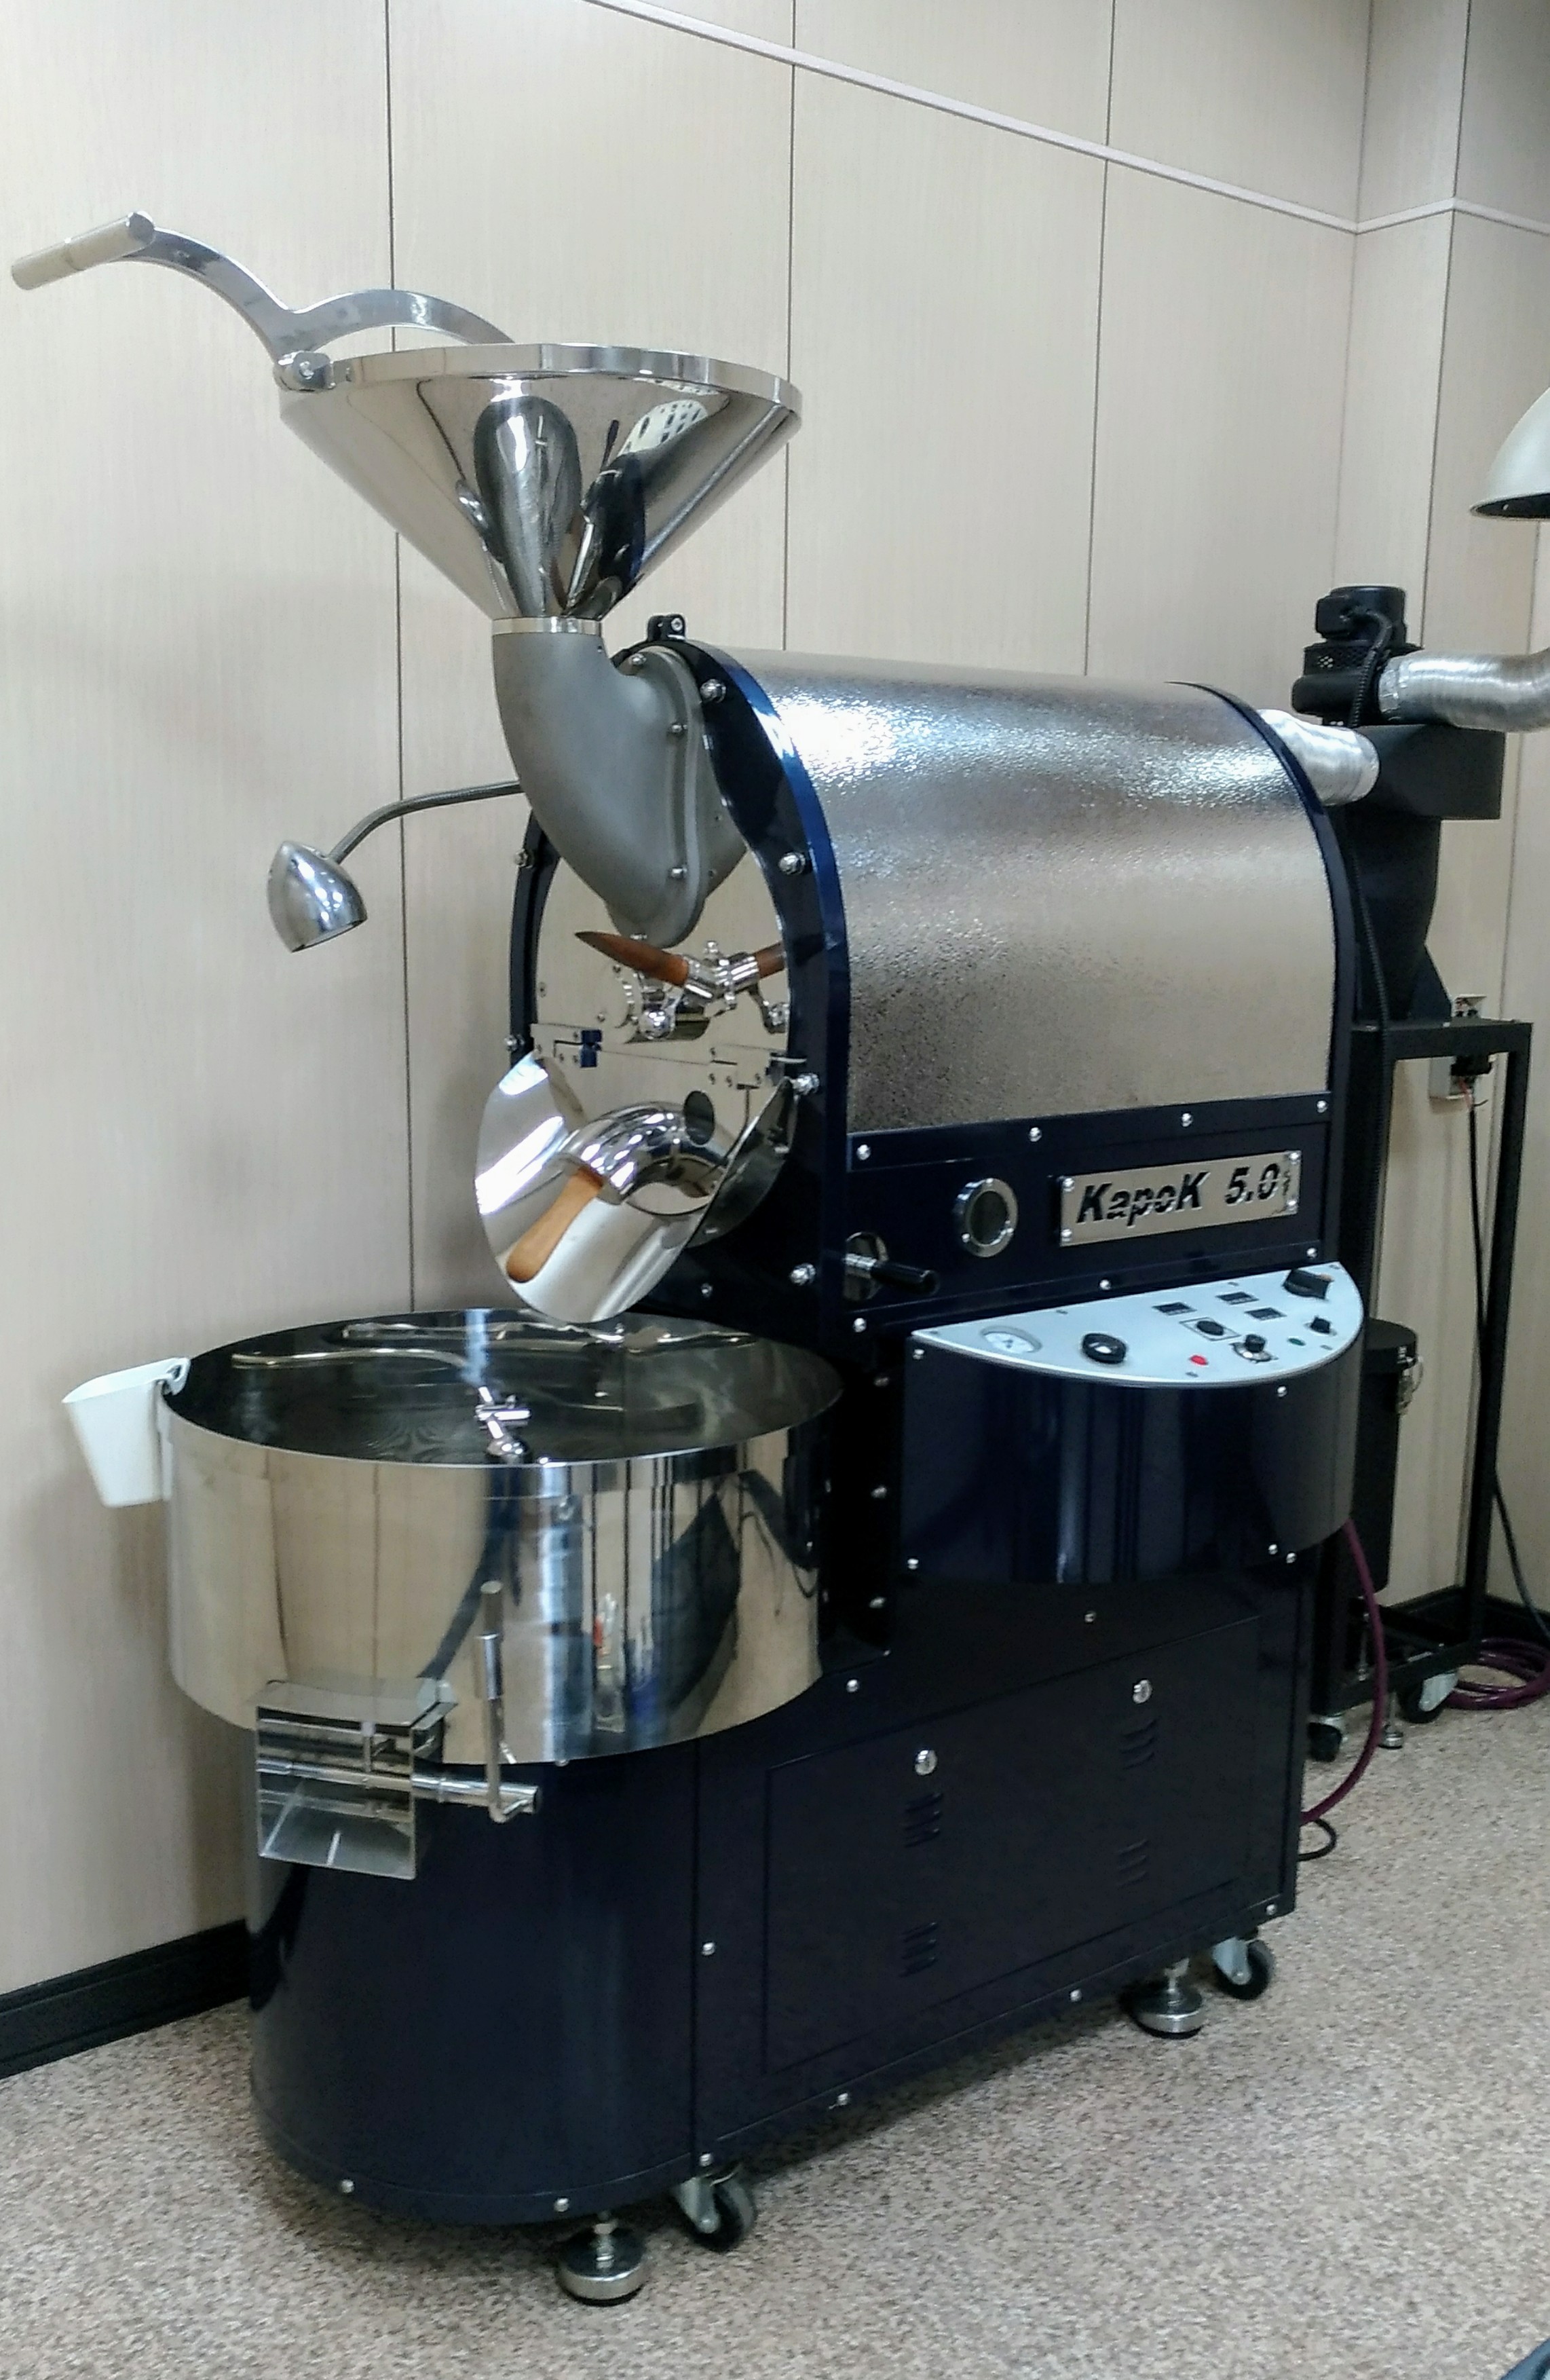
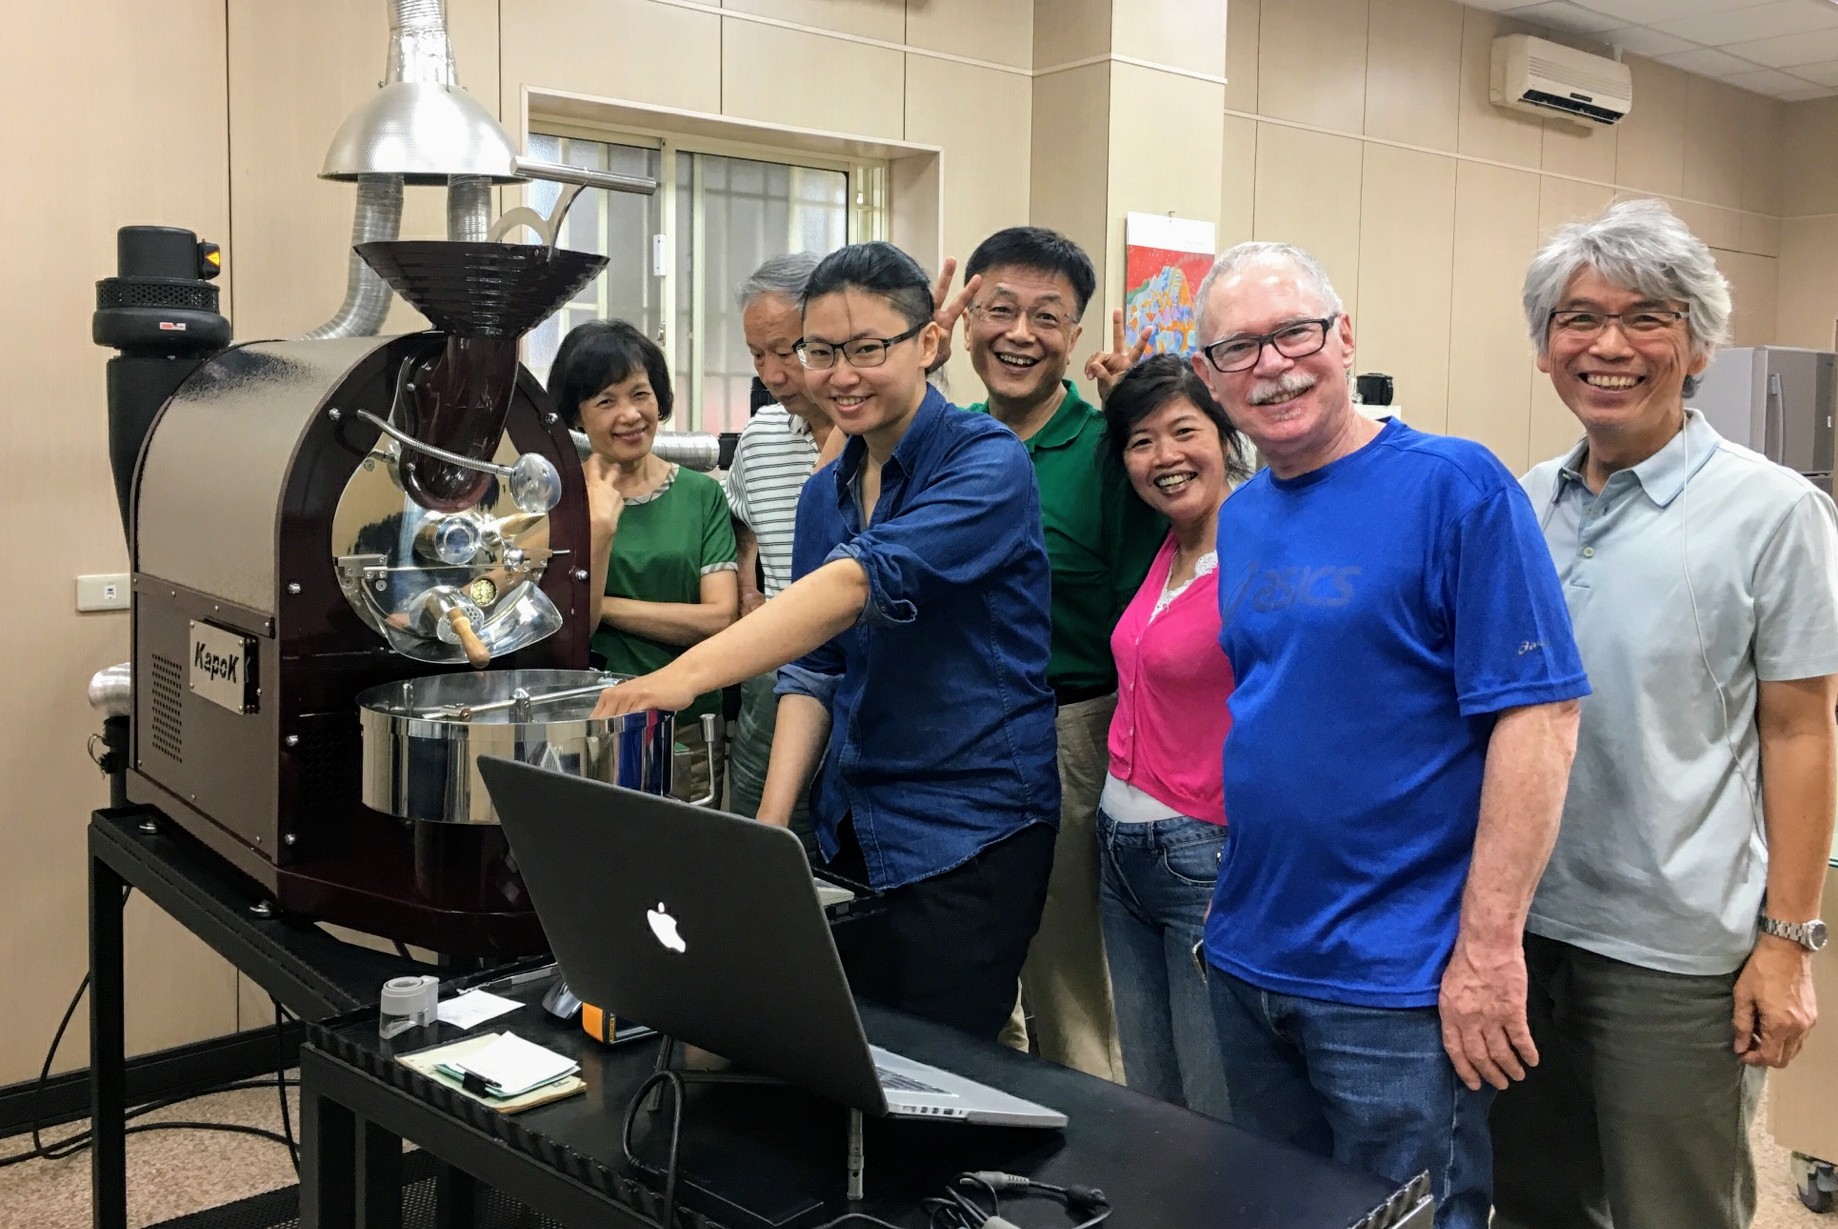
Located in the southern Taiwan city of Kaohsiung is a small artisan coffee roaster manufacturer, KapoK Coffee Device Company. They produce three models that have the same design and appearance, from the smallest KapoK 500, midsize Kapok 1.0, finally Kapok 5.0; with a 8-kilogram capacity.
I sat down with manager Lin in his factory showroom where all three models are operational. There are a few unusual aspects to these machines from small details and bling to practical/user-friendly features.
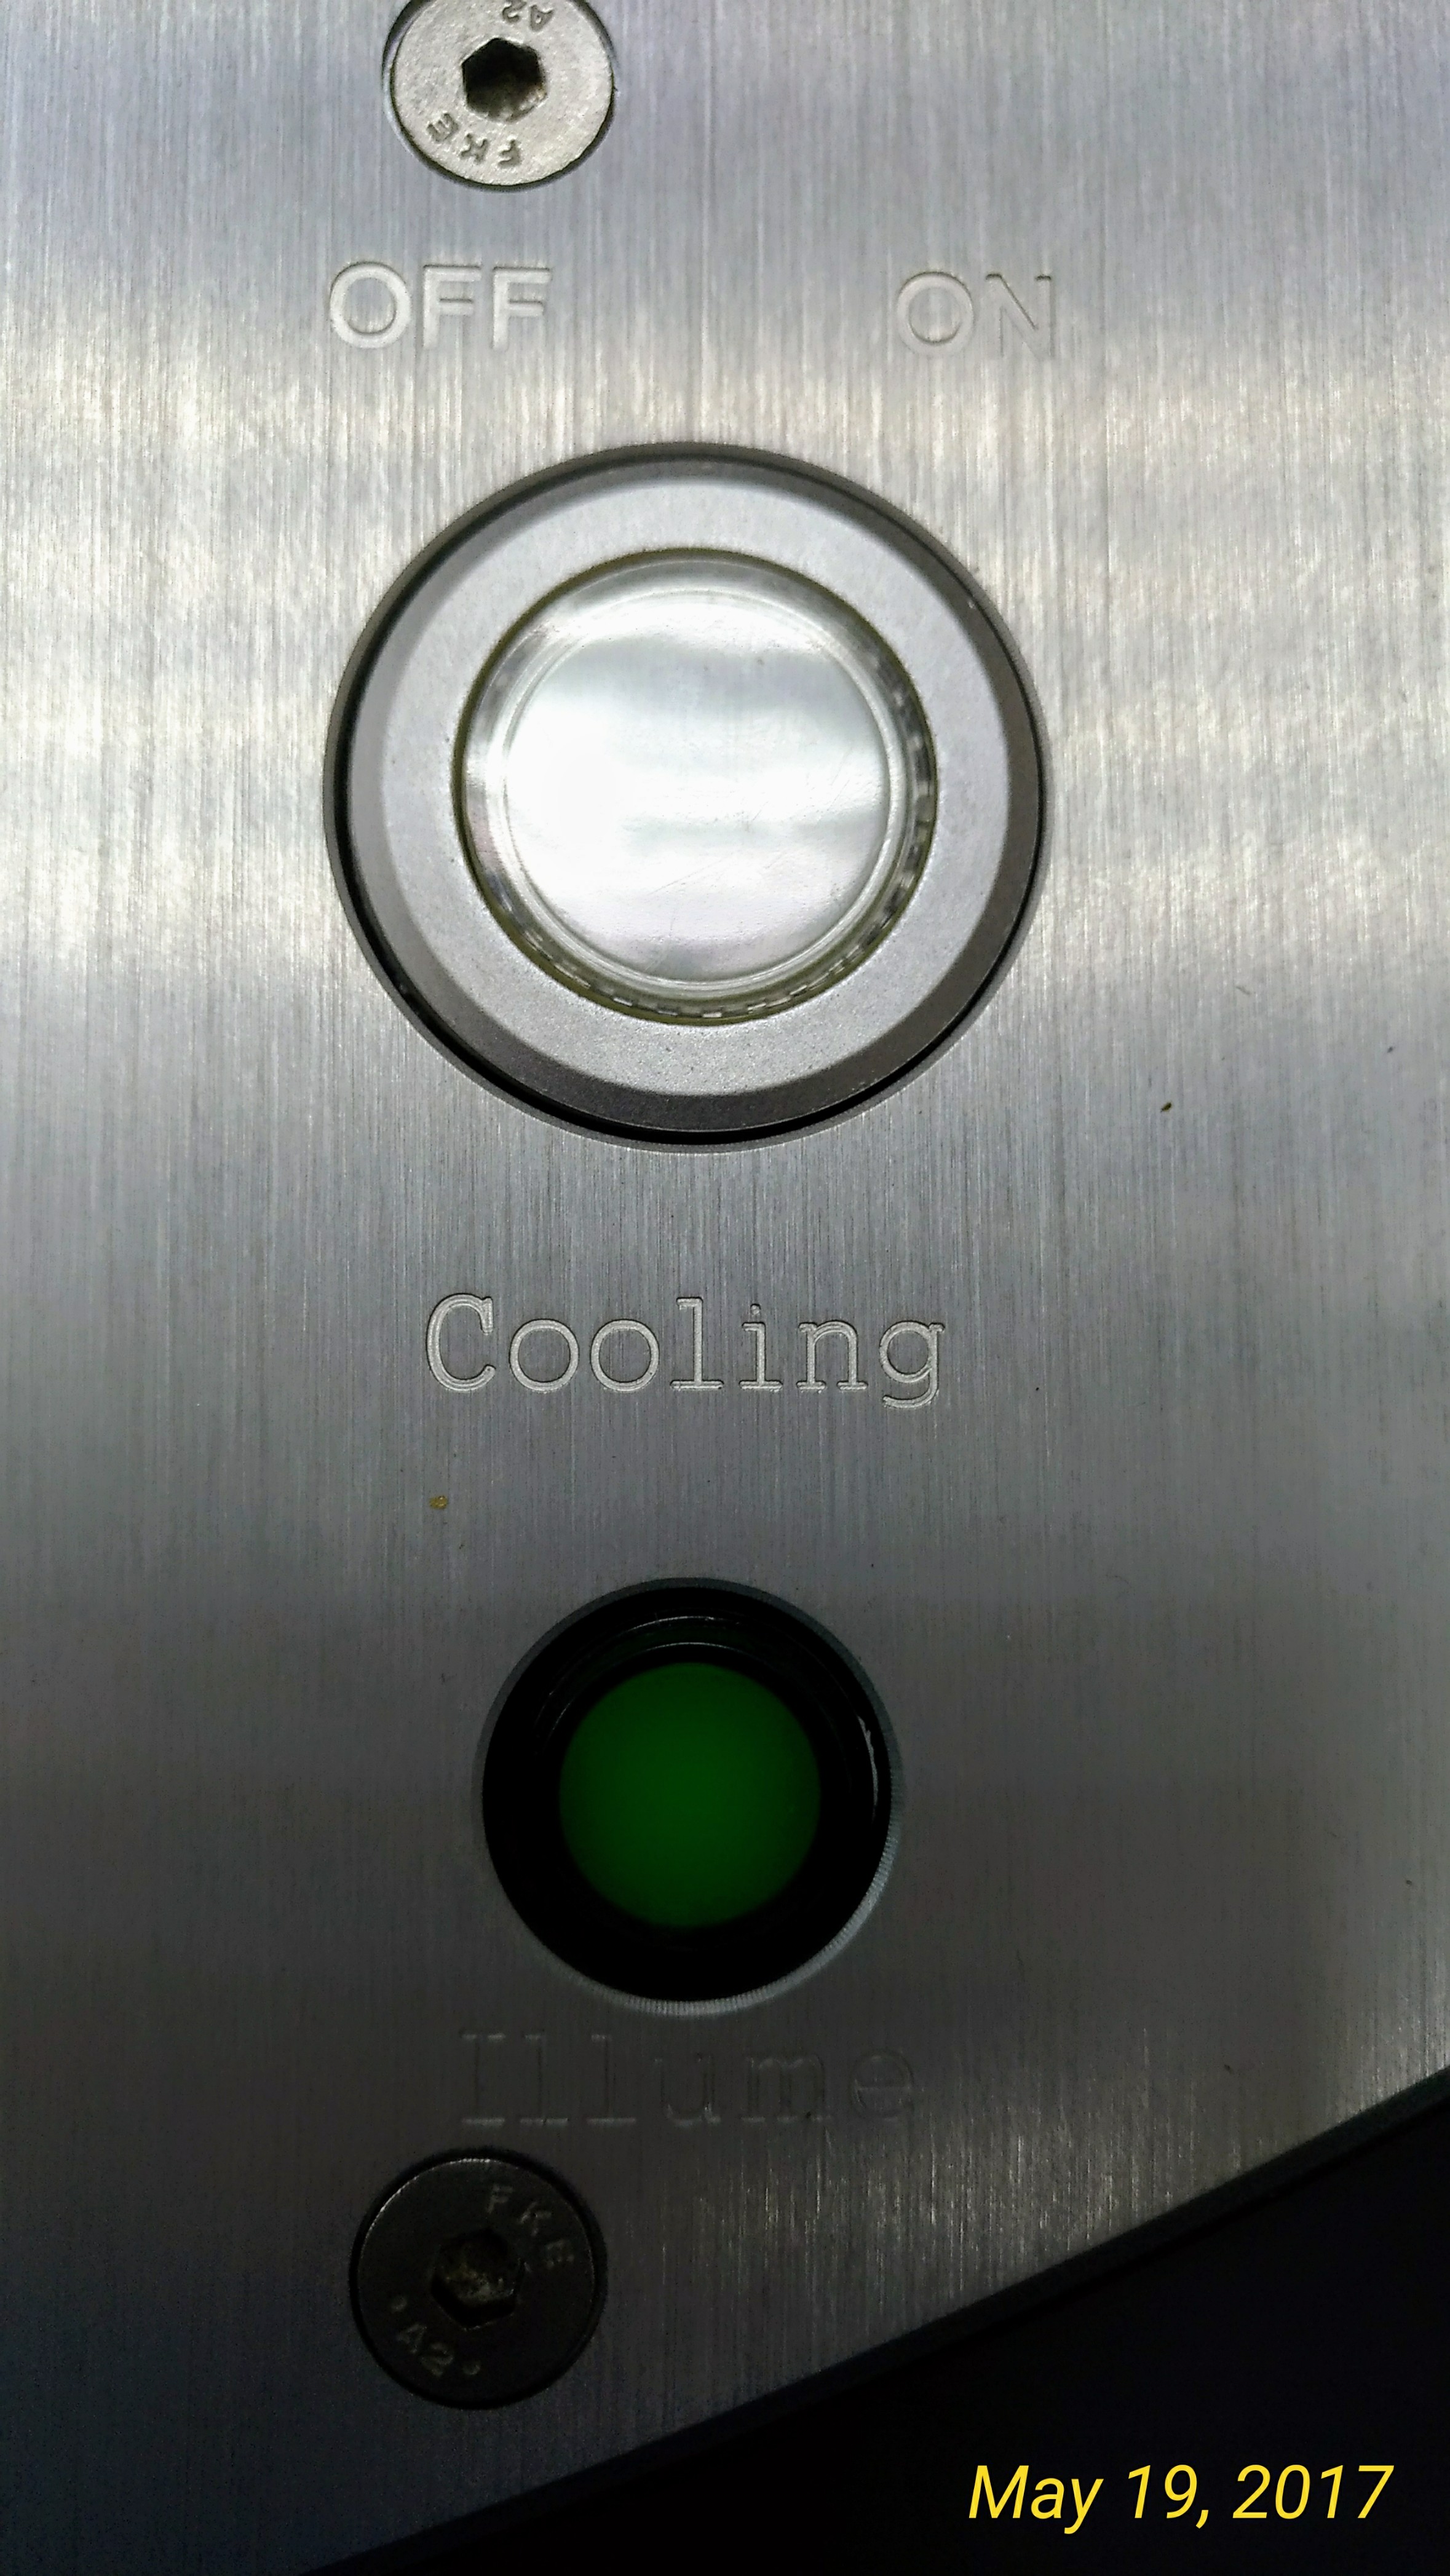
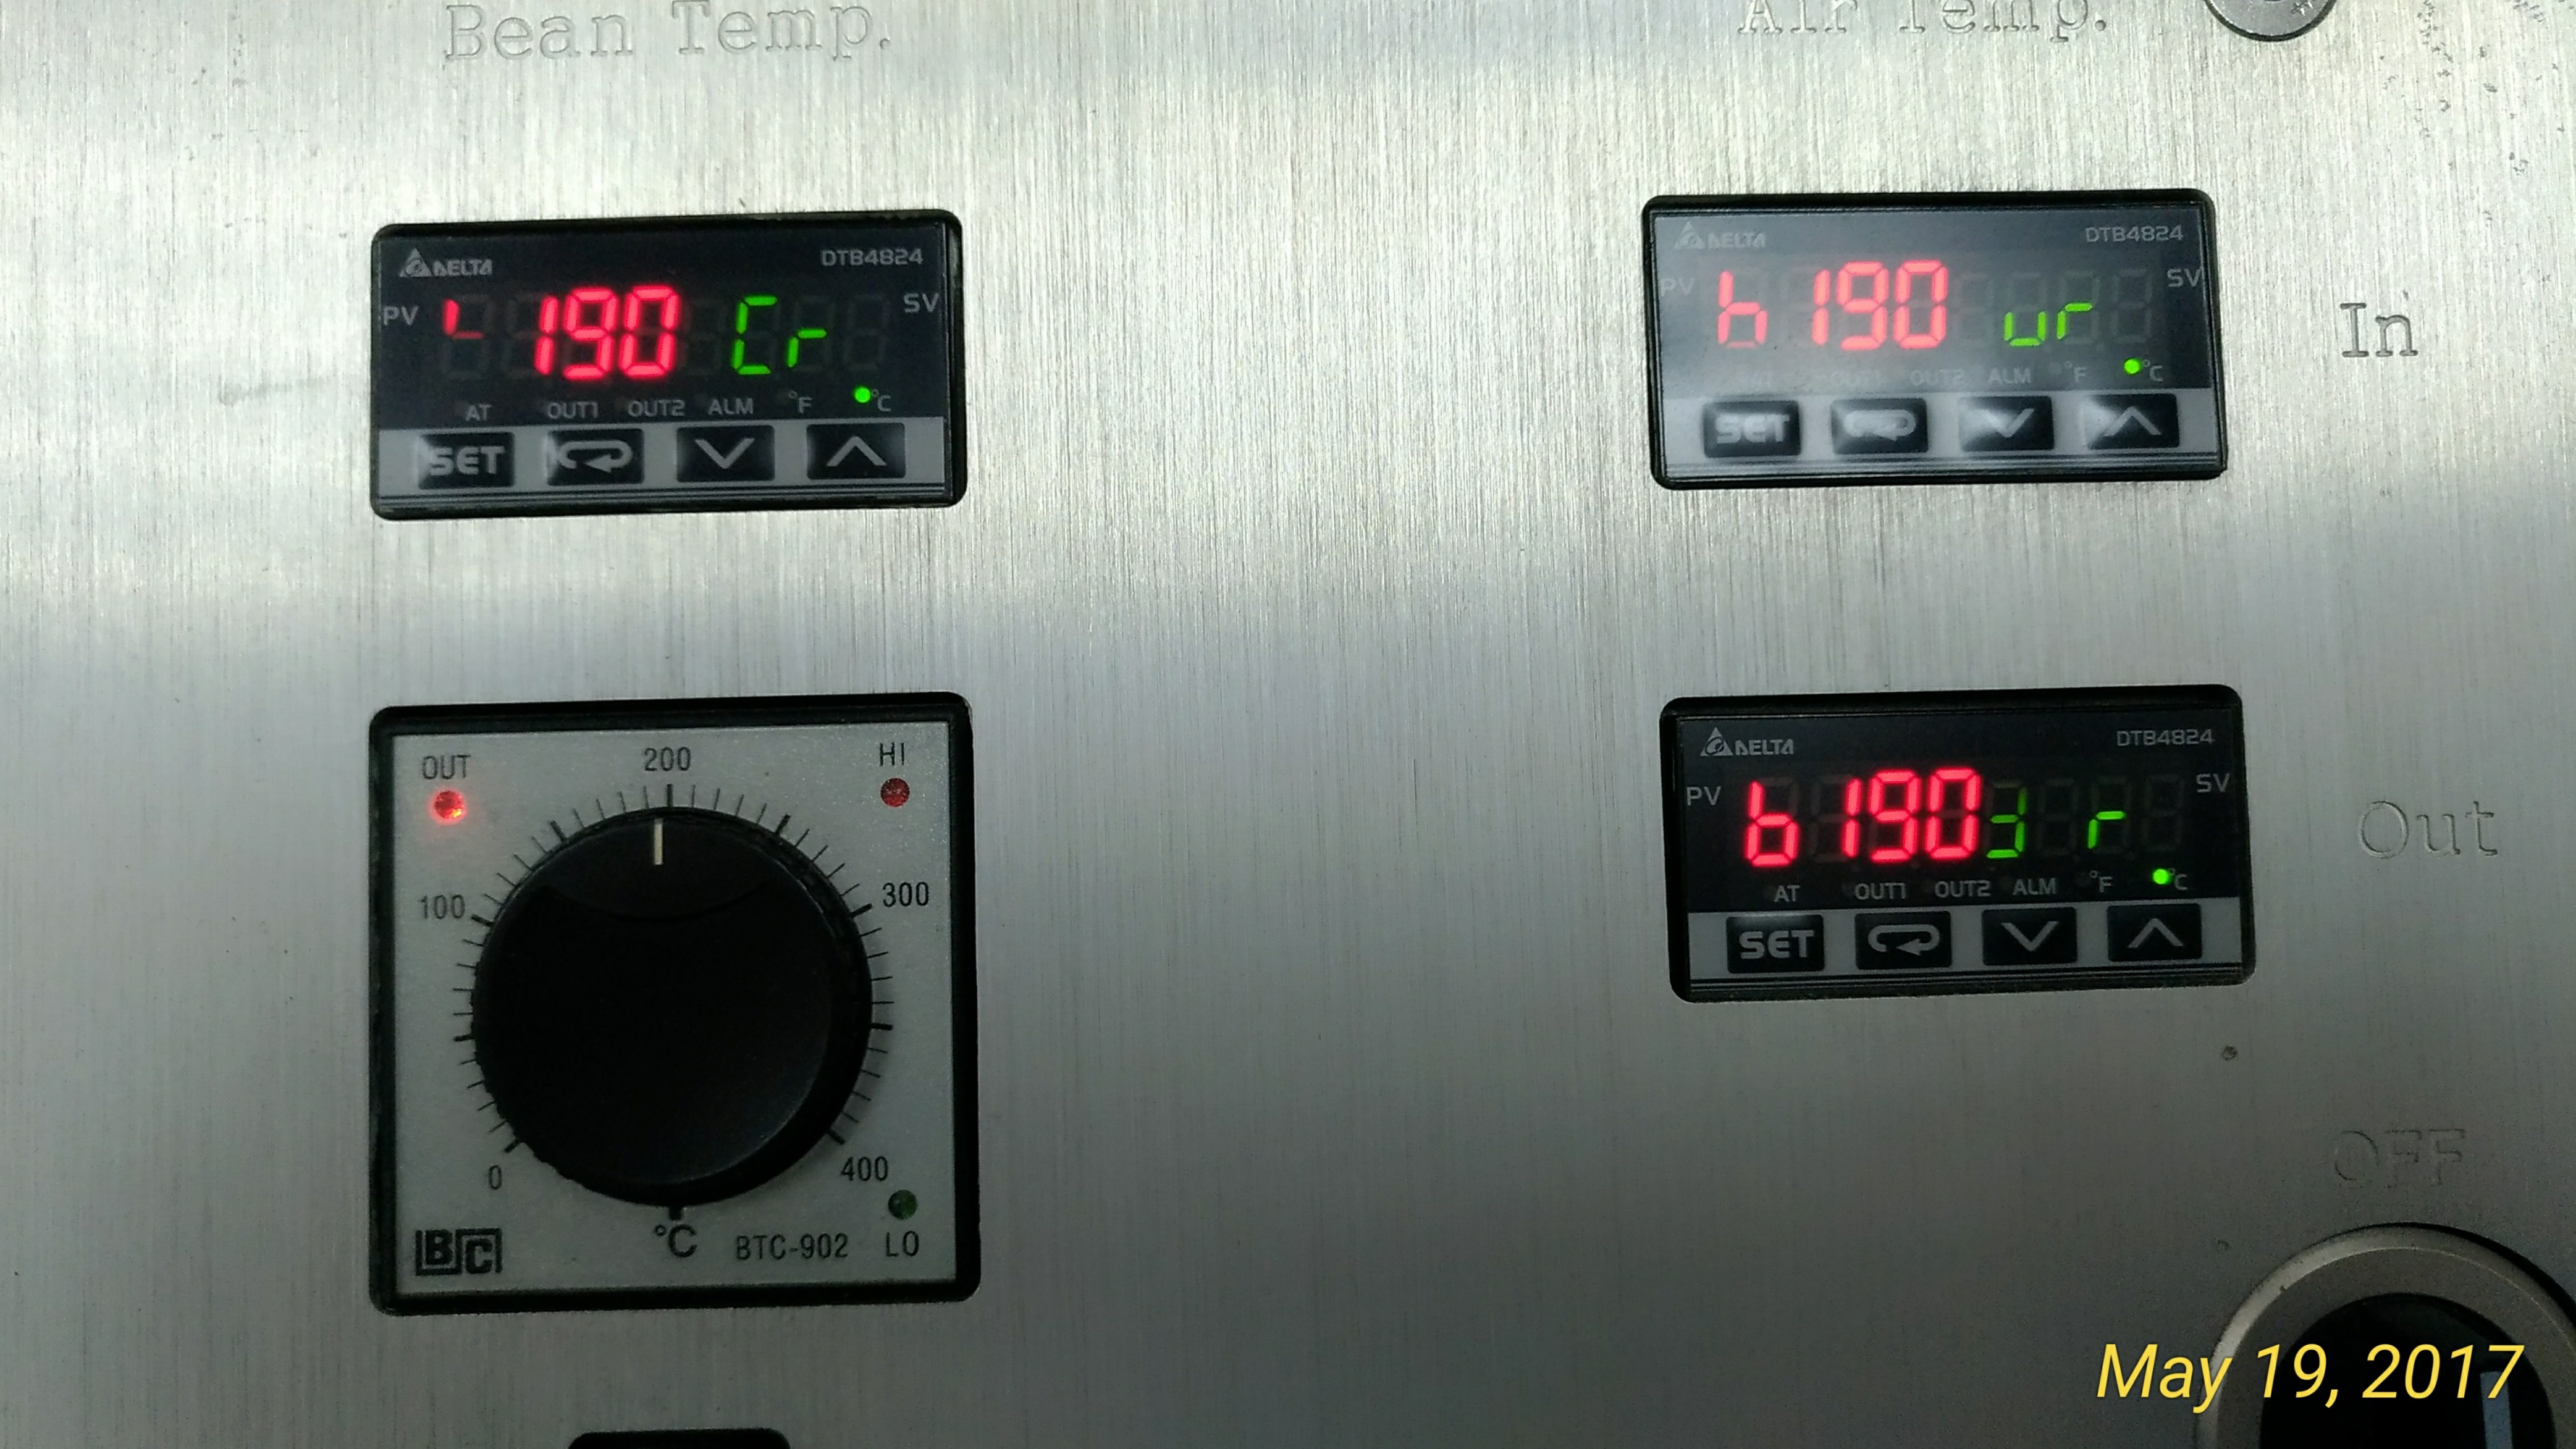
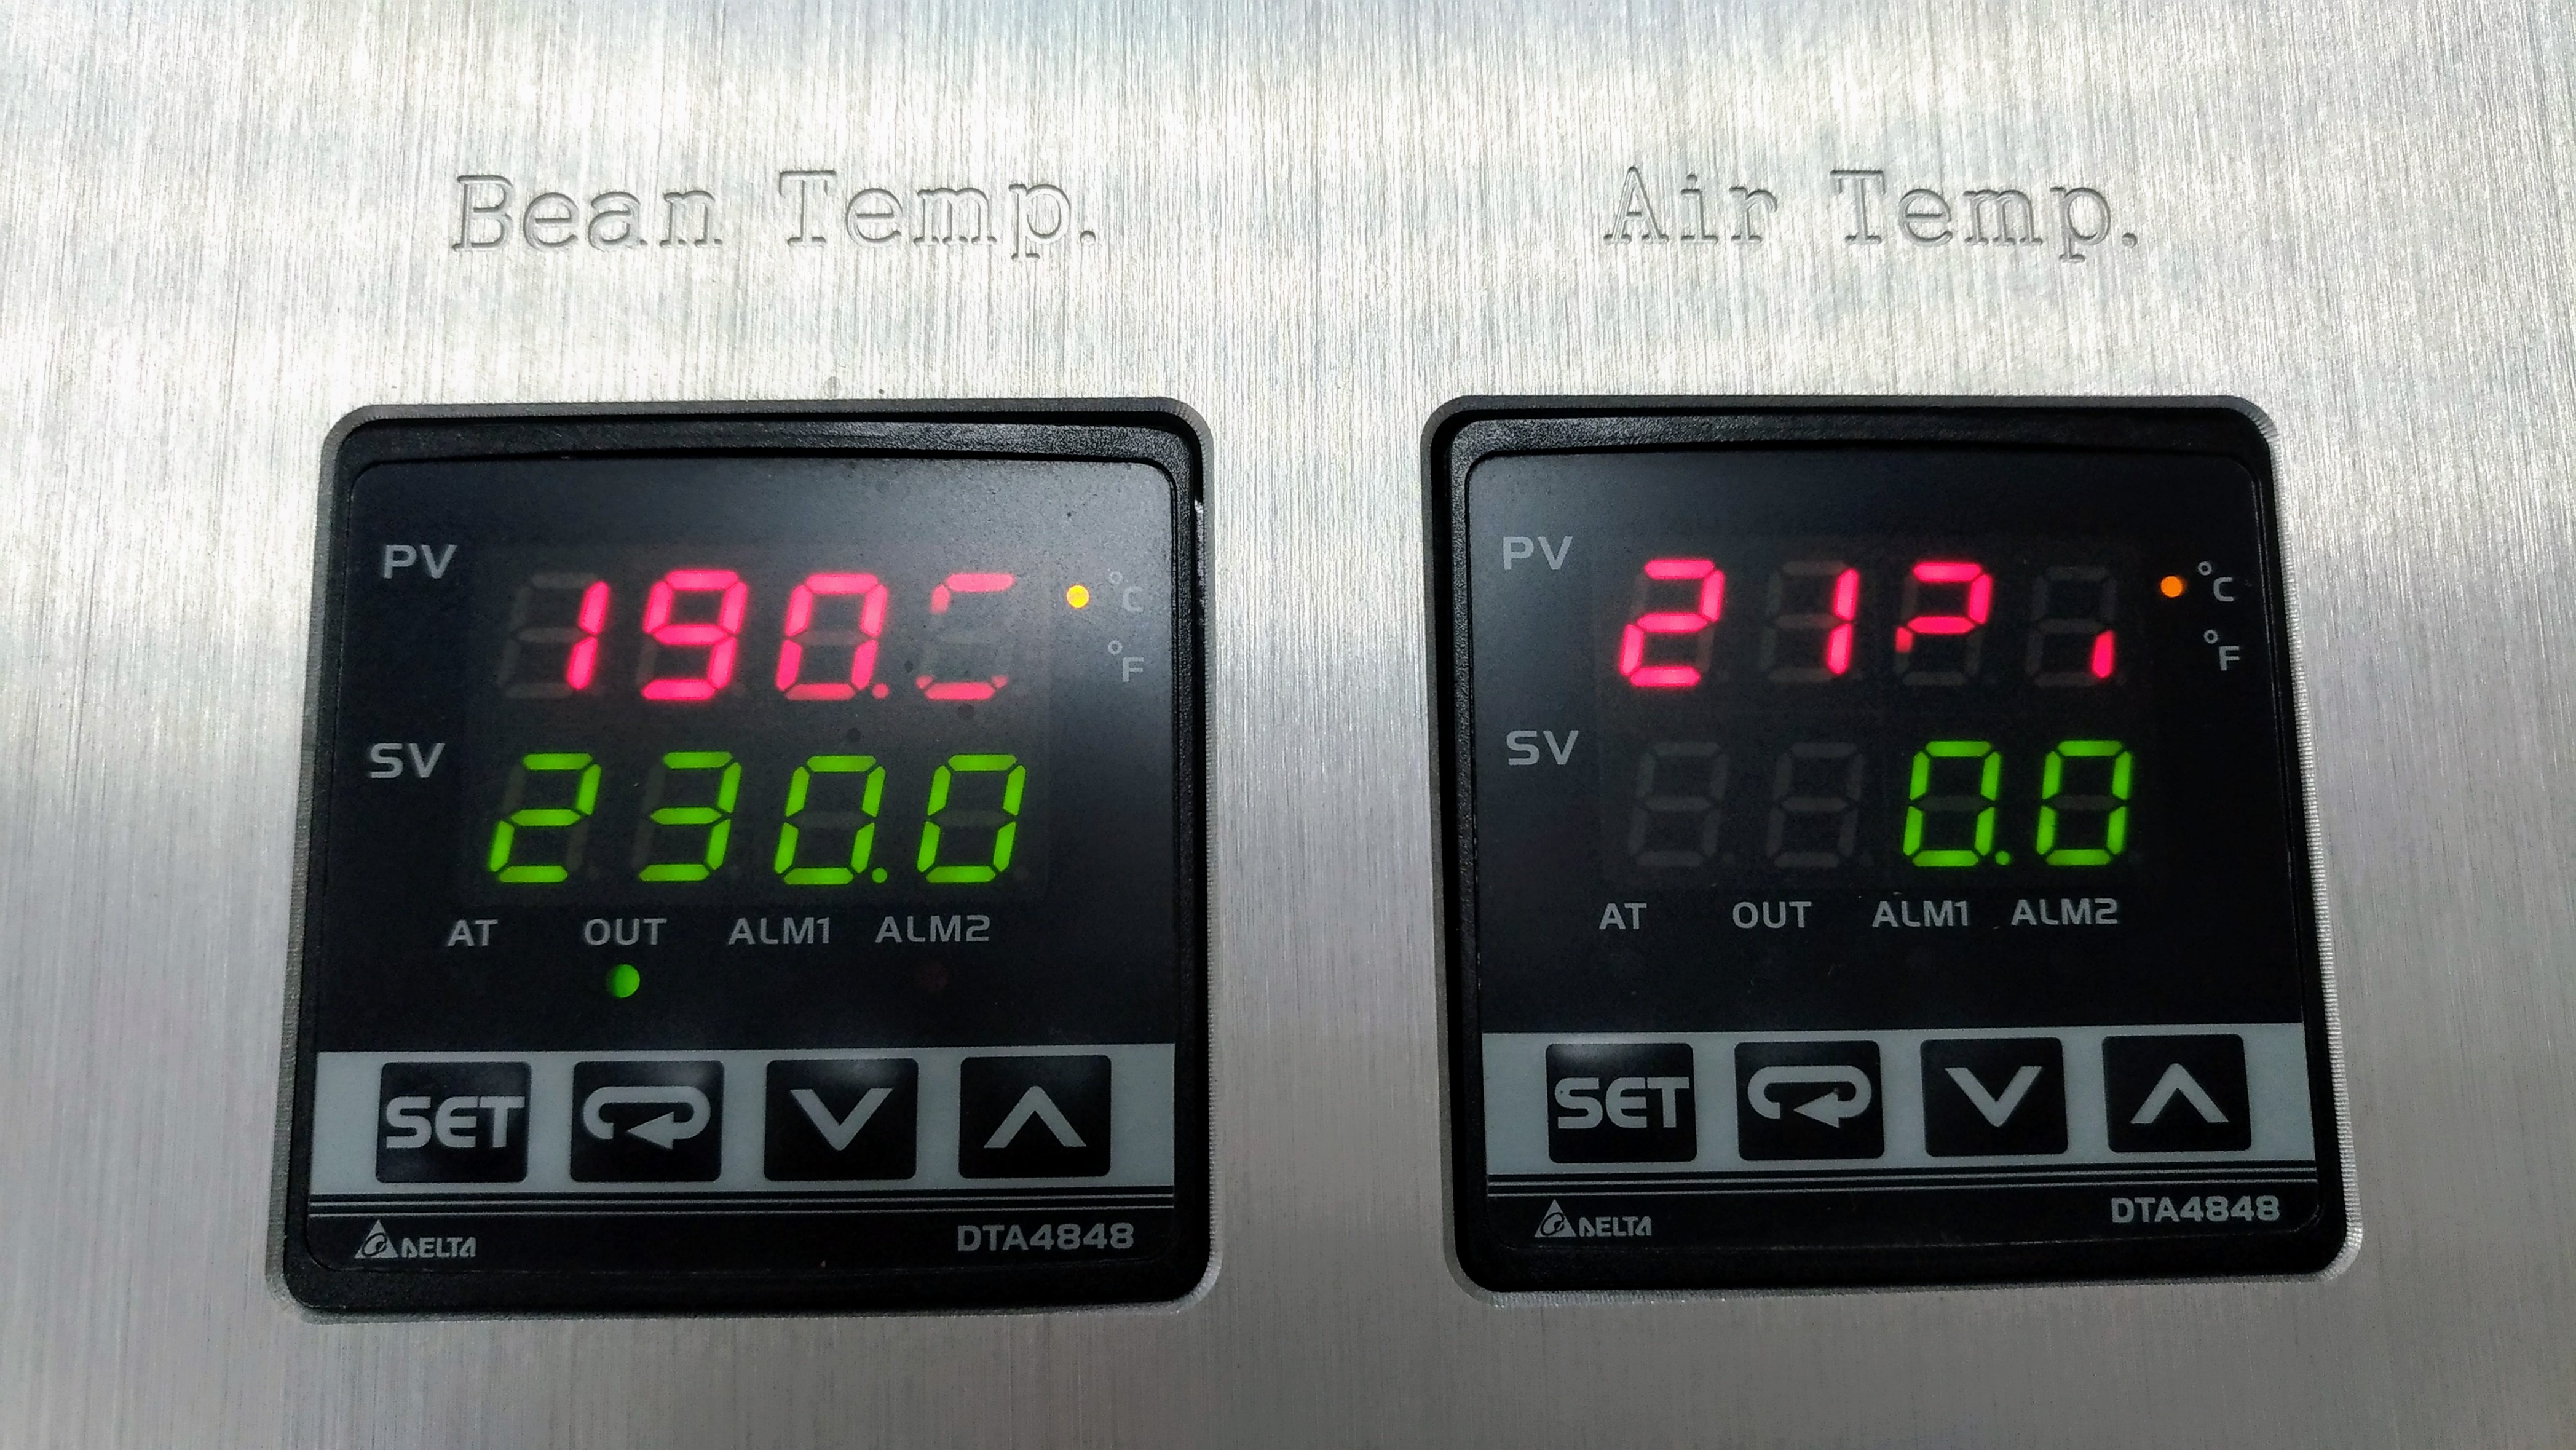
Many of these stem from his design concept of “Easy and Friendly”. Easy to use, easy to clean, and easy to maintain. I was really taken aback with the “easy to use” aspect. The first roast went from start to finish using the initial adjustment; charge to drop with a manual gas valve setting. The only auto settings are heat input where the KapoK 500 runs the thermostat gas valve on/off, KapoK 1.0 proportionally, and KapoK 5.0 low/medium/high. Pretty handy for warm-ups, phone calls, or other distractions; idle at your preferred temperature.
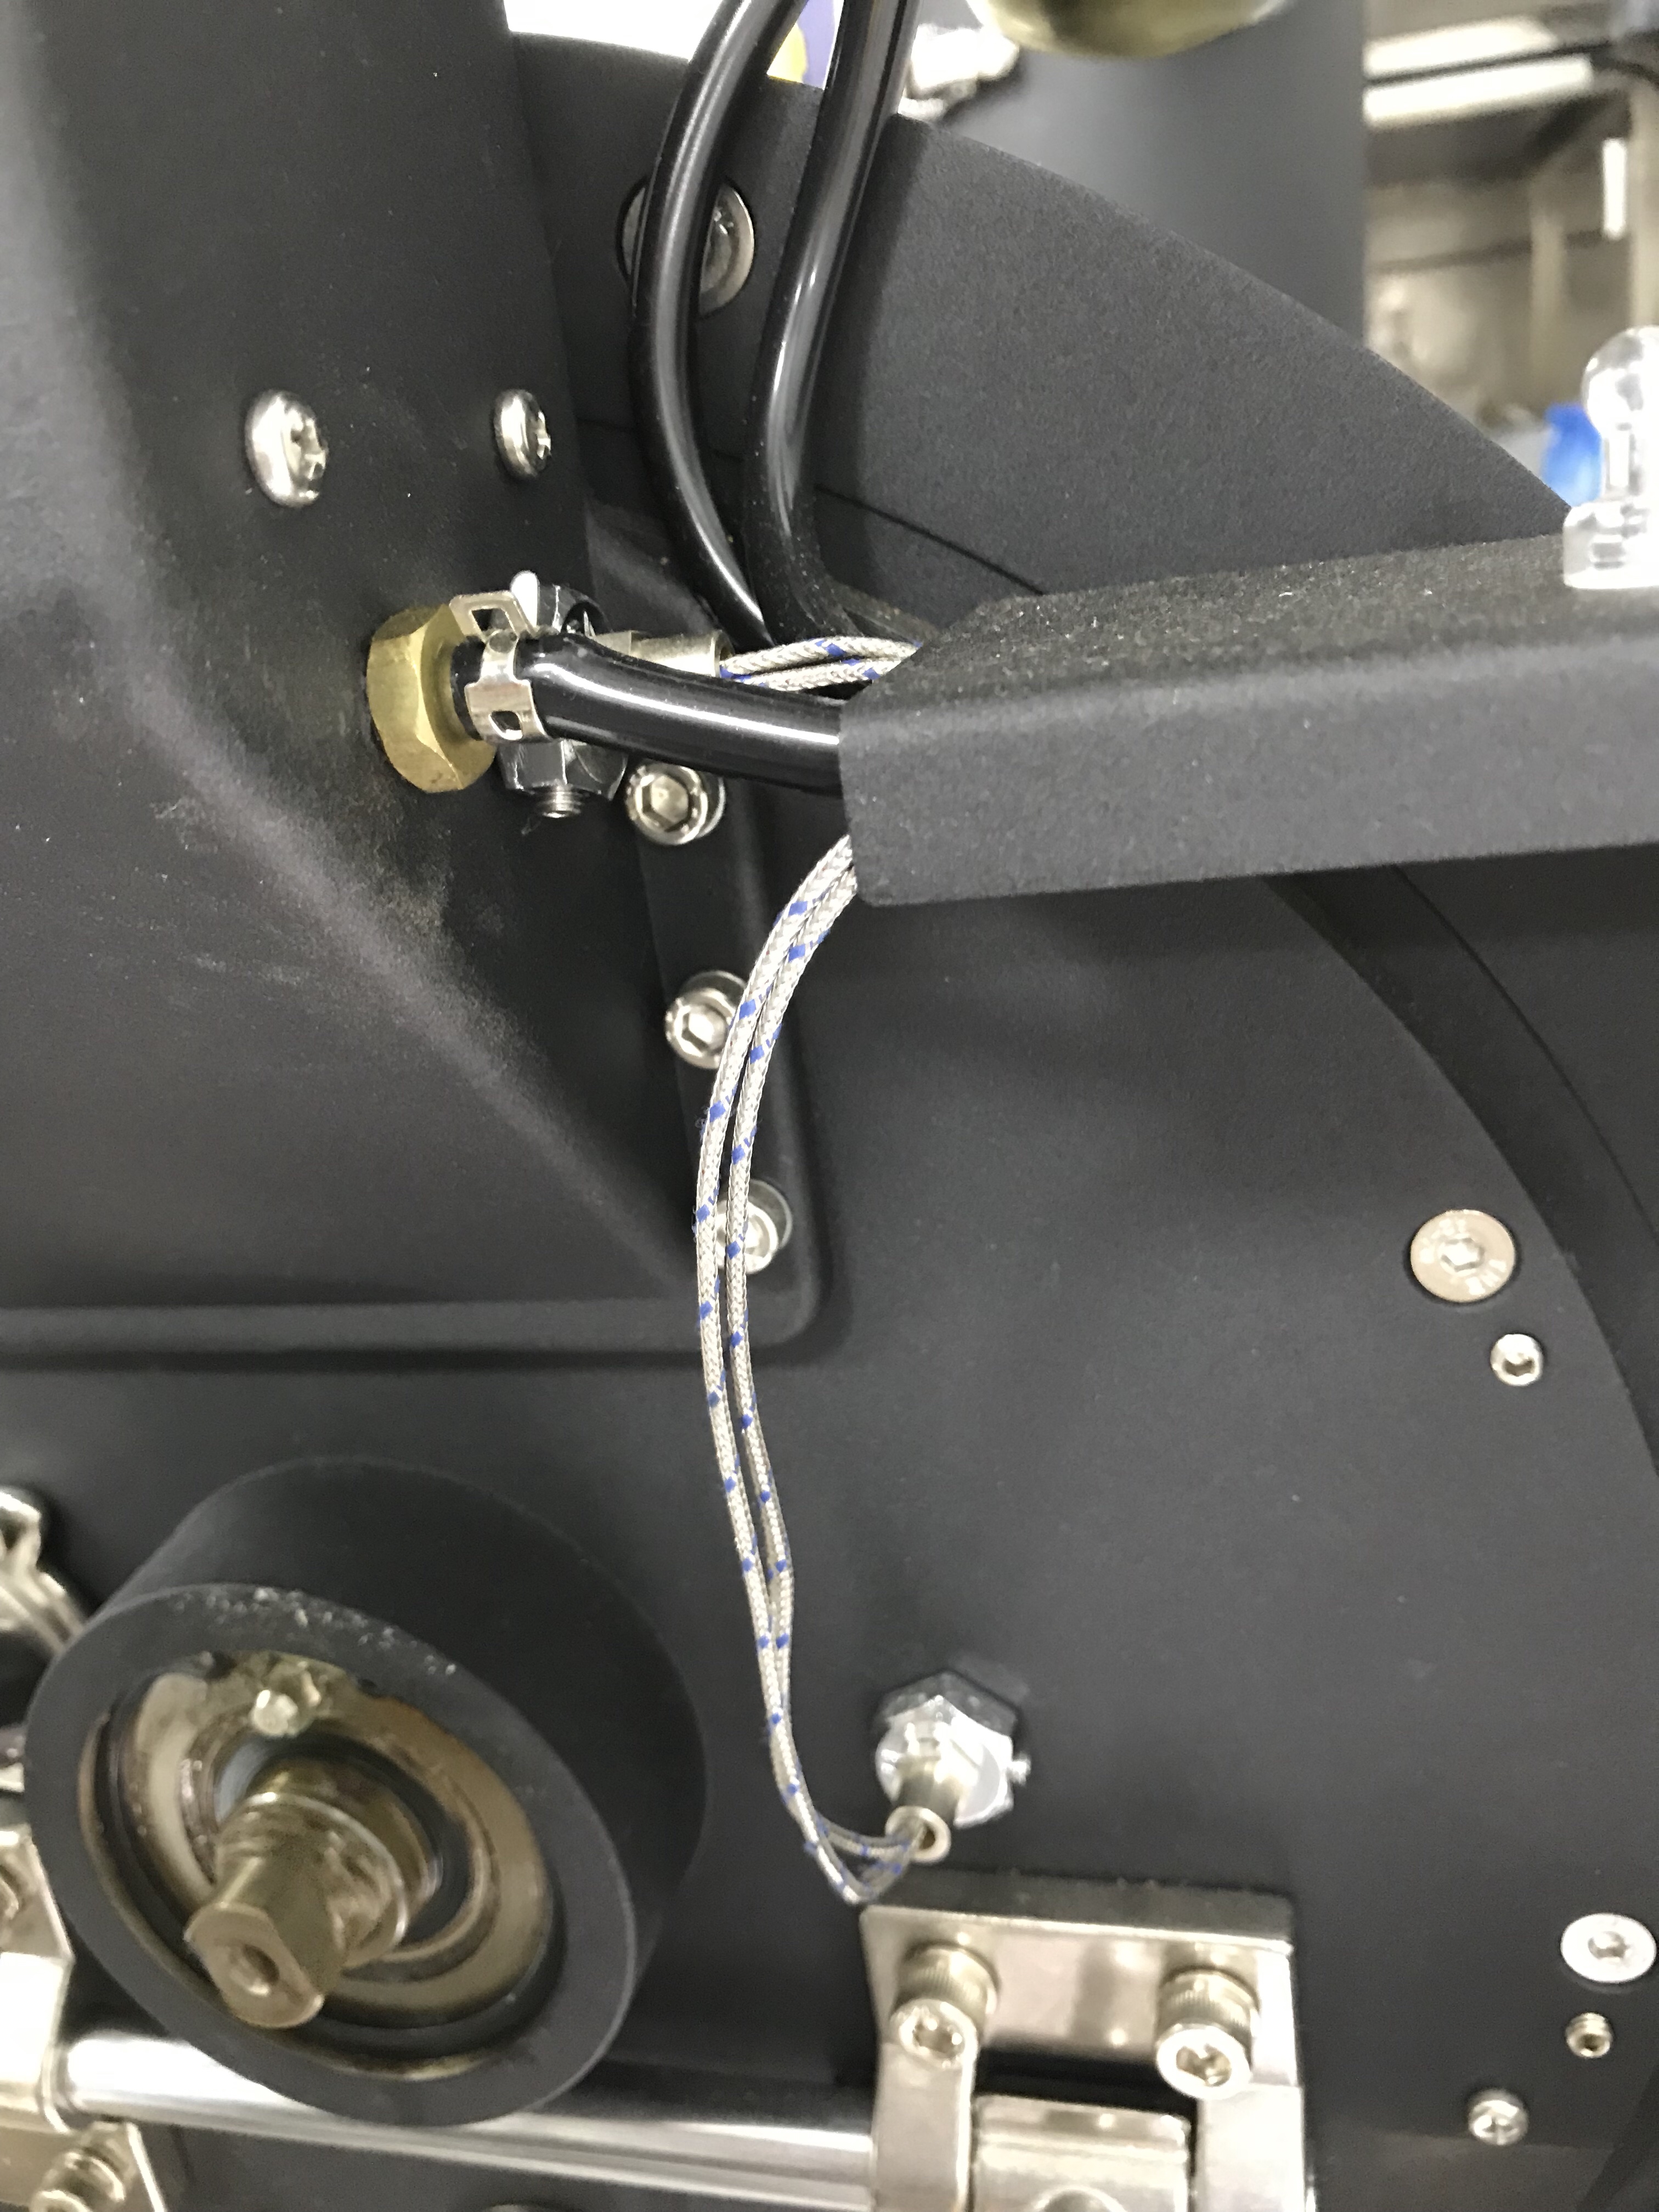
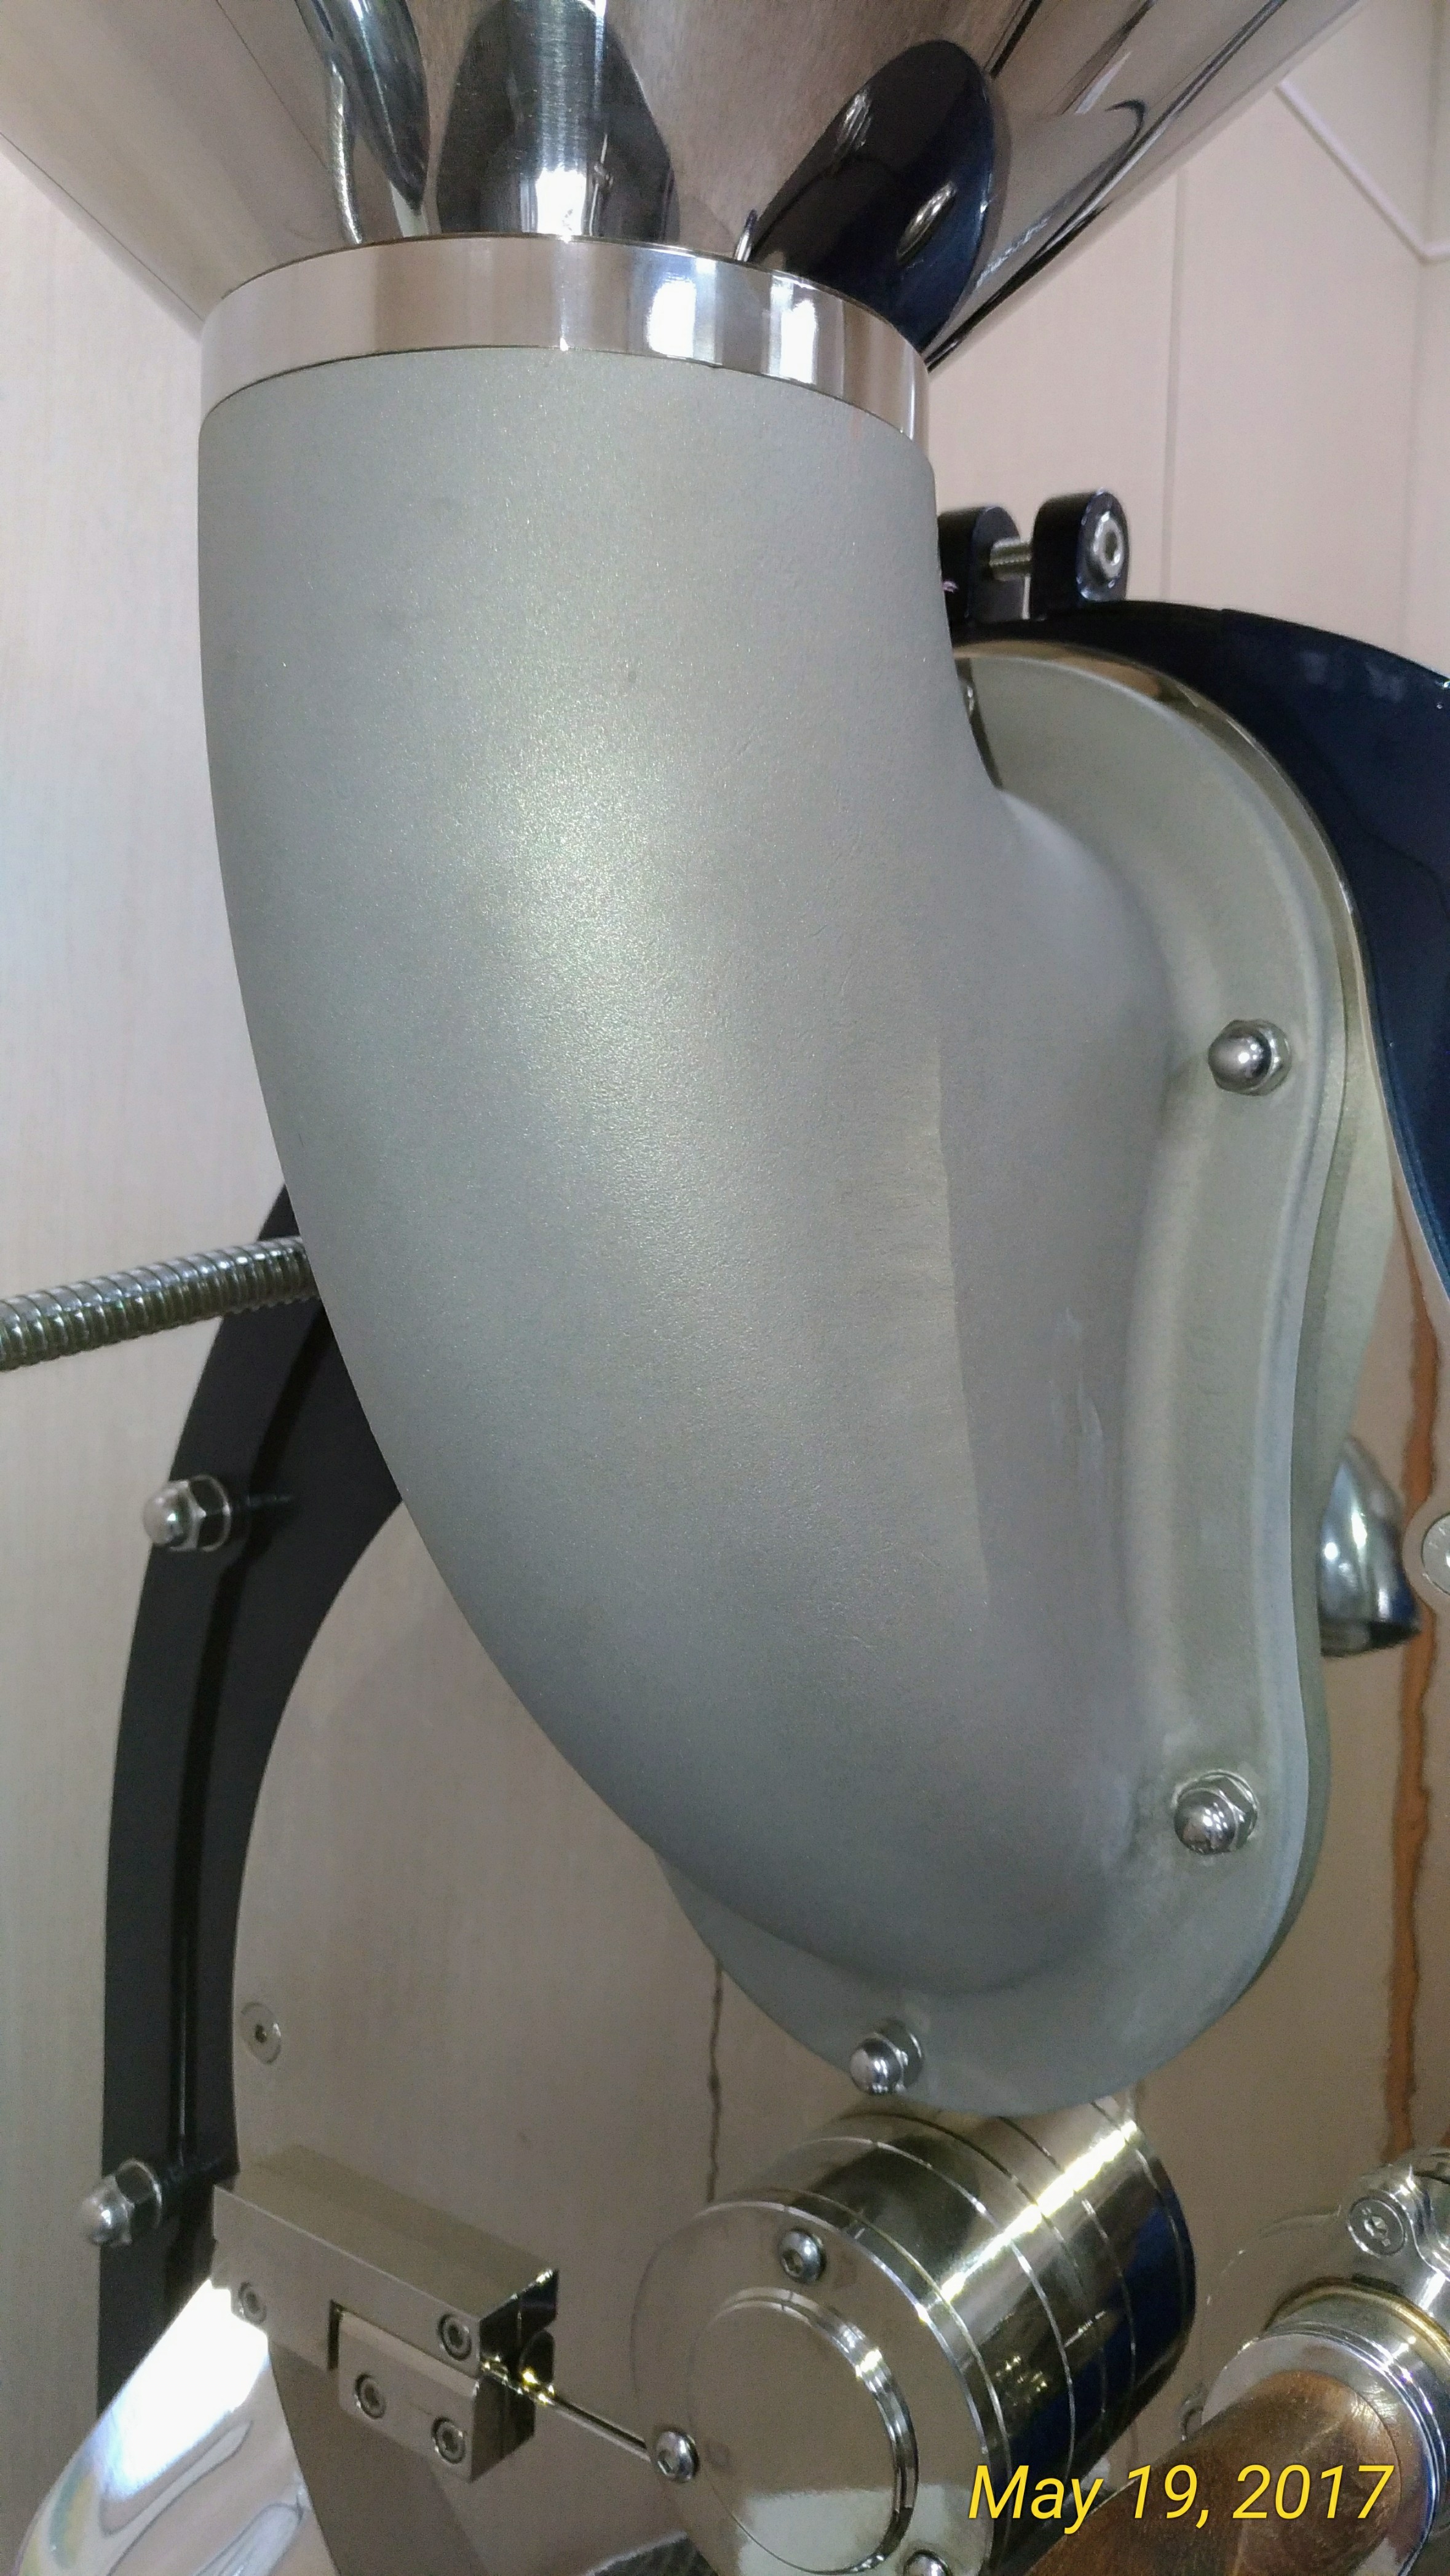
The gas train is controlled by a vacuum sensor in the main exhaust tube; the absence of negative pressure closes the gas valve.


Variable speed air control on all three KapoK roasters, the dial has a geared two stage feel like what’s on a microscope. The usable roasting settings are from 1-6 with 10 increments between each number. There’s an optional air pressure gauge with a pitot tube inside the main exhaust air channel. The showroom model’s gauge is calibrated to the air control dial (negative pressure).
KapoK’s come equipped with a complete data logging setup including Bluetooth transmission, which was demonstrated in the showroom. Depending on the model there are two or three digital thermocouples. BT probe shows incredible attention to detail.

According to Manager Lin, There’s a new wave of young Taiwanese Artisan Roasters who are advancing the craft. We were honored to have one of Kaohsiung’s rising star’s attend our meeting; Yi-Fan of Wolong Coffee Studio. (Wolong Historical Figure)
Wolong Coffee Studio Facebook Page
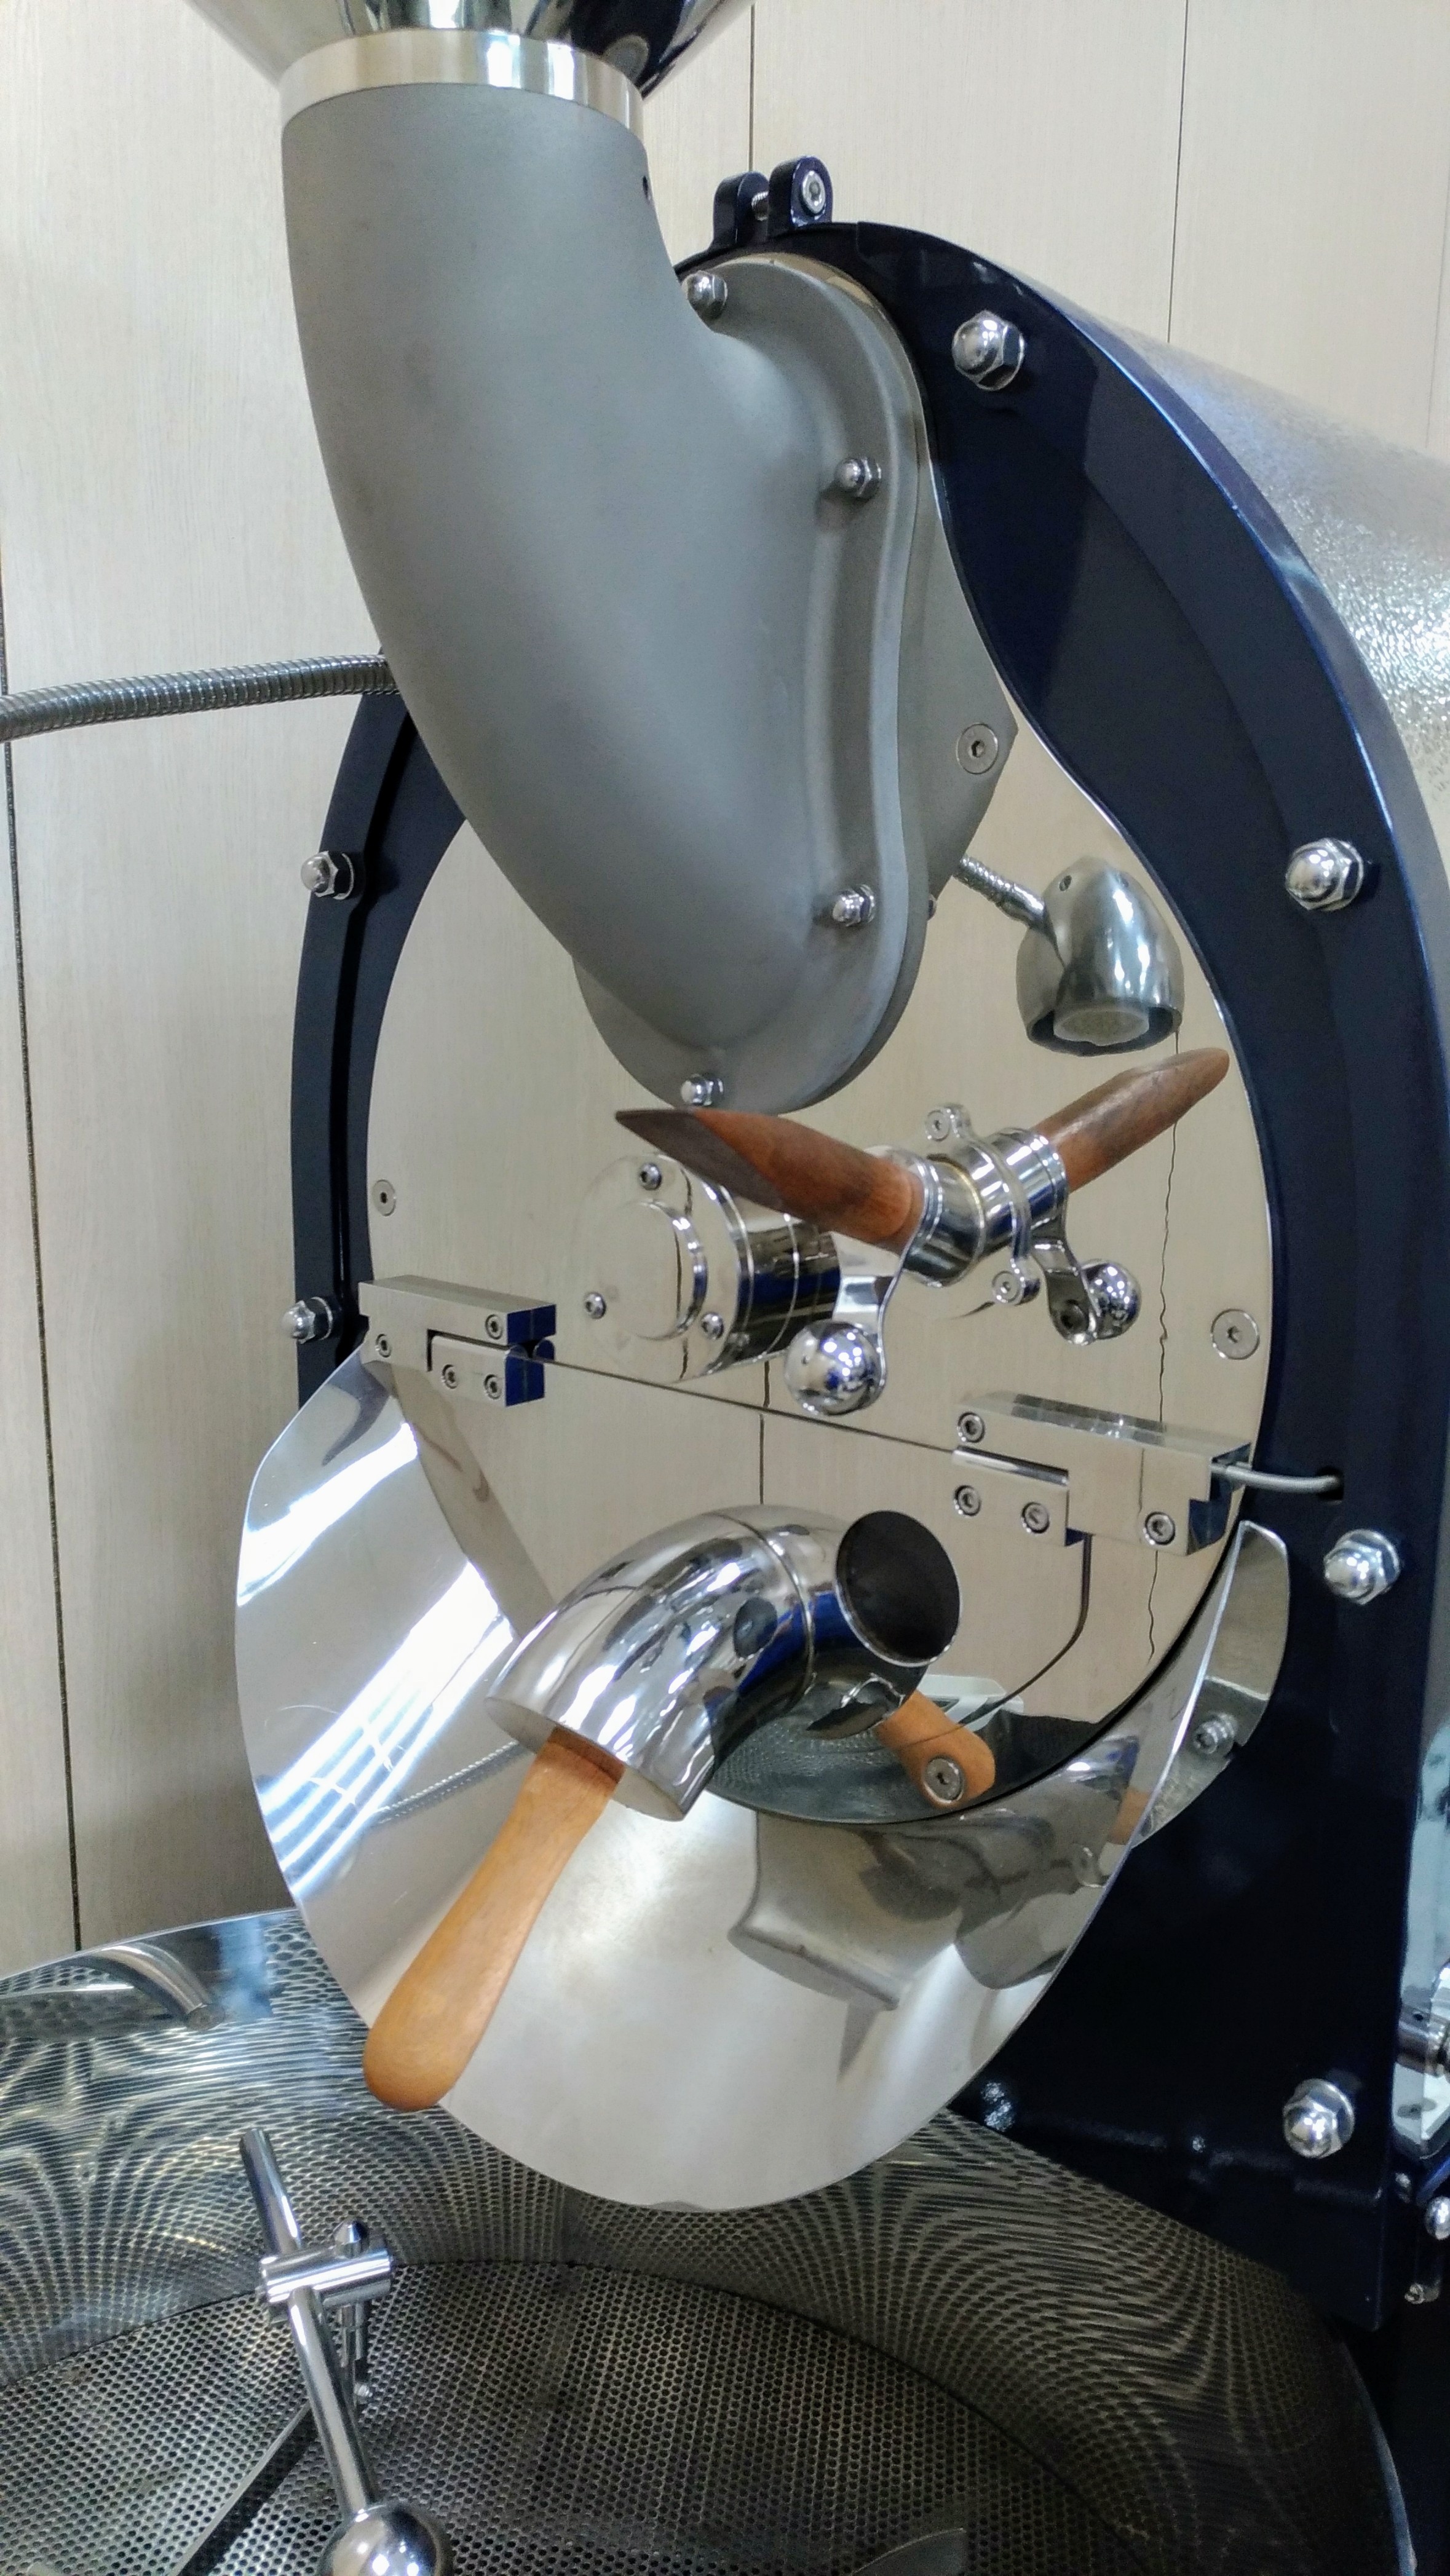
All three KapoK roasters sport double wall stainless drums and are fabricated at the factory, the material choice is probably for sanitary considerations. The stirring vanes underwent extensive development using high-speed photography. One set of vanes pushes the beans forward, another set of vanes pushes beans backward, and the third set for mixing/ lifting. The vane locations were then mapped out for a precise location with a template. KapoK drums also go thru several balancing procedures during fabrication, reducing vibration.
We got into a discussion of double wall drums and how they work. The gap between the two drum walls is sealed, conduction passes thru the outer shell, into the air space, and finally thru the inner shell to the beans. Comparing a single wall drum and double wall drum the temperature gradient/delta would be @ 100*C lower, double vs single.
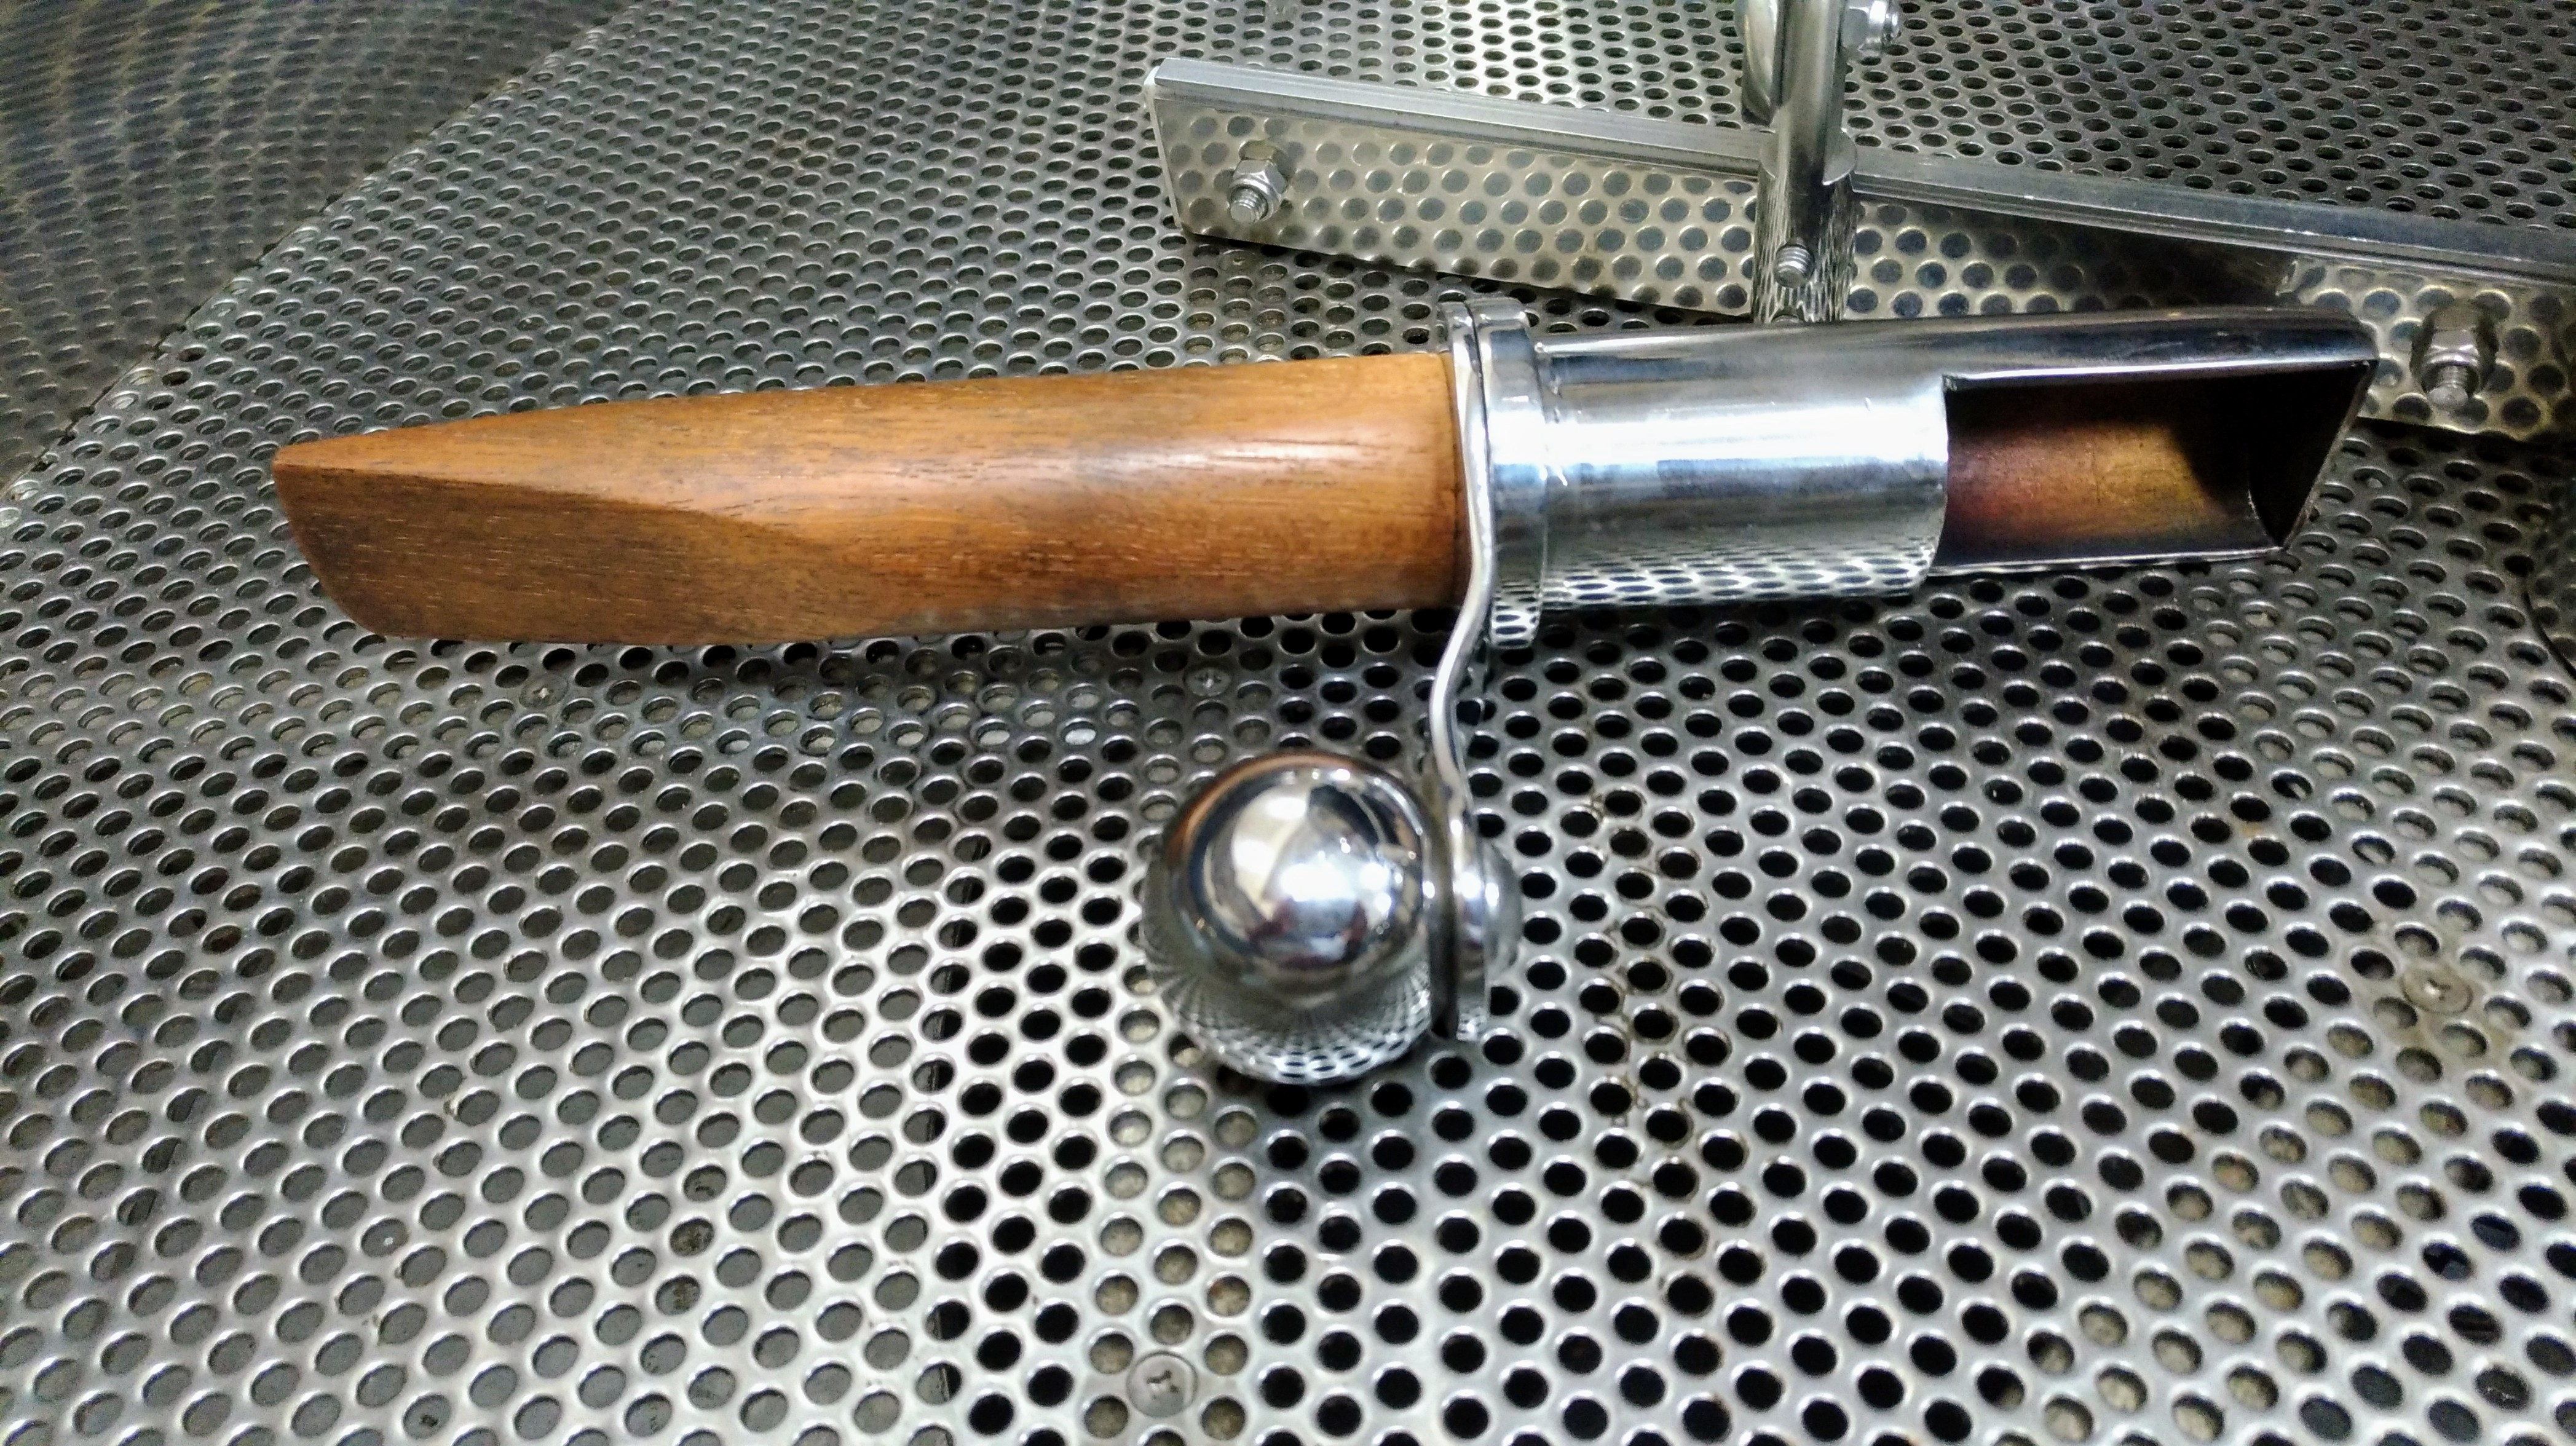
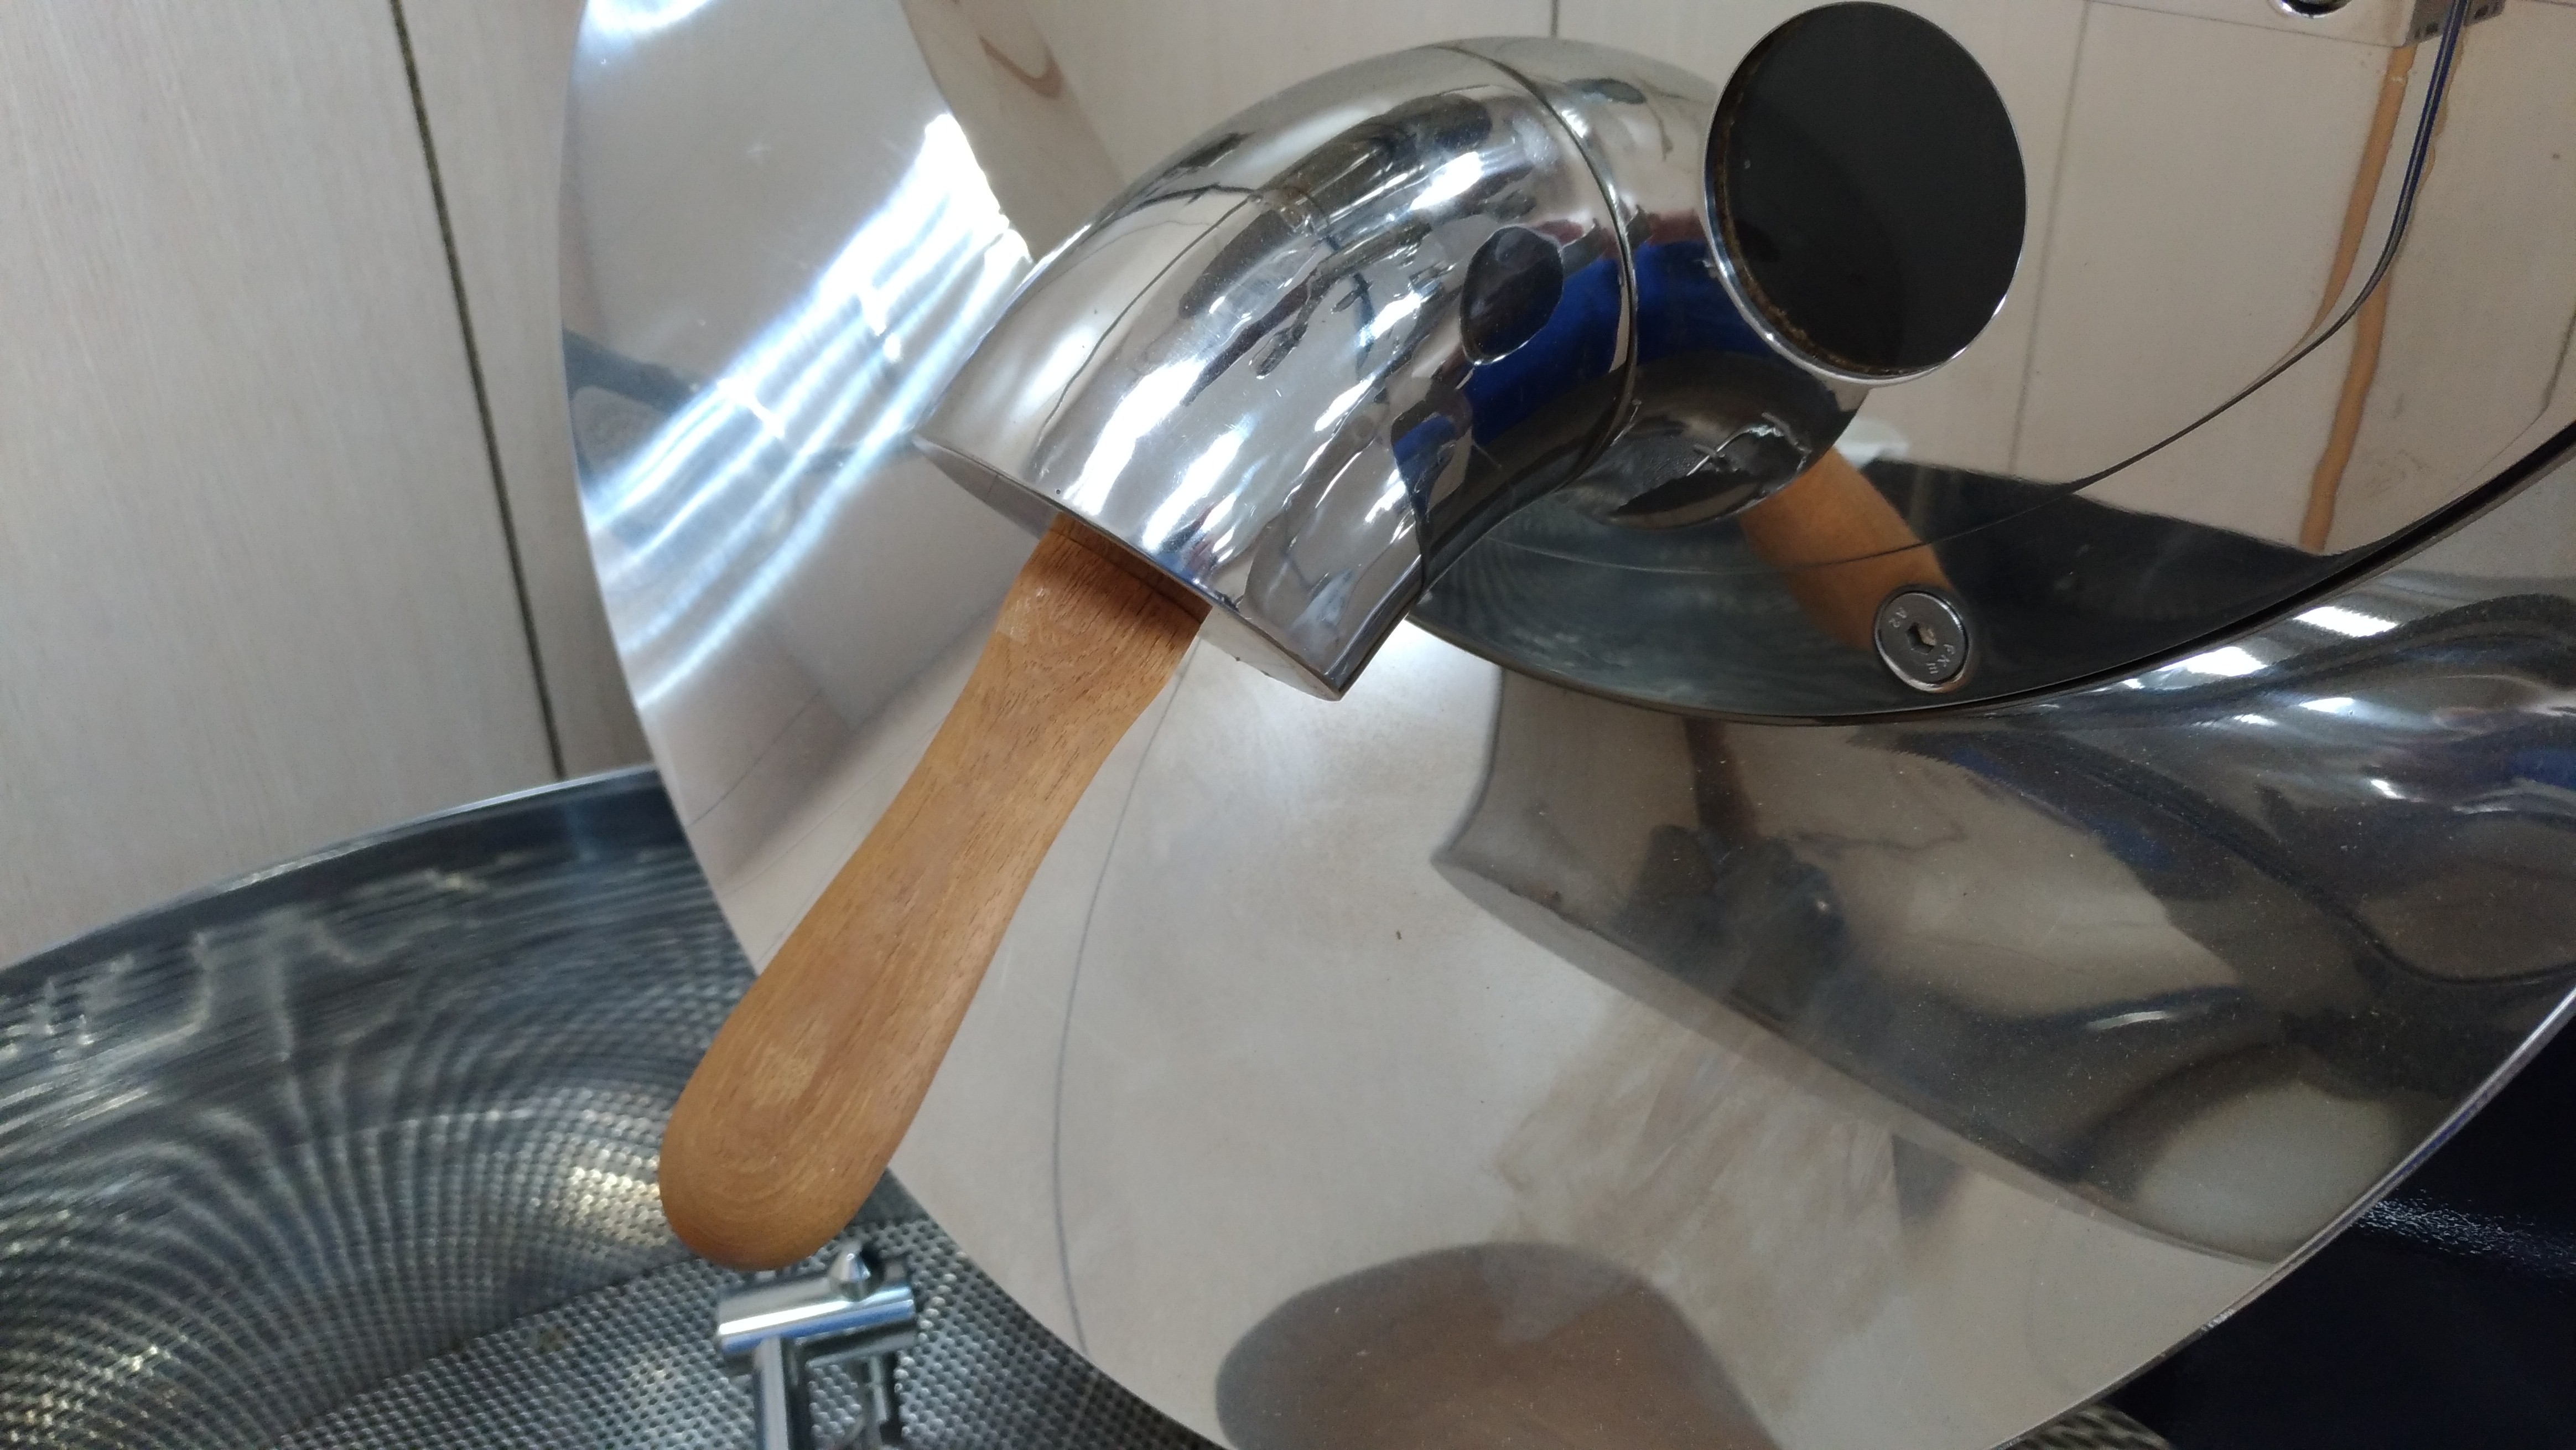
Kapok cooling trays have upgraded functionality and bling, standard. The stirring motor has a clutch and will slip if it jams. No scraping or rubbing; ejects every last bean. And the paddles stir and lift at the same time, for increased aeration.
Massive solid stainless two-piece trim ring on the cooling tray; ground and polished to perfection. In fact, you can’t see how it’s connected; the top edge was welded and invisibly finished. Another example of exemplary craftsmanship on Kapok Roasters.
KapoK Coffee Device Company’s first roaster (Kapok 1.0) was in development from 2000-2007 and delivered 11/2007. Next was the KapoK 5.0 in 2010, with a one-year development period, finally the Kapok 500 in 2012. Most sales are factory direct, except in the China market. They sponsor monthly user group meetings where owners can collaborate, cup coffee, and talk shop. An outgrowth of the camaraderie brought a roasting competition in 2014 and in 2016 one very lucky competitor won a brand new KapoK 1.0.
KapoK 1.0 bean hopper is patterned after a Tao Aboriginal Hat from Orchard Island.


Thanks for the warm welcome and hospitality, we enjoyed learning about KapoK machines, Kaohsiung, and tasting Lychee Flower Honey!
| hankua on Yang-Chia 100n Coffee Roaster… | |
| Mariano Castro on Yang-Chia 100n Coffee Roaster… | |
| hankua on Yang-Chia 100n Coffee Roaster… | |
| Ale Galva on Yang-Chia 100n Coffee Roaster… | |
| Thomas J Creech on KapoK 500 Coffee Roaster |


